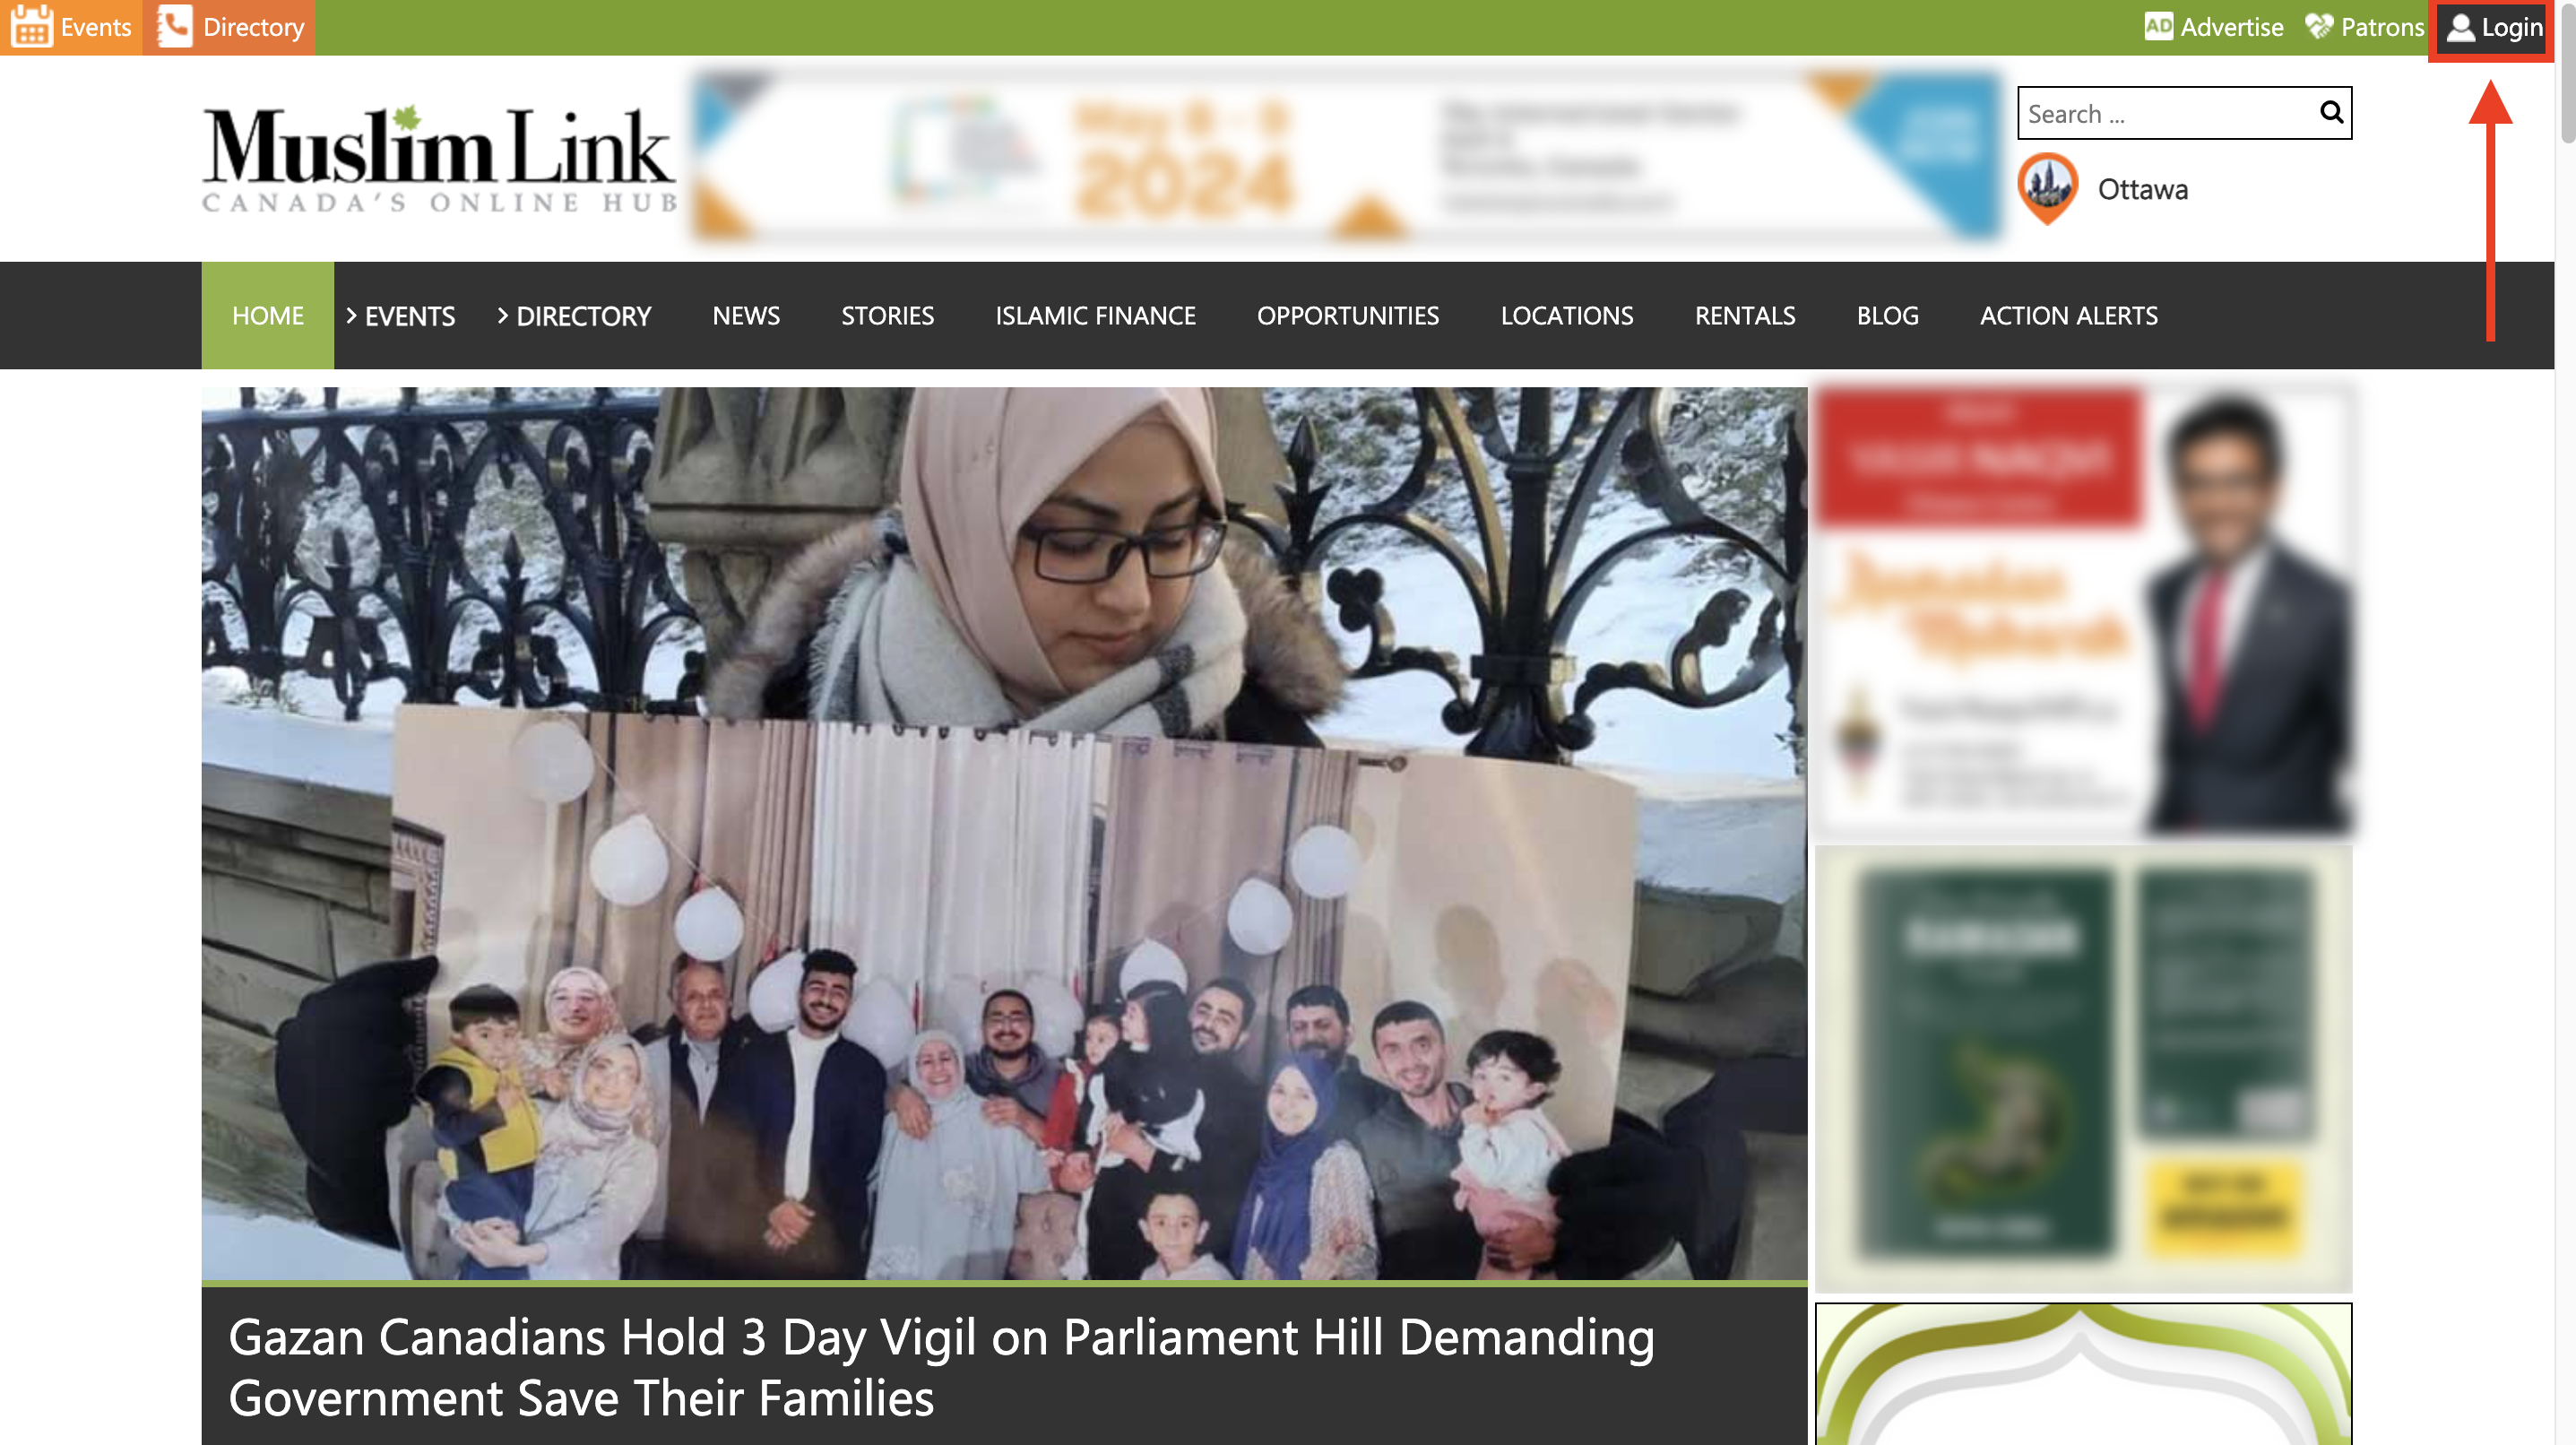
1. Click “Login” on the upper right corner and enter your log in credentials or register.
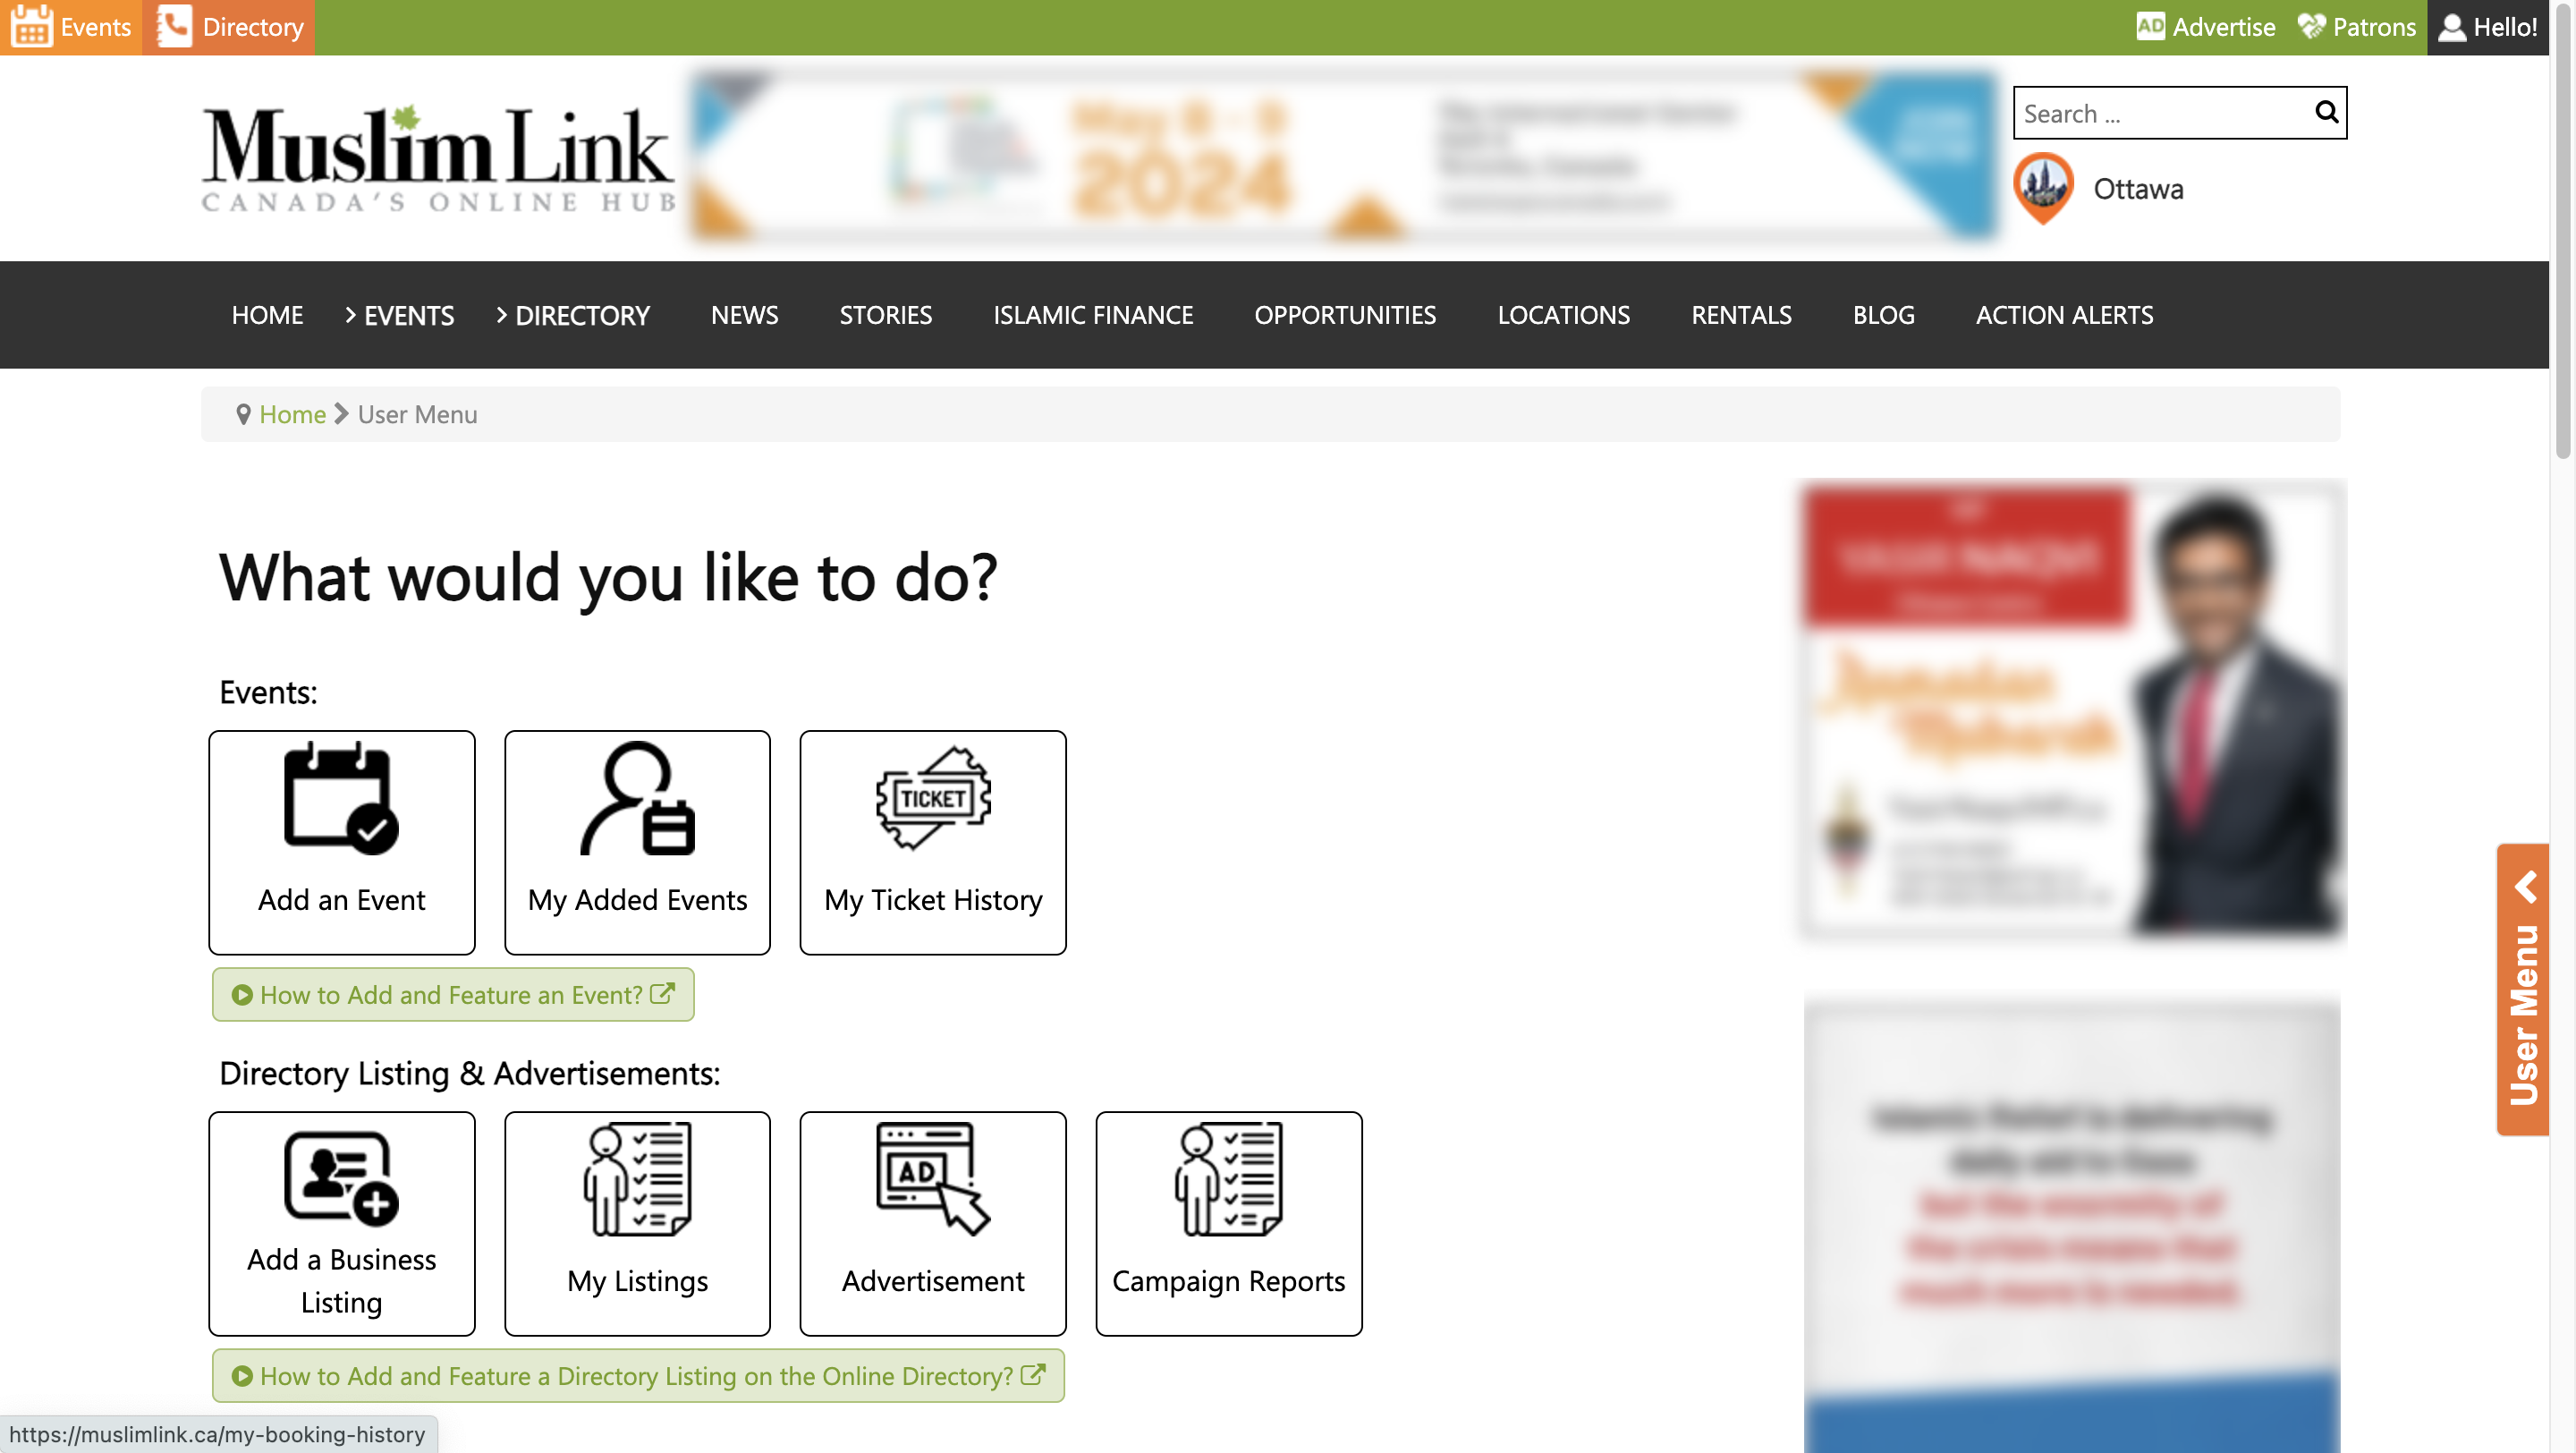
2. Once logged in, you'll be automatically directed to the “User Menu”.
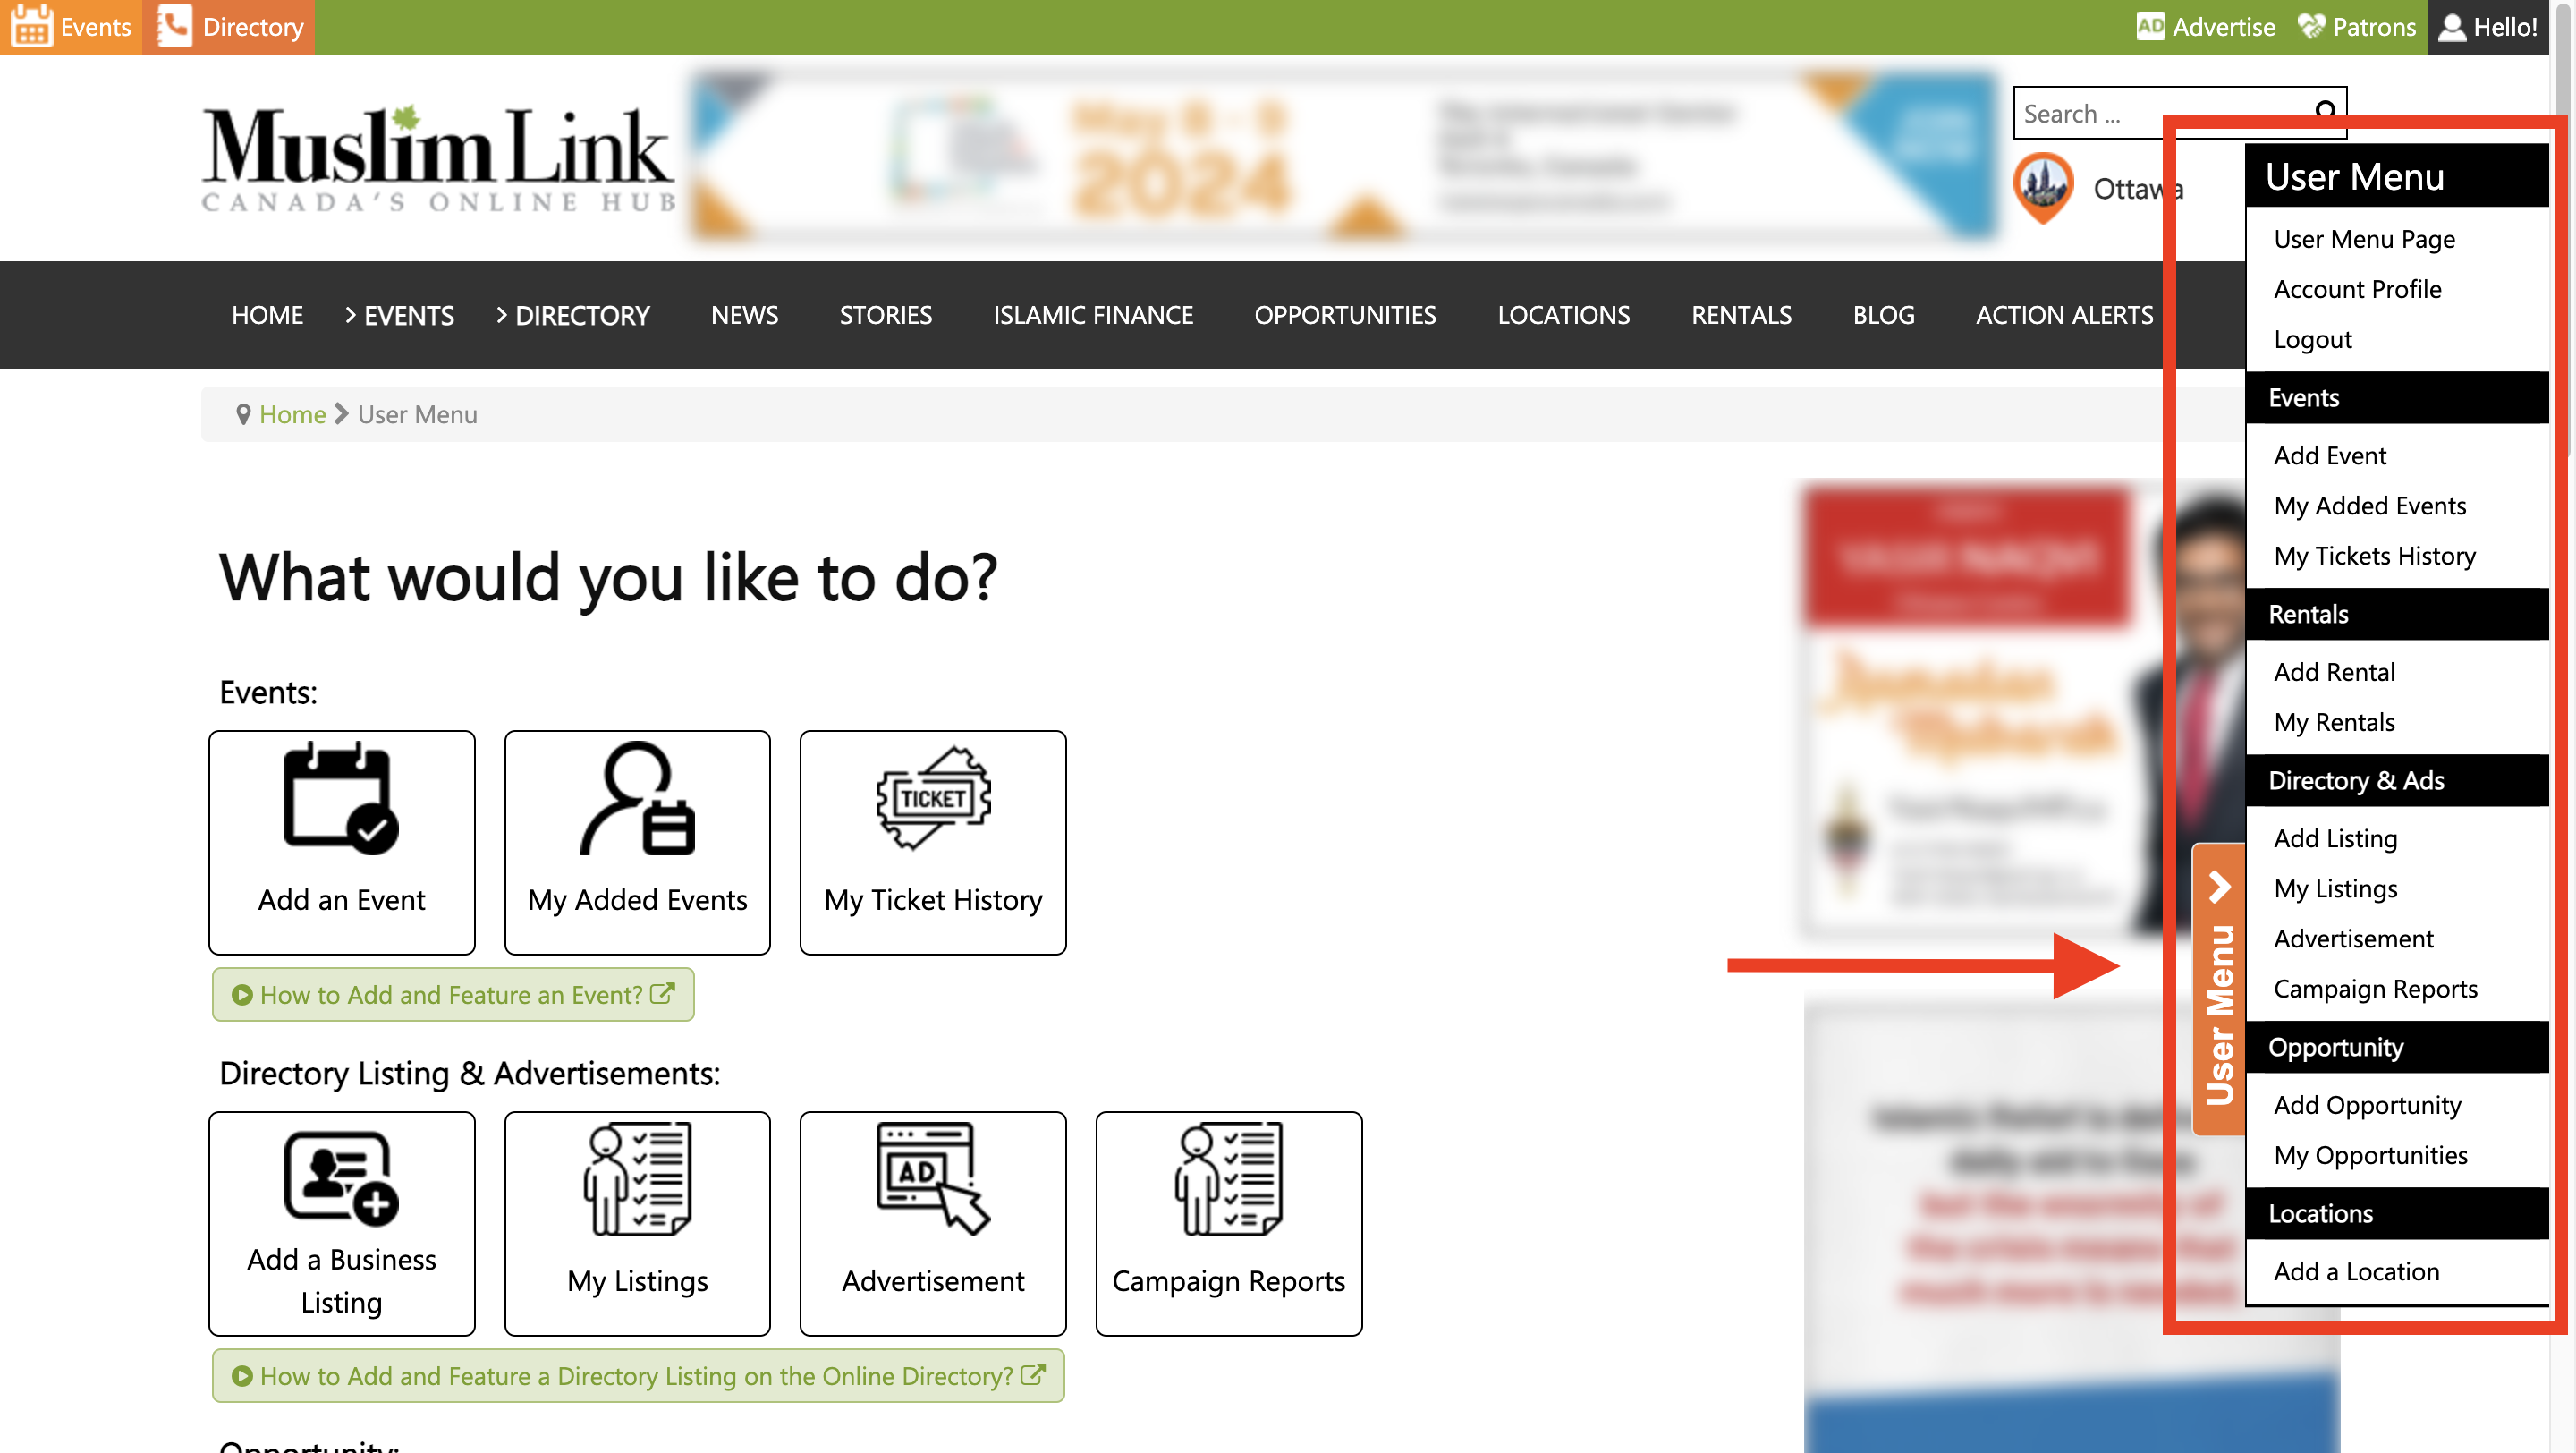
3. You can also access the "User Menu" by clicking on "Hello!" in the upper right corner, or from the right side menu.
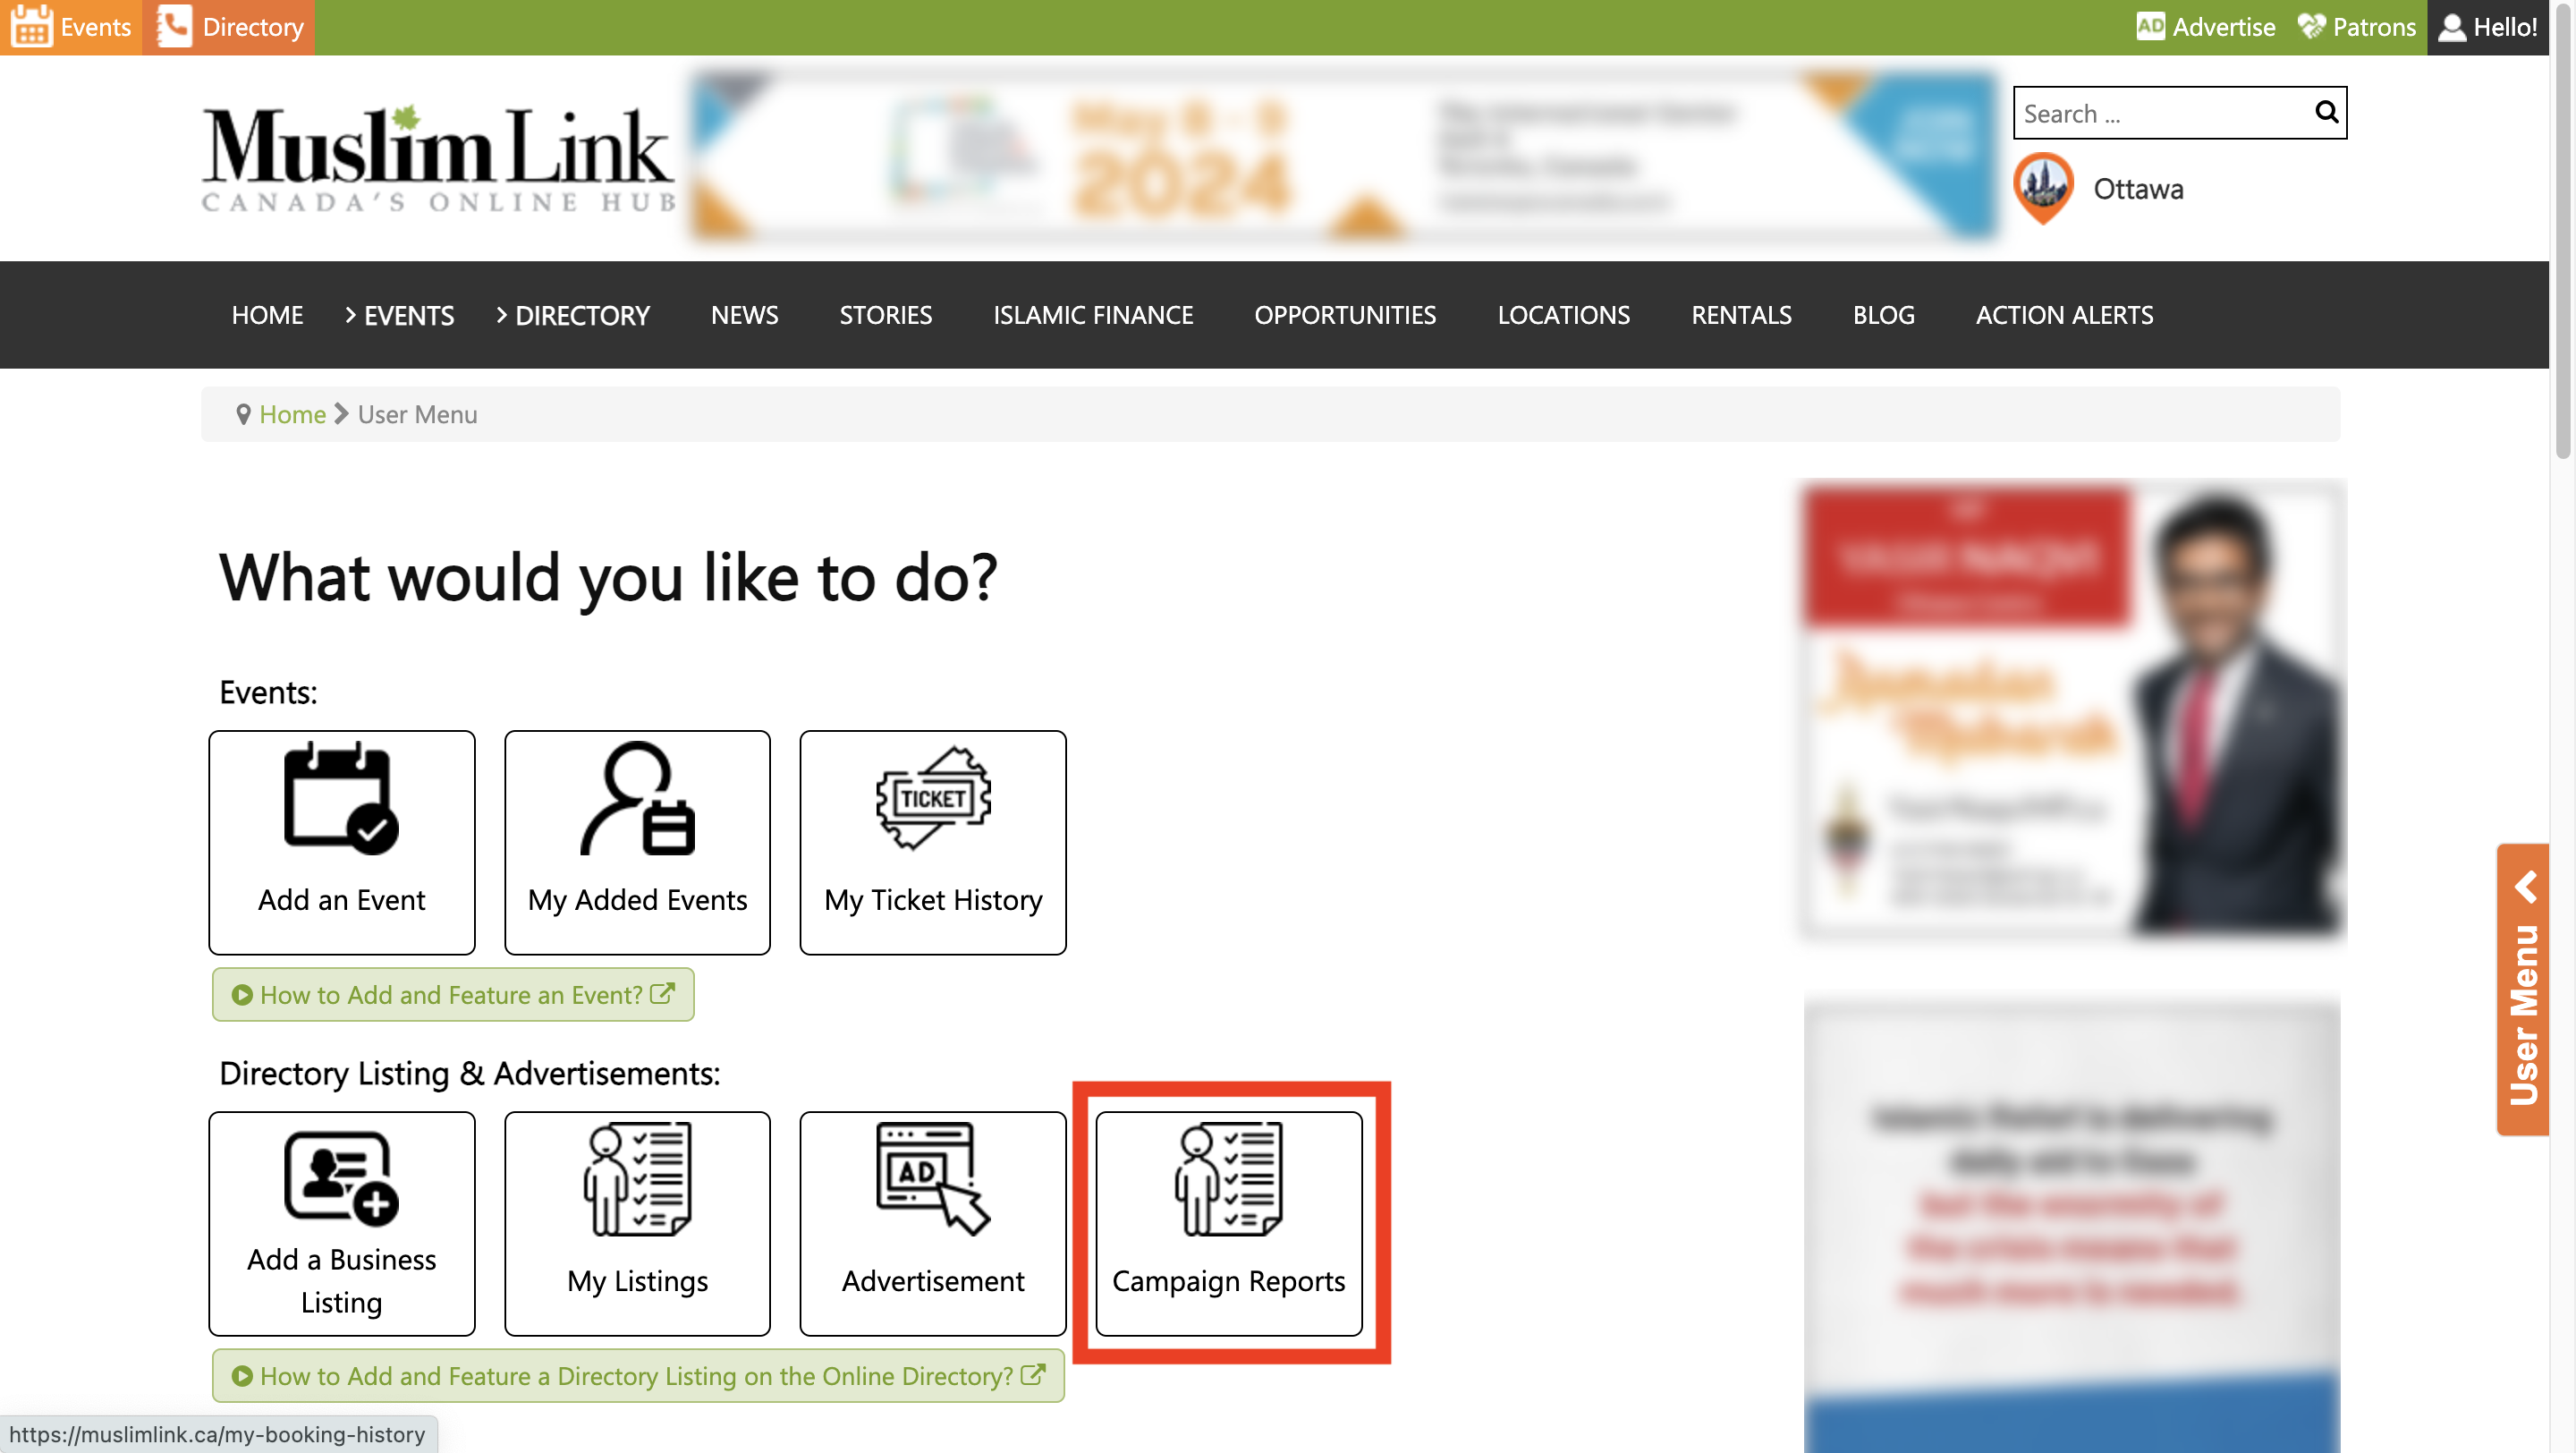
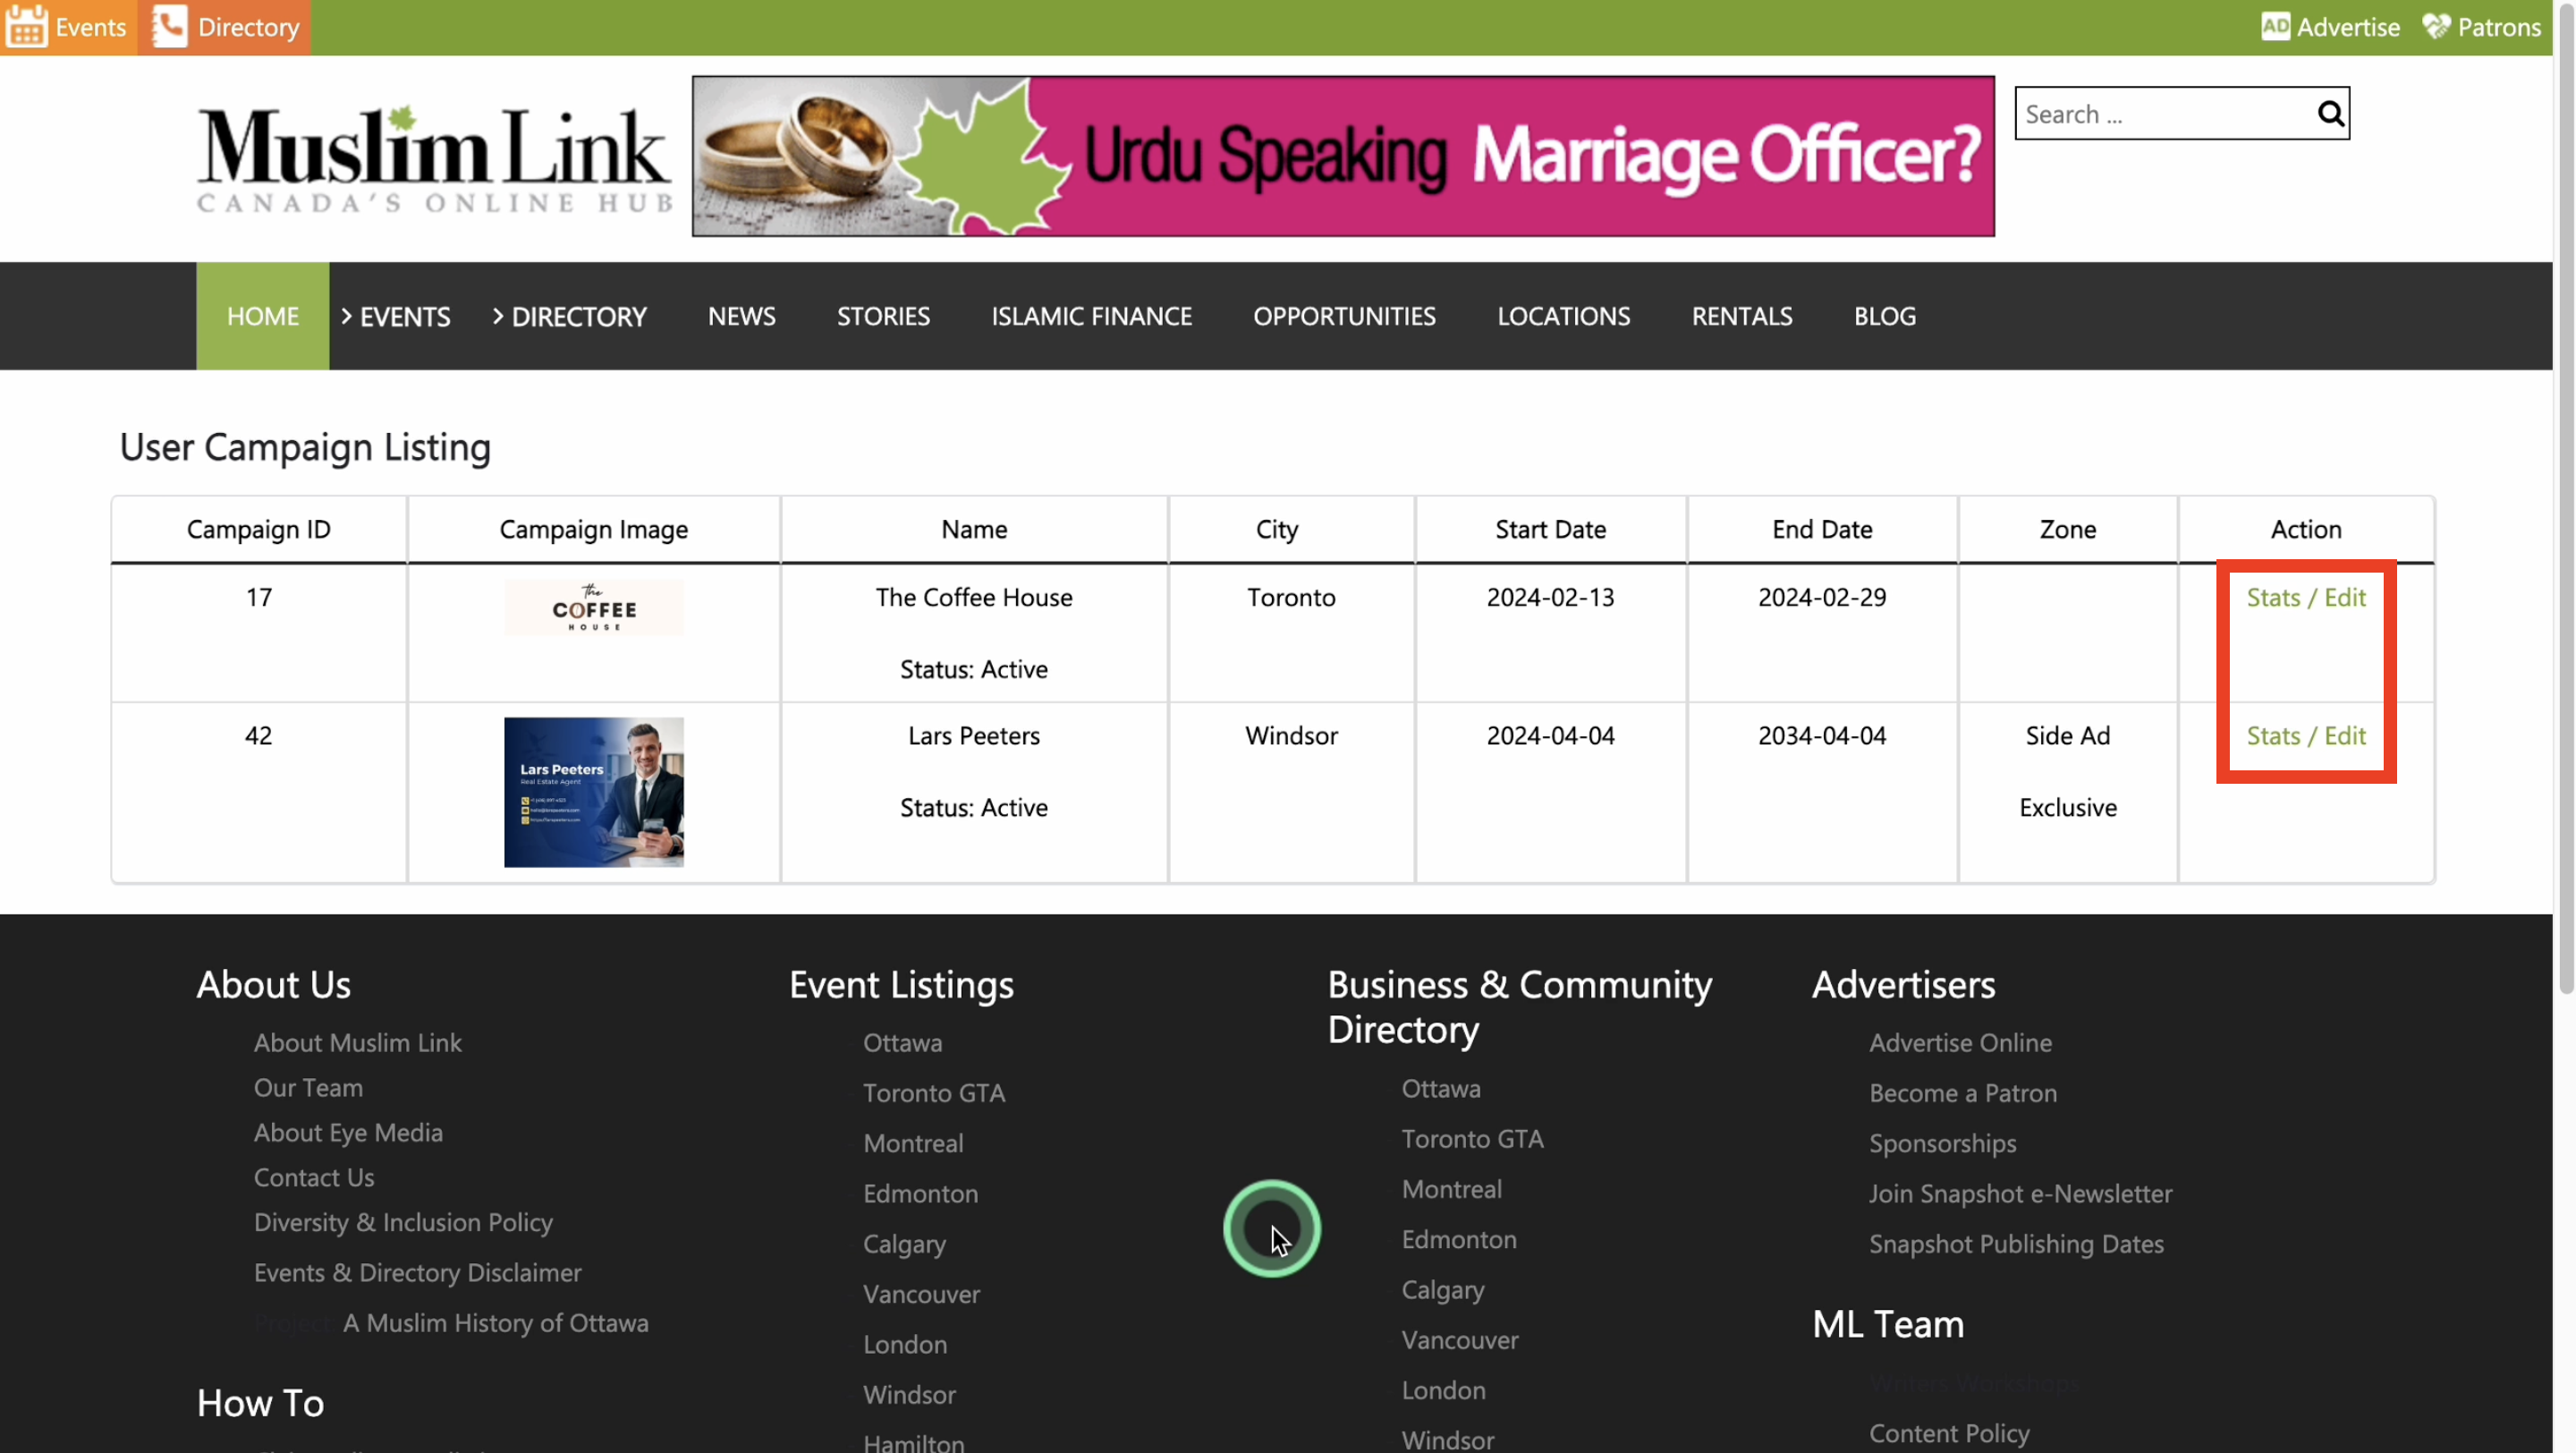
4. If you have a business listing that is featured or a banner ad, you will have access to the campaign reports of your ad. Go to the user menu then click “Campaign Reports”.
5. On this page, you'll find a list of your featured business listings. Click the "Stats/Edit" button next to the listing to view its statistics and make edits to the ad.
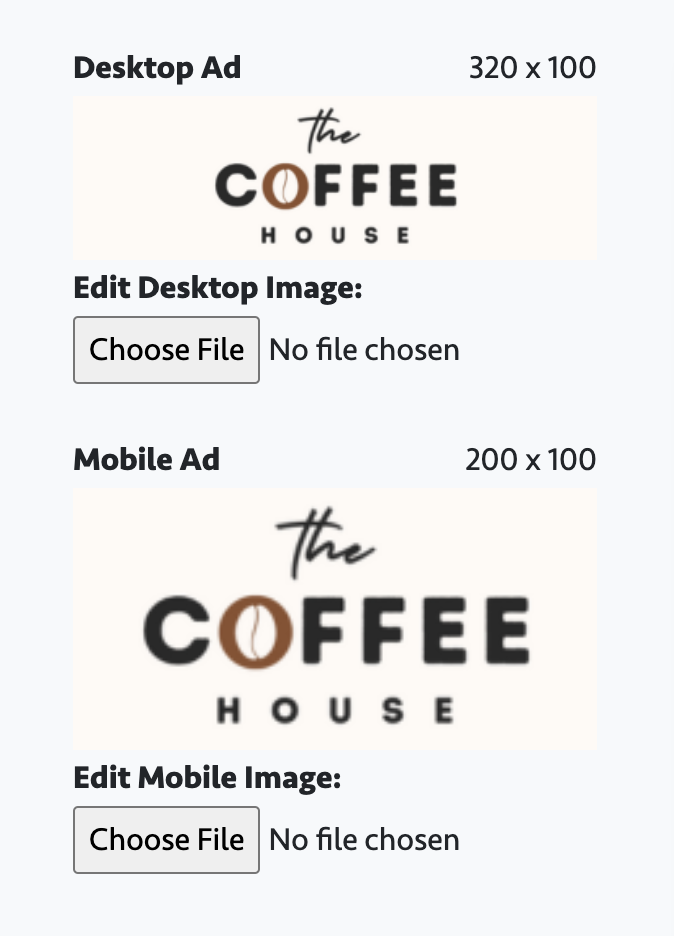
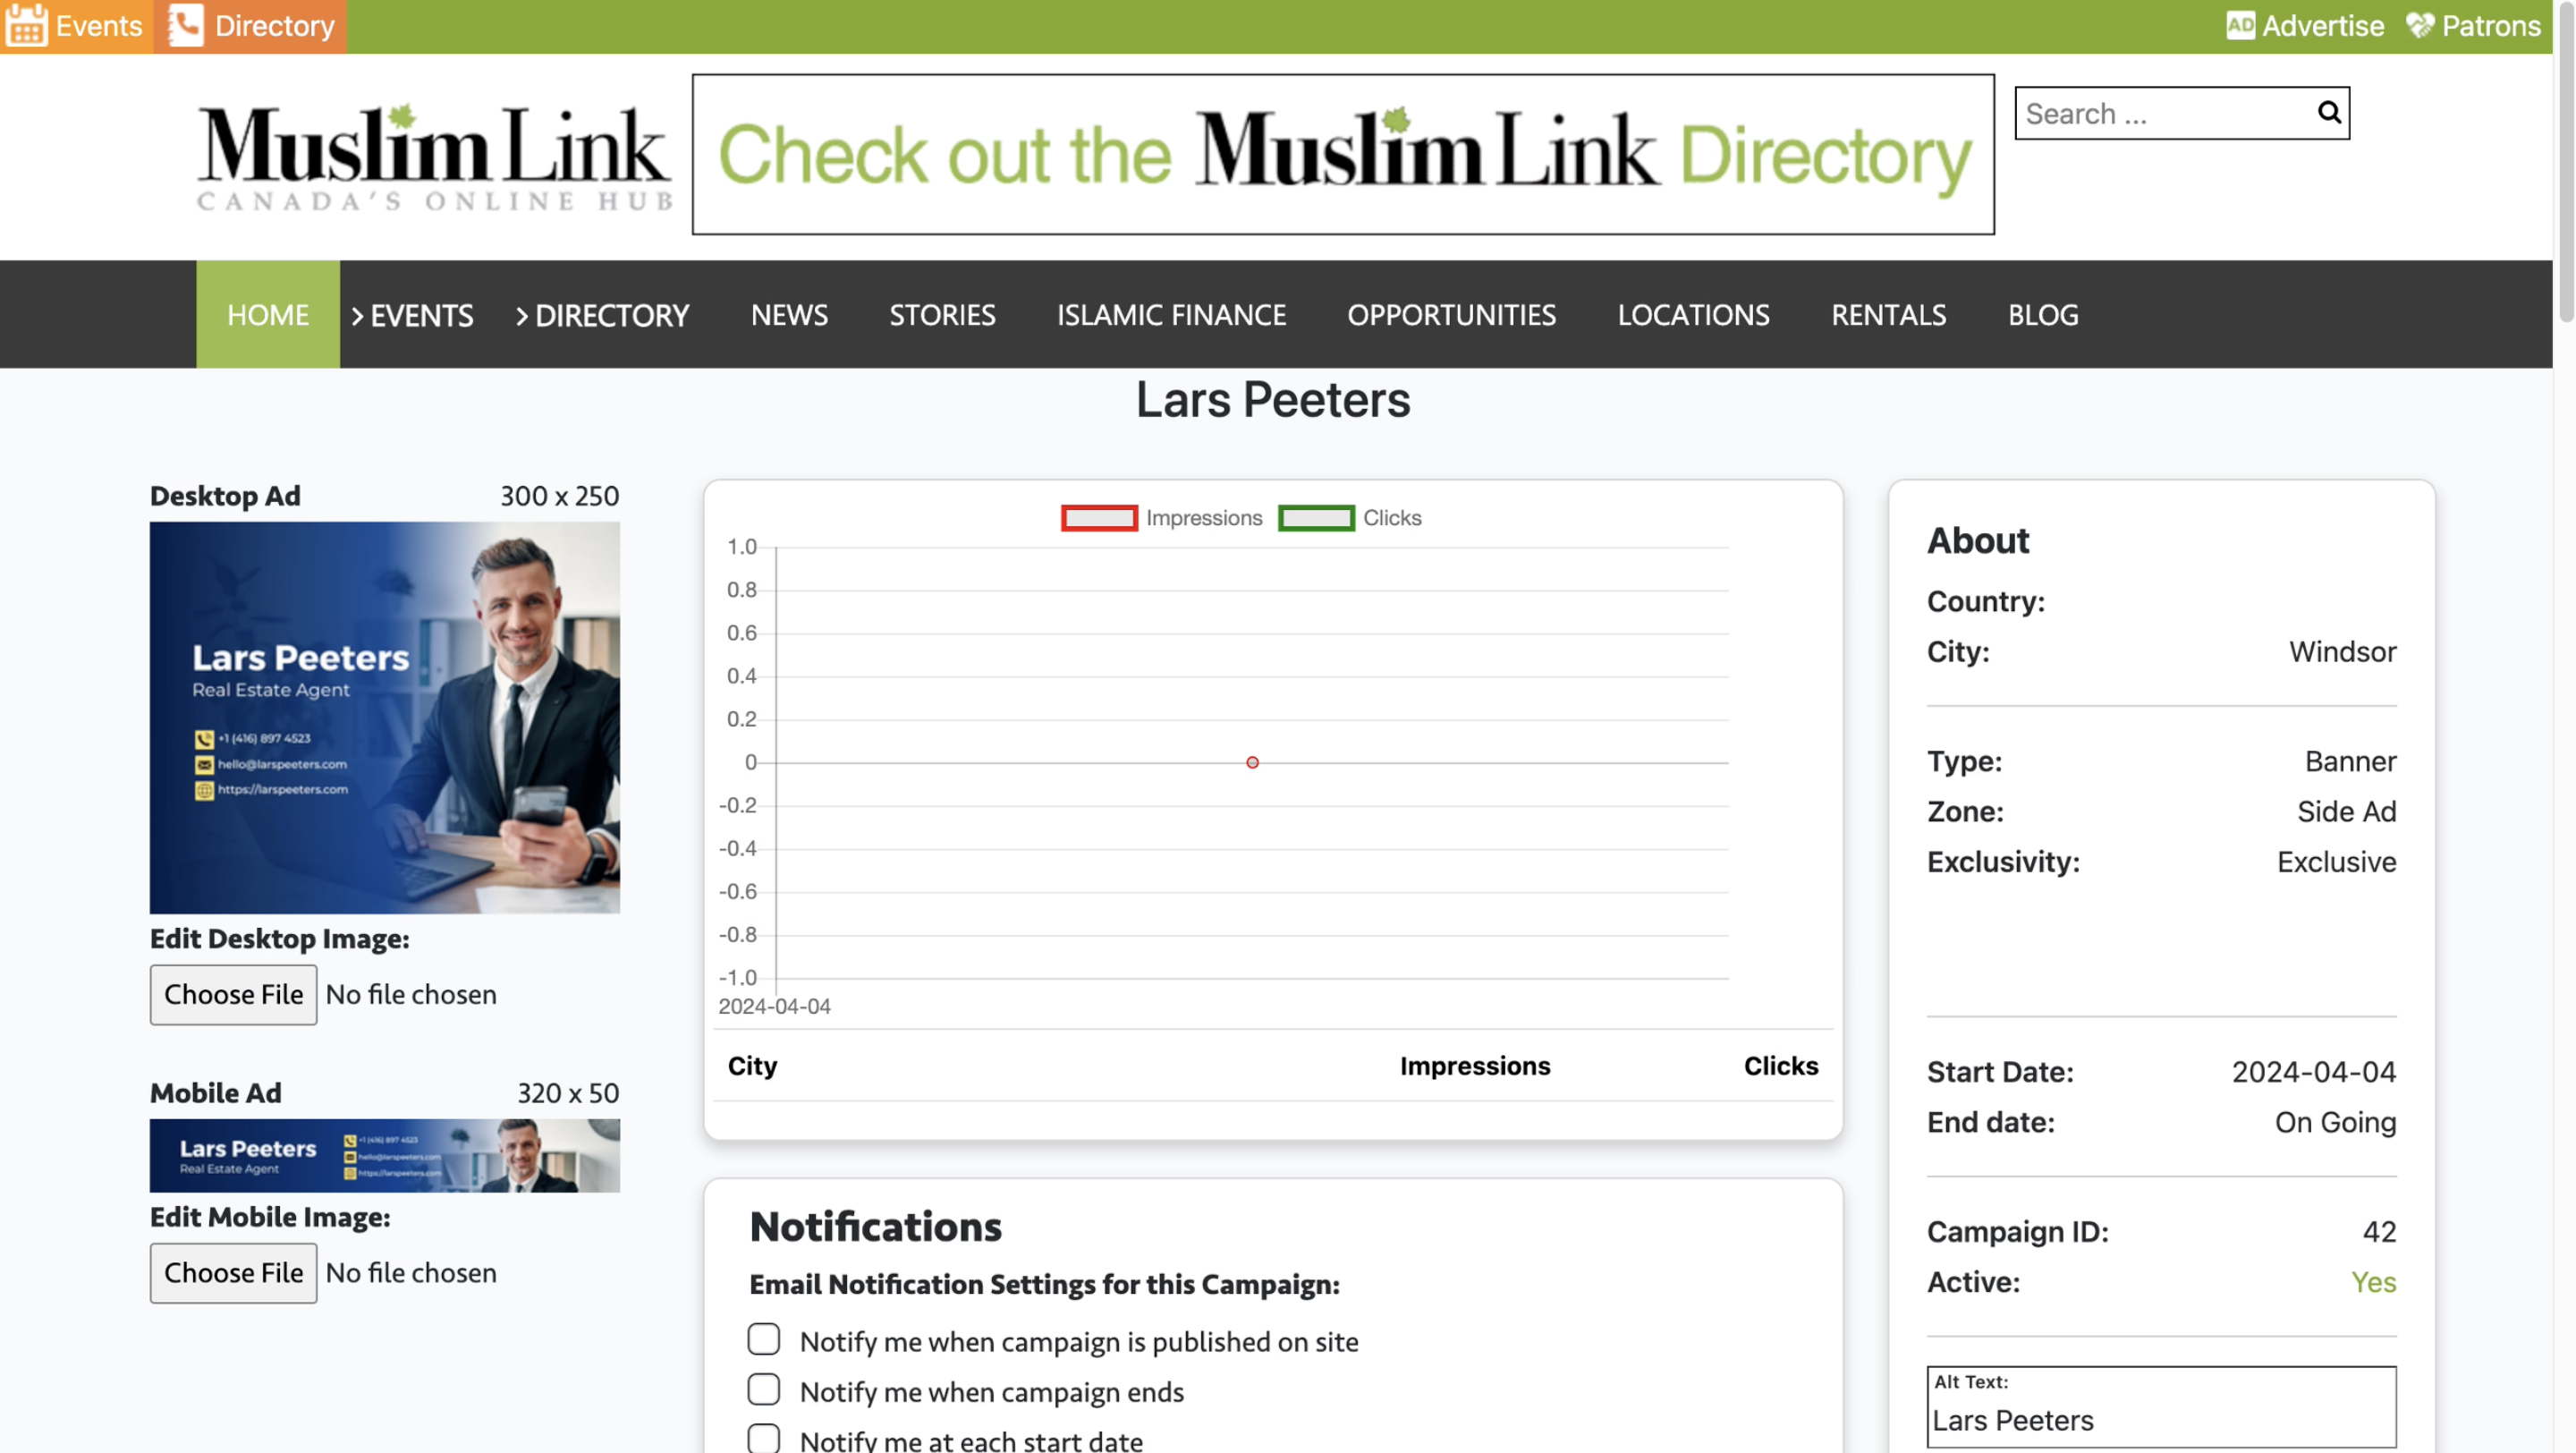
6. On the left, you'll find the ad creatives that you can edit.
7. To change the ad image, simply click the "Choose File" button. Remember to follow the specified image size requirements. These requirements can change depending on your chosen type and zone of the ad.
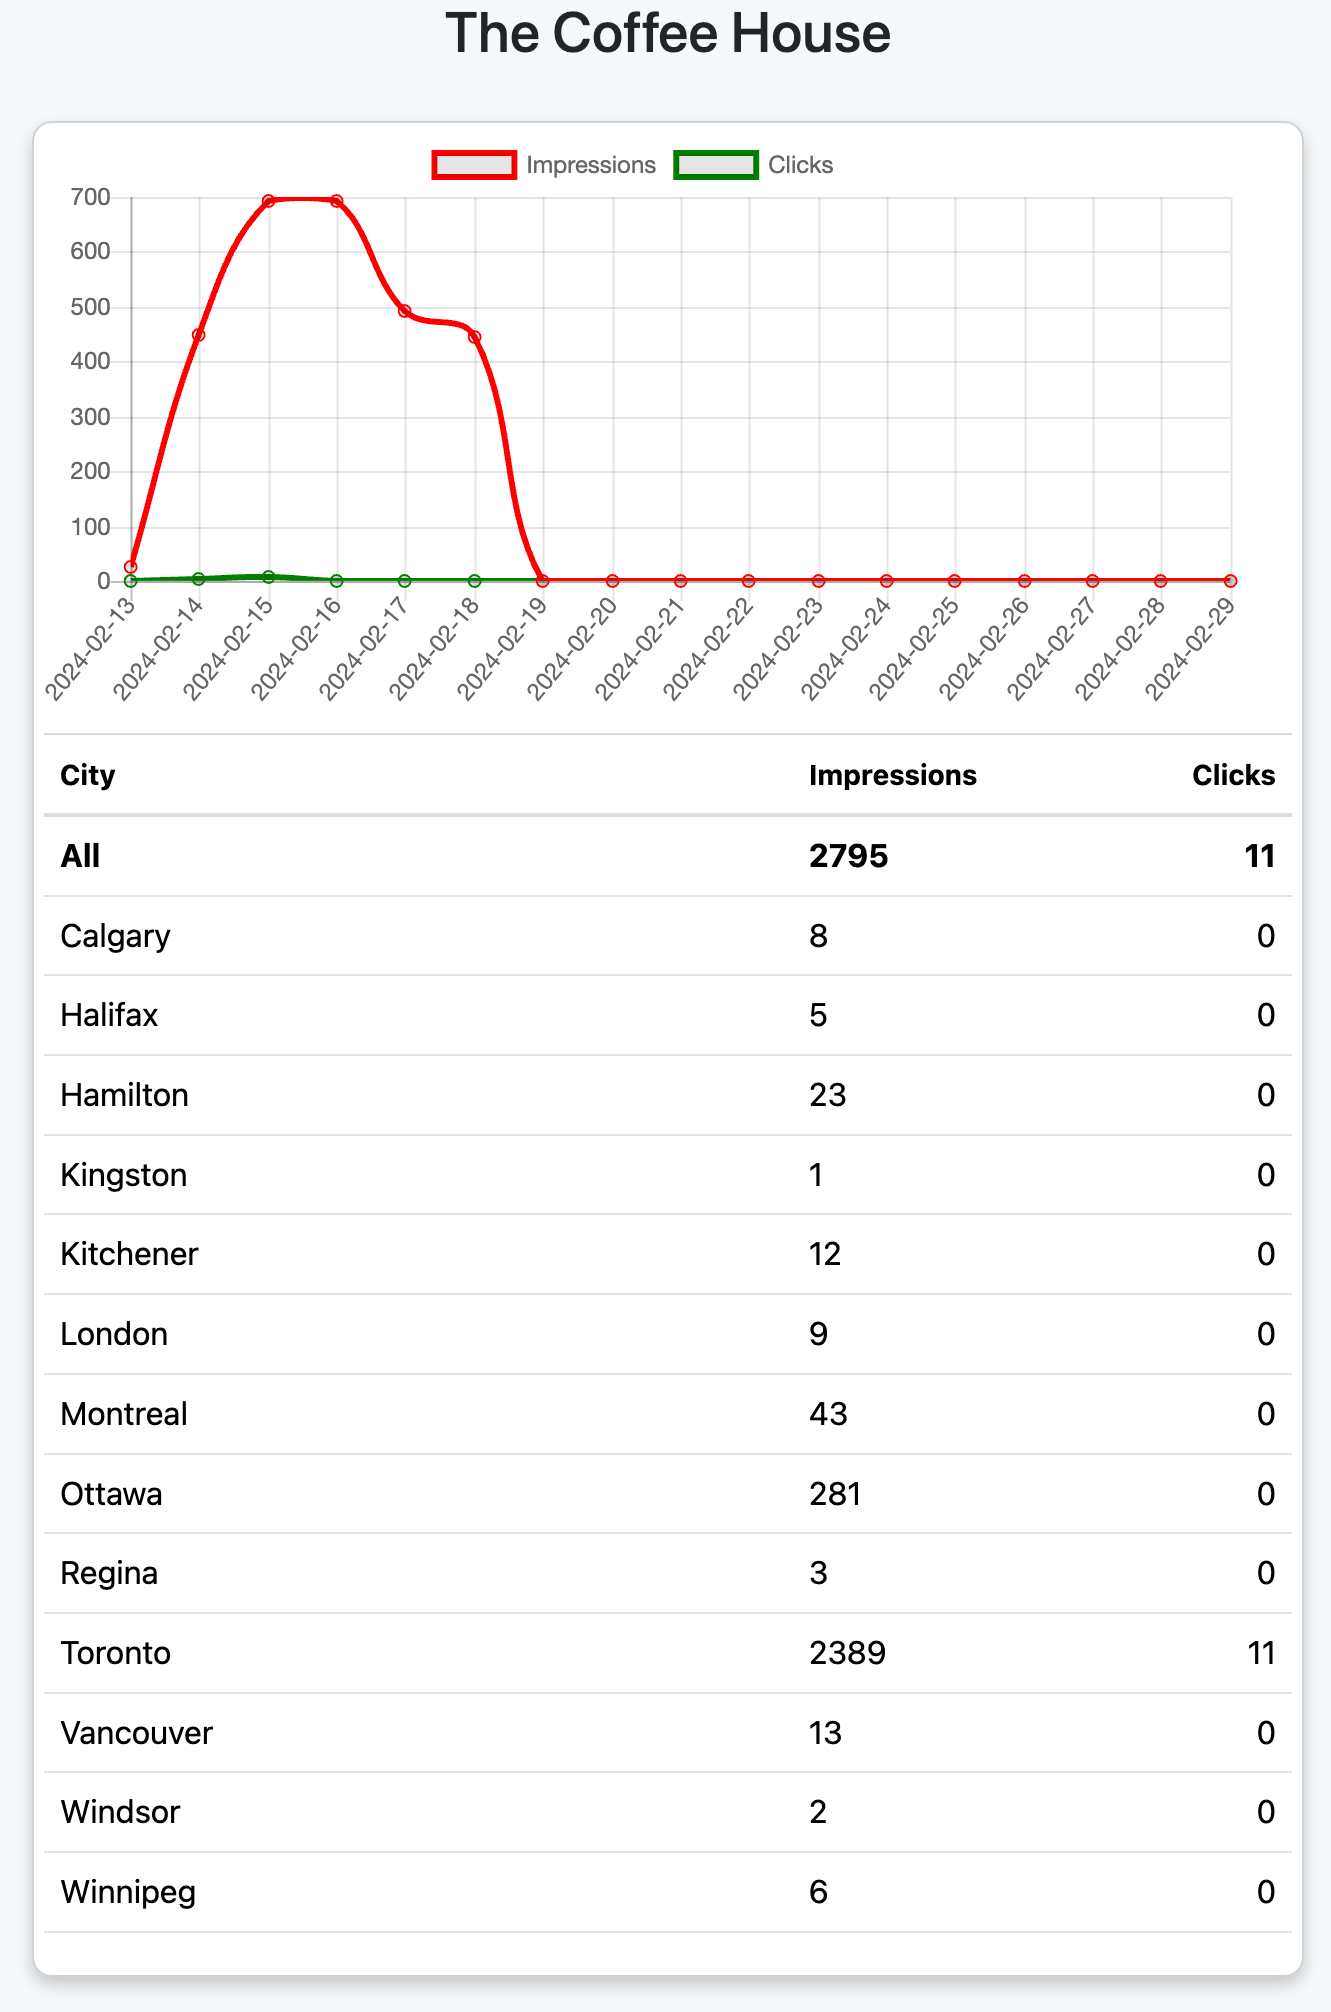
8. In the center, you'll find stats indicating how well your ad is performing. The red line represents the ad's impressions, which means how many times the ad was displayed to users. The green line indicates the number of users who clicked on the ad.
9. Below the graph, you'll find a detailed list of how your ad is performing in various cities across Canada.
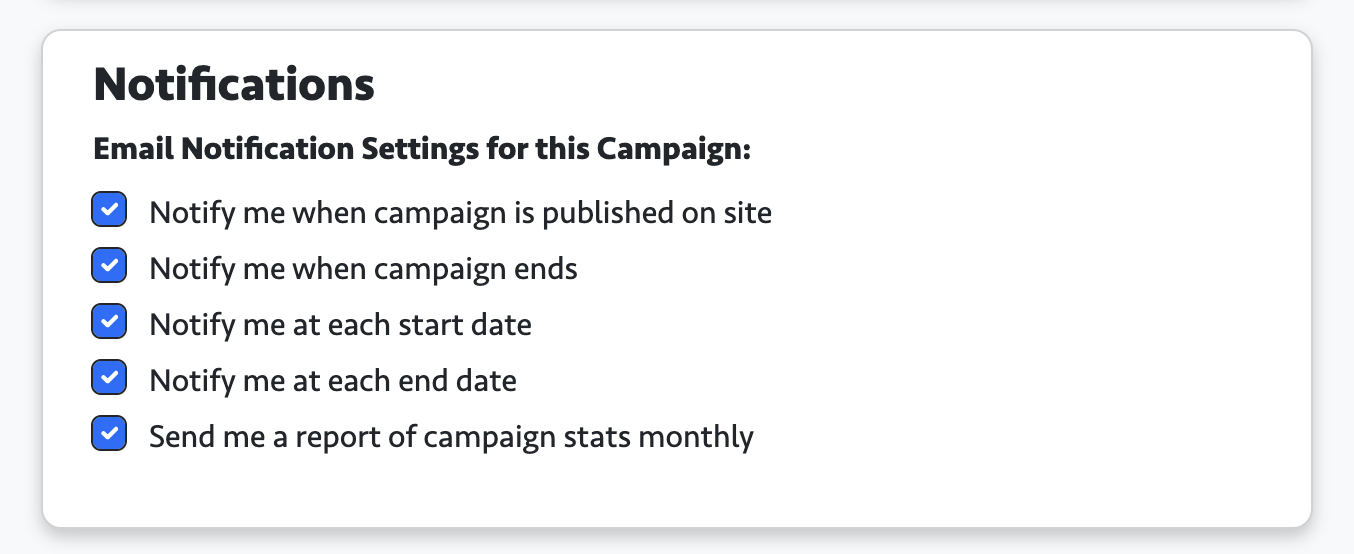
10. You can also manage your email notifications.
11. Just check if you want to receive email notifications for the following events: when the campaign is published on site, when the campaign ends, at each start date, at each end date, or if you want a monthly email report of the campaign statistics.
12. You can also request to extend, pause, or cancel the campaign.
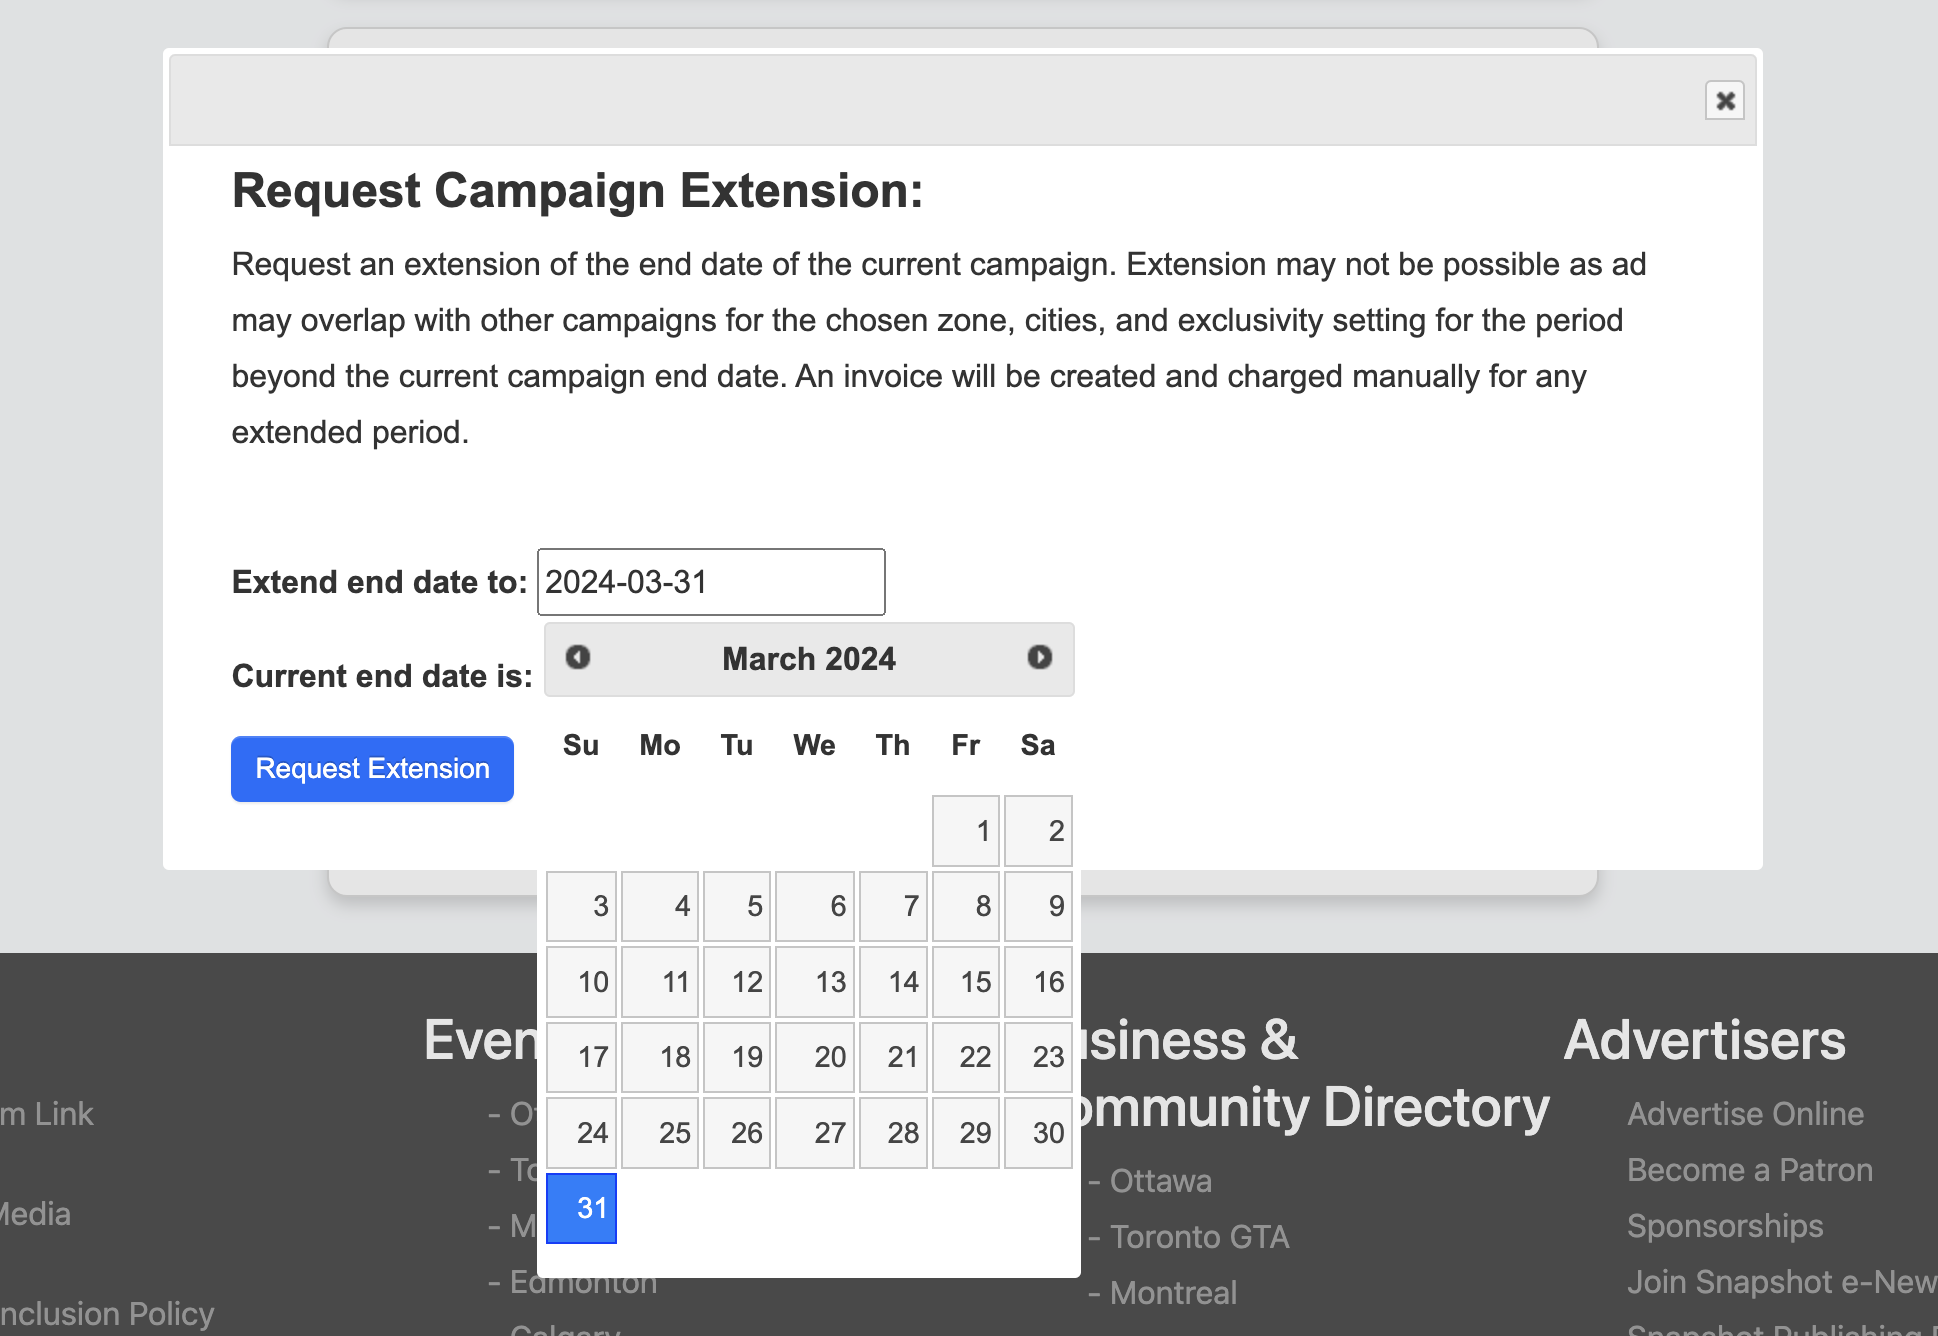
13. To request extension, click the “Request Extension” button.
14. Note that extension may not be possible as ad may overlap with other campaigns. Also, any extended duration will incur manual invoice creation and charging.
15. To request to extend the campaign, you will need to select your preferred end date.
16. To request pause, click the “Request Pause” button.
18. To request to pause the campaign, select the start date and end date of the pause.
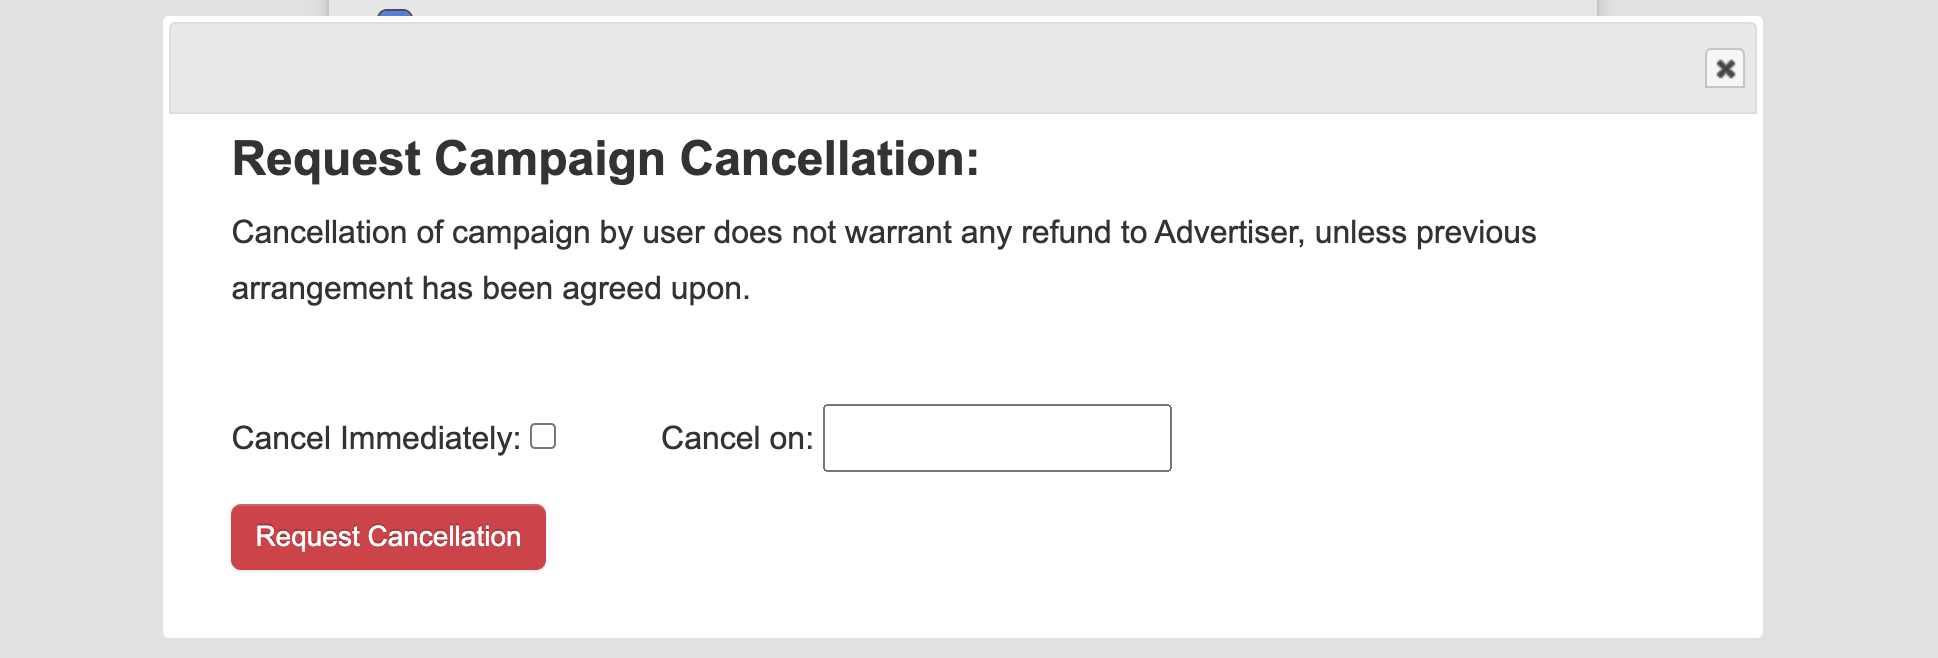
19. To request cancellation, click the “Request Cancellation” button.
20. Please note that there will be no refund for canceled campaigns unless agreed upon beforehand.
21. You have the option to either cancel the ad immediately or choose a specific date for its cancellation.
22. Please be aware that after you've submitted a request to extend, pause, or cancel the ad, an admin will send you an email to confirm or deny the action once it's been completed.
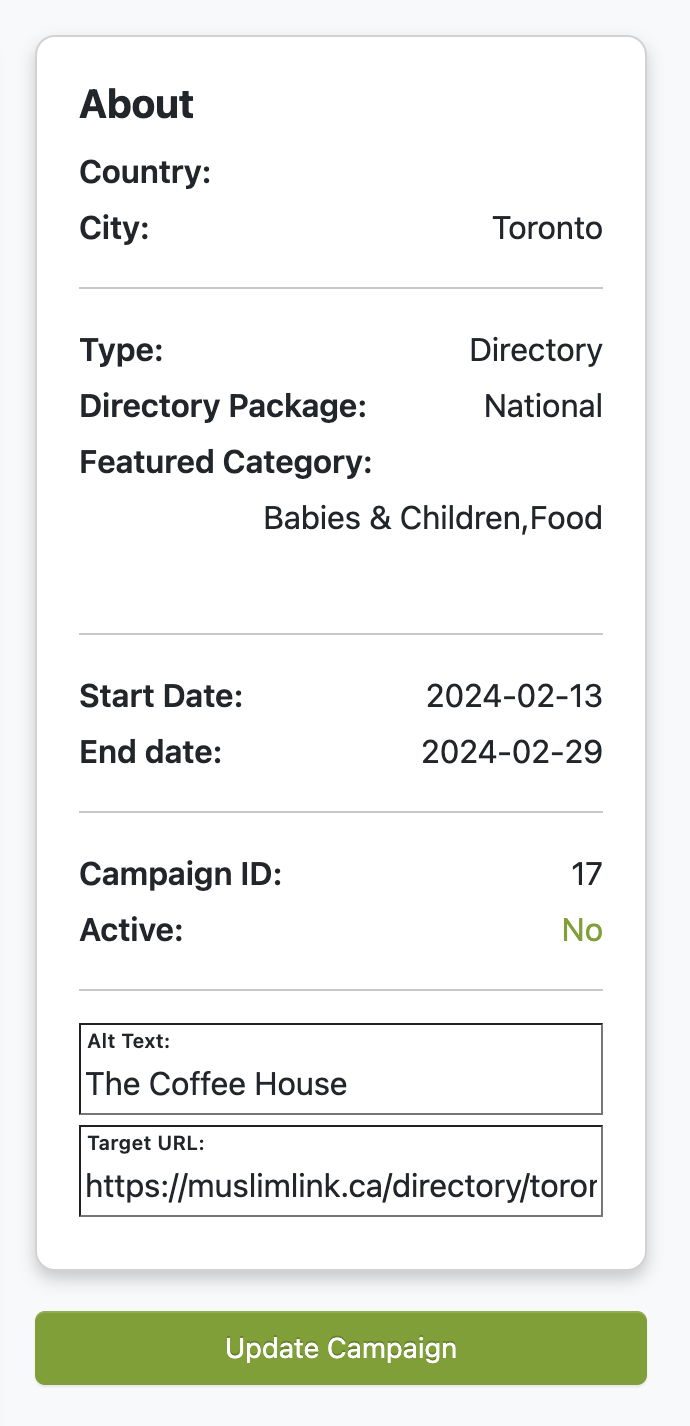
23. To the right, there's a summary of your ad, including details such as the country, city, type, directory package, featured category, start and end dates, campaign ID, and its current activation status.
24. You also have the option to edit the ALT text, which provides a description of the image.
25. You can also change the target URL where users will be directed when they click on your ad.
26. Click the “Update Campaign” button to save your changes.
27. This ad is an example of a directory ad.
28. Now, this is how it shows for a banner ad.
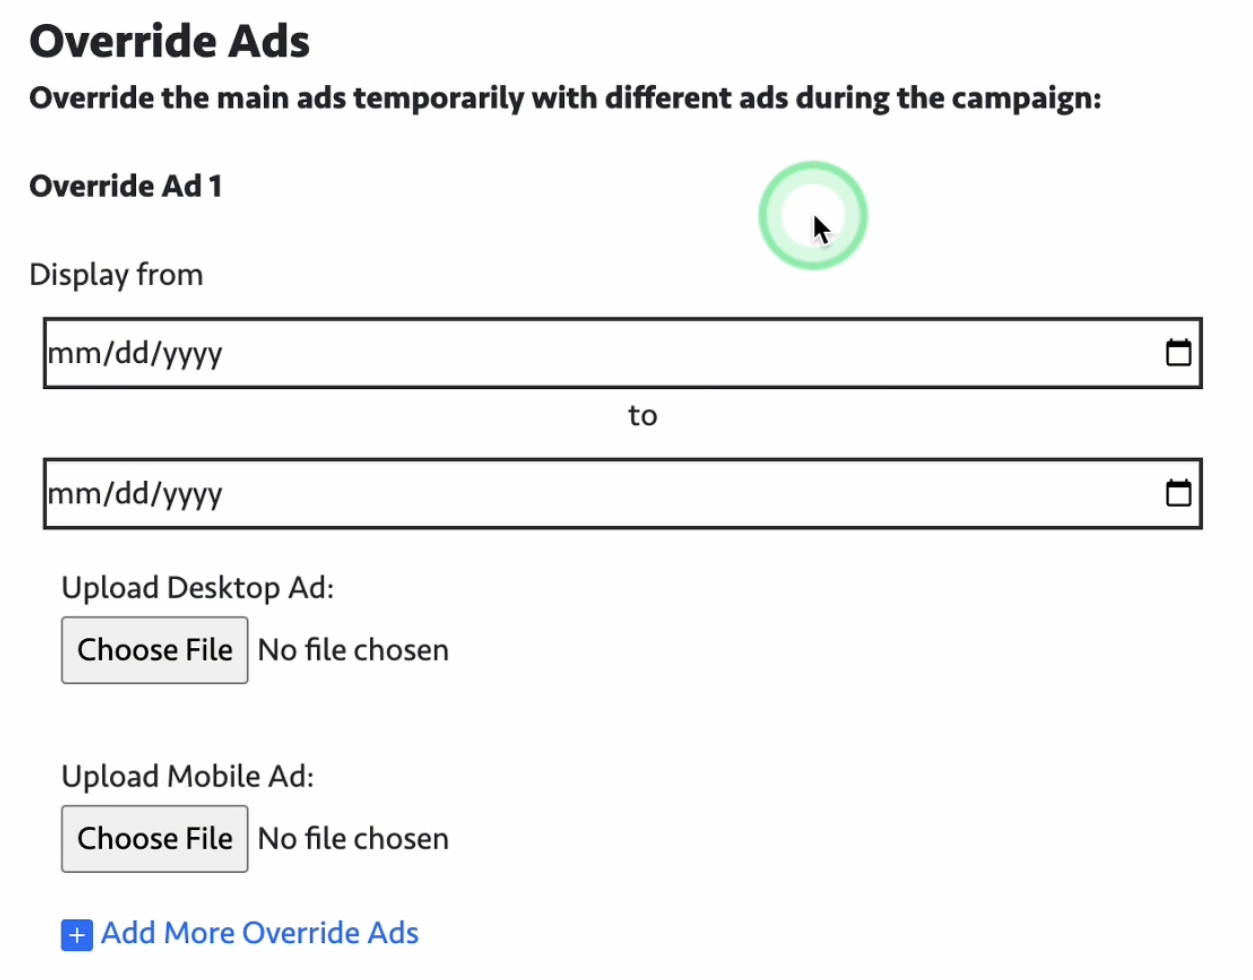
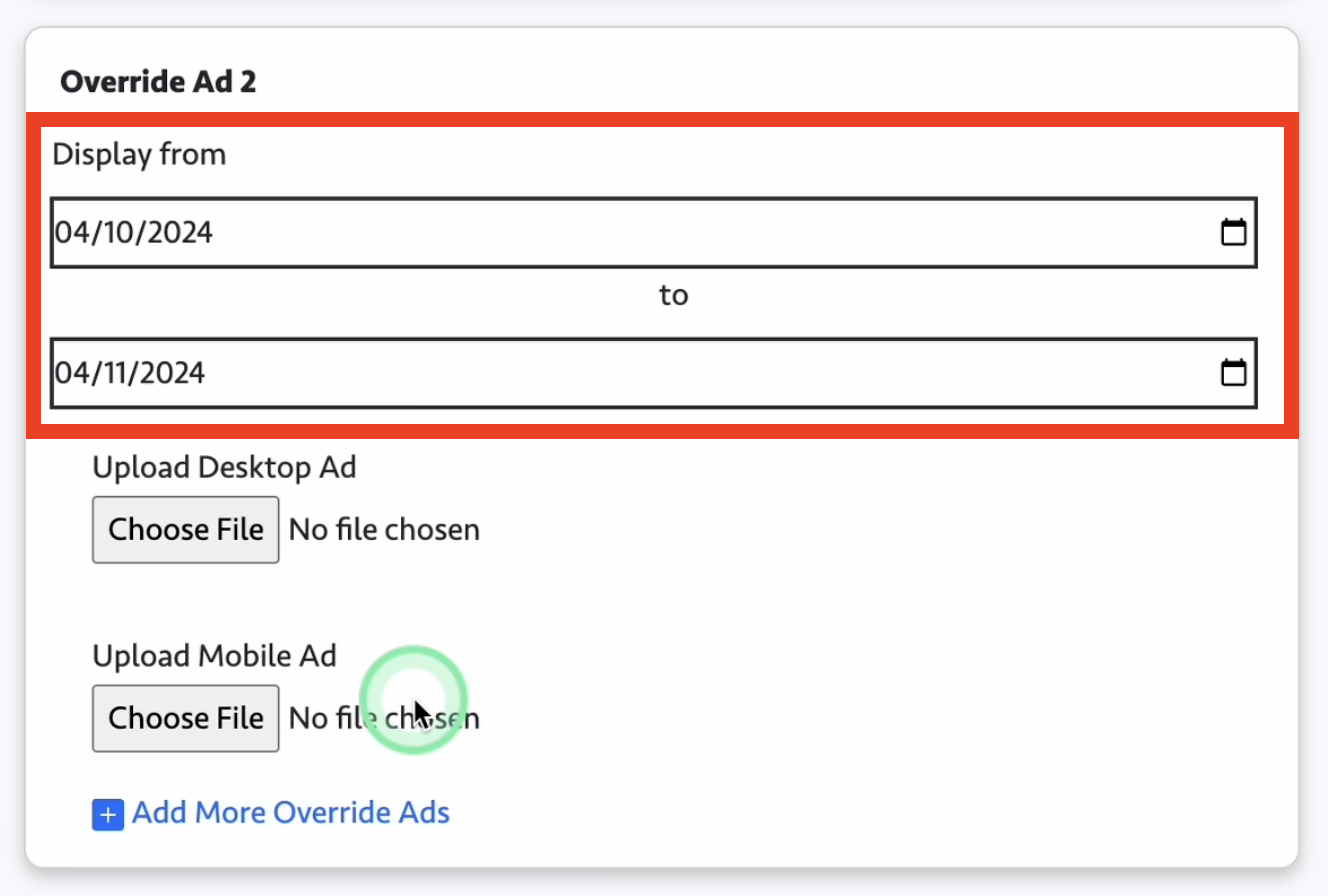
29. For the banner ad, you have the option to override the ads. This means that you can temporarily replace the main ads with different ones during the campaign.
30. You can add up to a maximum of 3 override ads.
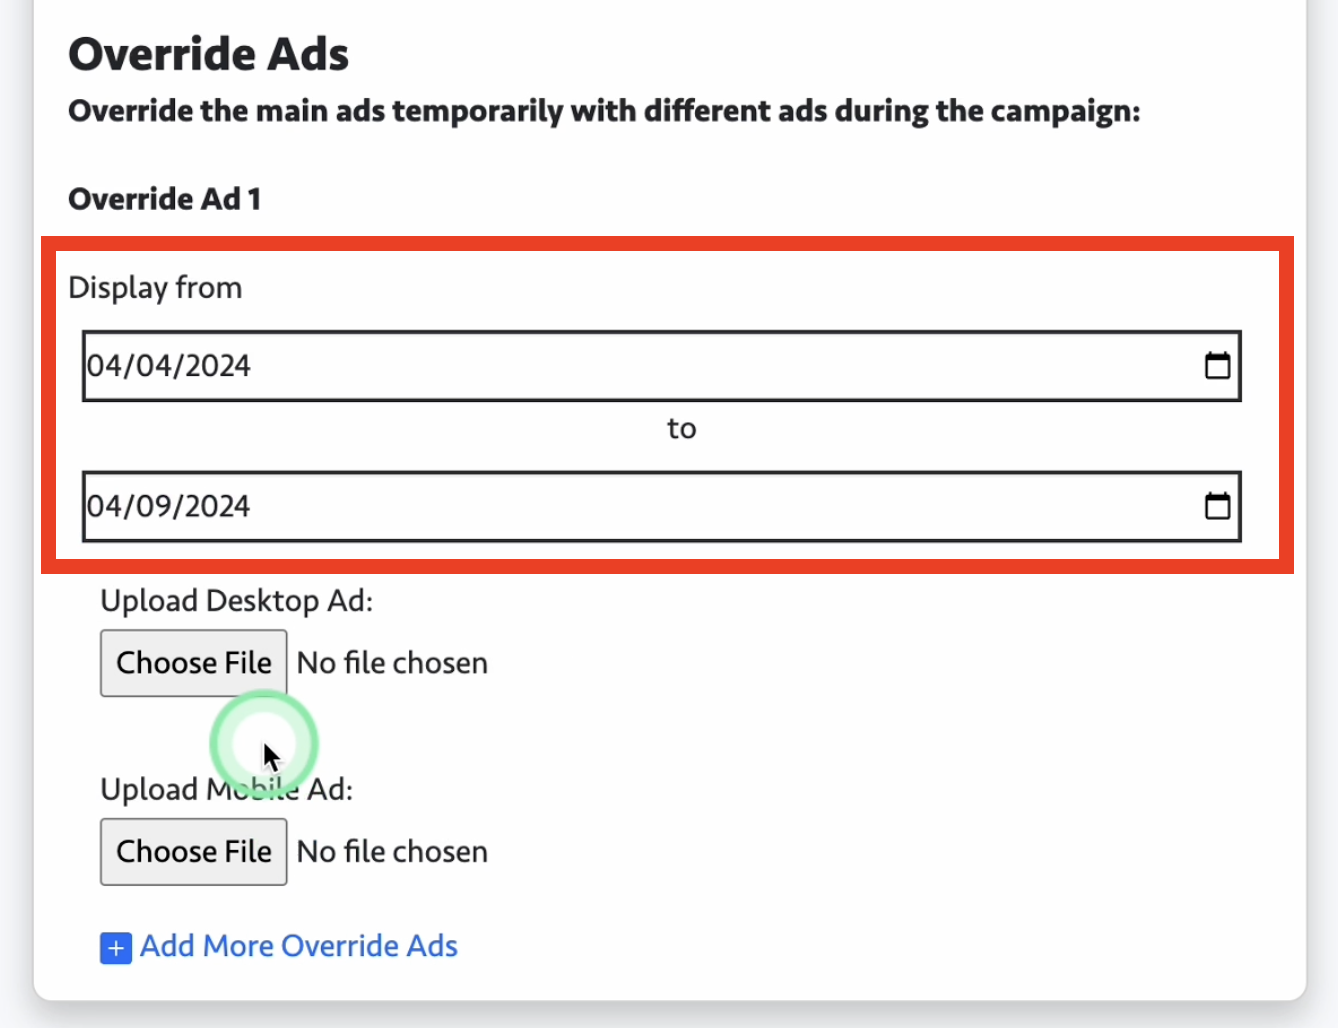
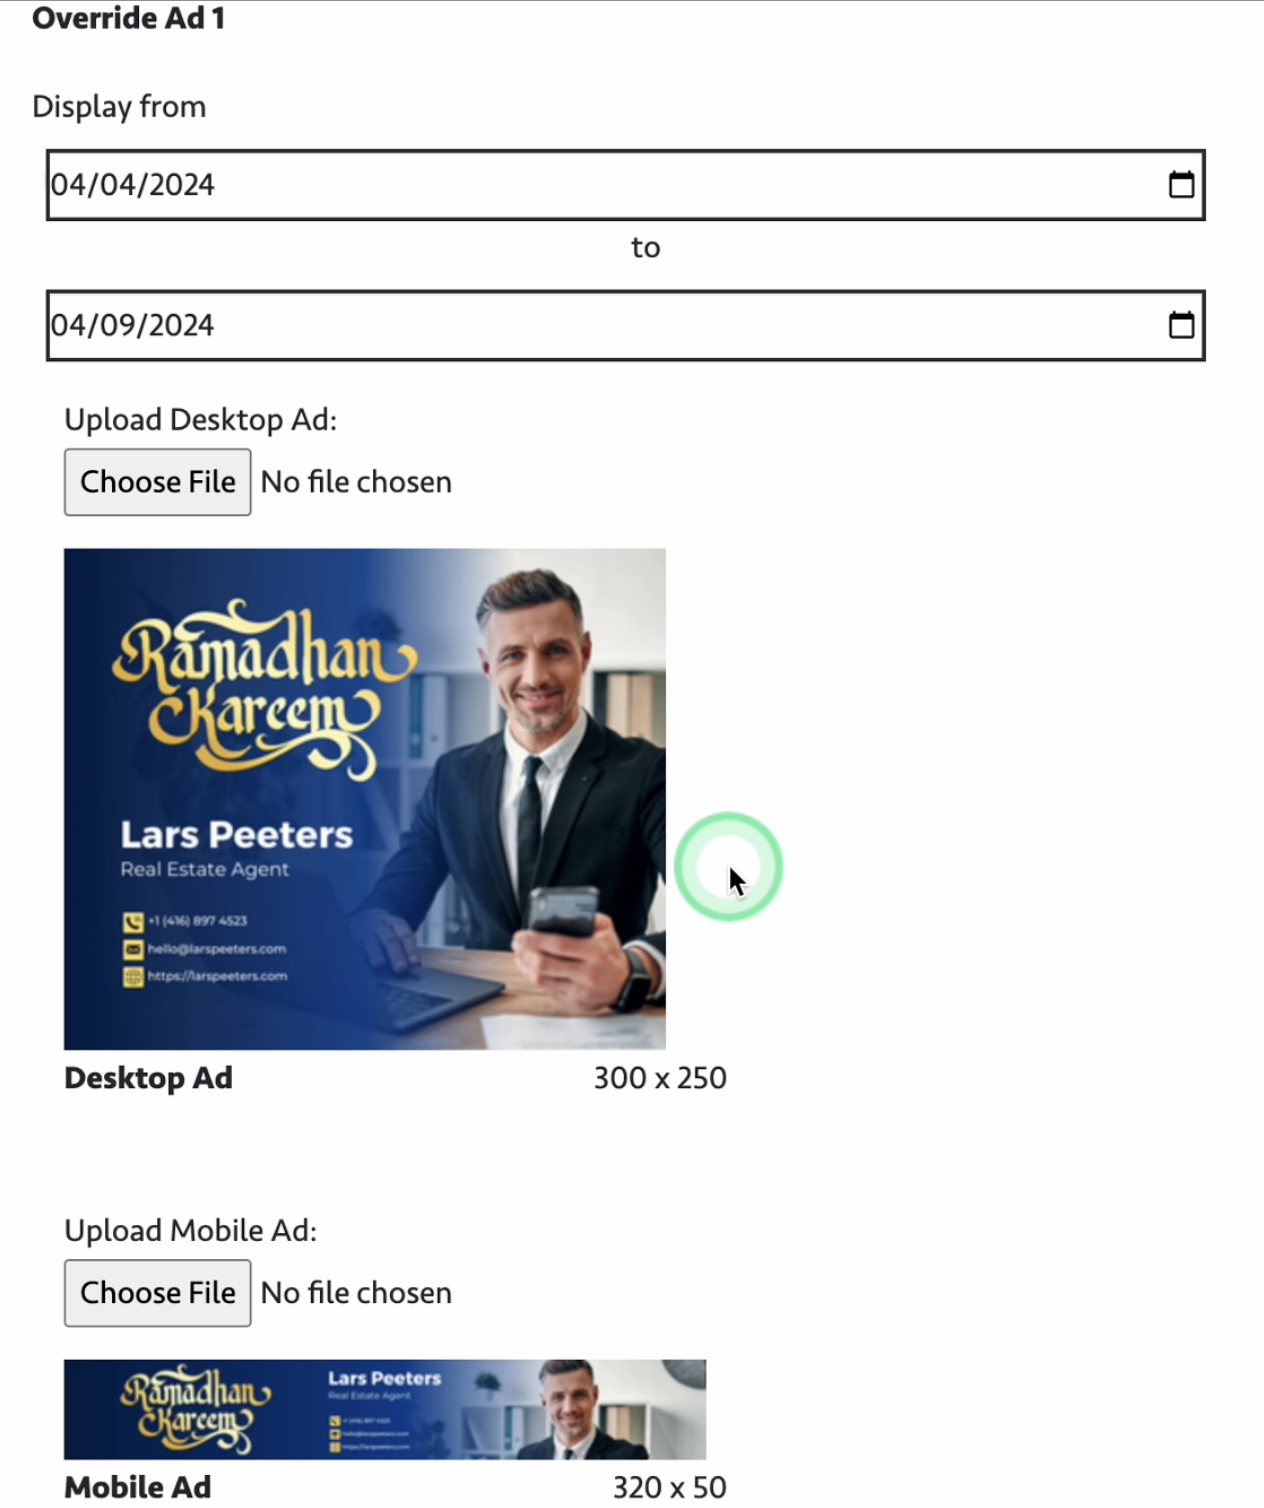
31. To add one, choose the start date then the end date.
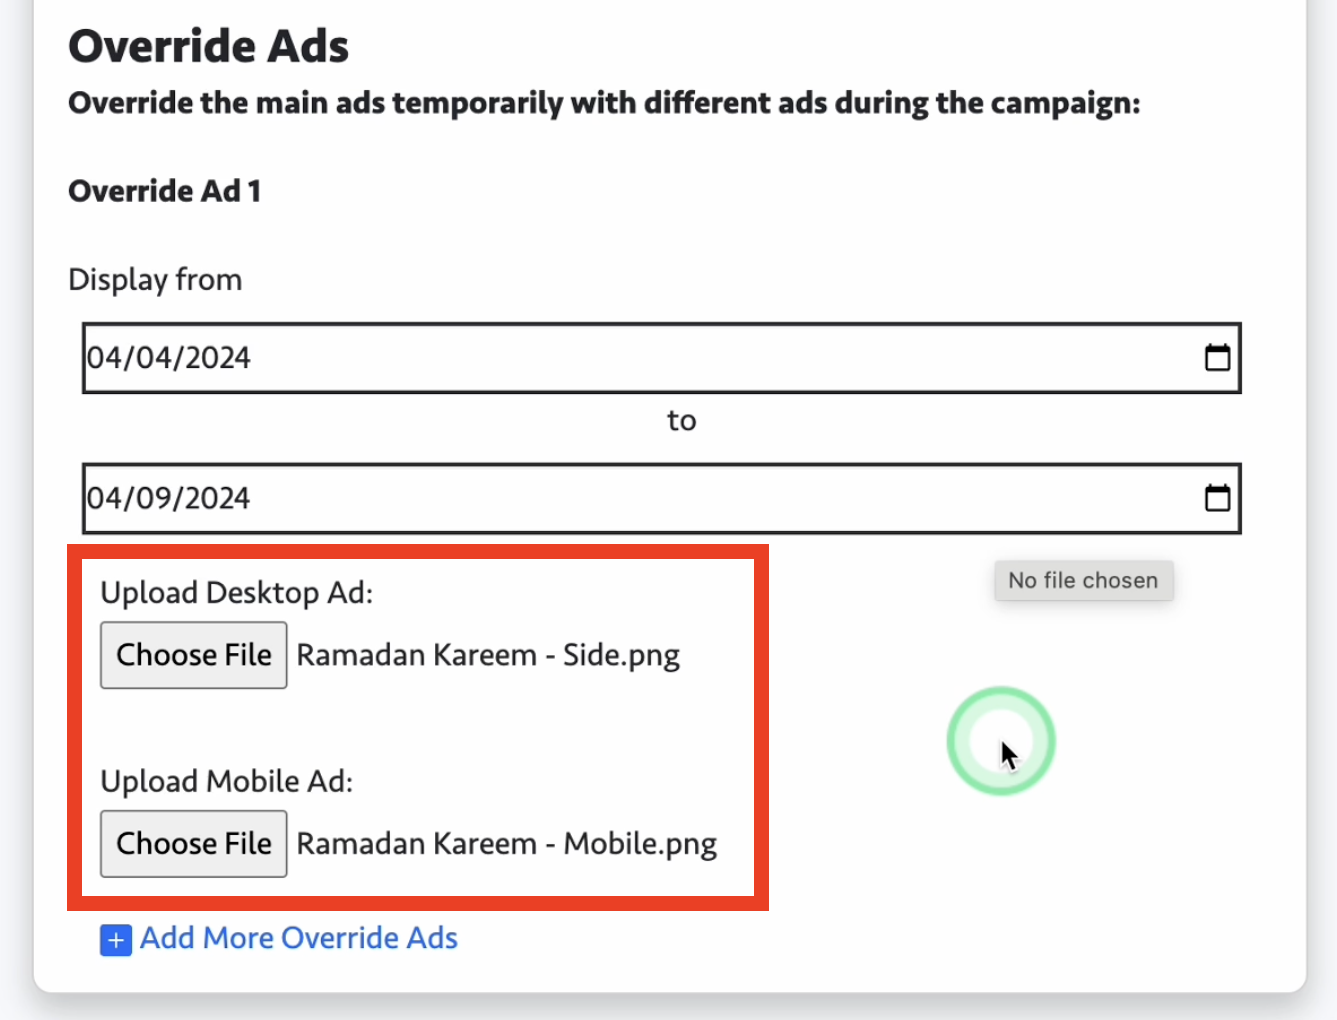
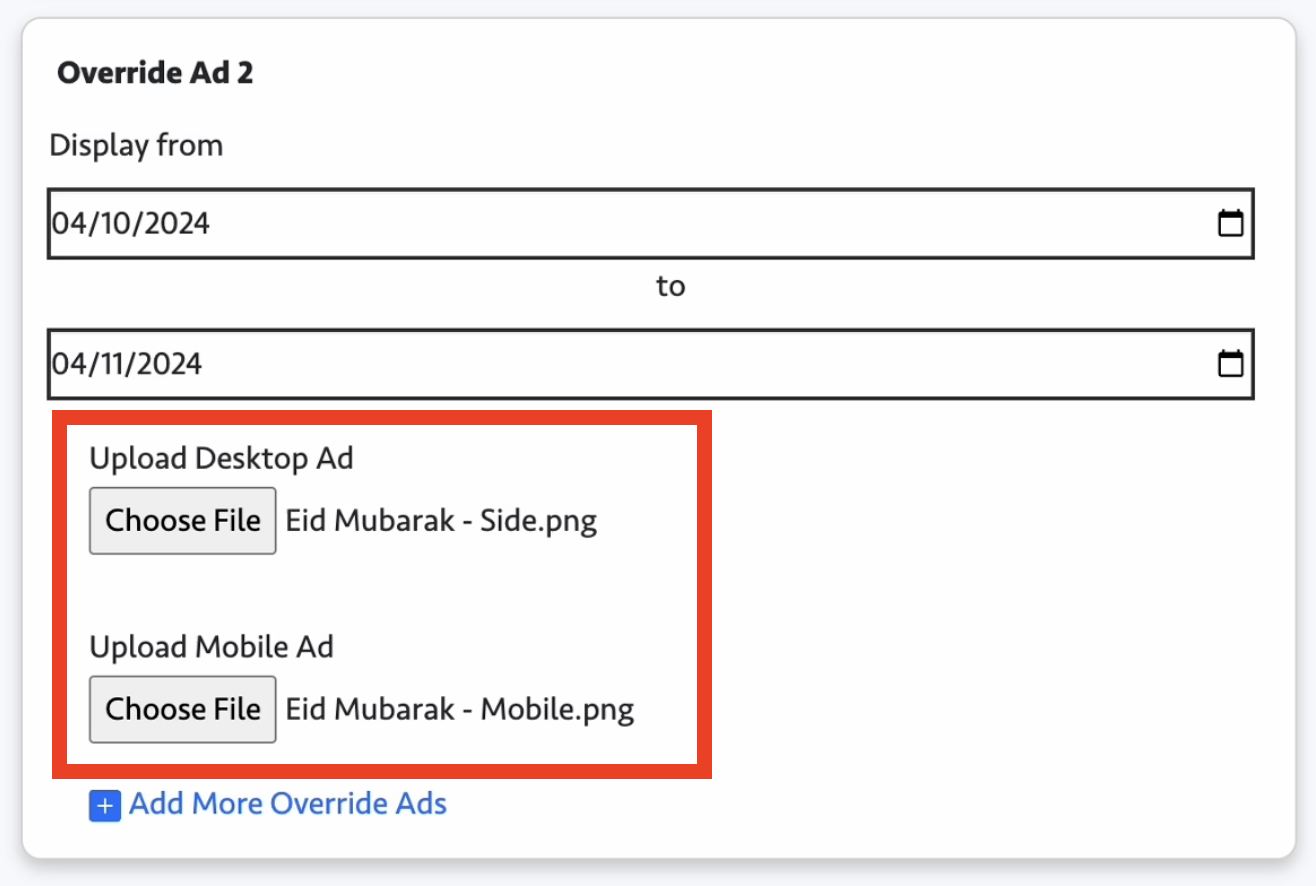
32. Then upload the images.
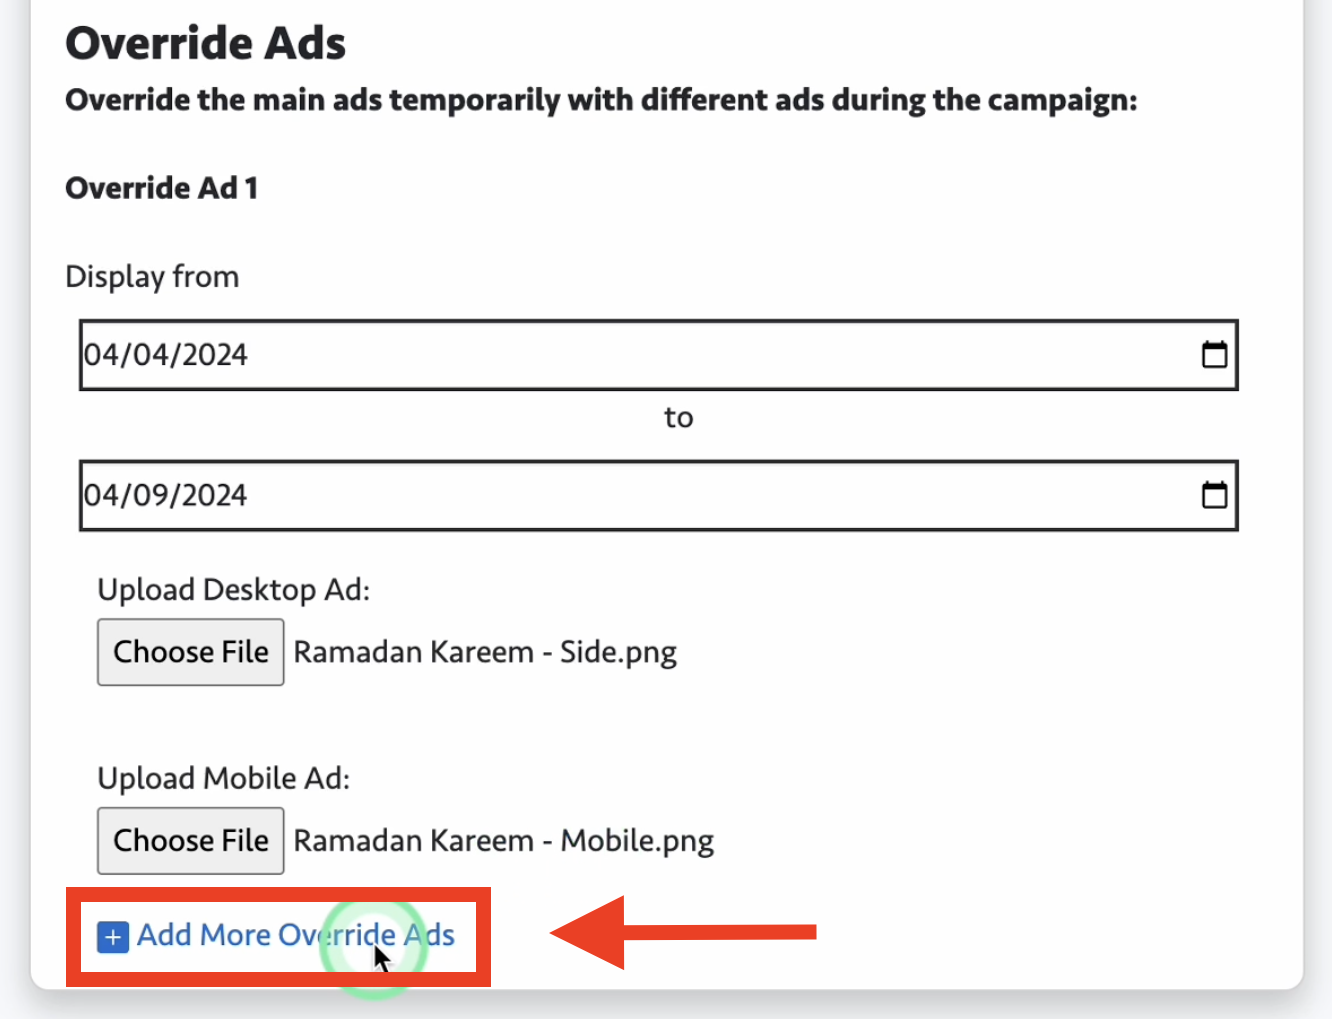
33. To add another one, simply click the “Add More Override Ads” button.
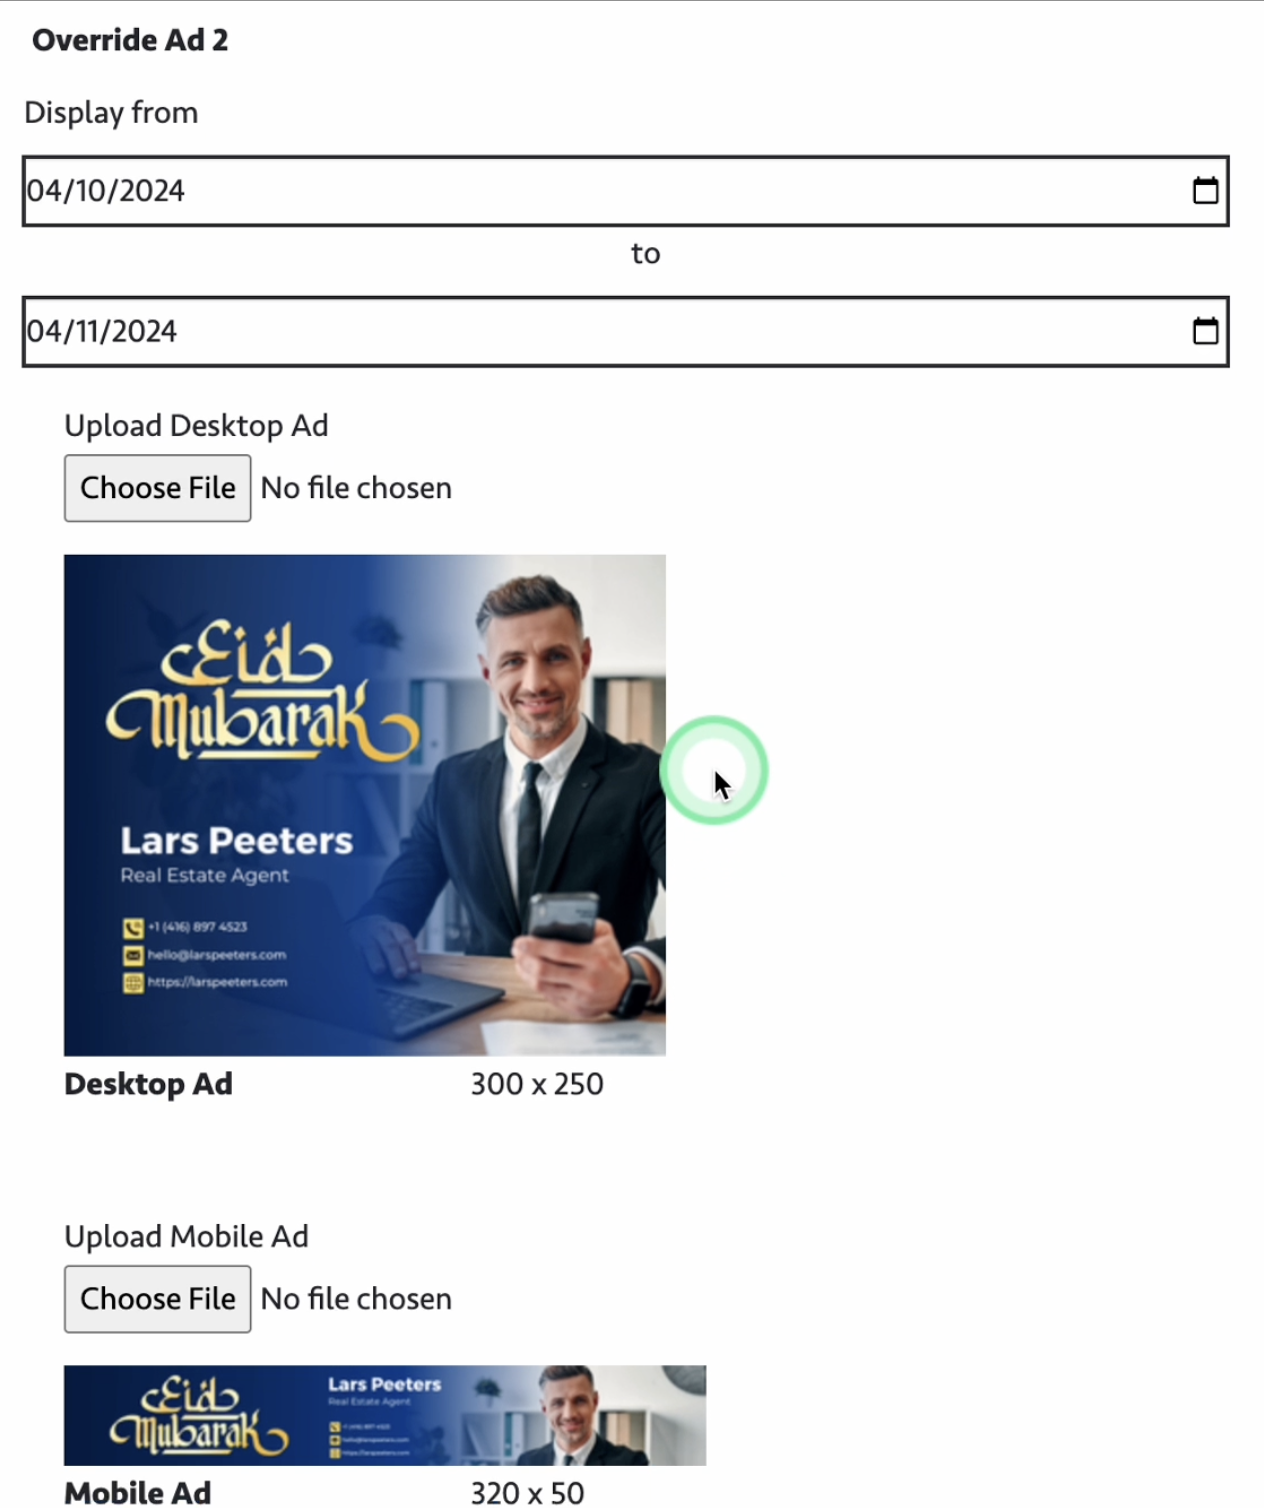
34. Choose the start date then the end date.
35. Then upload the images.
36. In my example, I have two override ads. One for Ramadan Kareem and another one for Eid Mubarak.
37. The ad will display different images based on their start and end dates. Once both override ads have ended, it will revert to my default ad image.
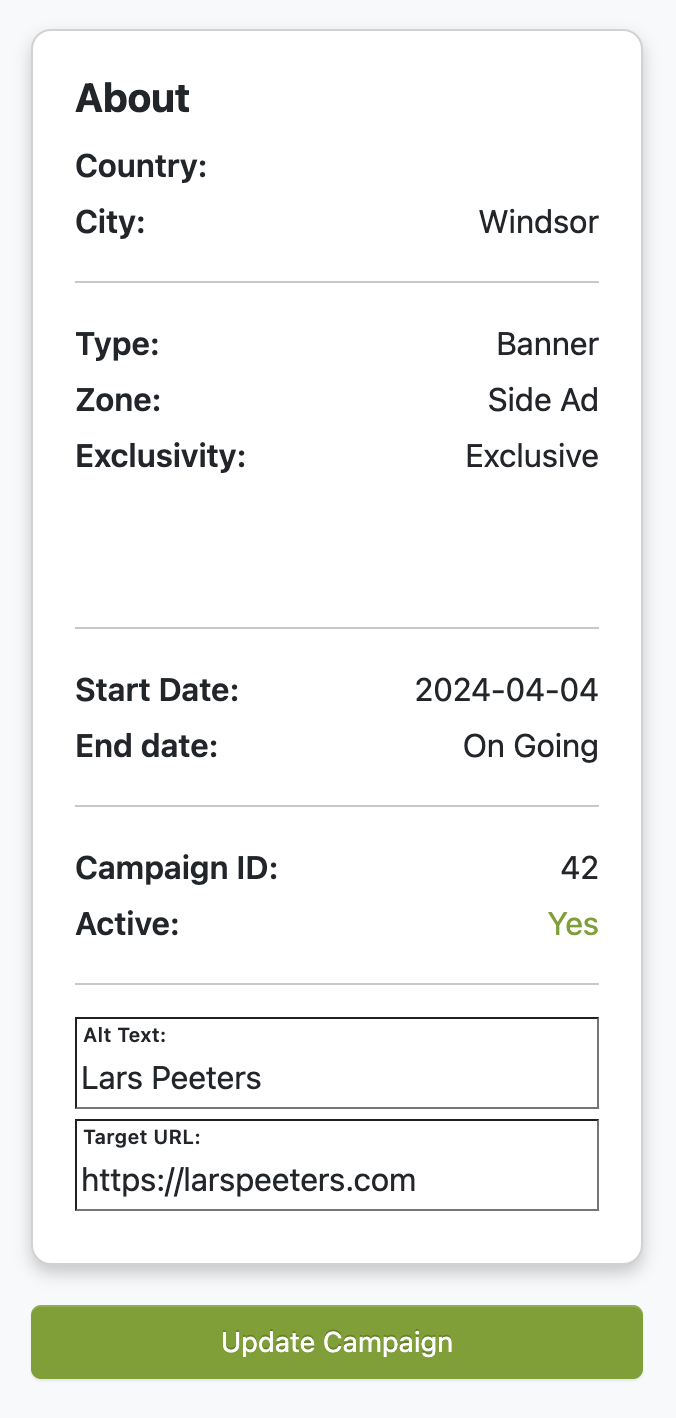
38. To the right, there's also a summary of your ad, including details such as the country, city, type, zone, exclusivity, start and end dates, campaign ID, and its current activation status.
39. You also have the option to edit the ALT text, which provides a description of the image, as well as change the target URL where users will be directed when they click on your ad.
40. Click the “Update Campaign” button to save your changes


