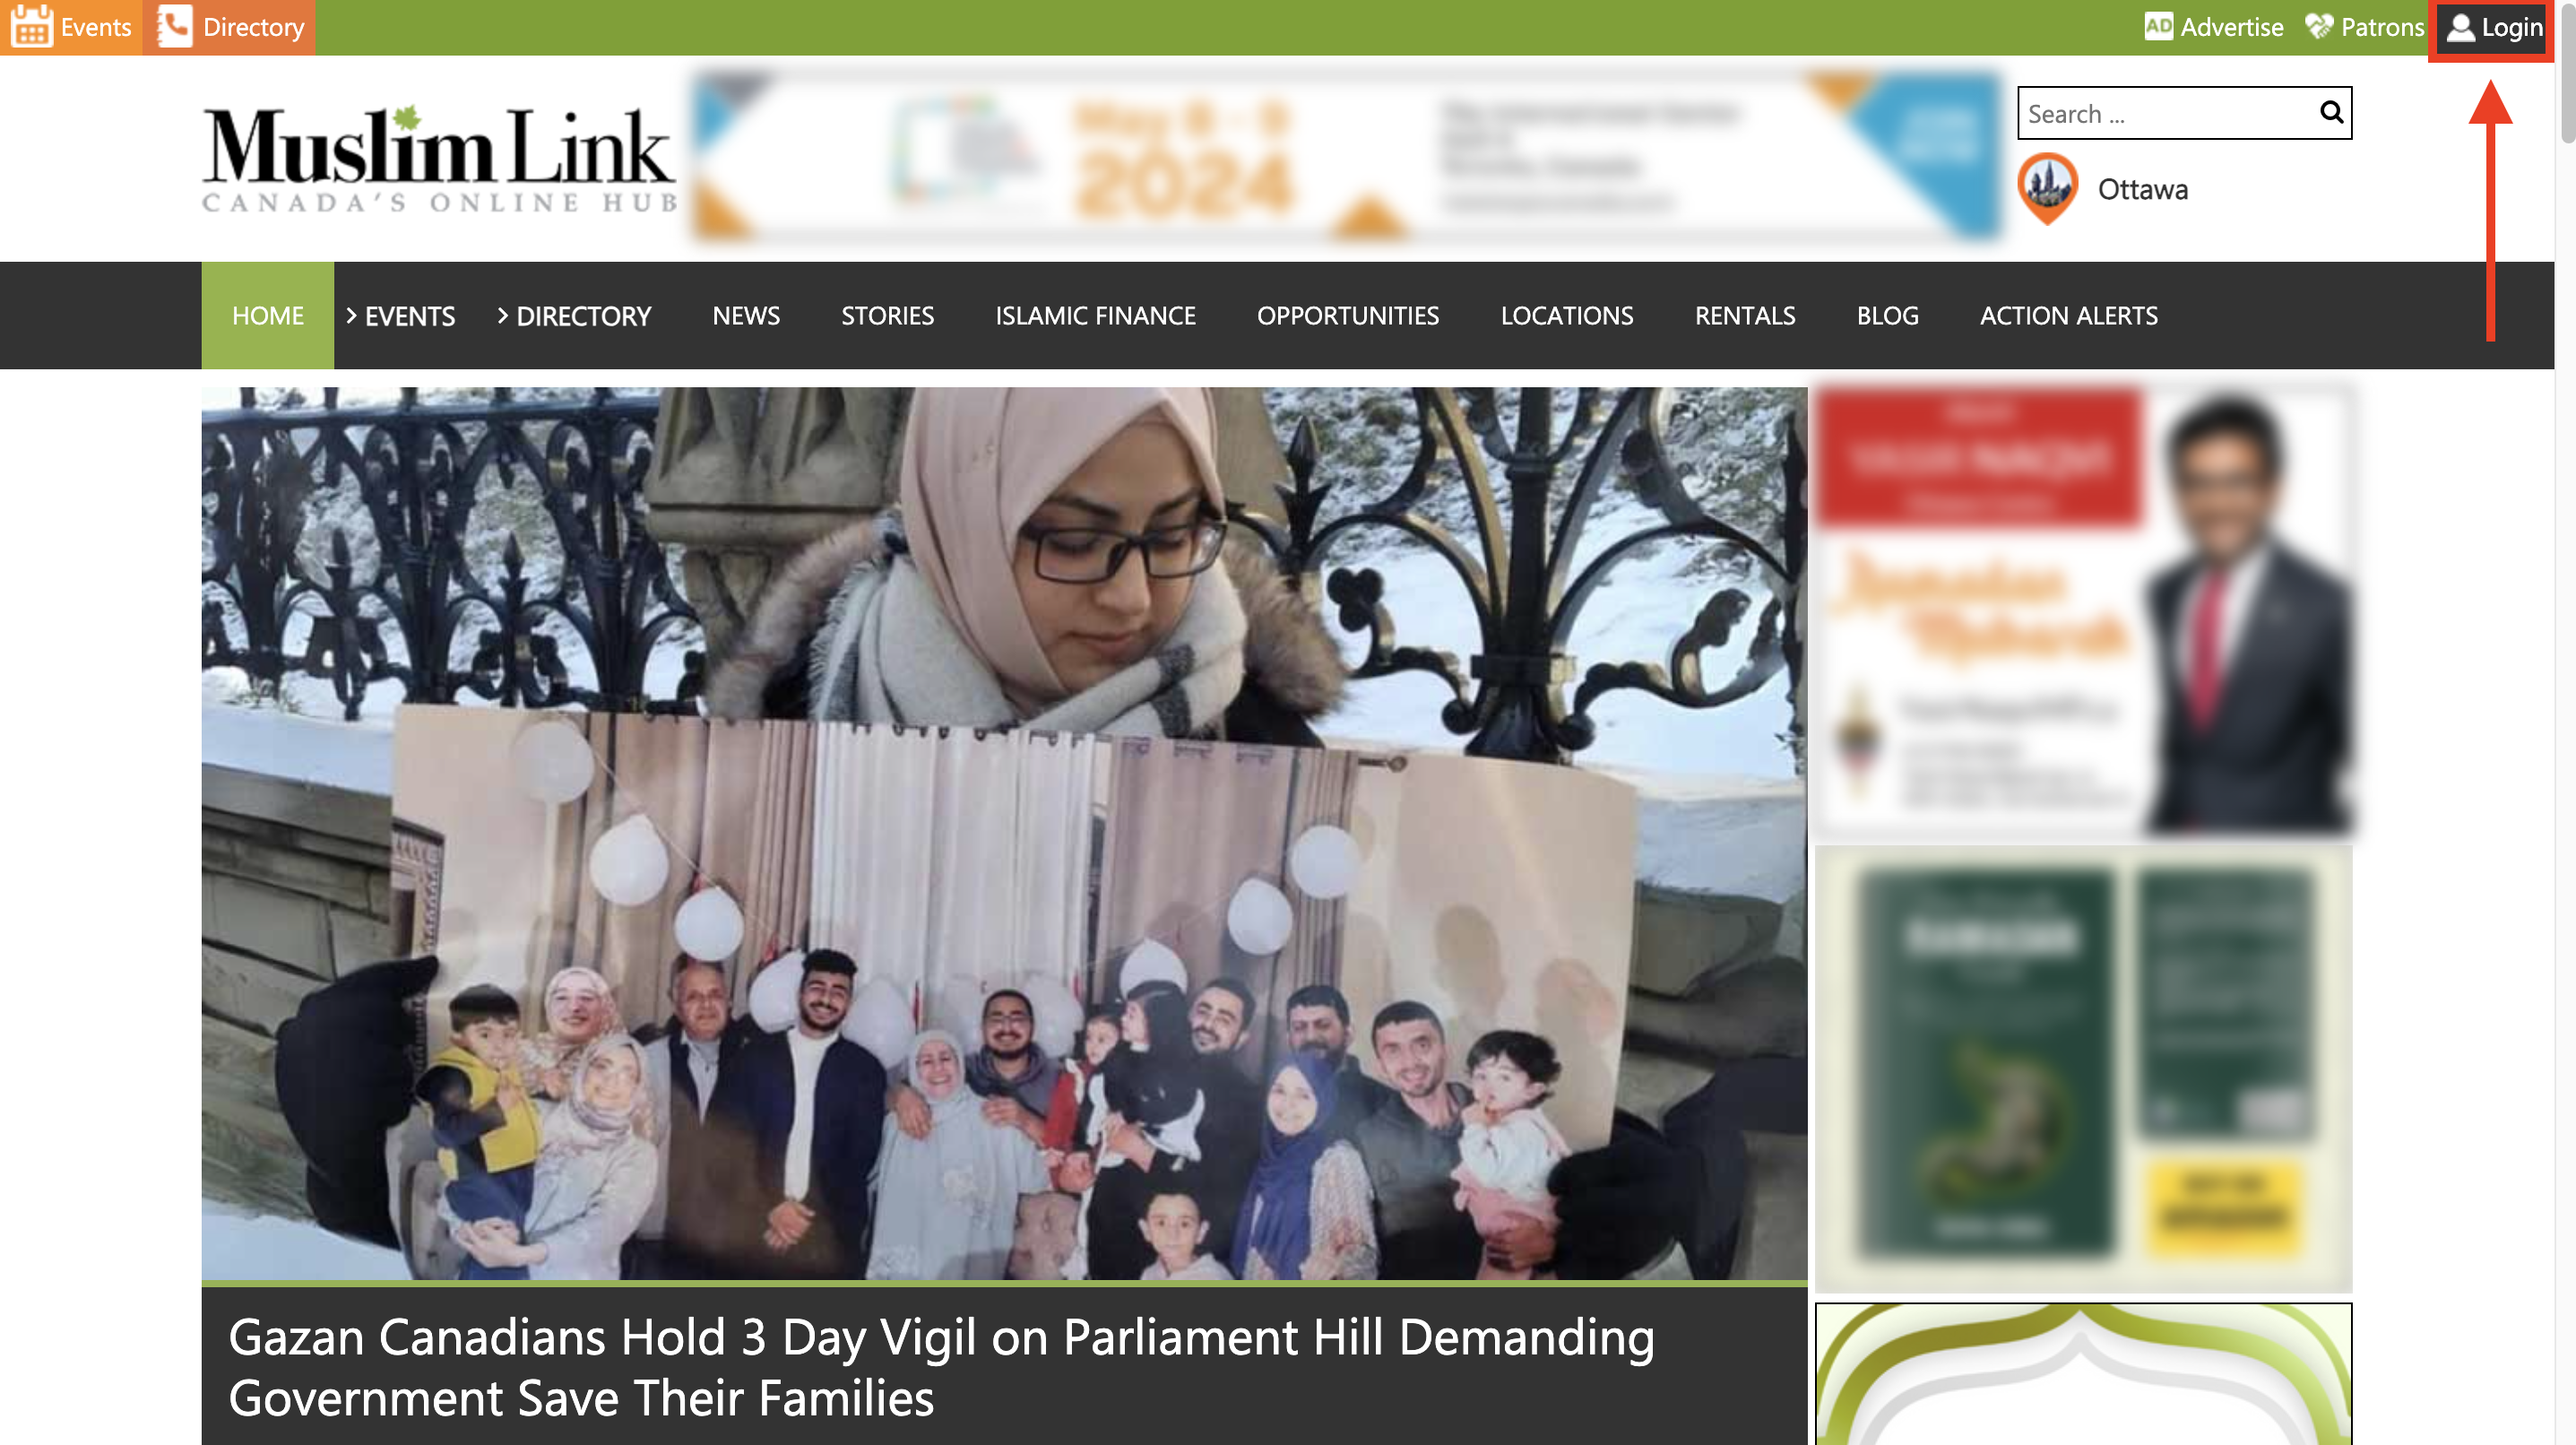
1. To create a user account, click on "Login" in the top right corner.
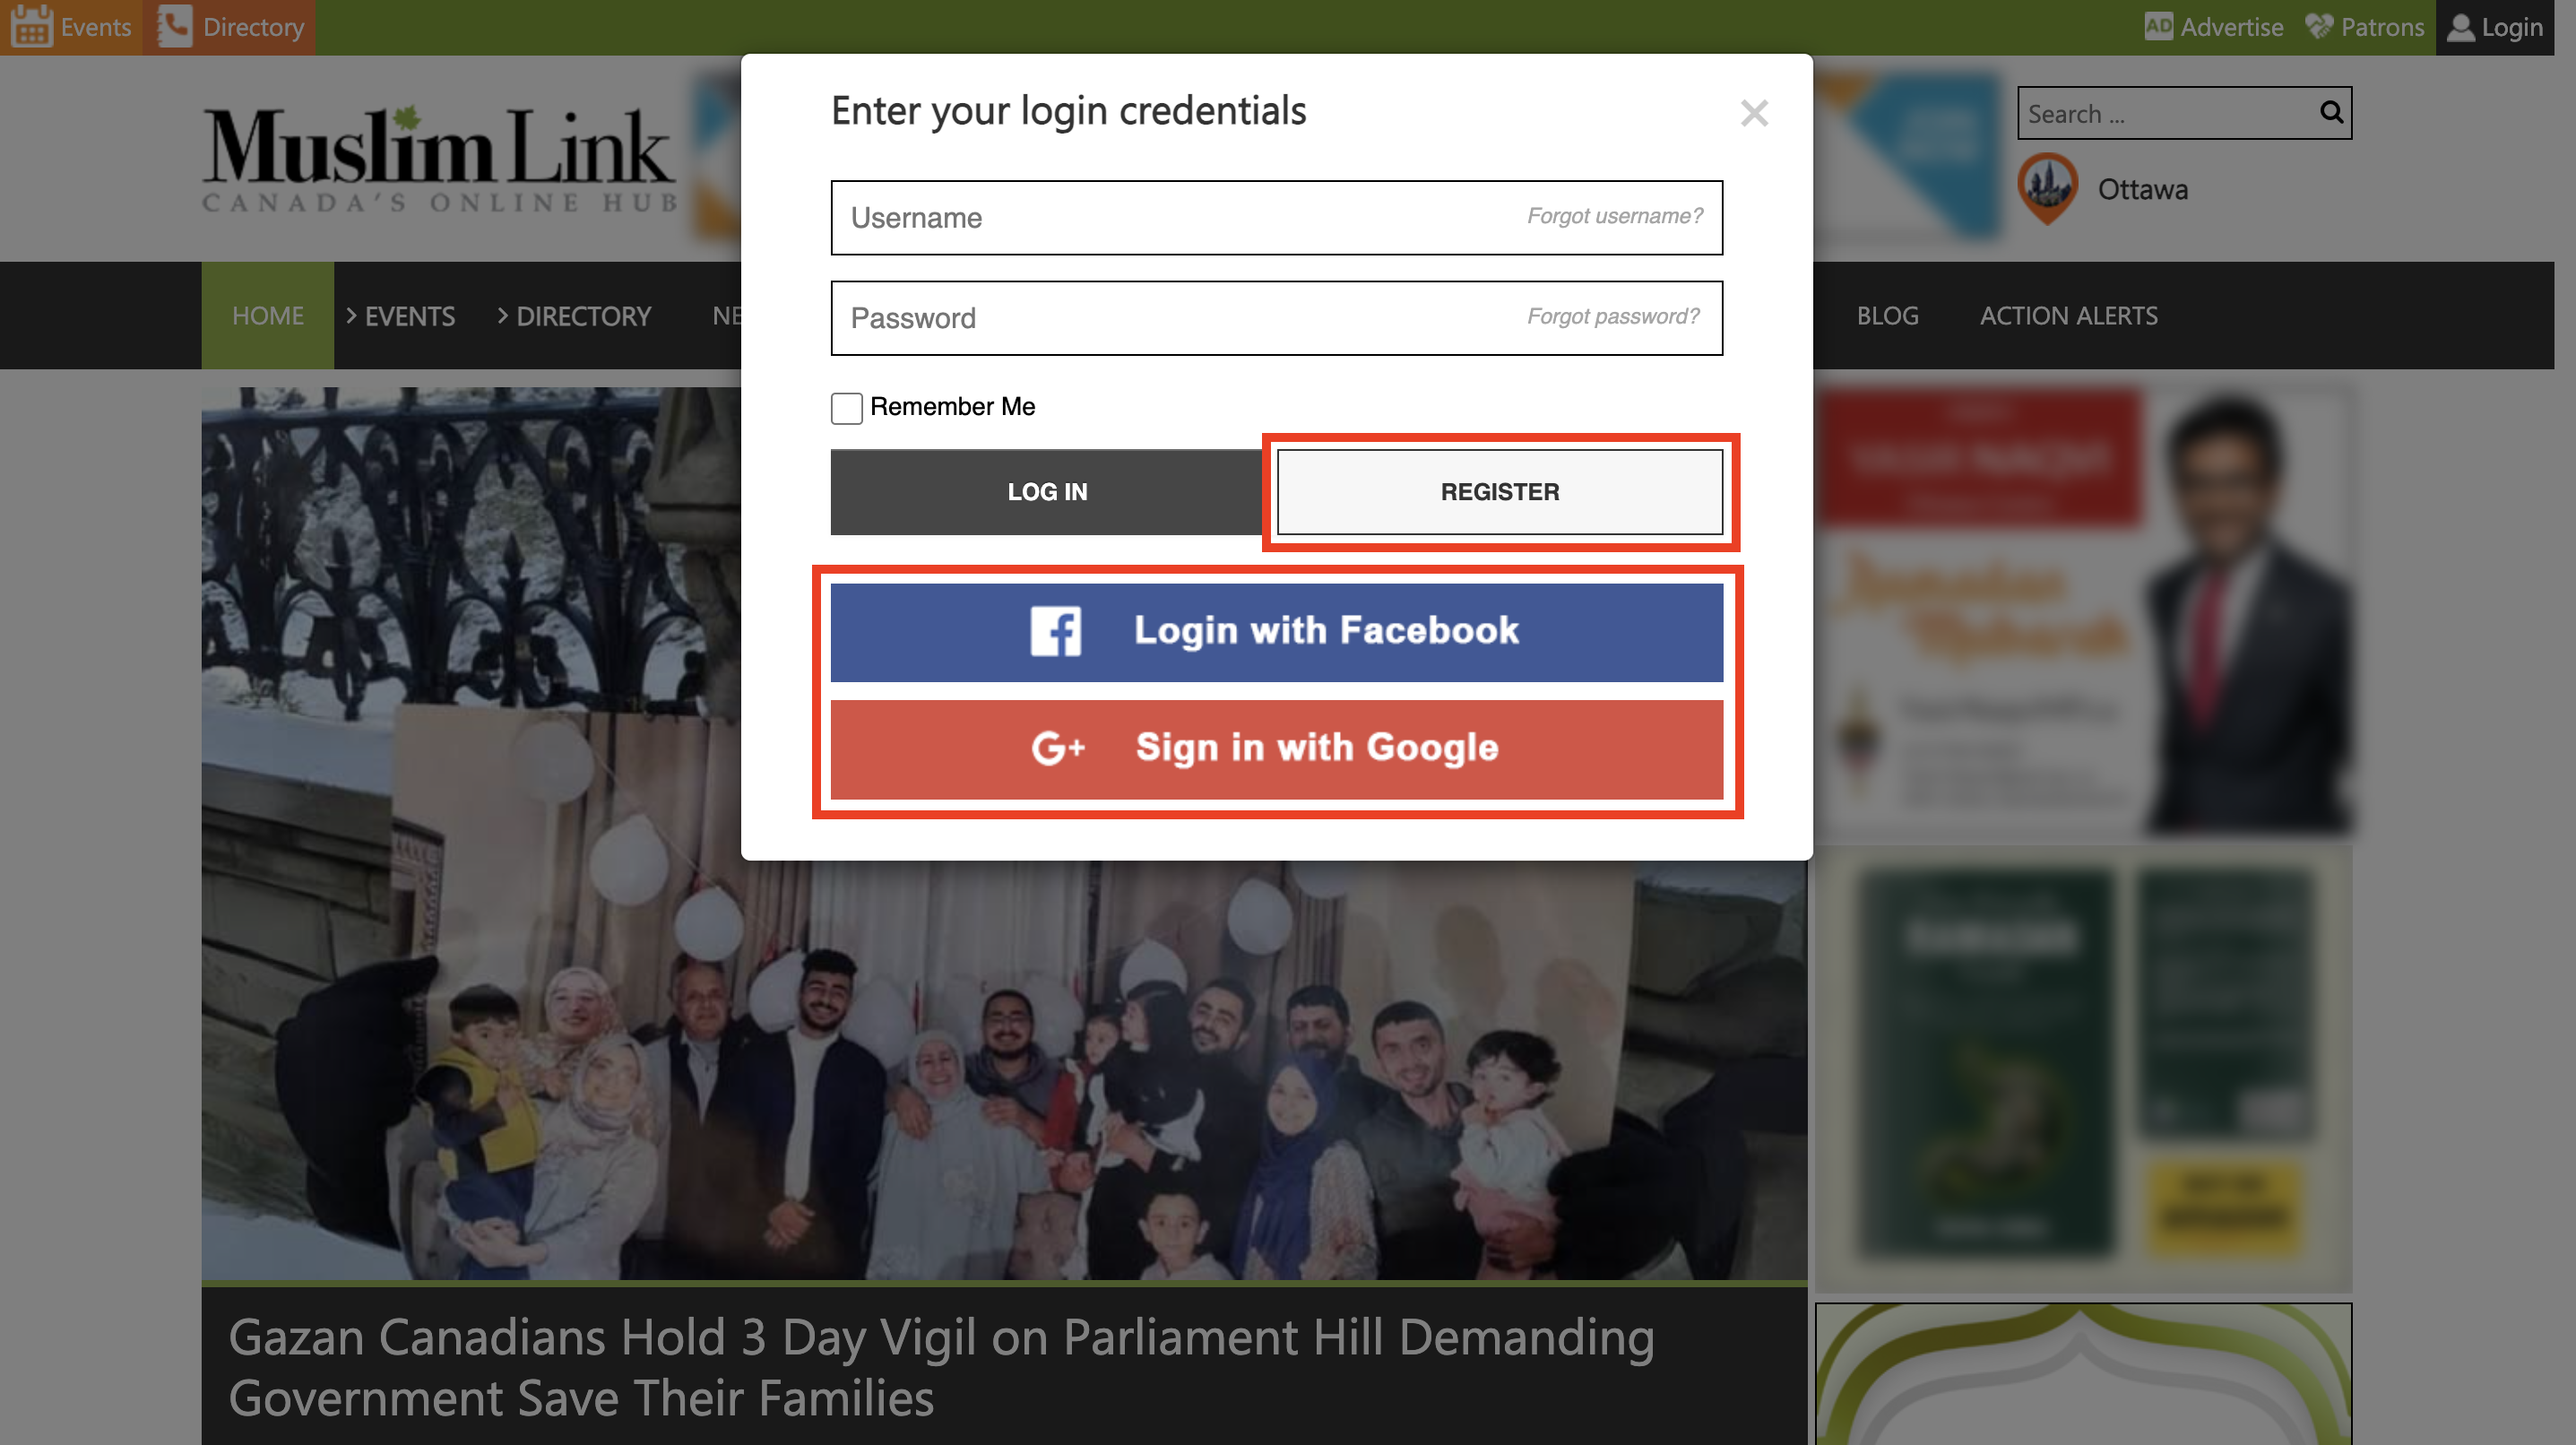
2. Click on “Register” to create a user account. You can also sign up using your Facebook or Google accounts for faster registration. If you already have a user account, login and skip to step 4.
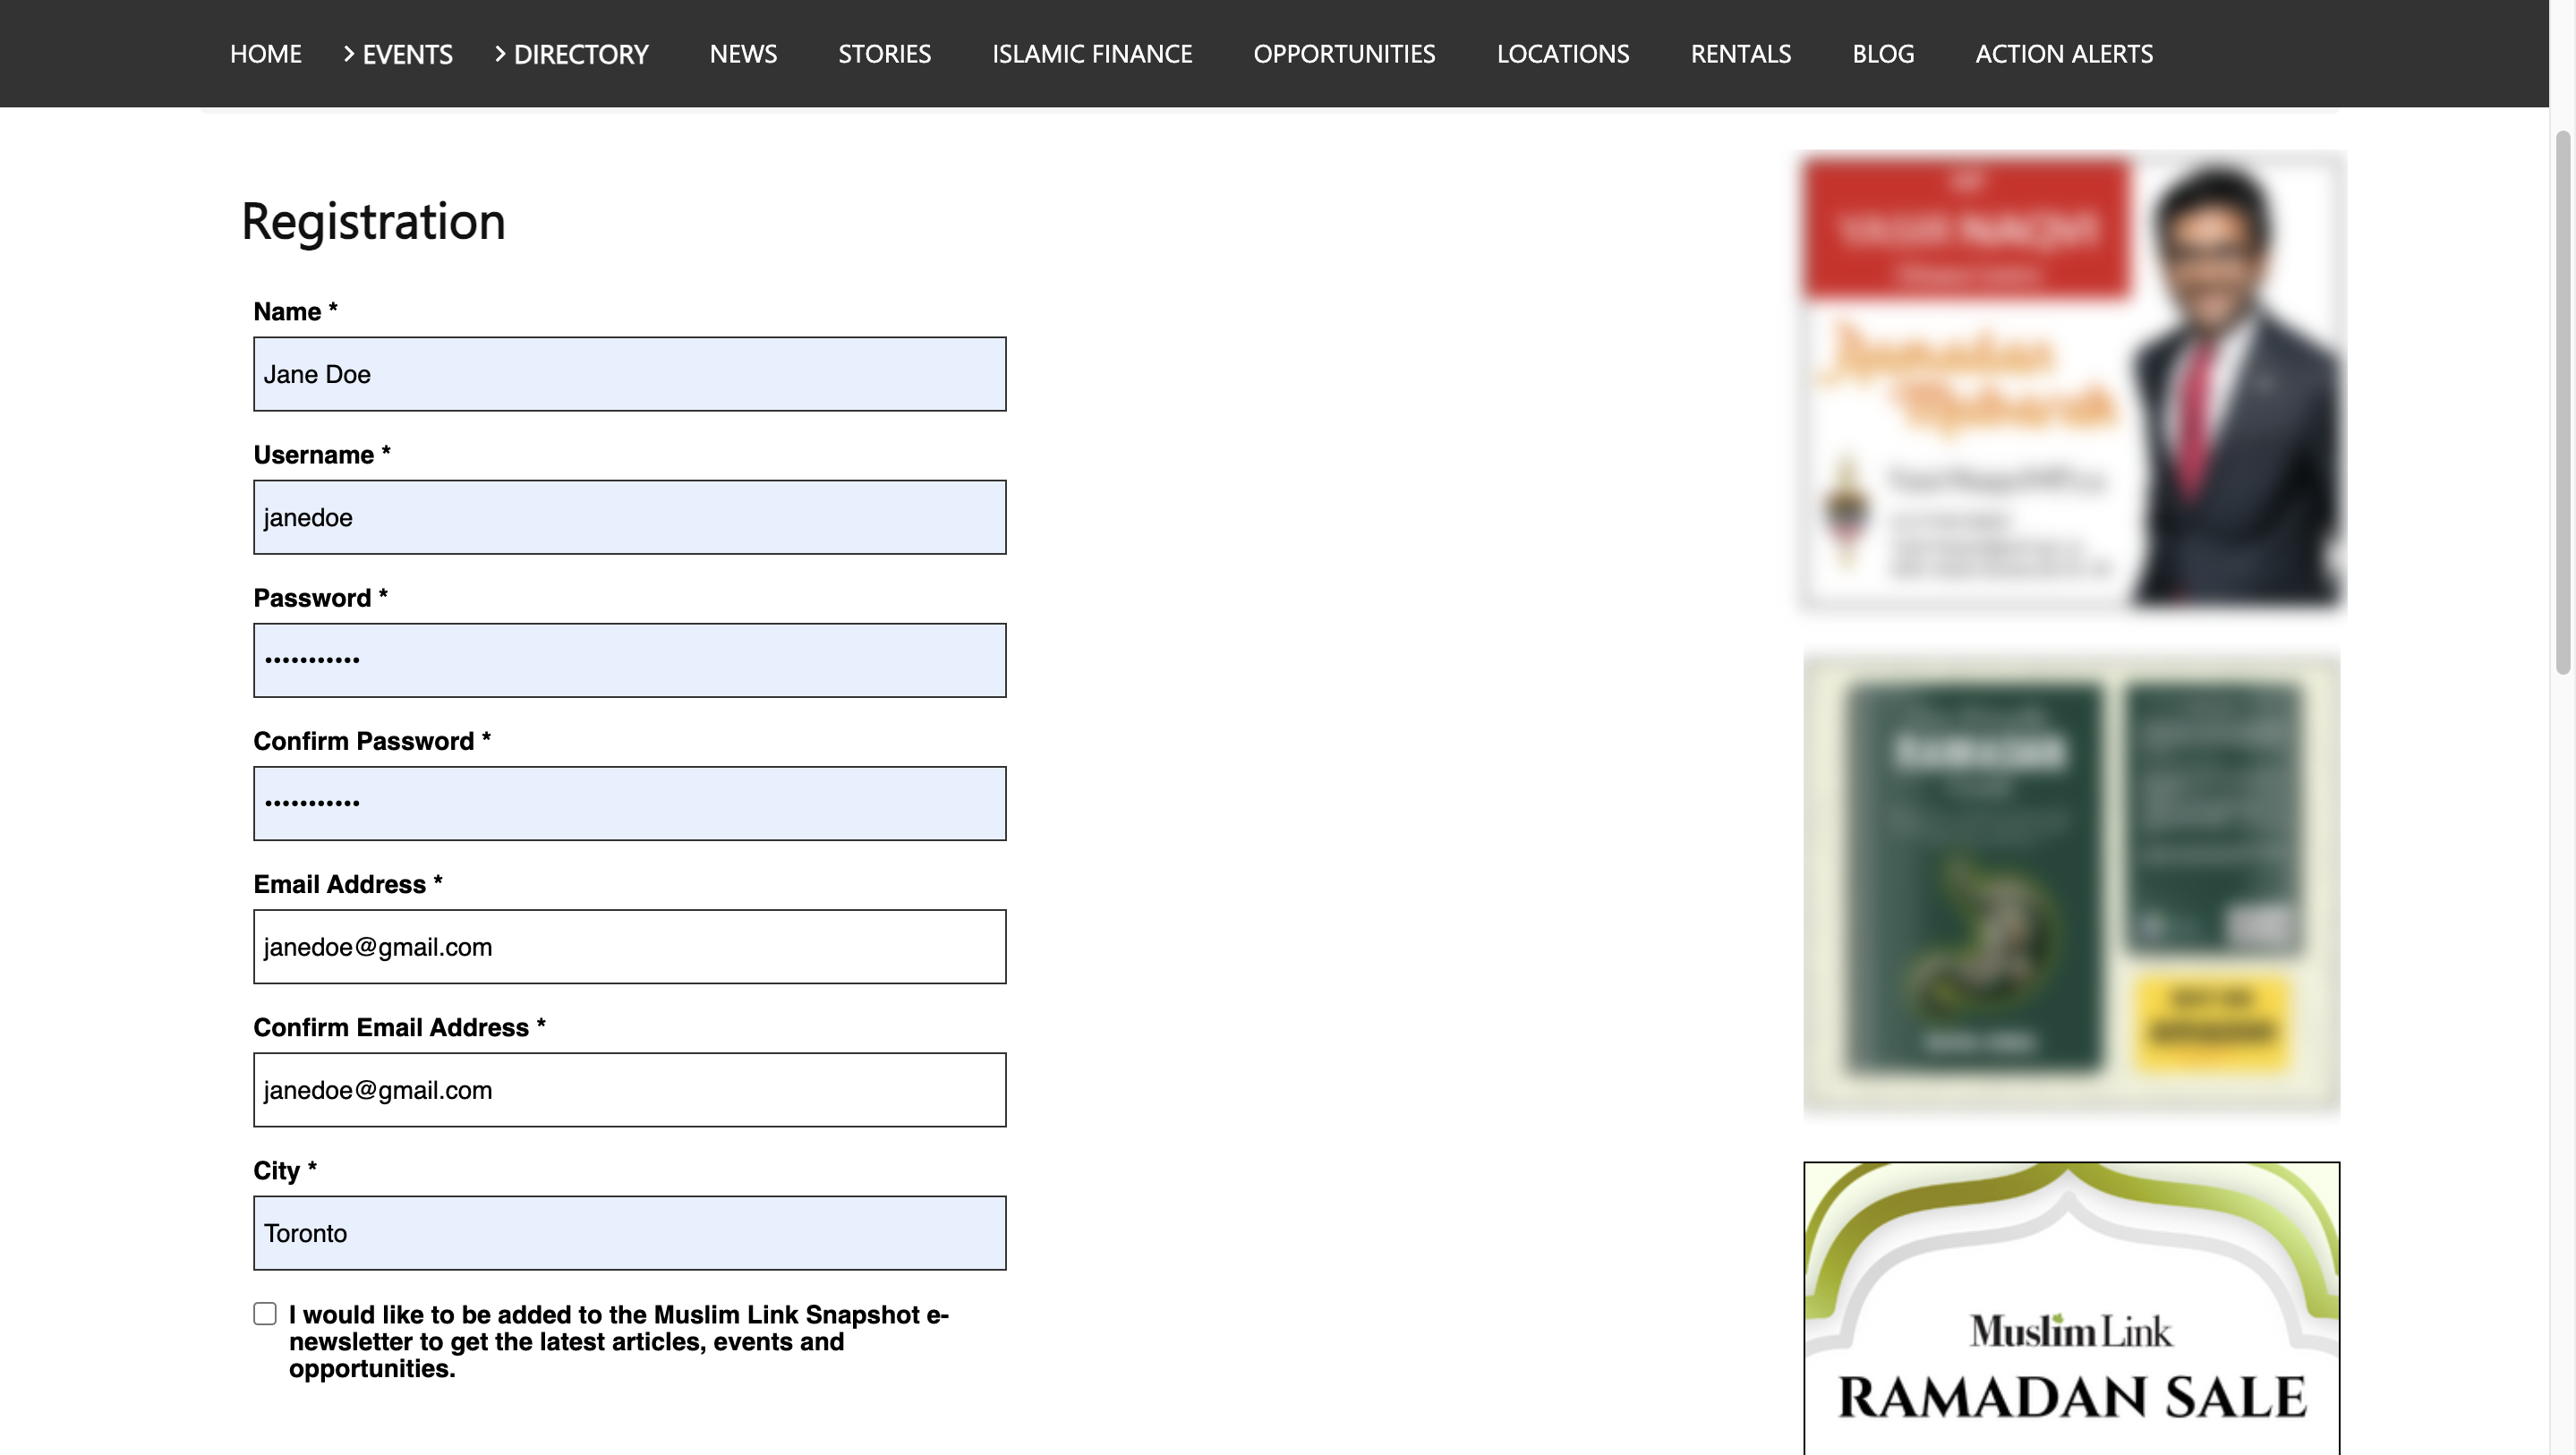
3. Fill in details to create your user account.
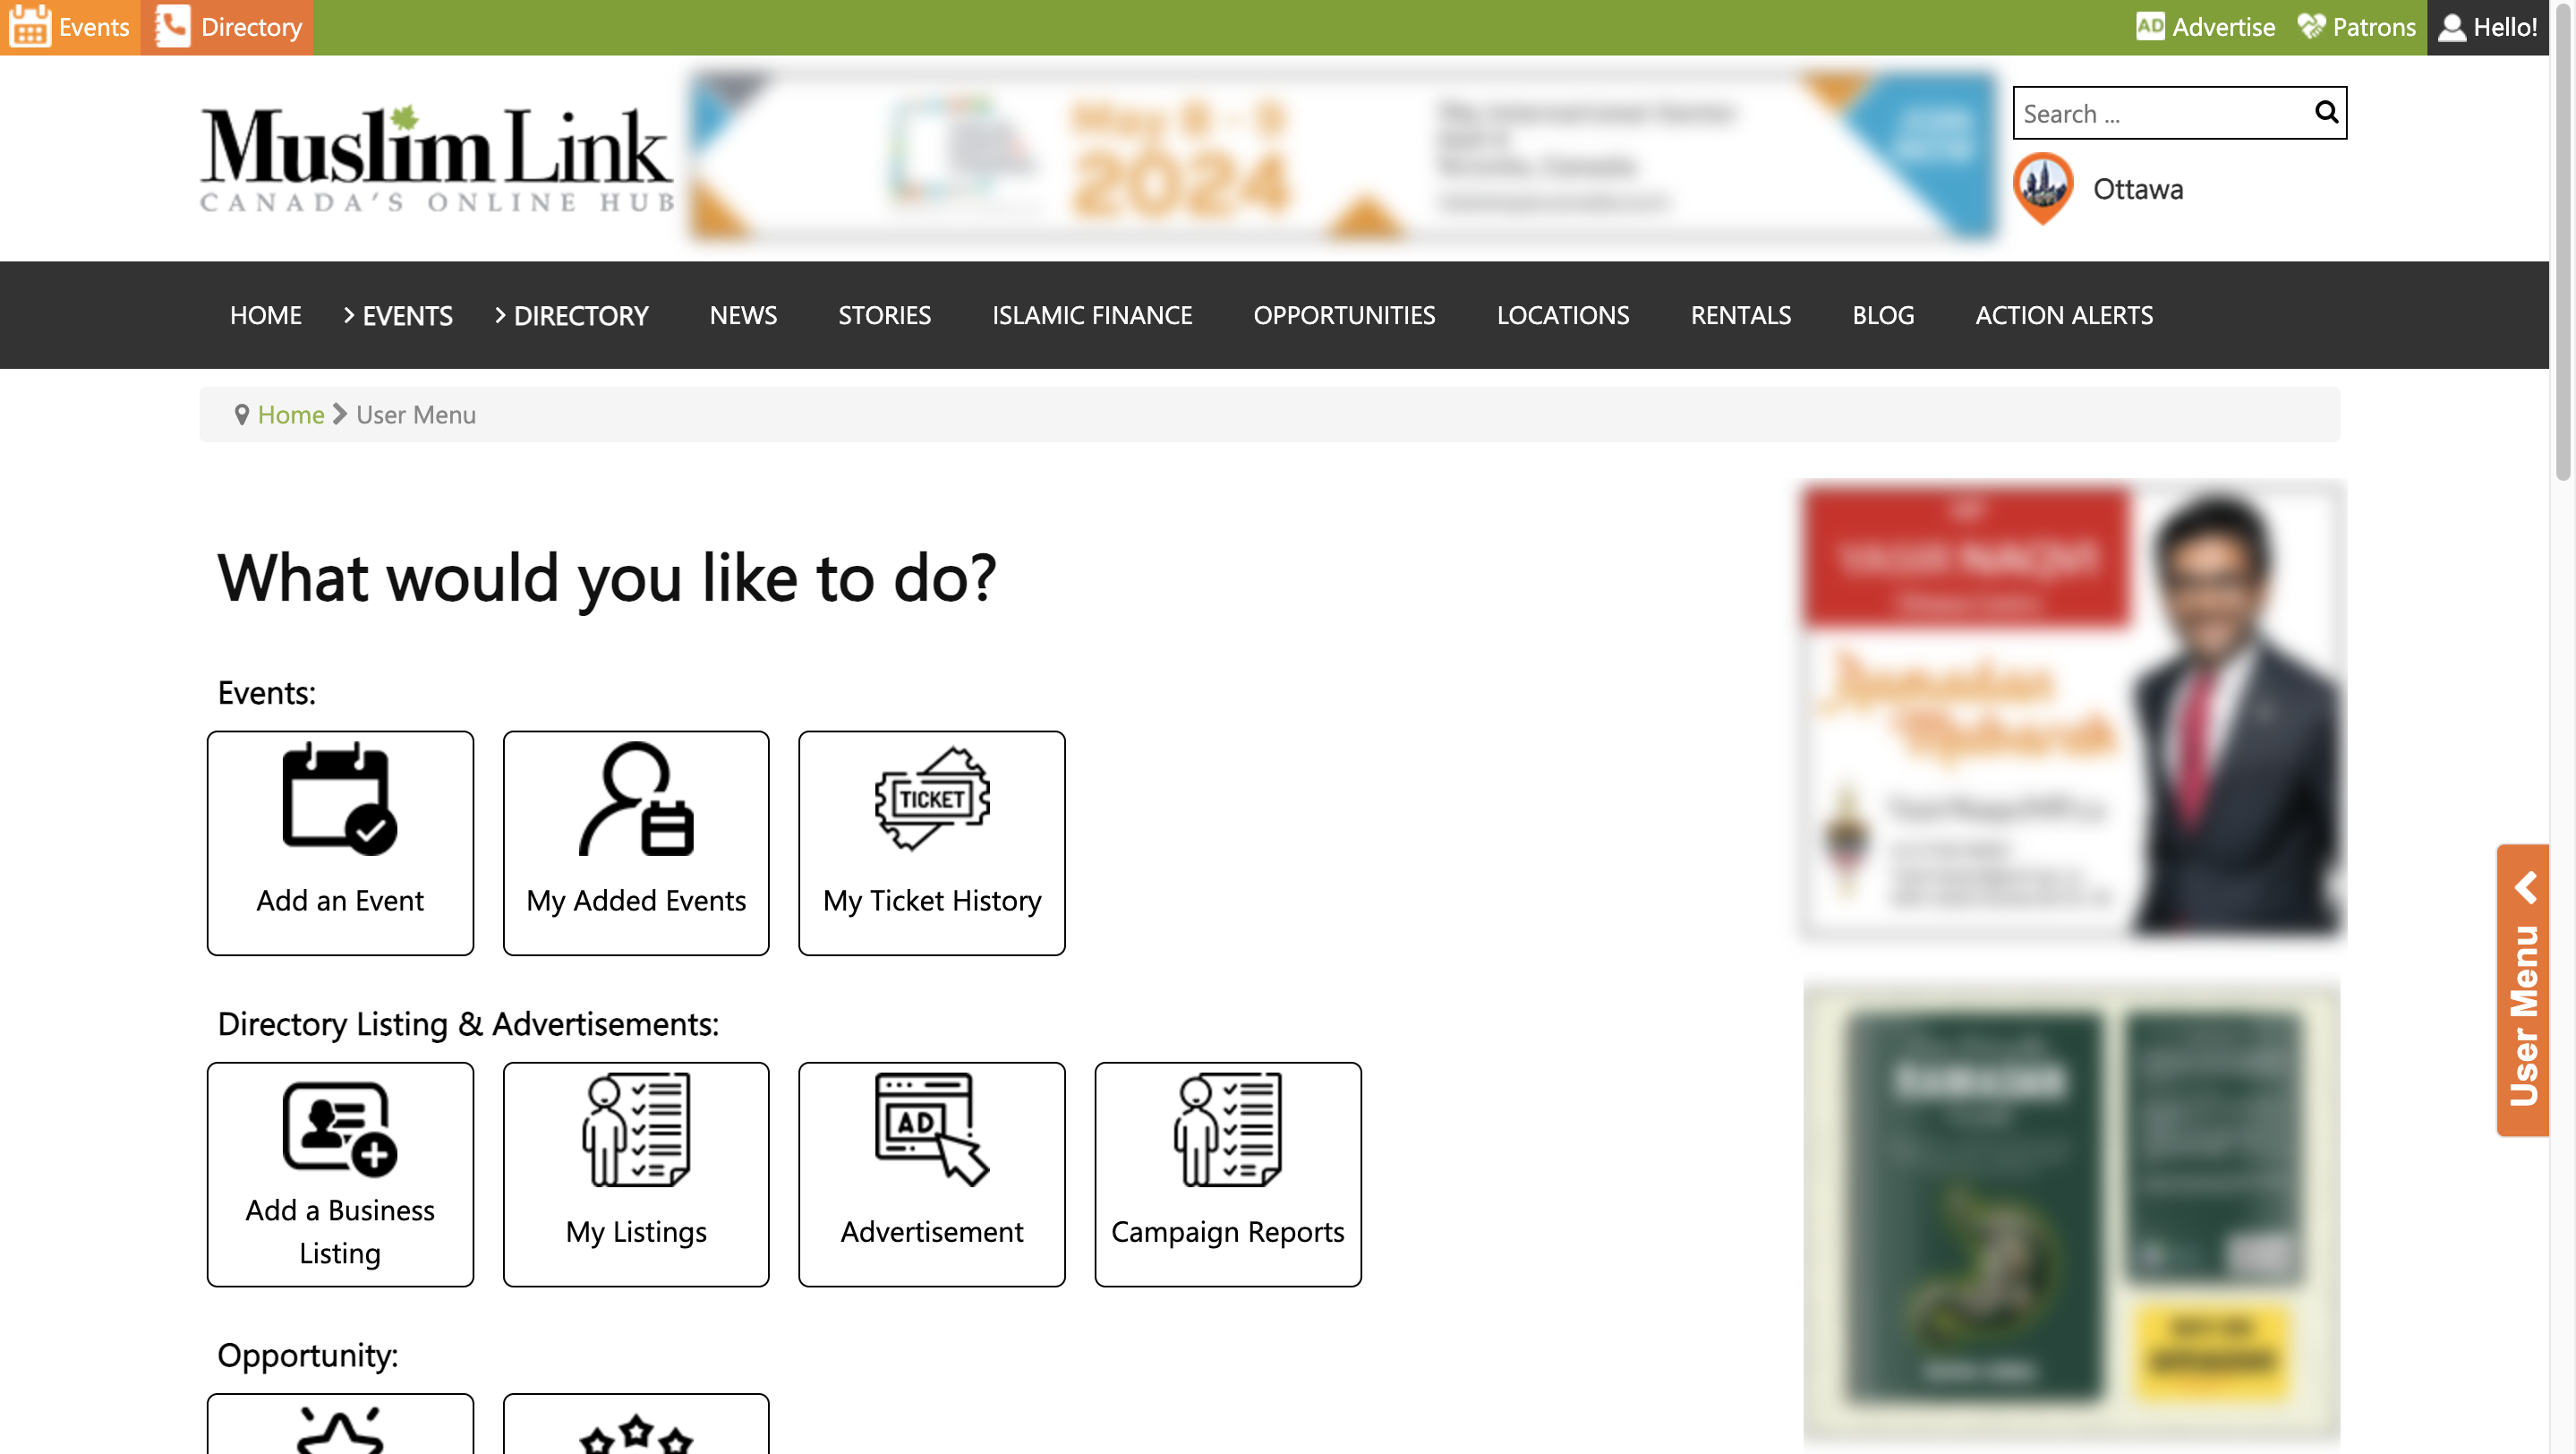
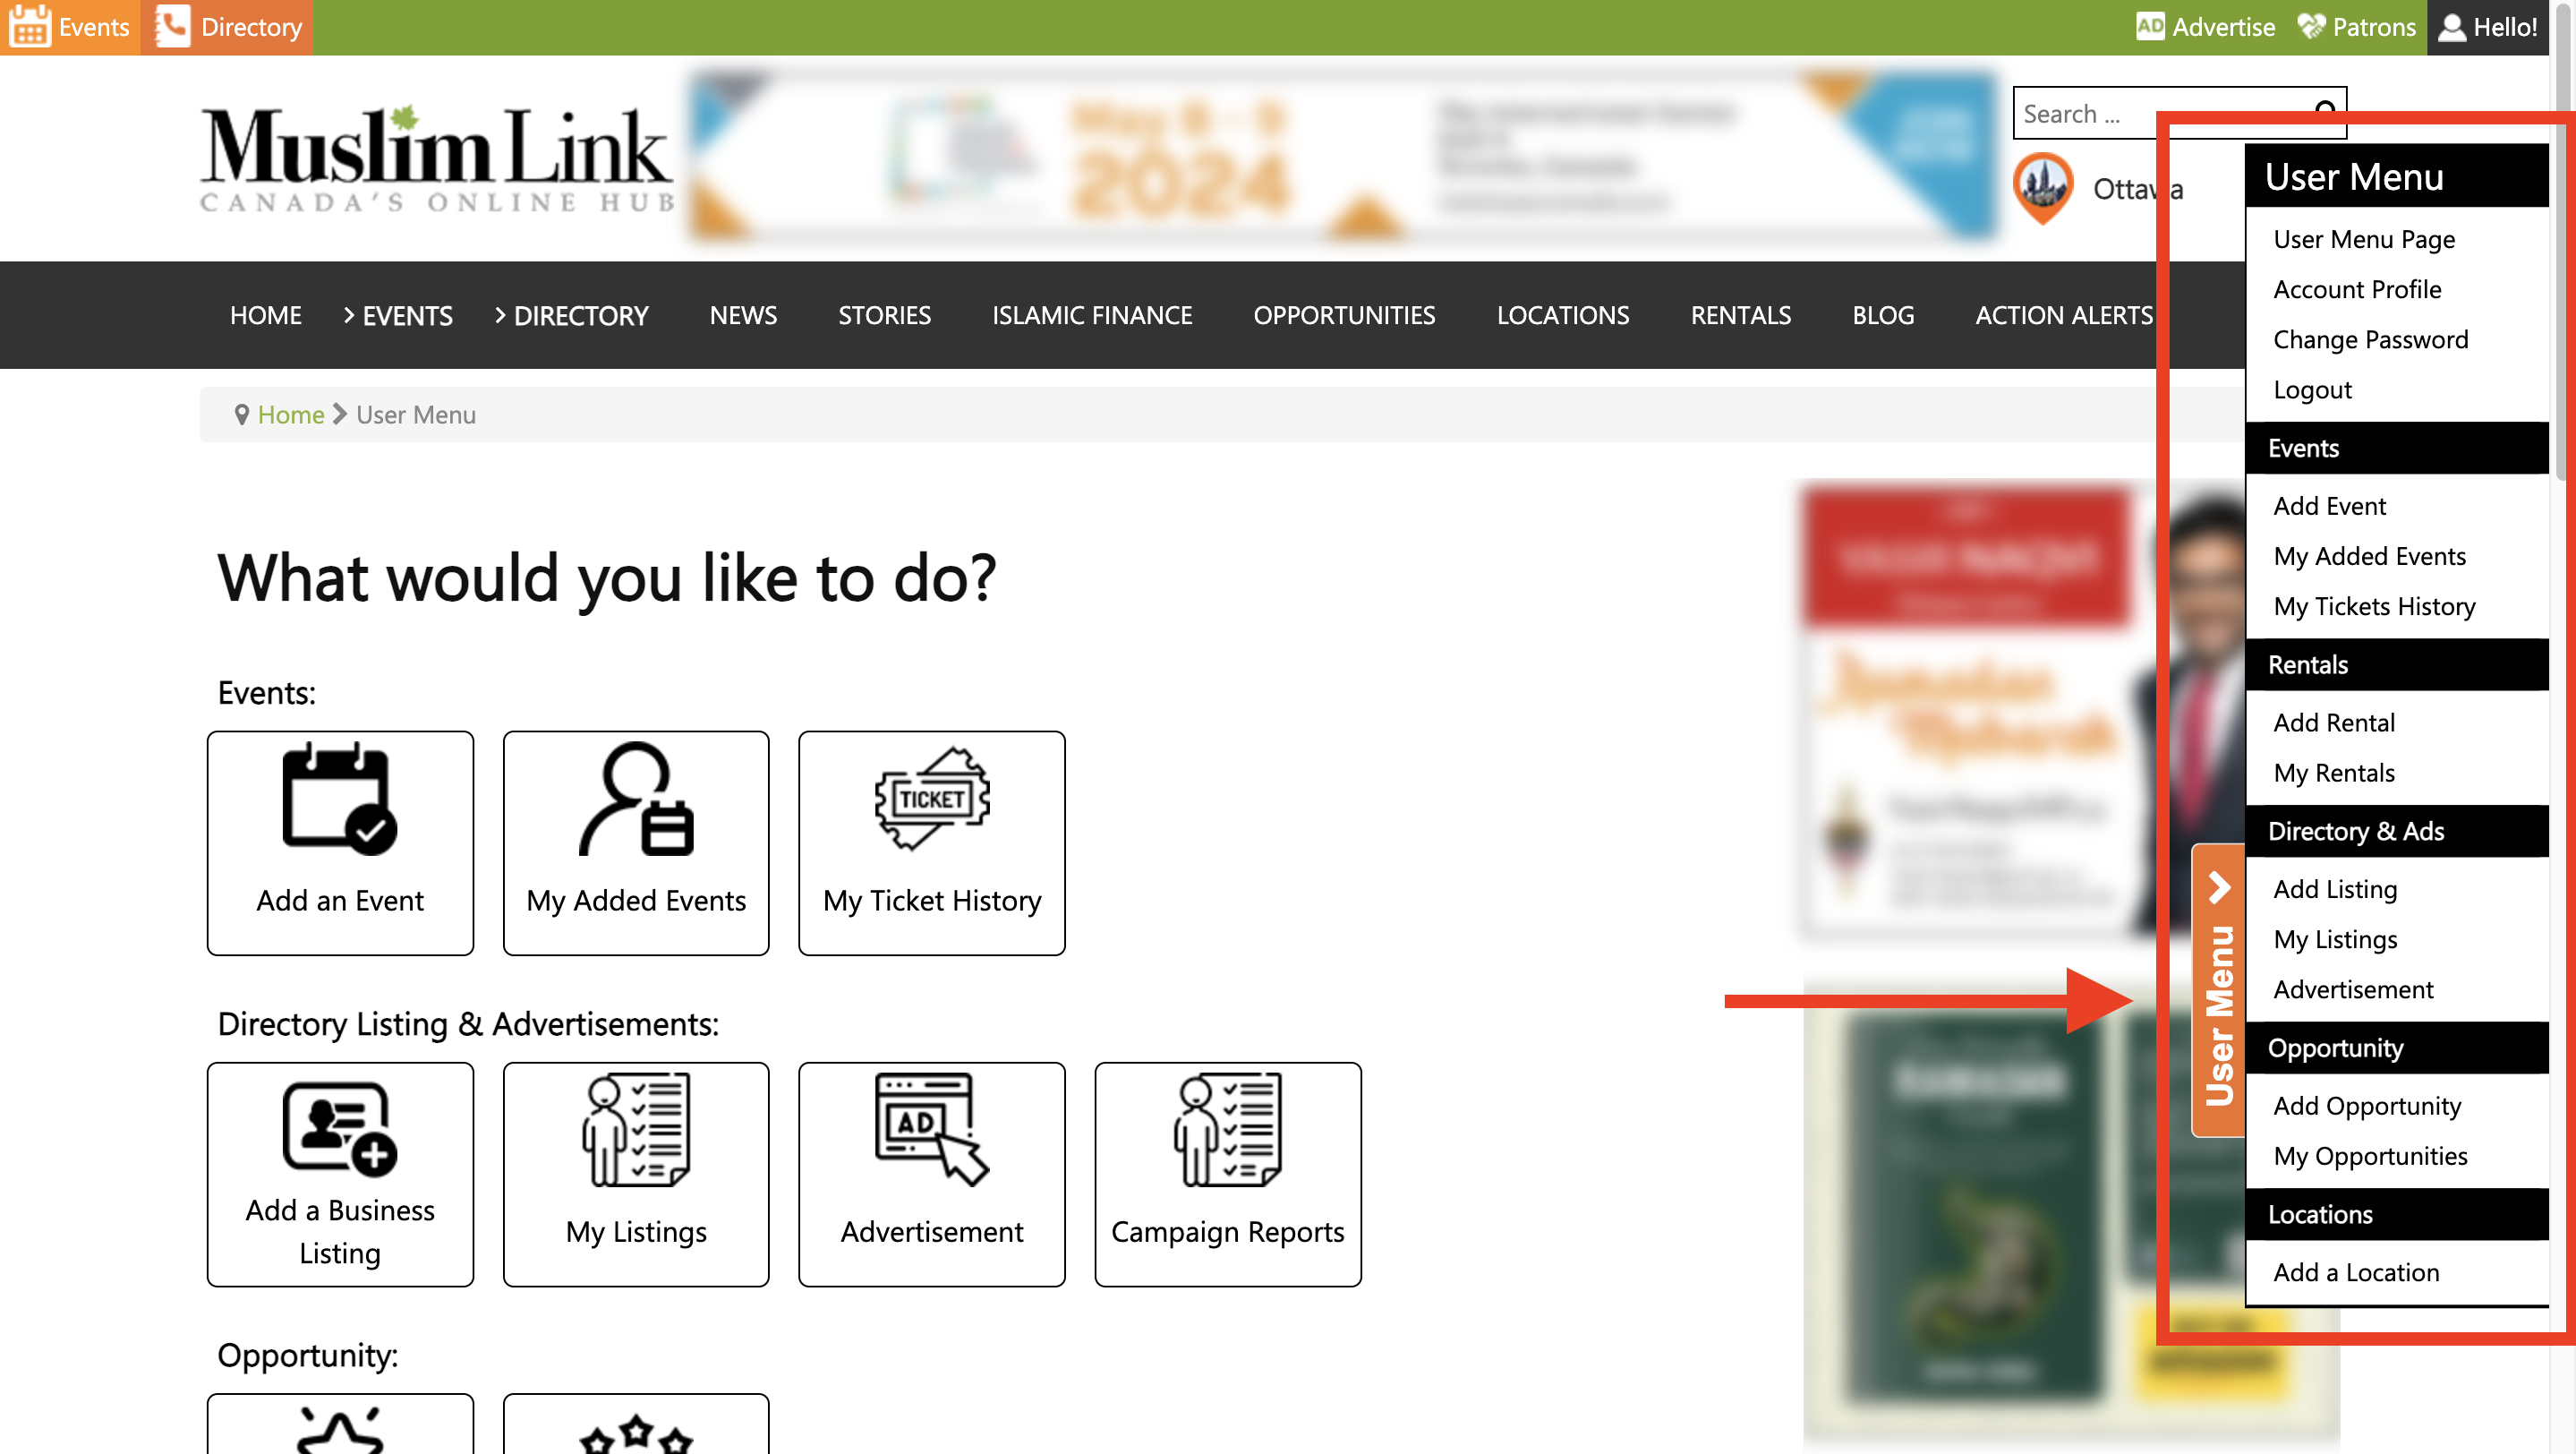
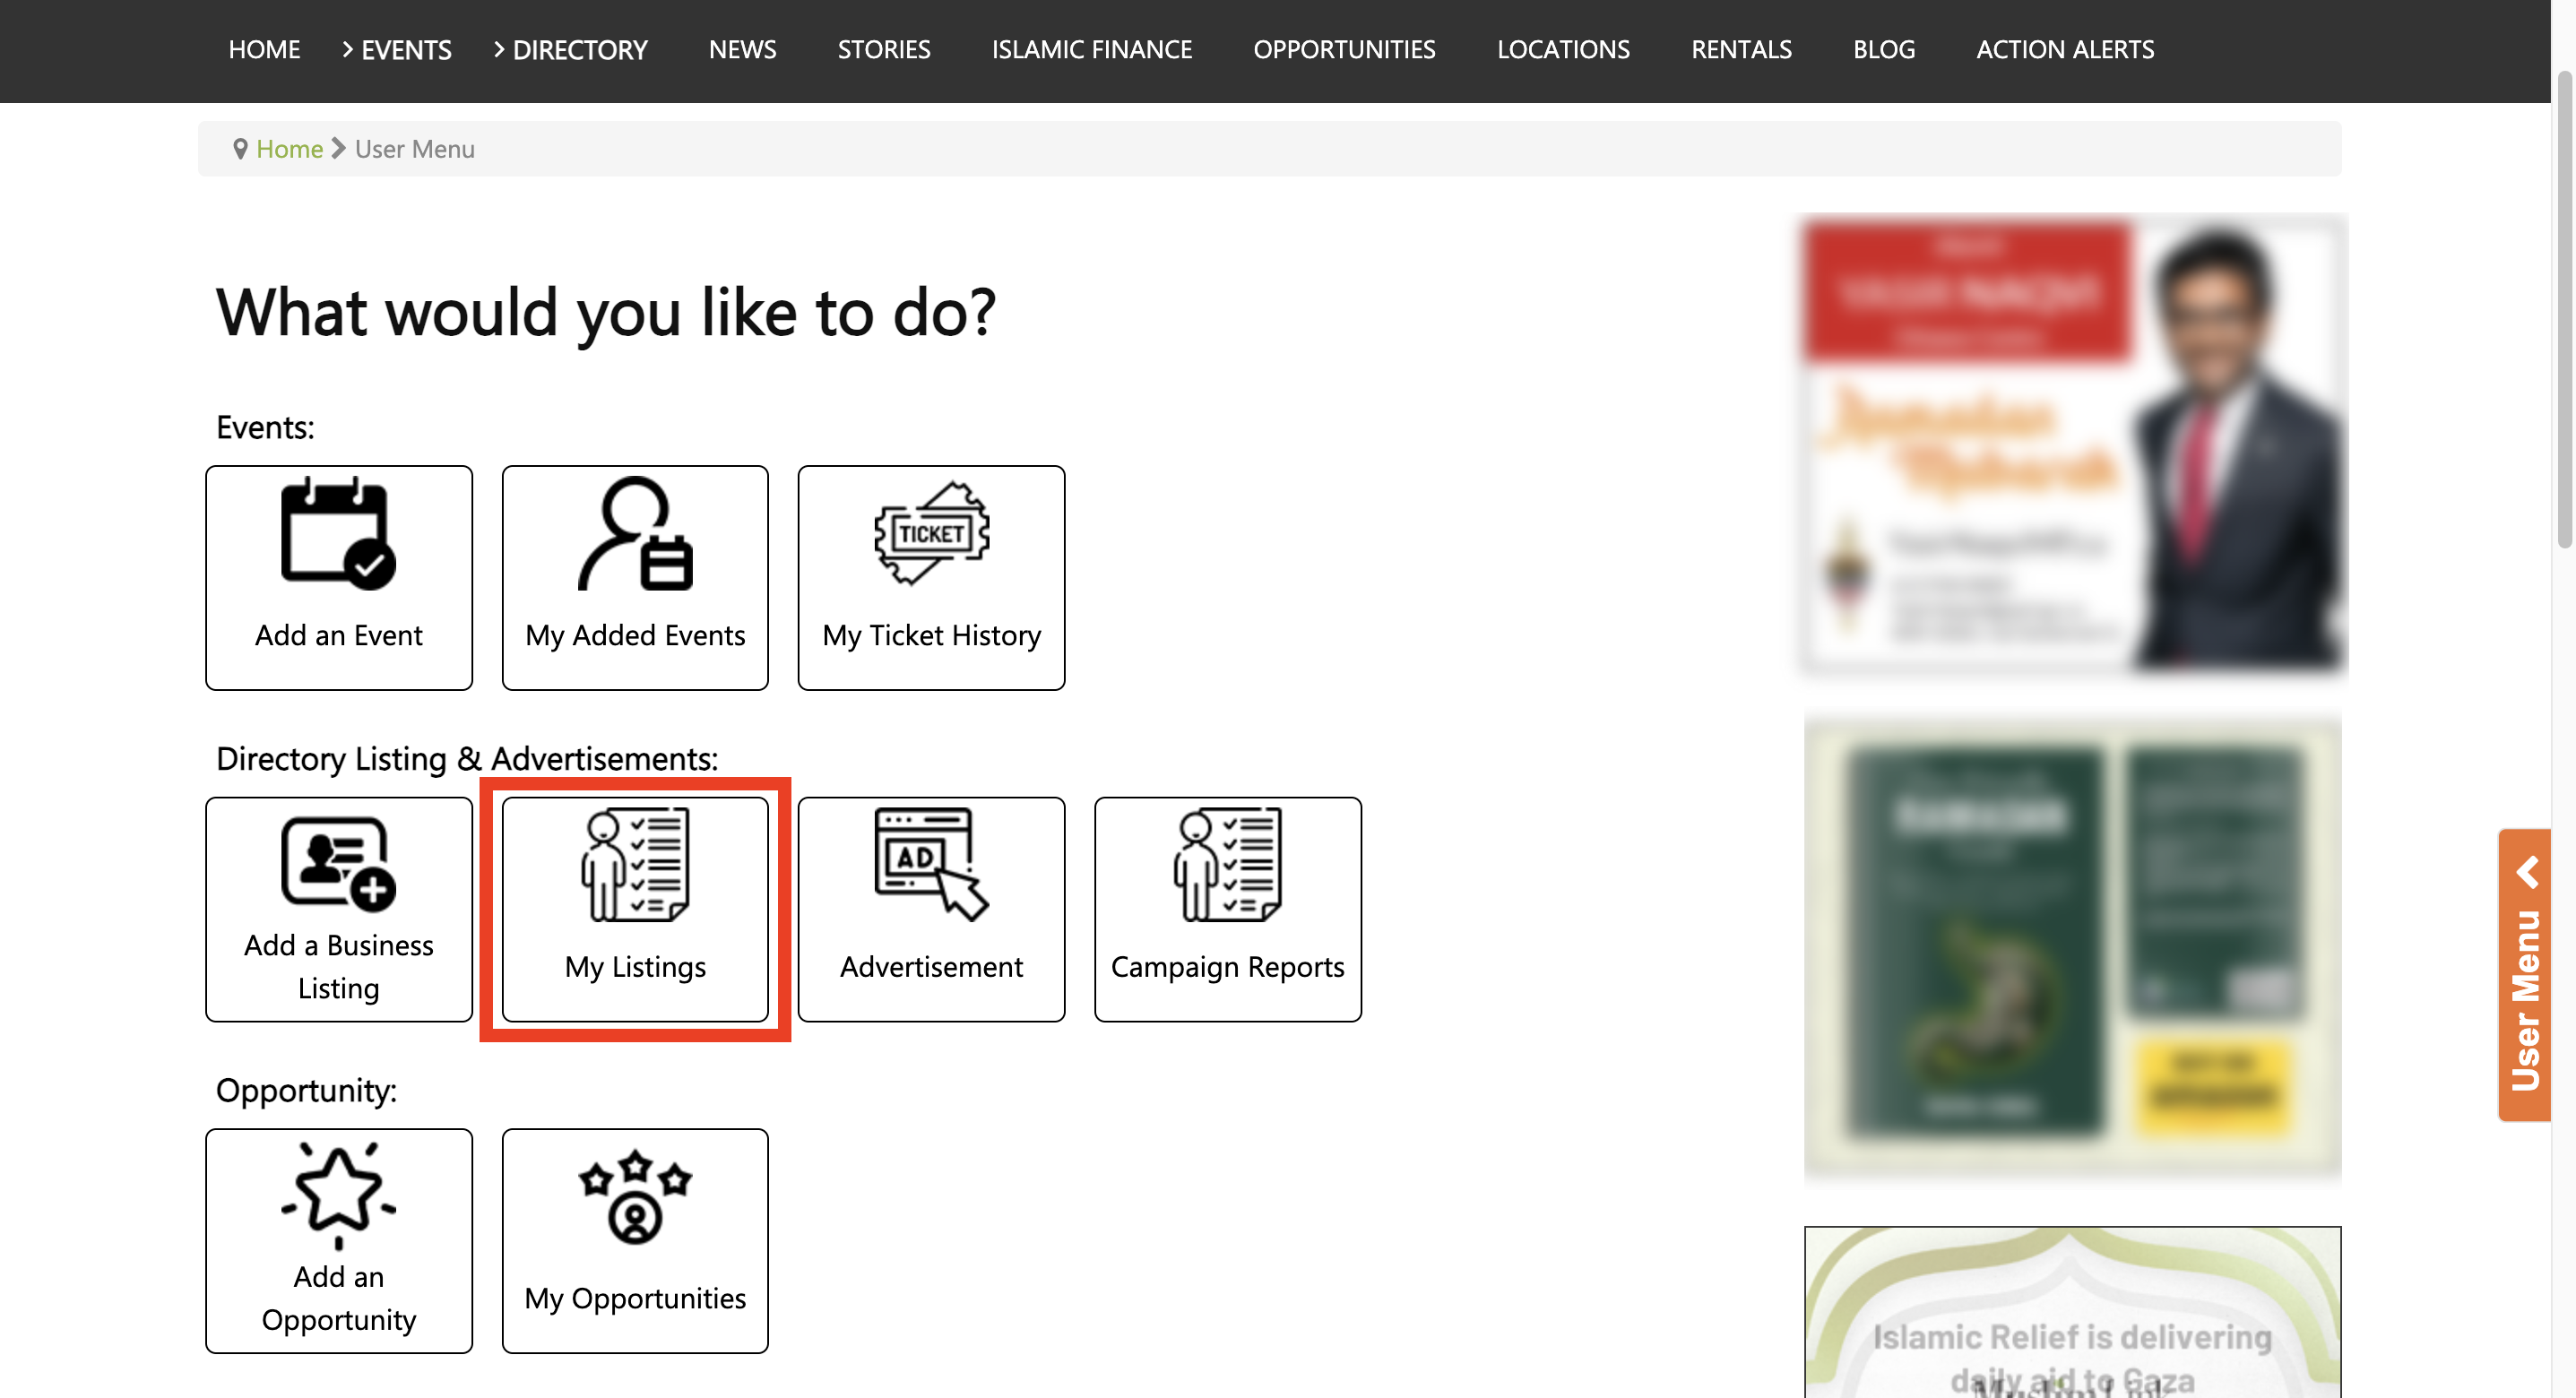
4. Once logged in, you'll be automatically directed to the “User Menu”.
5. You can also access the "User Menu" by clicking on "Hello!" in the upper right corner, or from the right side menu.
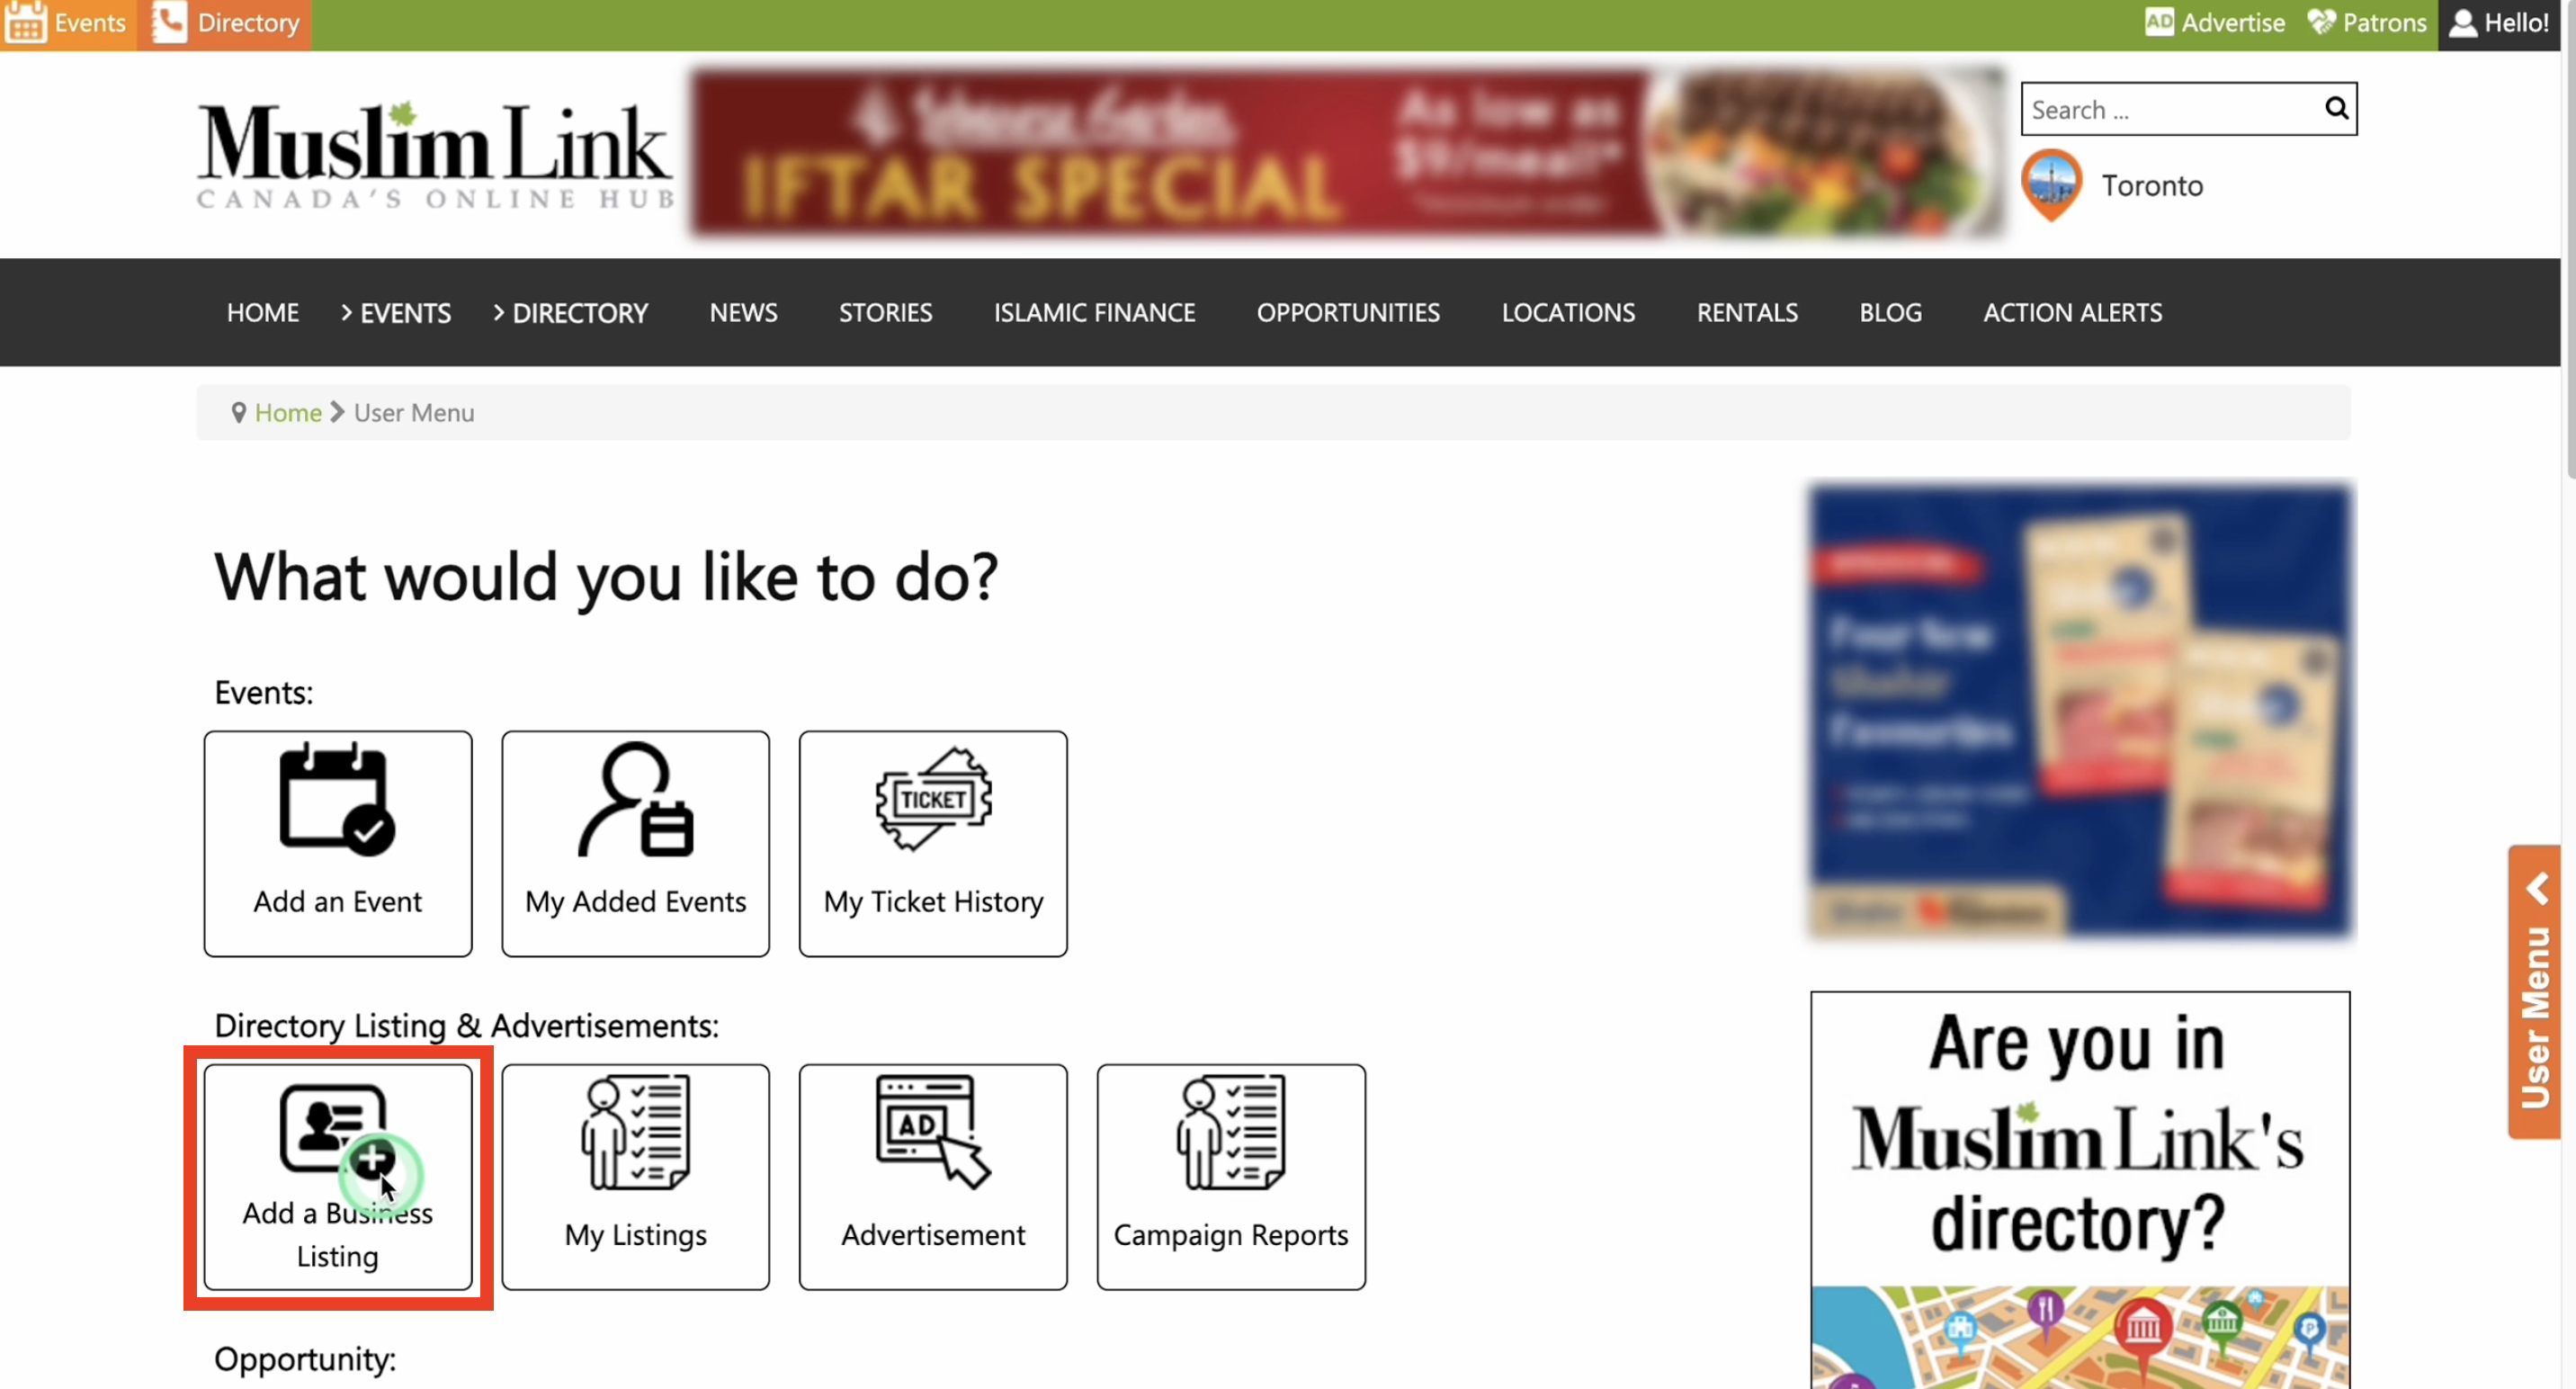
6. To add a listing, click “Add a Business Listing”.
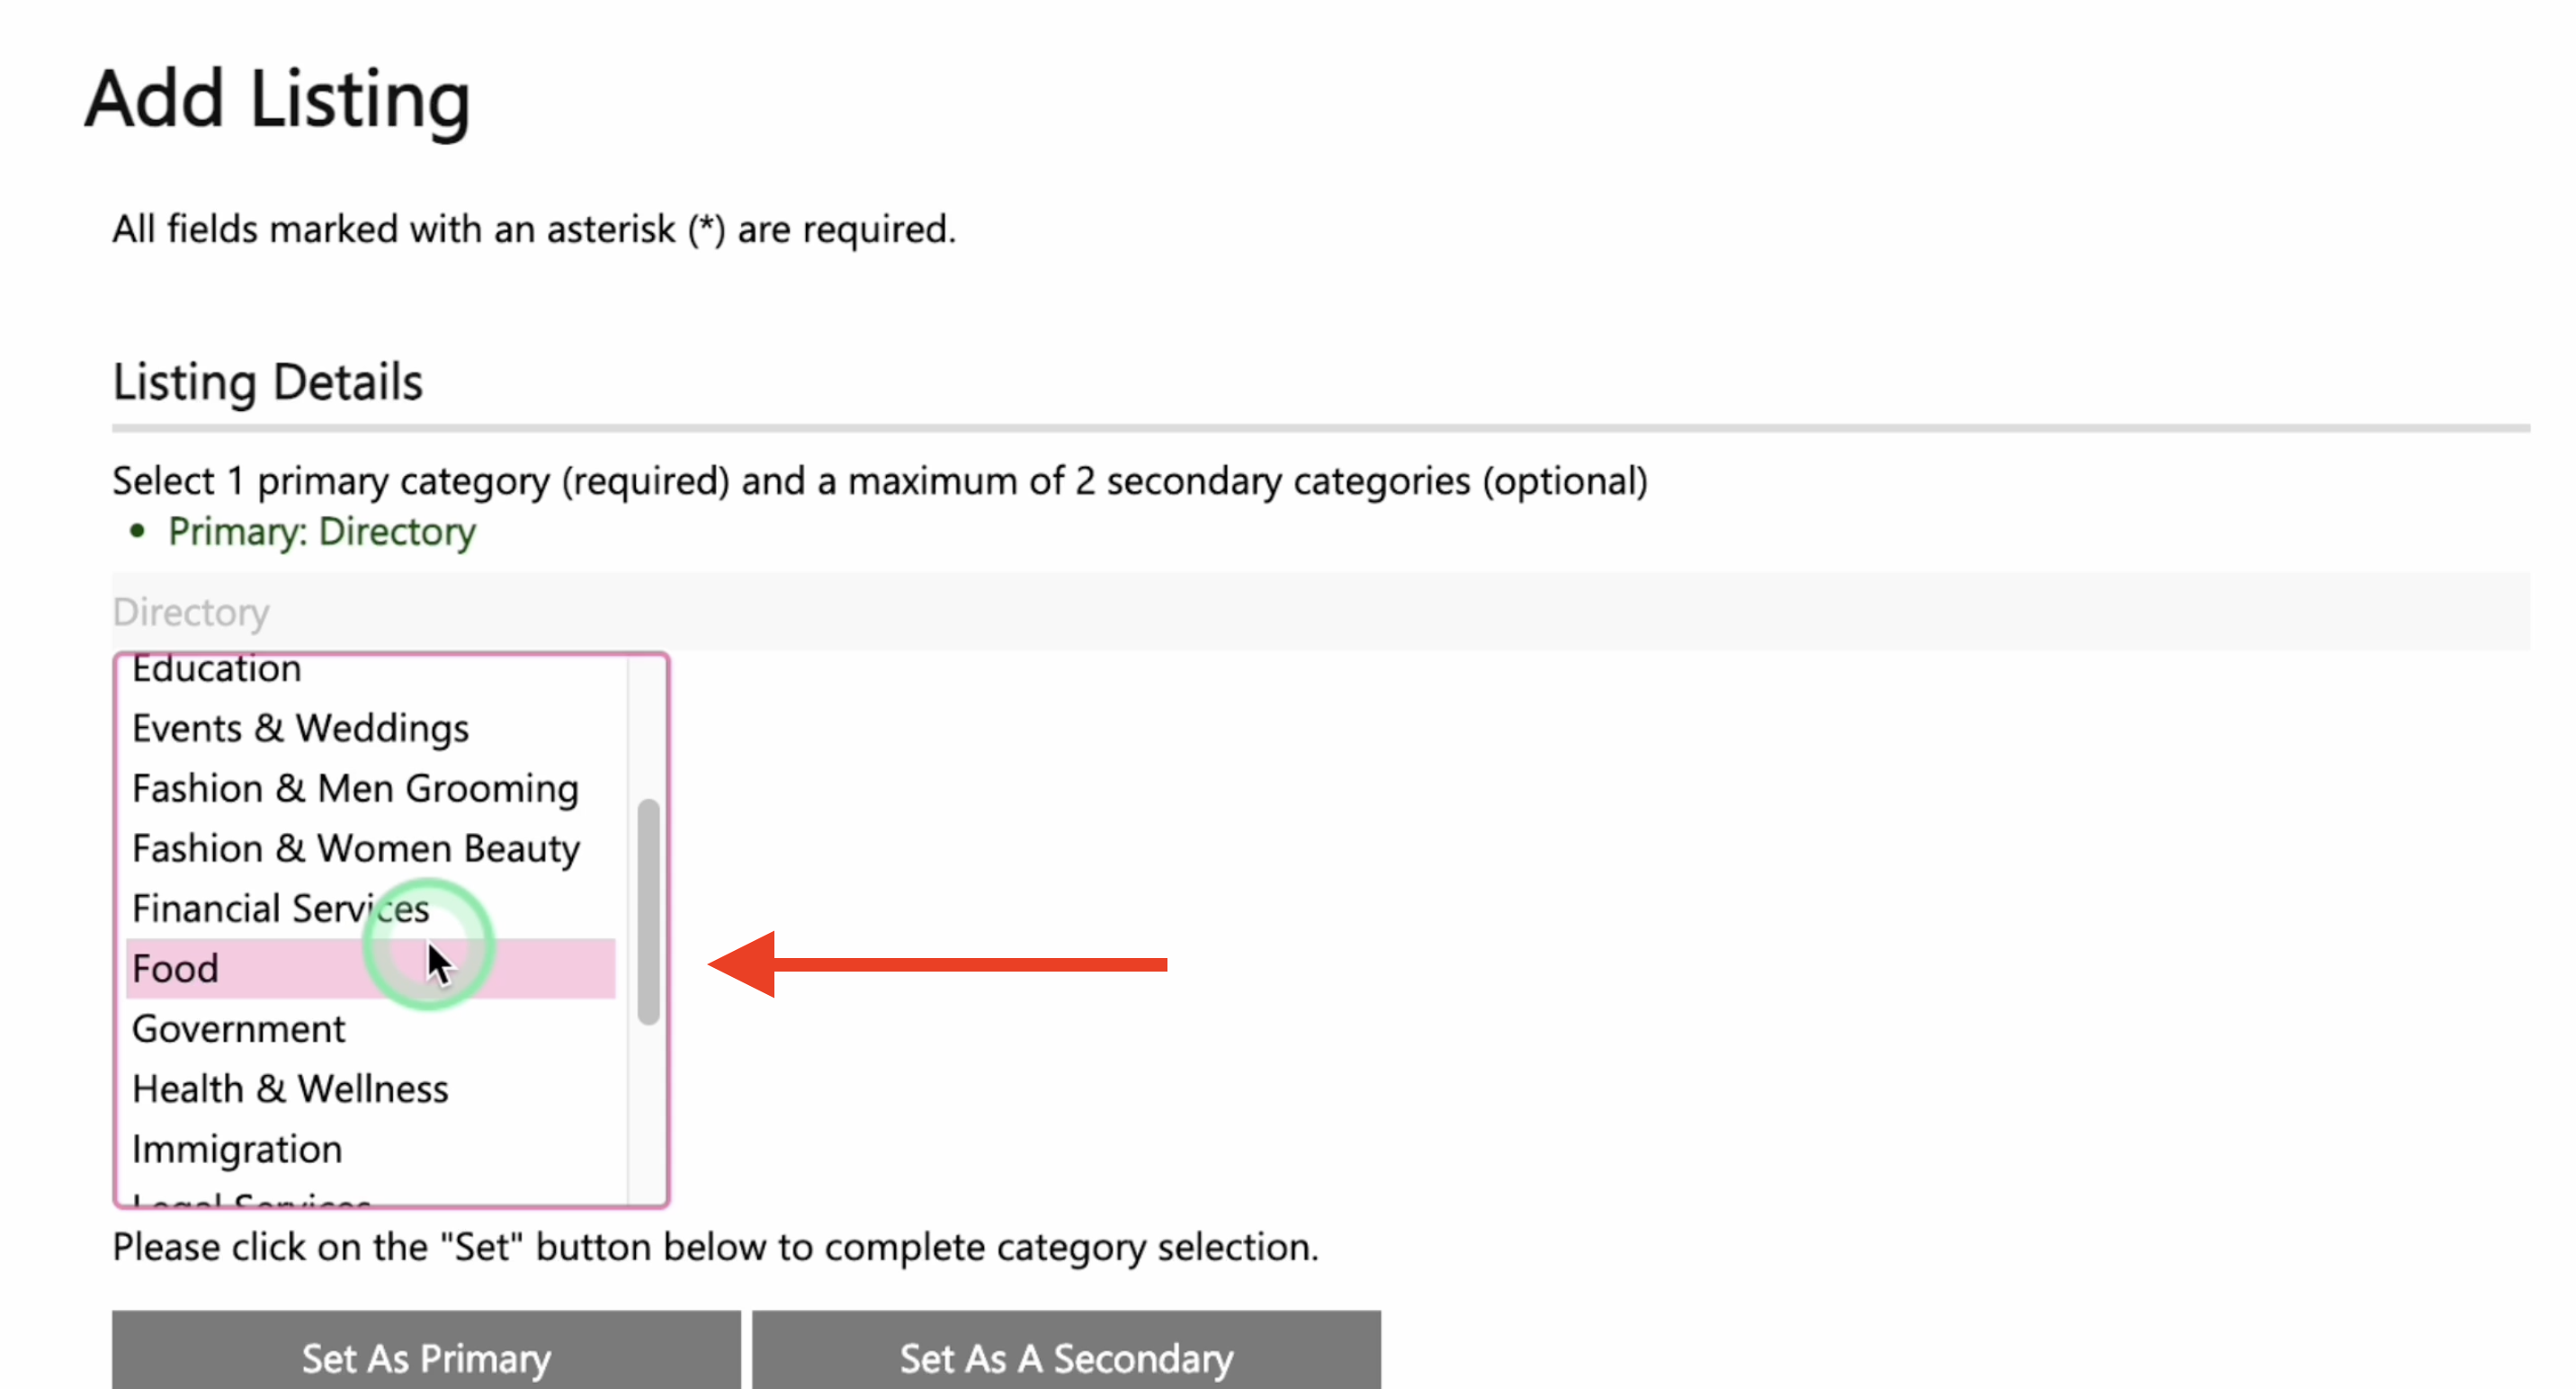
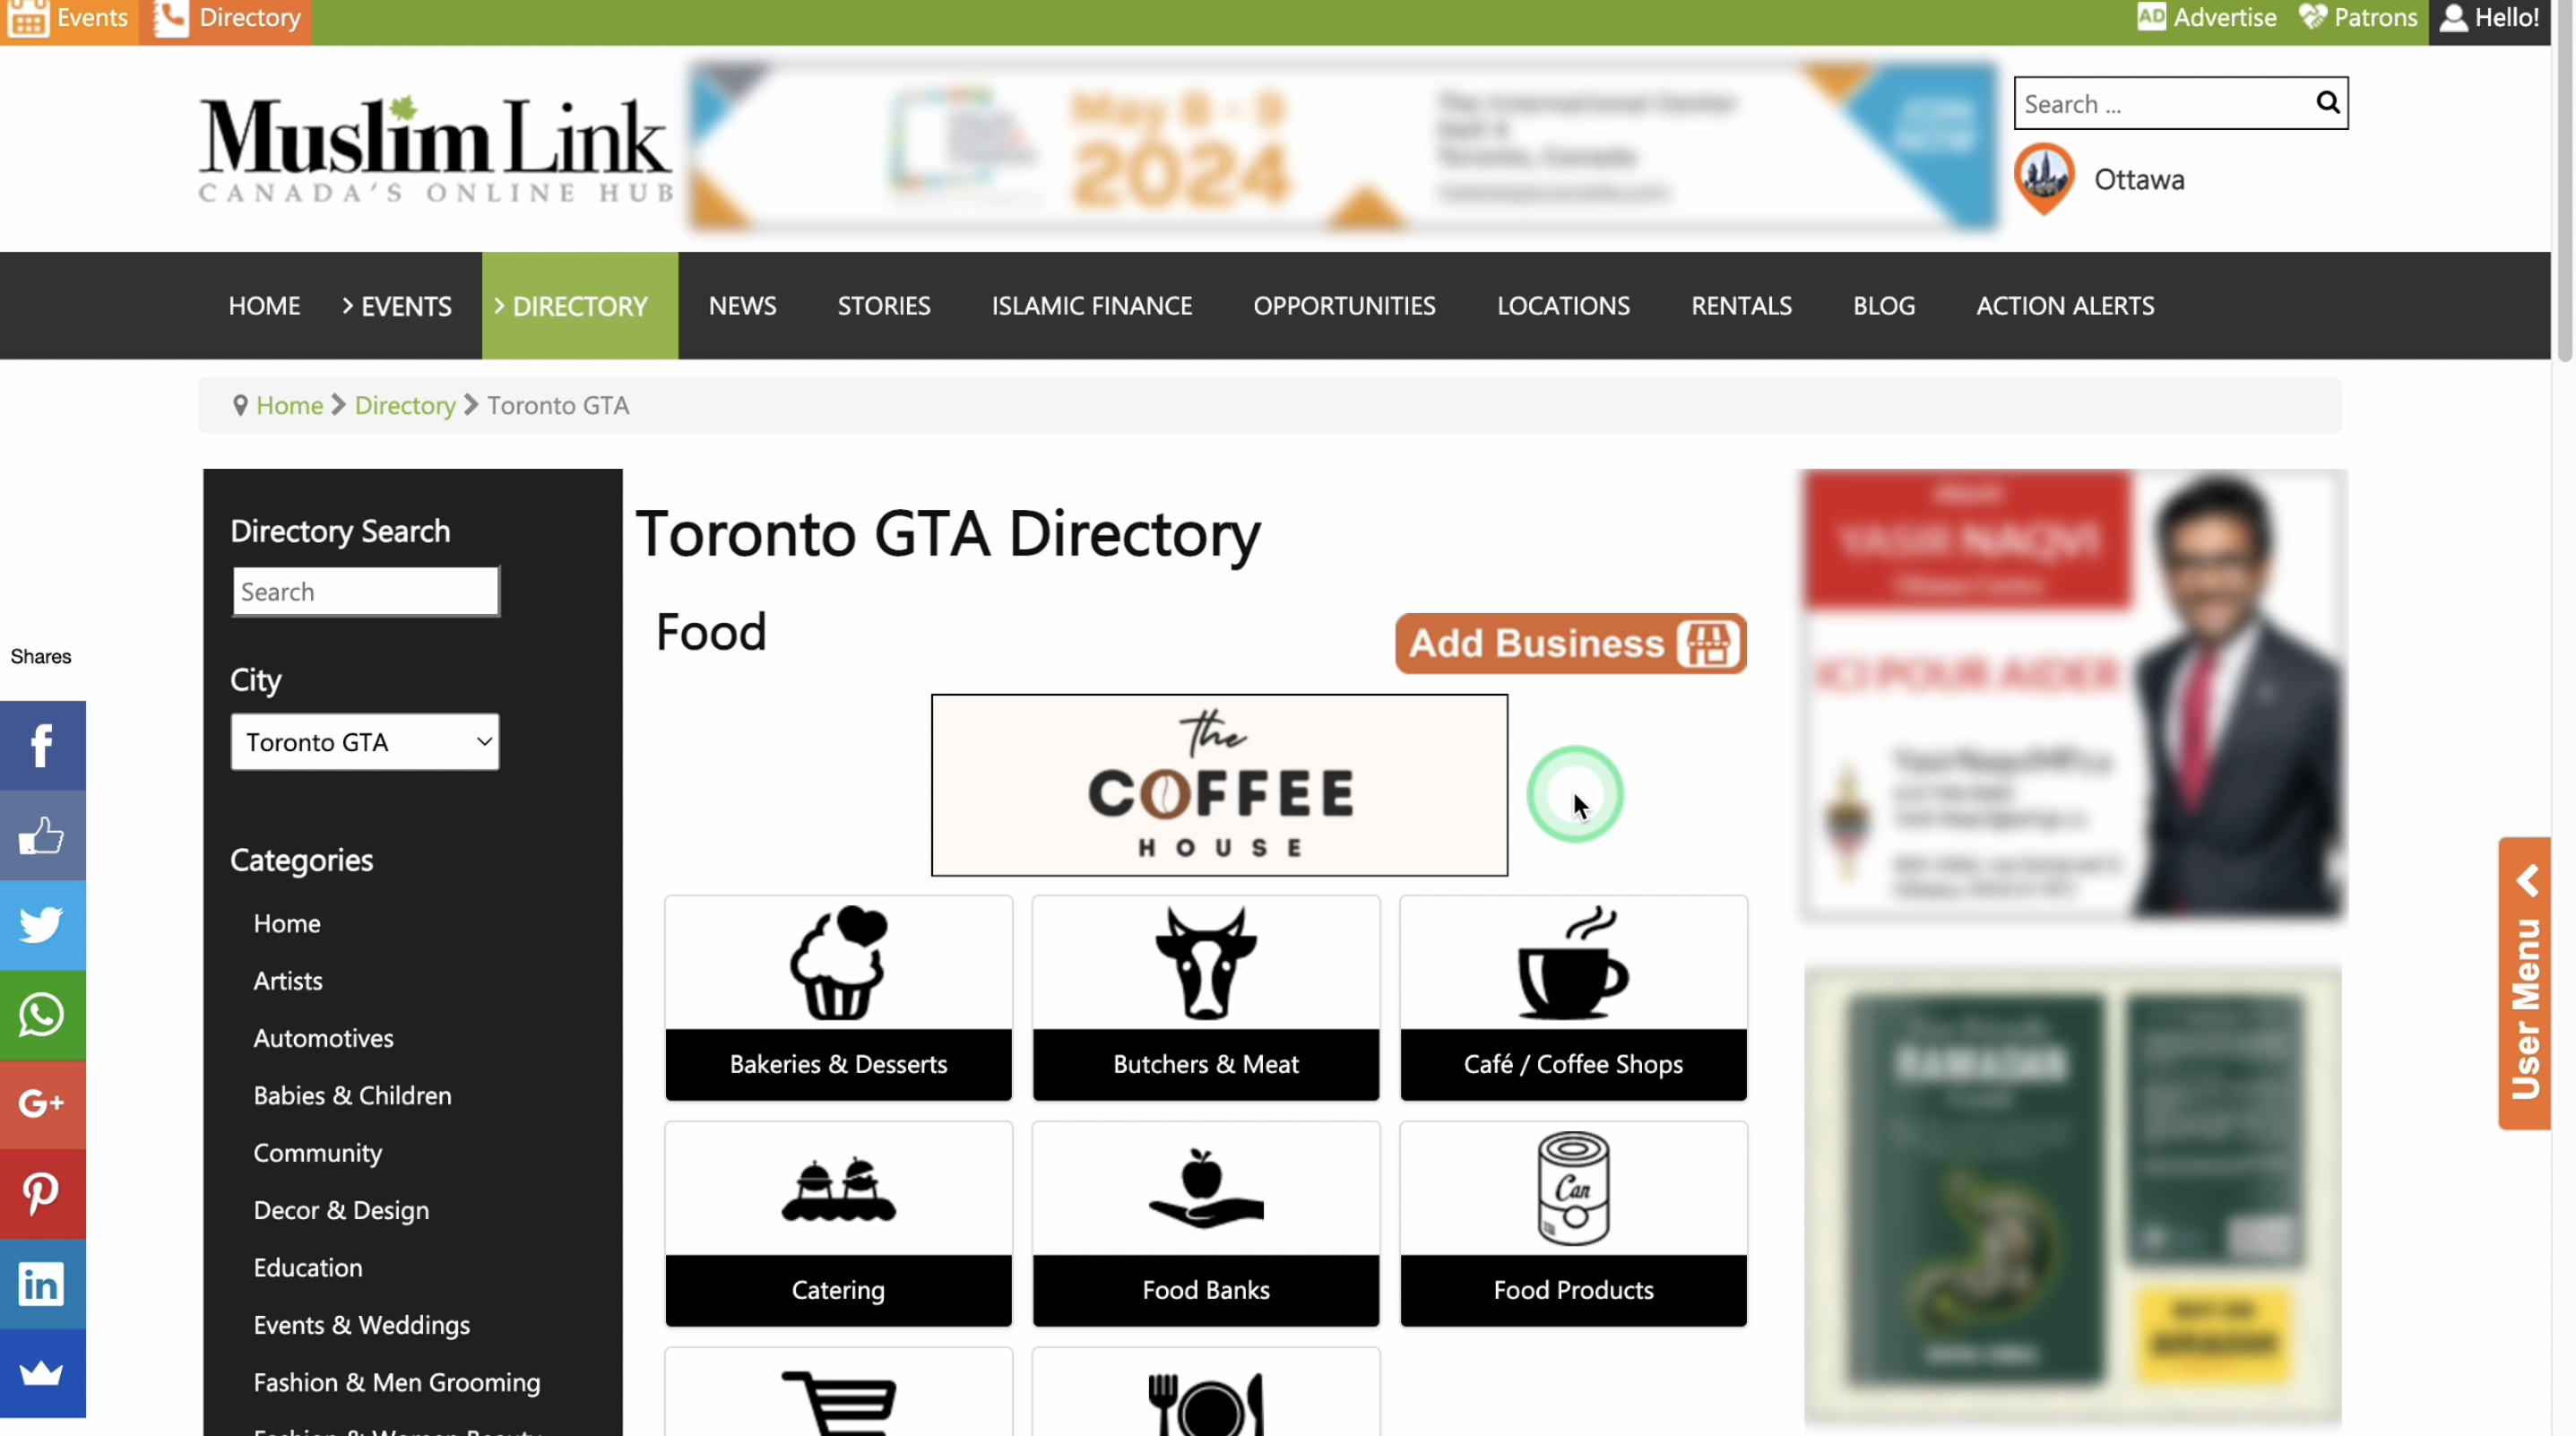
7. Choose a primary category that best represents your business; this is mandatory. For instance, if you run a cafe, select the "Food" category from the directory.
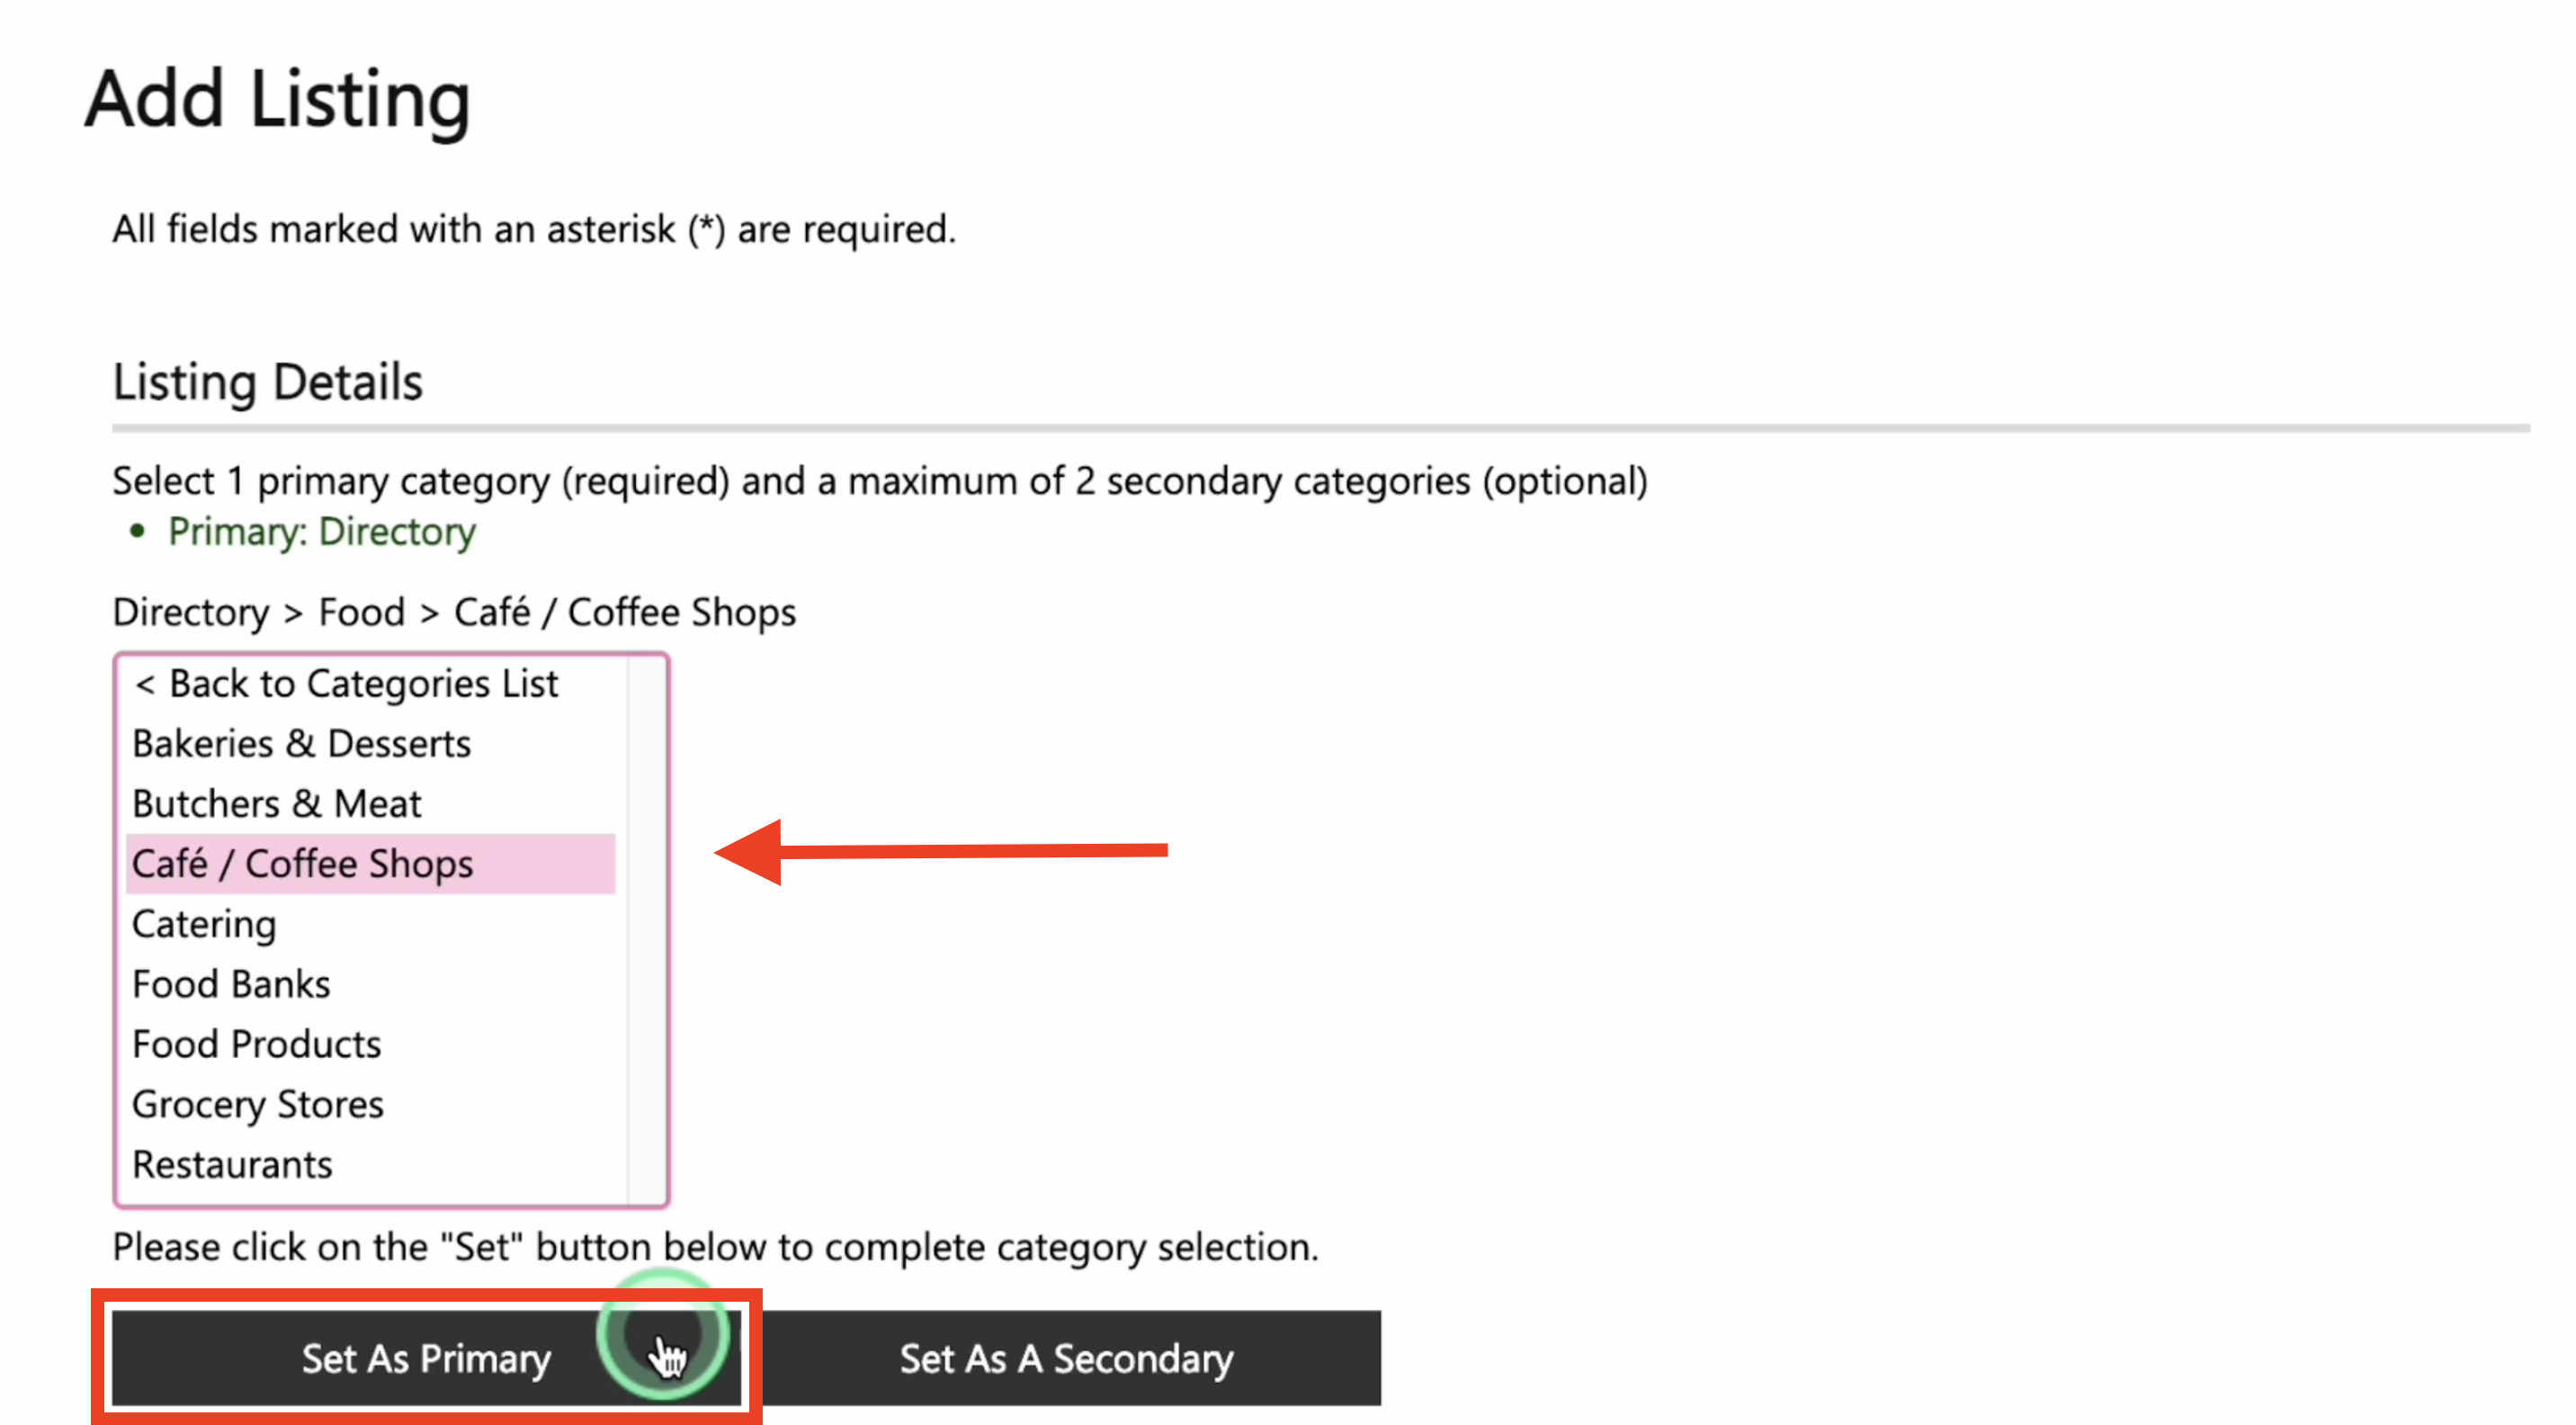
8. Within this category, choose a relevant subcategory, such as “Cafe,” and click "Set as Primary".
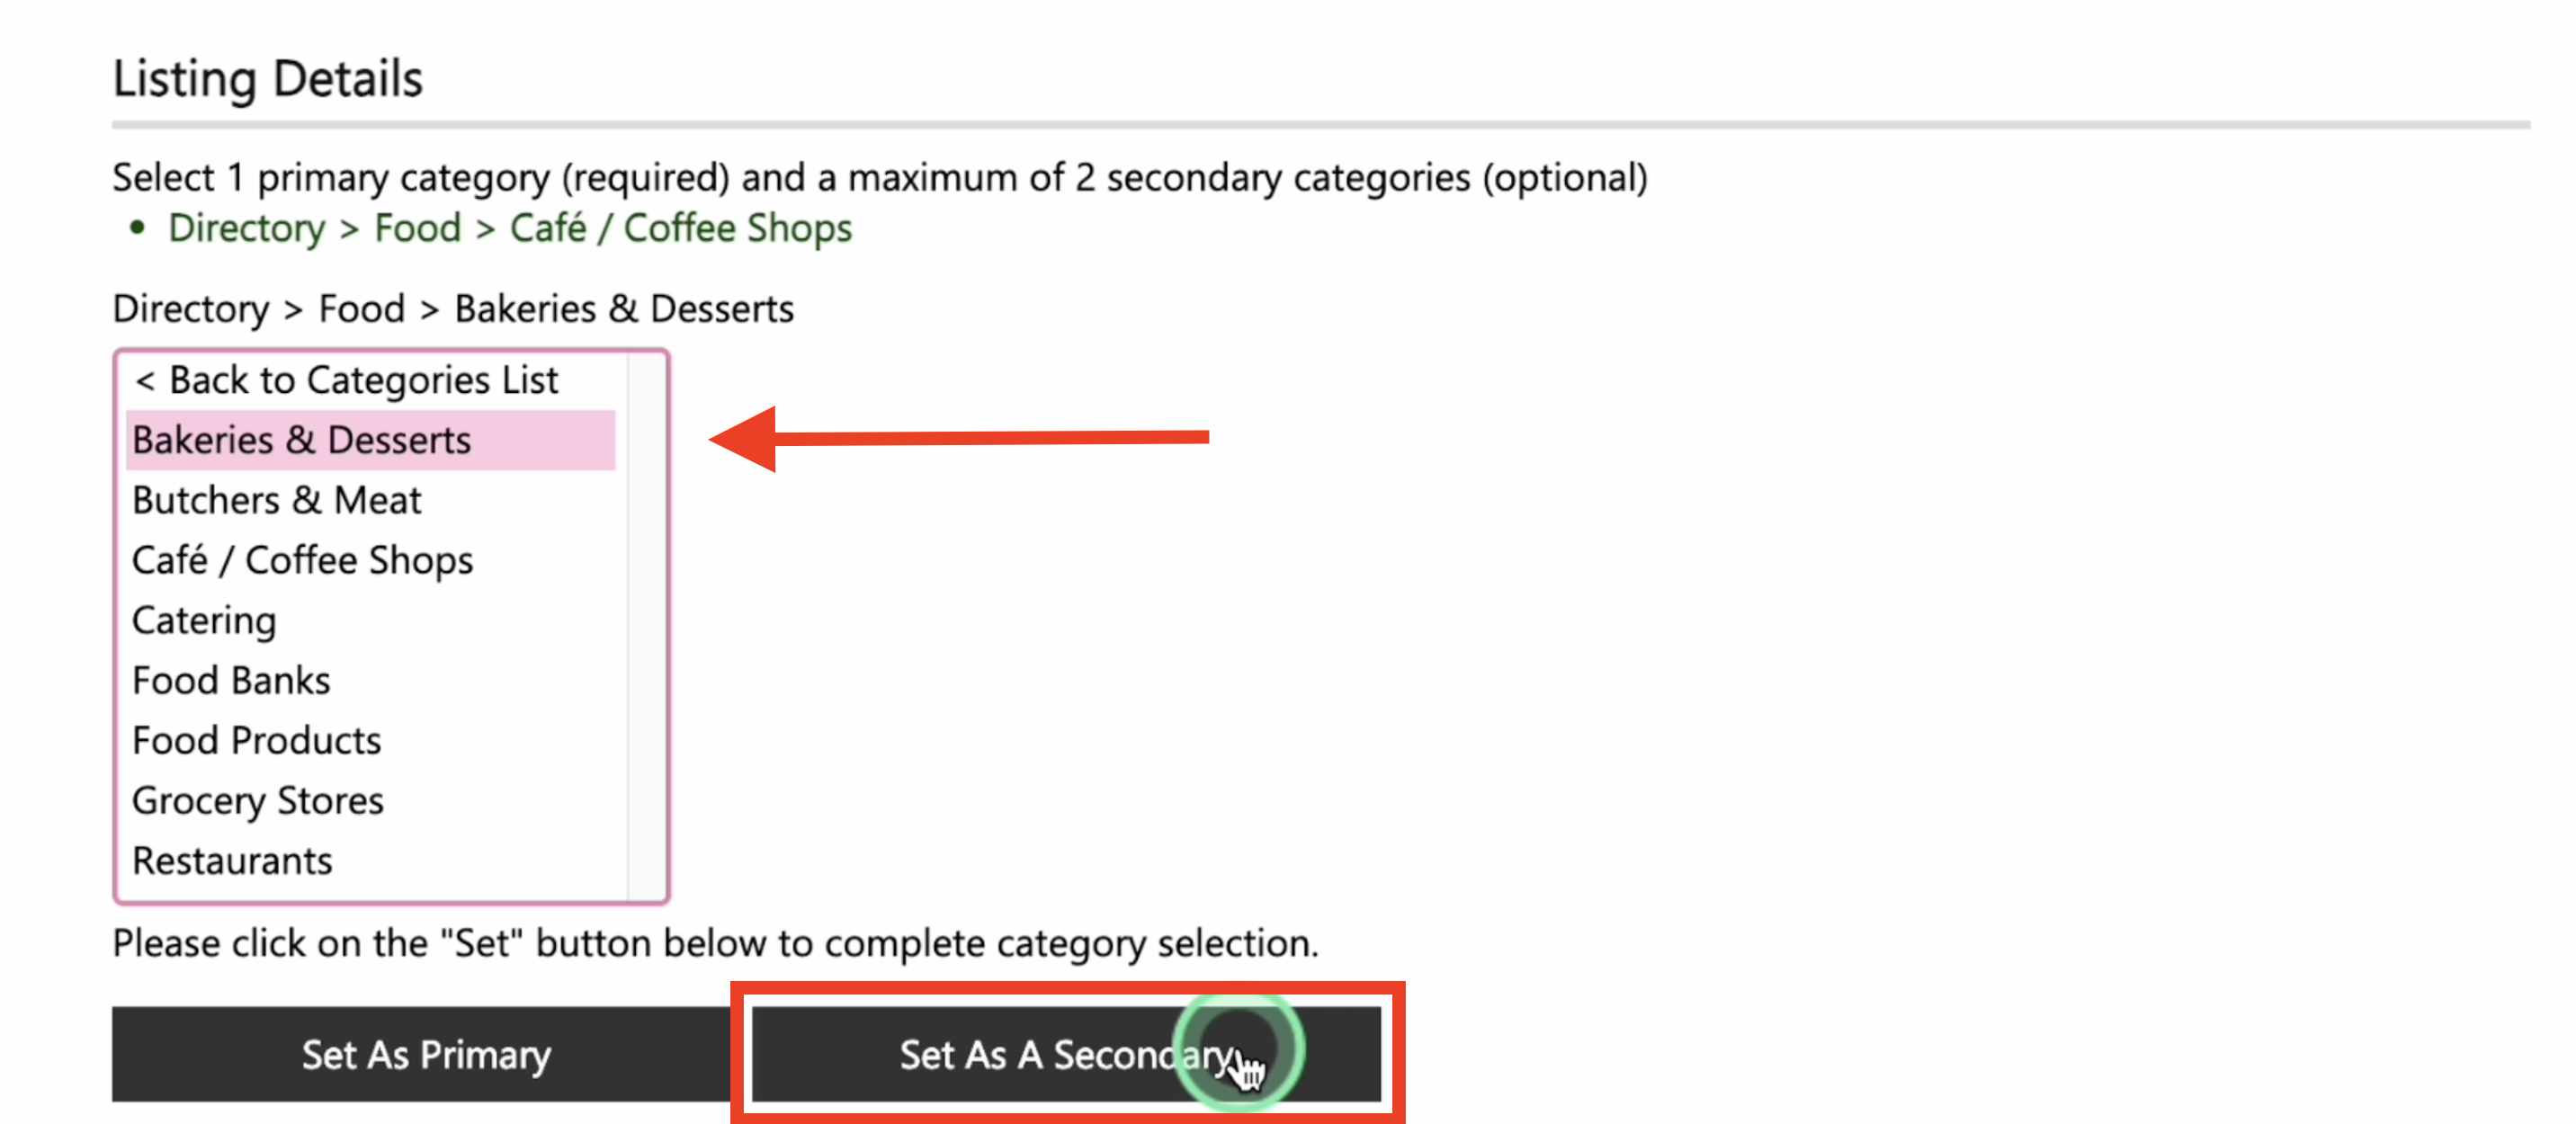
9. To enhance the searchability of your listing, you can also add up to two secondary categories. Return to the categories list, select another category, like "Bakeries & Desserts," then click "Set as a Second Category."
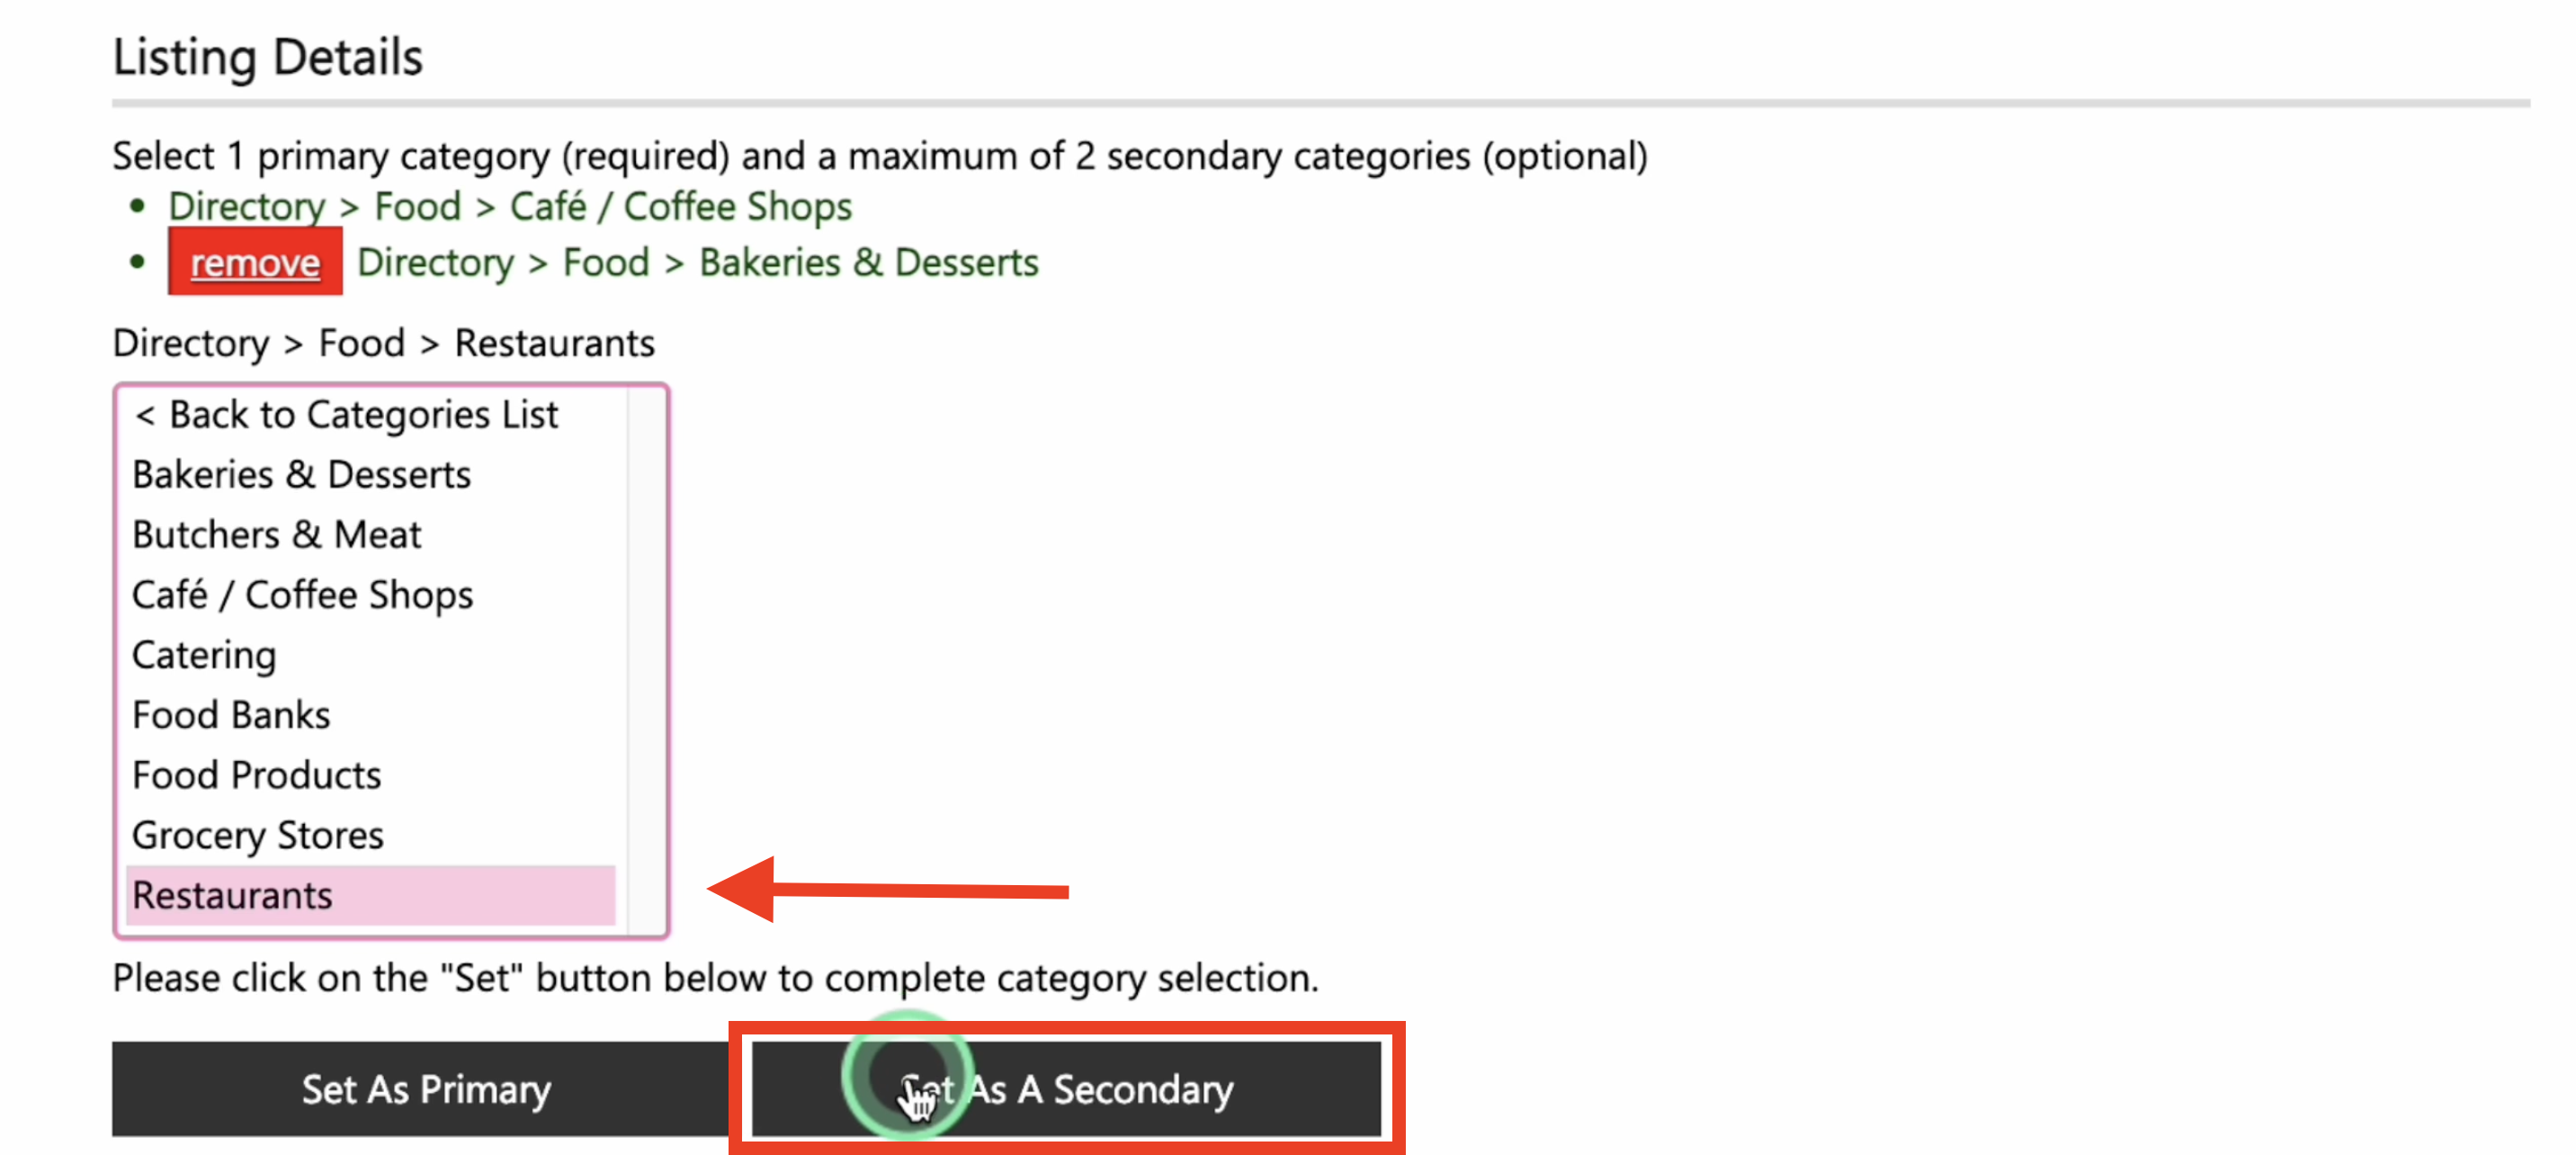
10. Since the maximum is two secondary categories, you can add one more, such as “Restaurants,” and then confirm your selection.
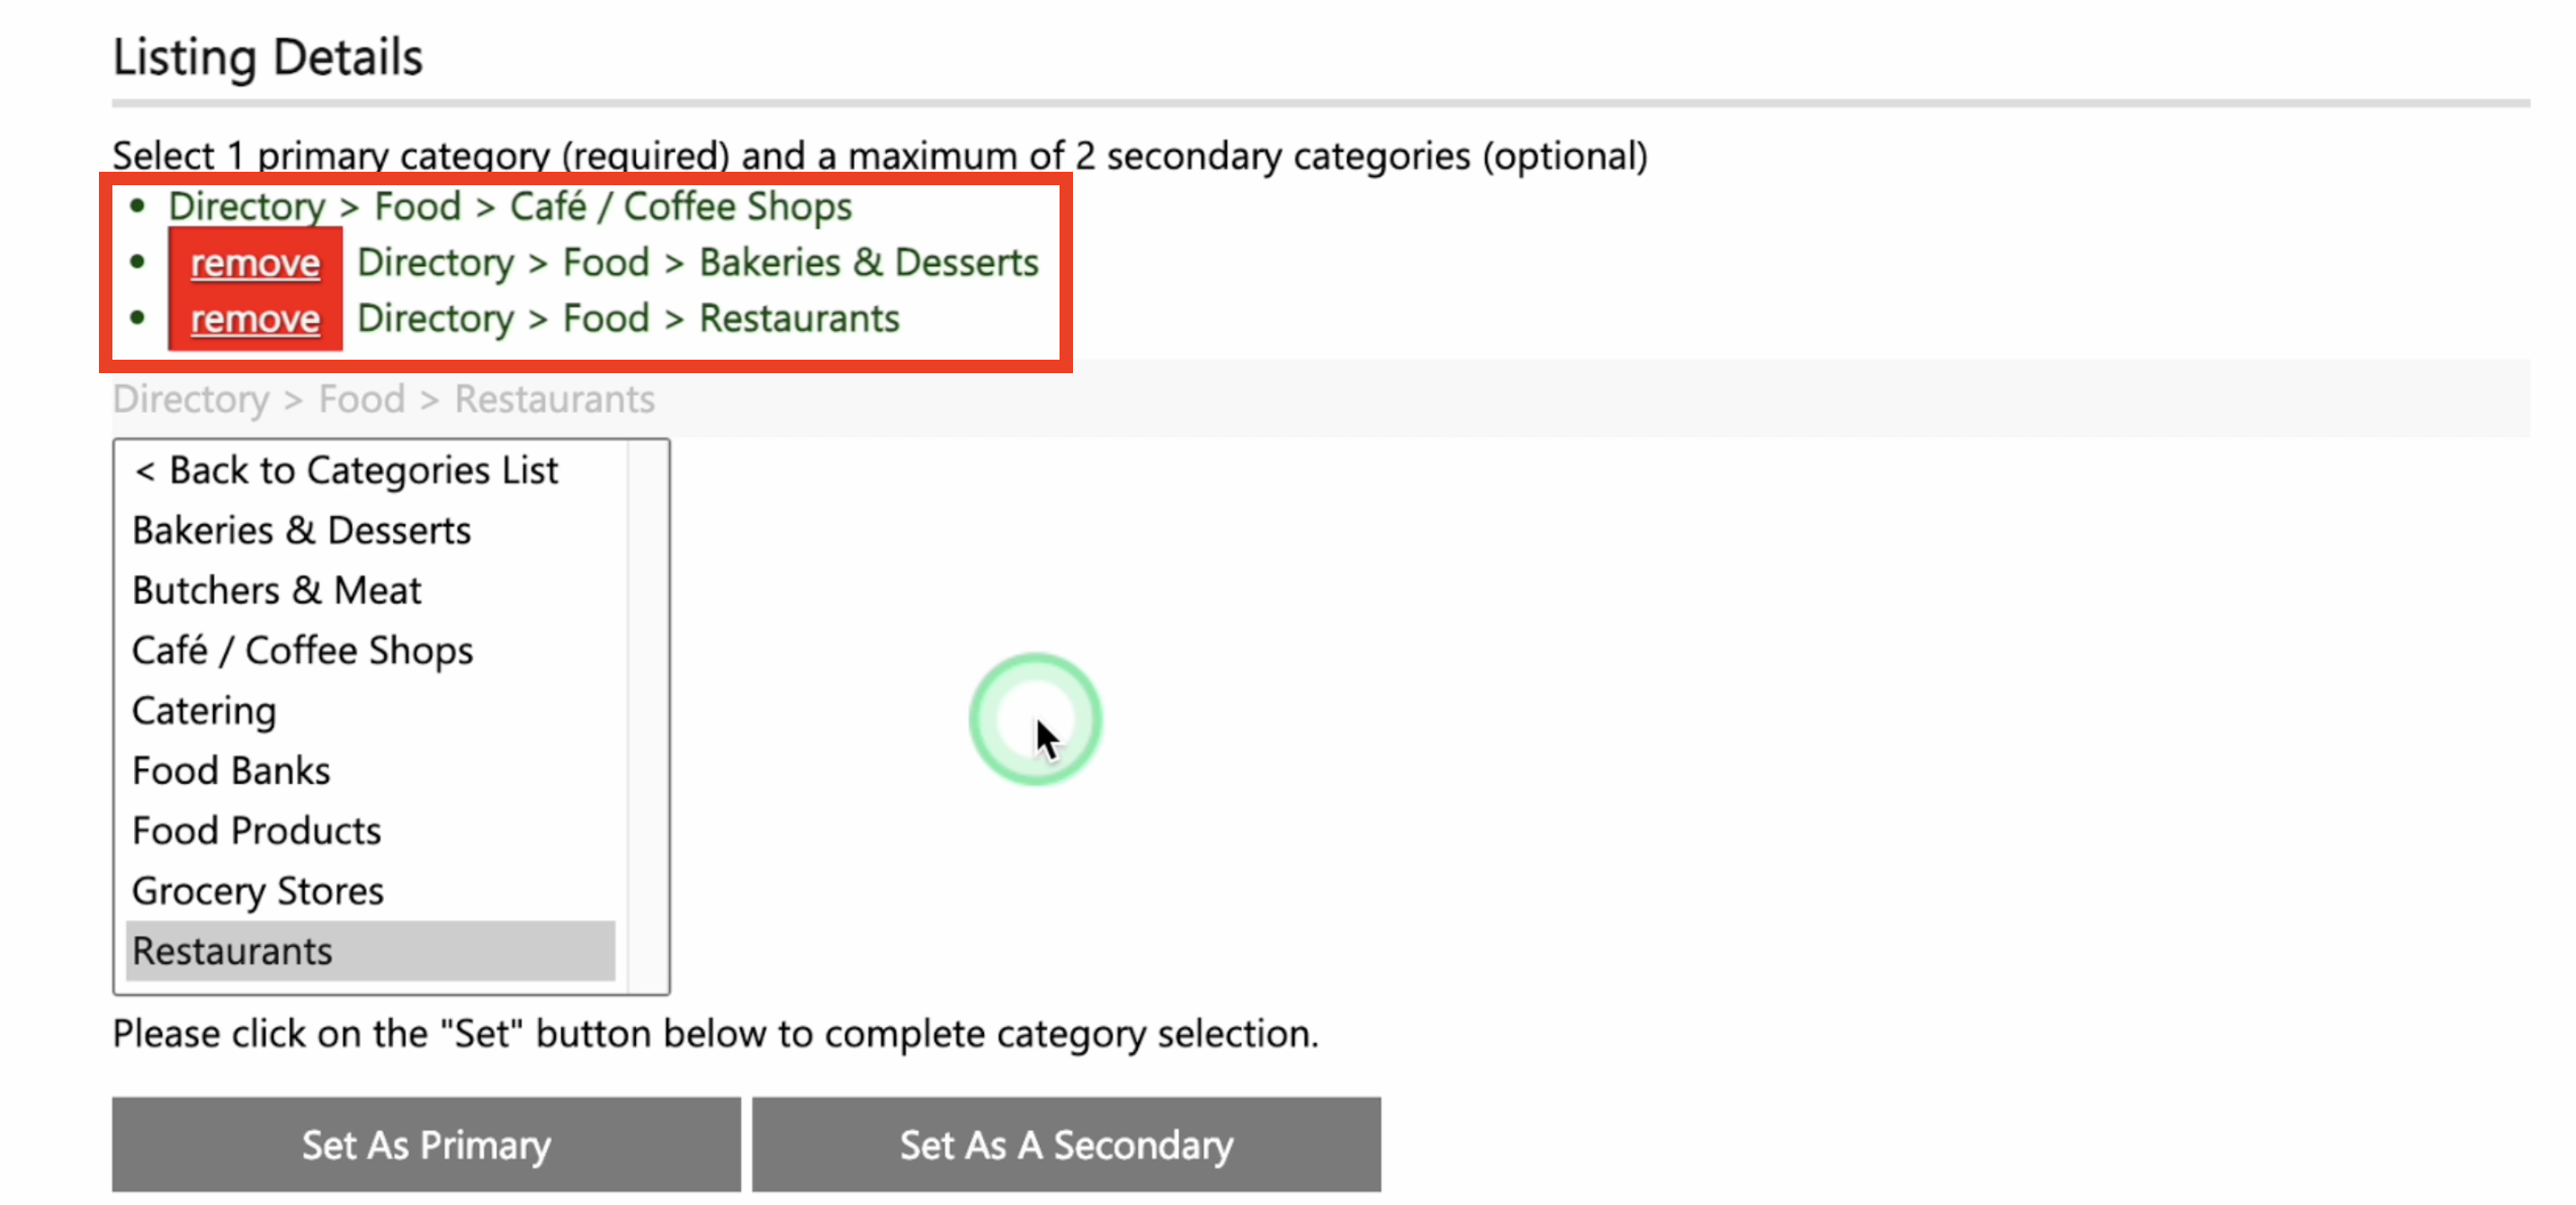
11. With a total of three categories, your listing will show up better when users search for businesses.
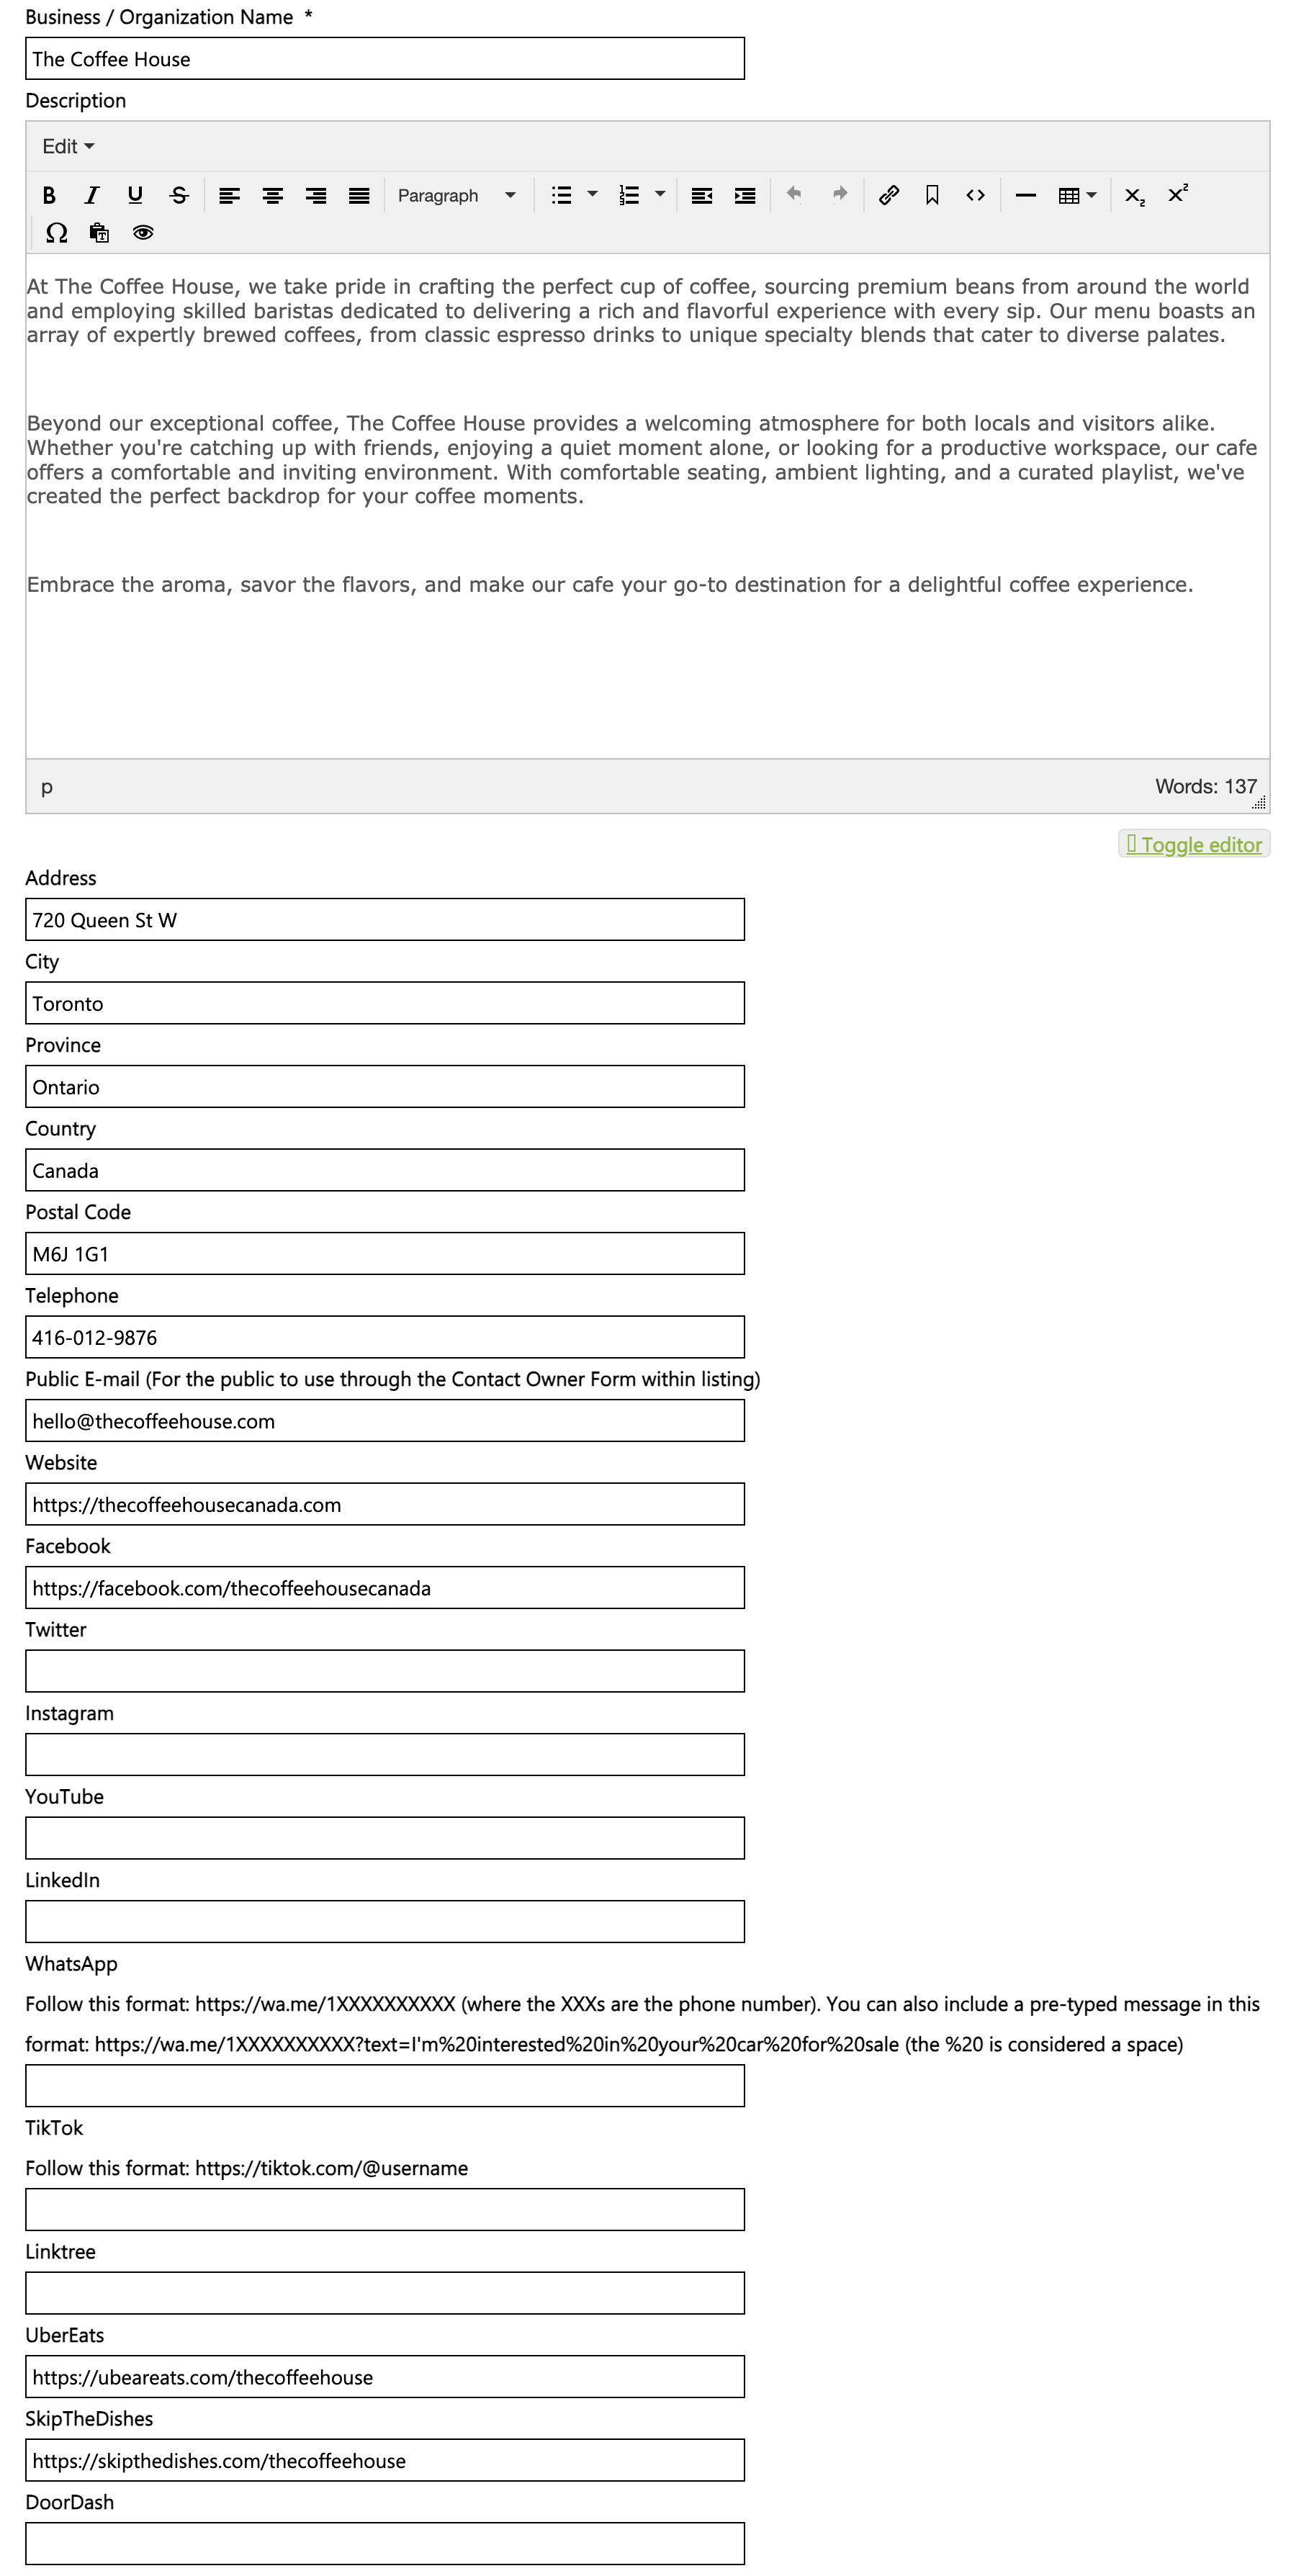
12. Business/Organization Name: Enter the business or organization name.
13. Description: Provide the description of your business.
14. Fill in the location and contact details of the business such as its address, city, province, country, postal code, telephone, email, website, and social media accounts. (Note: Your email address is not visible on the website. Instead, a contact form will be available in the listing. When users fill up the contact form, the information will be sent to your specified email address.)
15. If the business is registered in a delivery app such as Uber Eats, Skip the Dishes, and Door Dash, provide the links here.
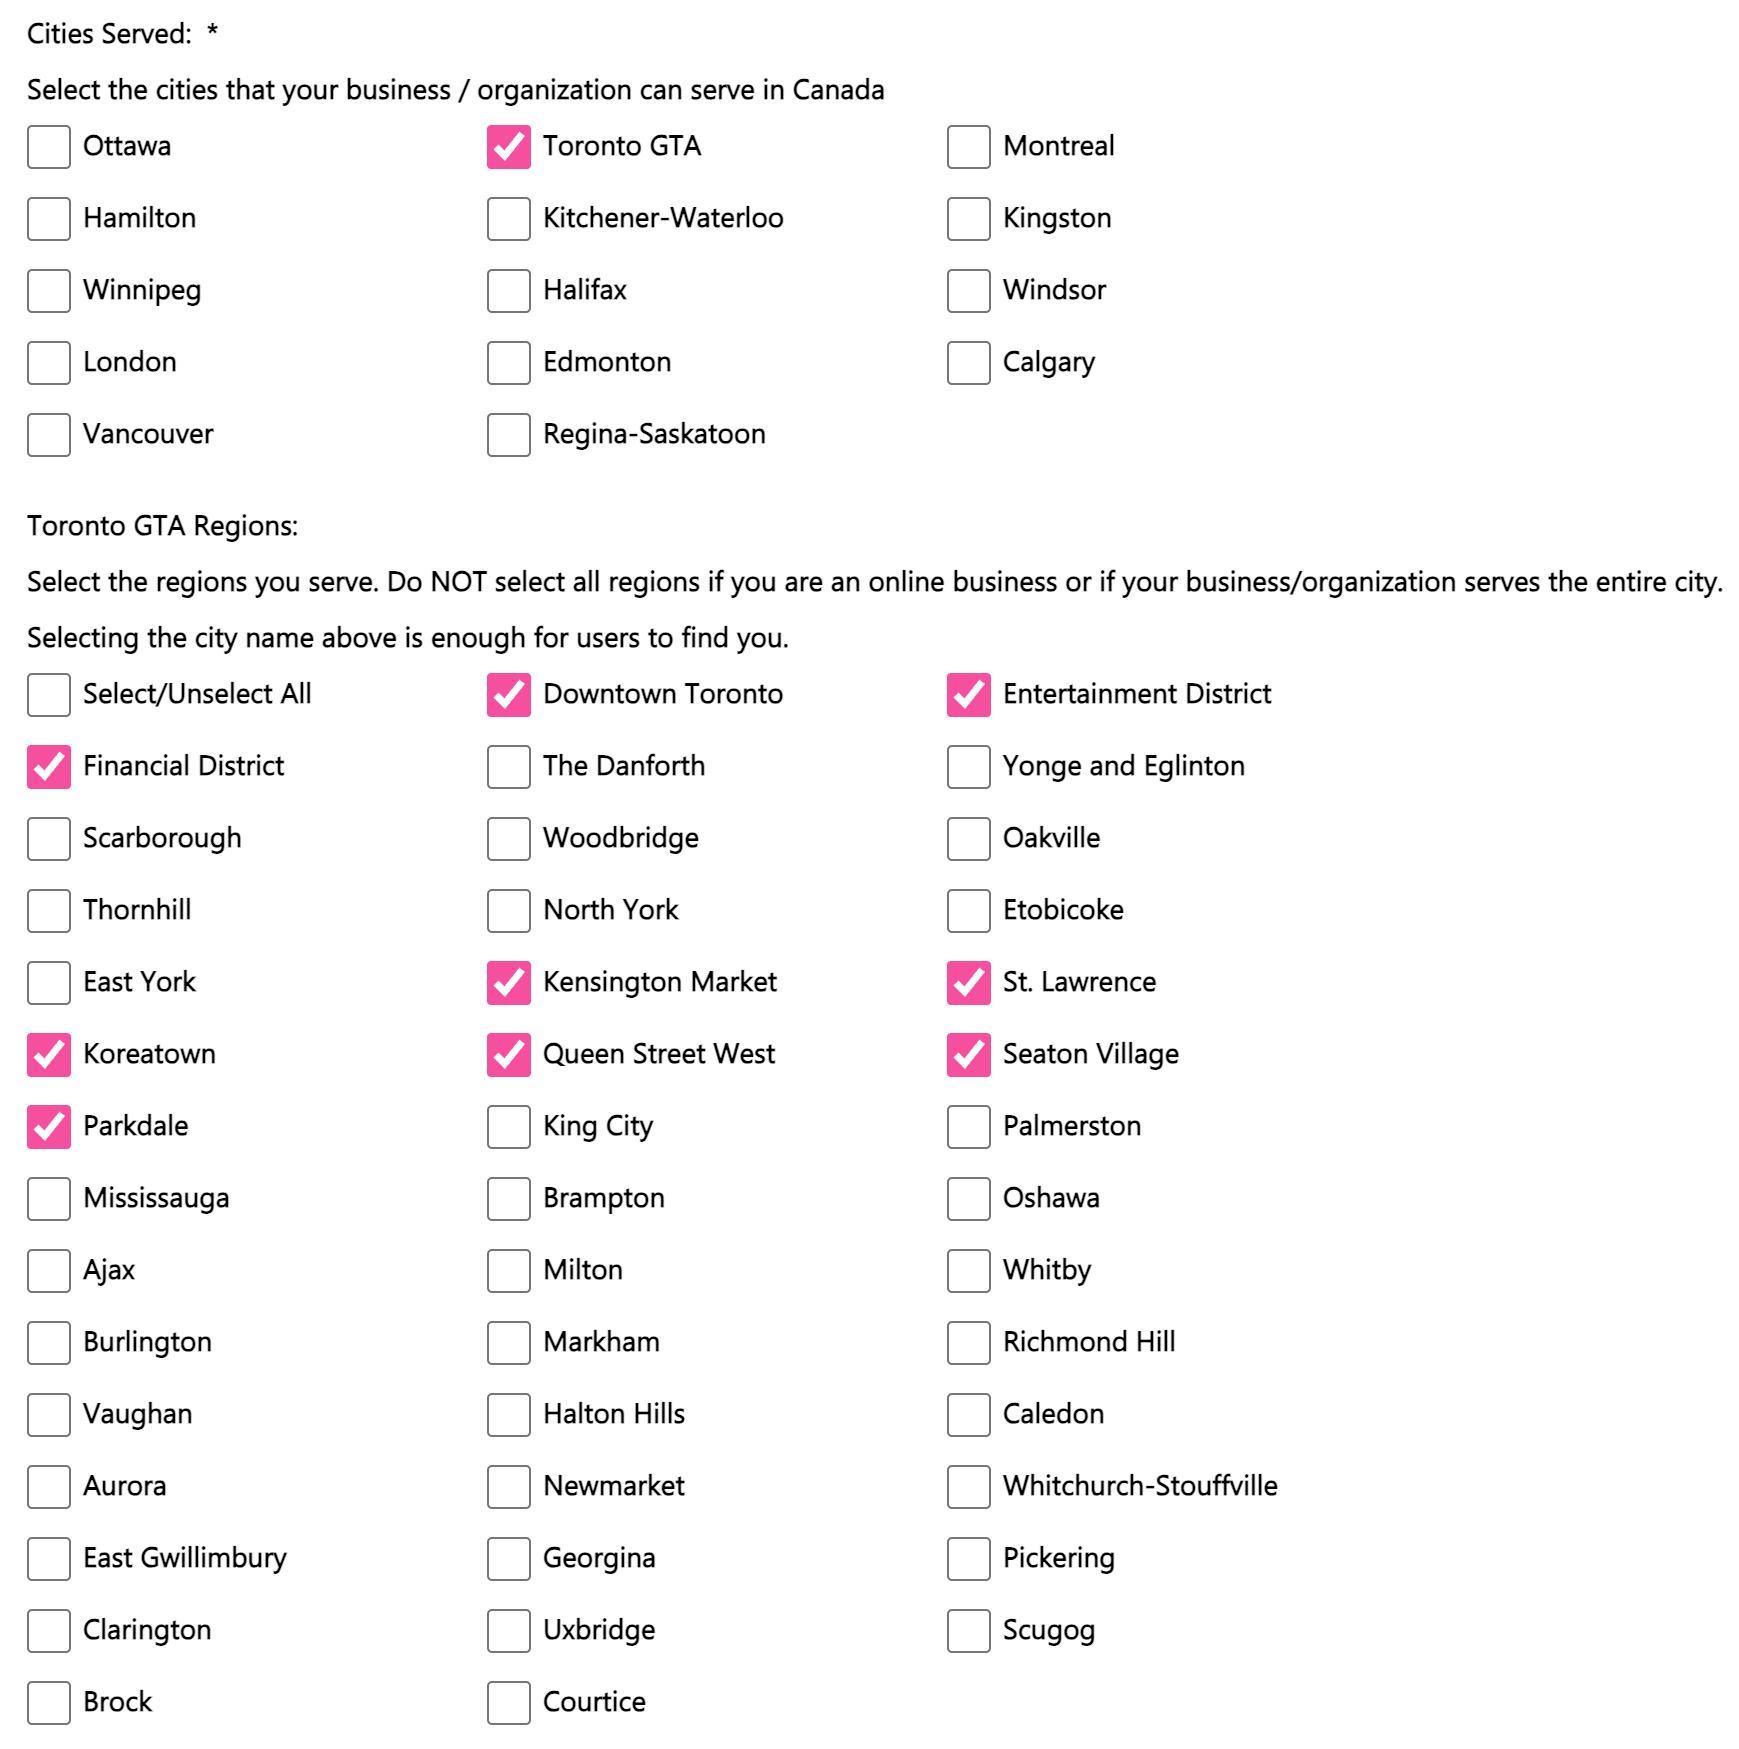
16. Cities Served: Choose the Canadian cities where your business or organization can provide services. Let’s say the cafe only serves in Toronto. However, if your service extends to multiple cities, feel free to choose all the applicable cities.
17. Regions: Once you selected a city, select the regions you serve. If your business operates online or serves the entire city, you don't have to choose every region. If you did choose them all, the admin will remove them. This won't impact your business's searchability, so you don't need to select all regions.
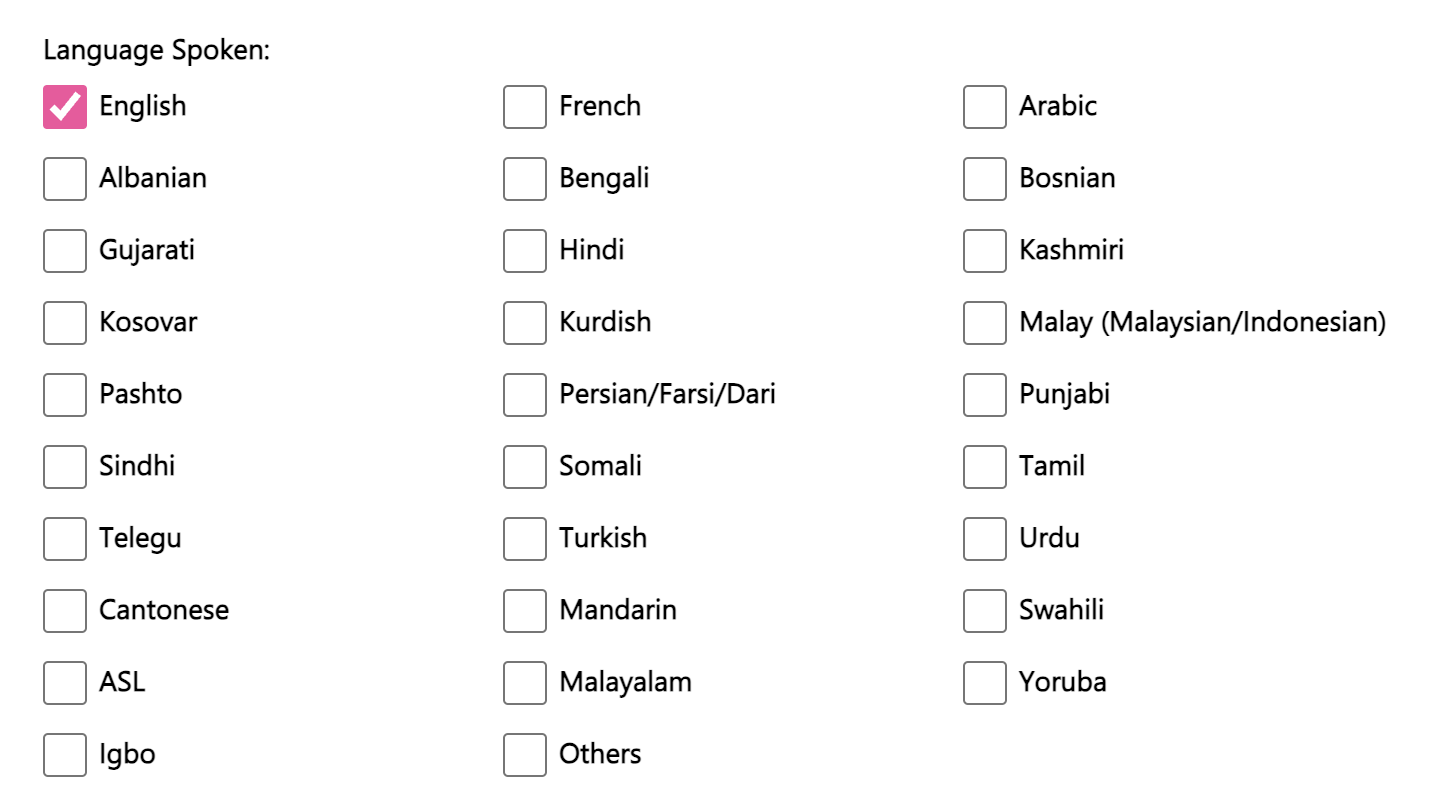
18. Language Spoken: Choose the language spoken.
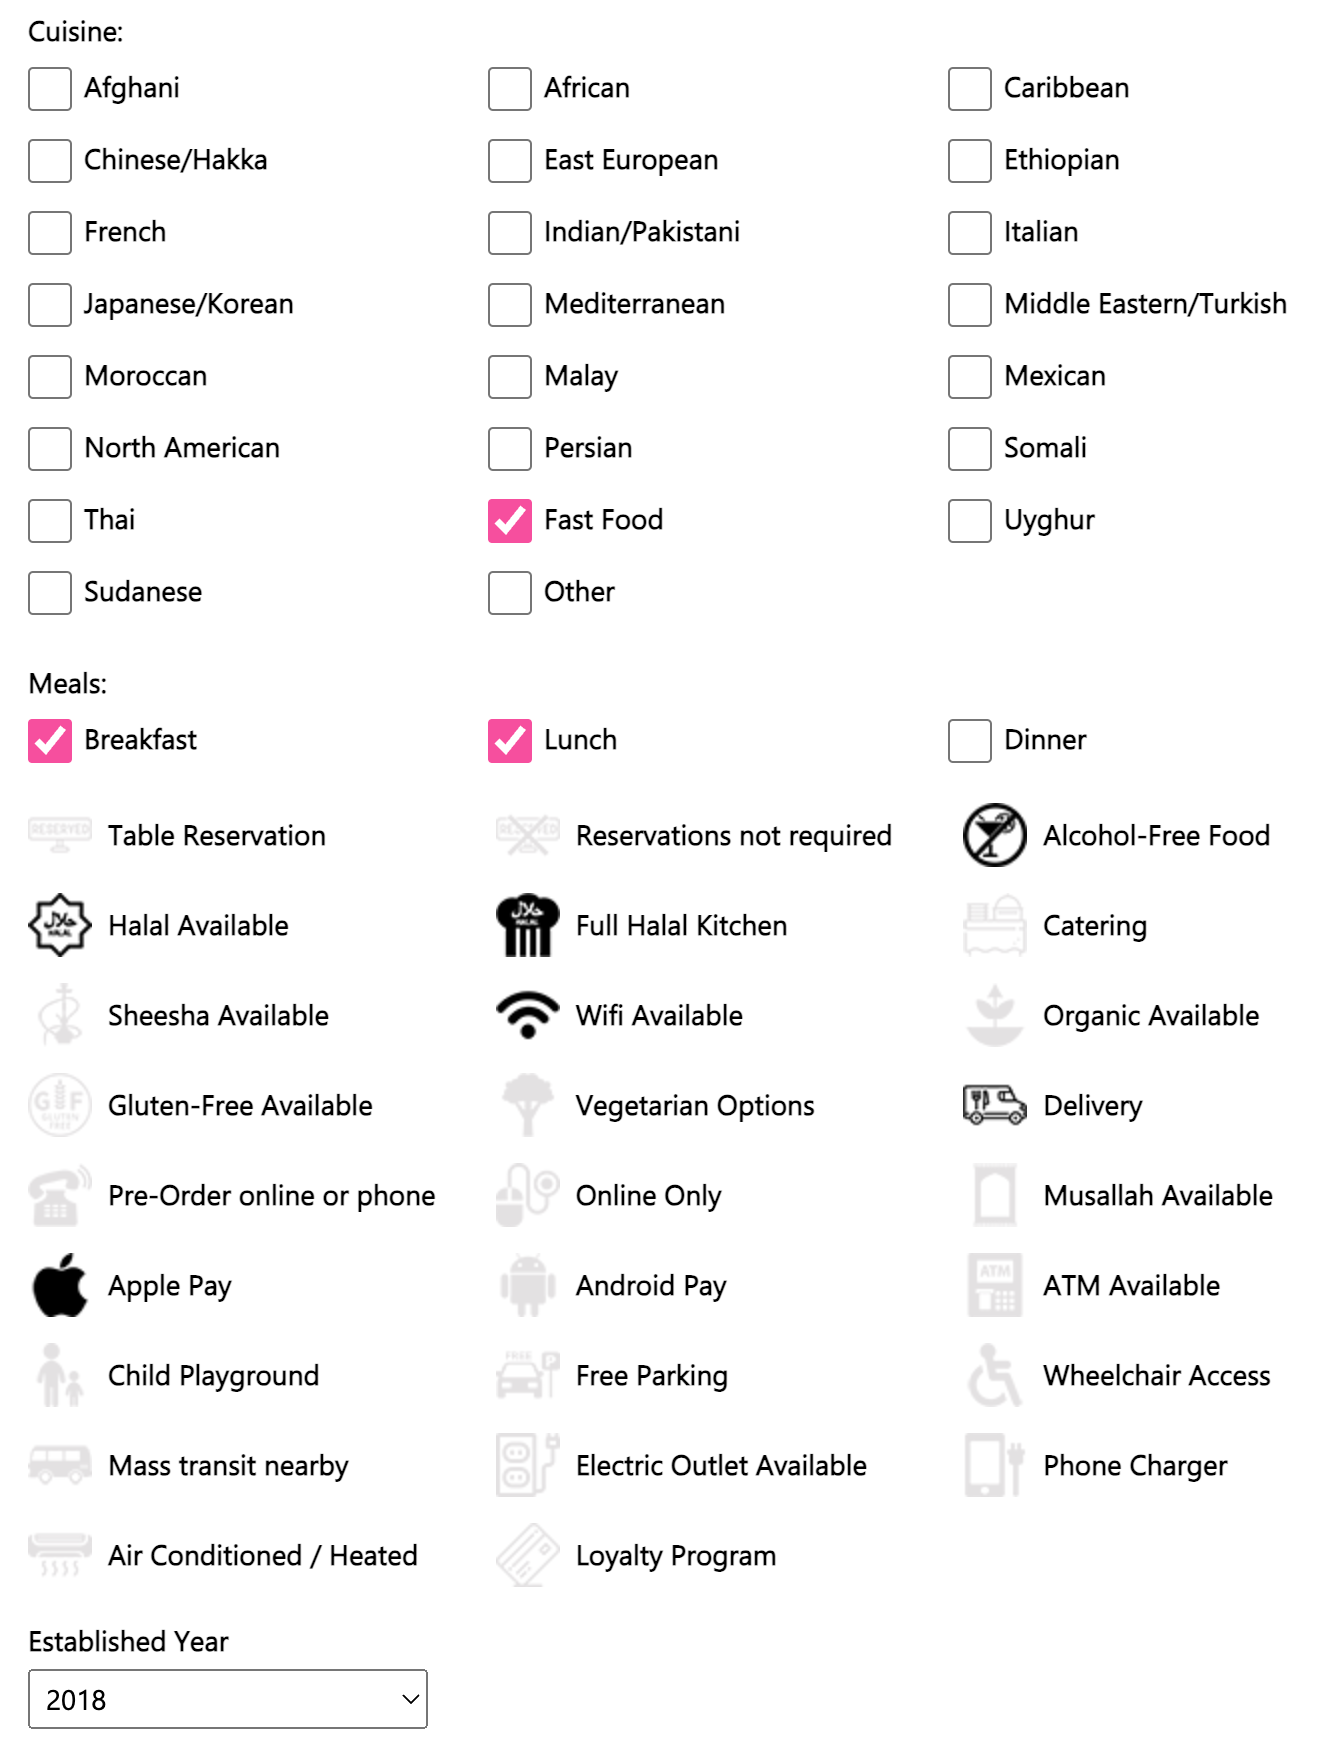
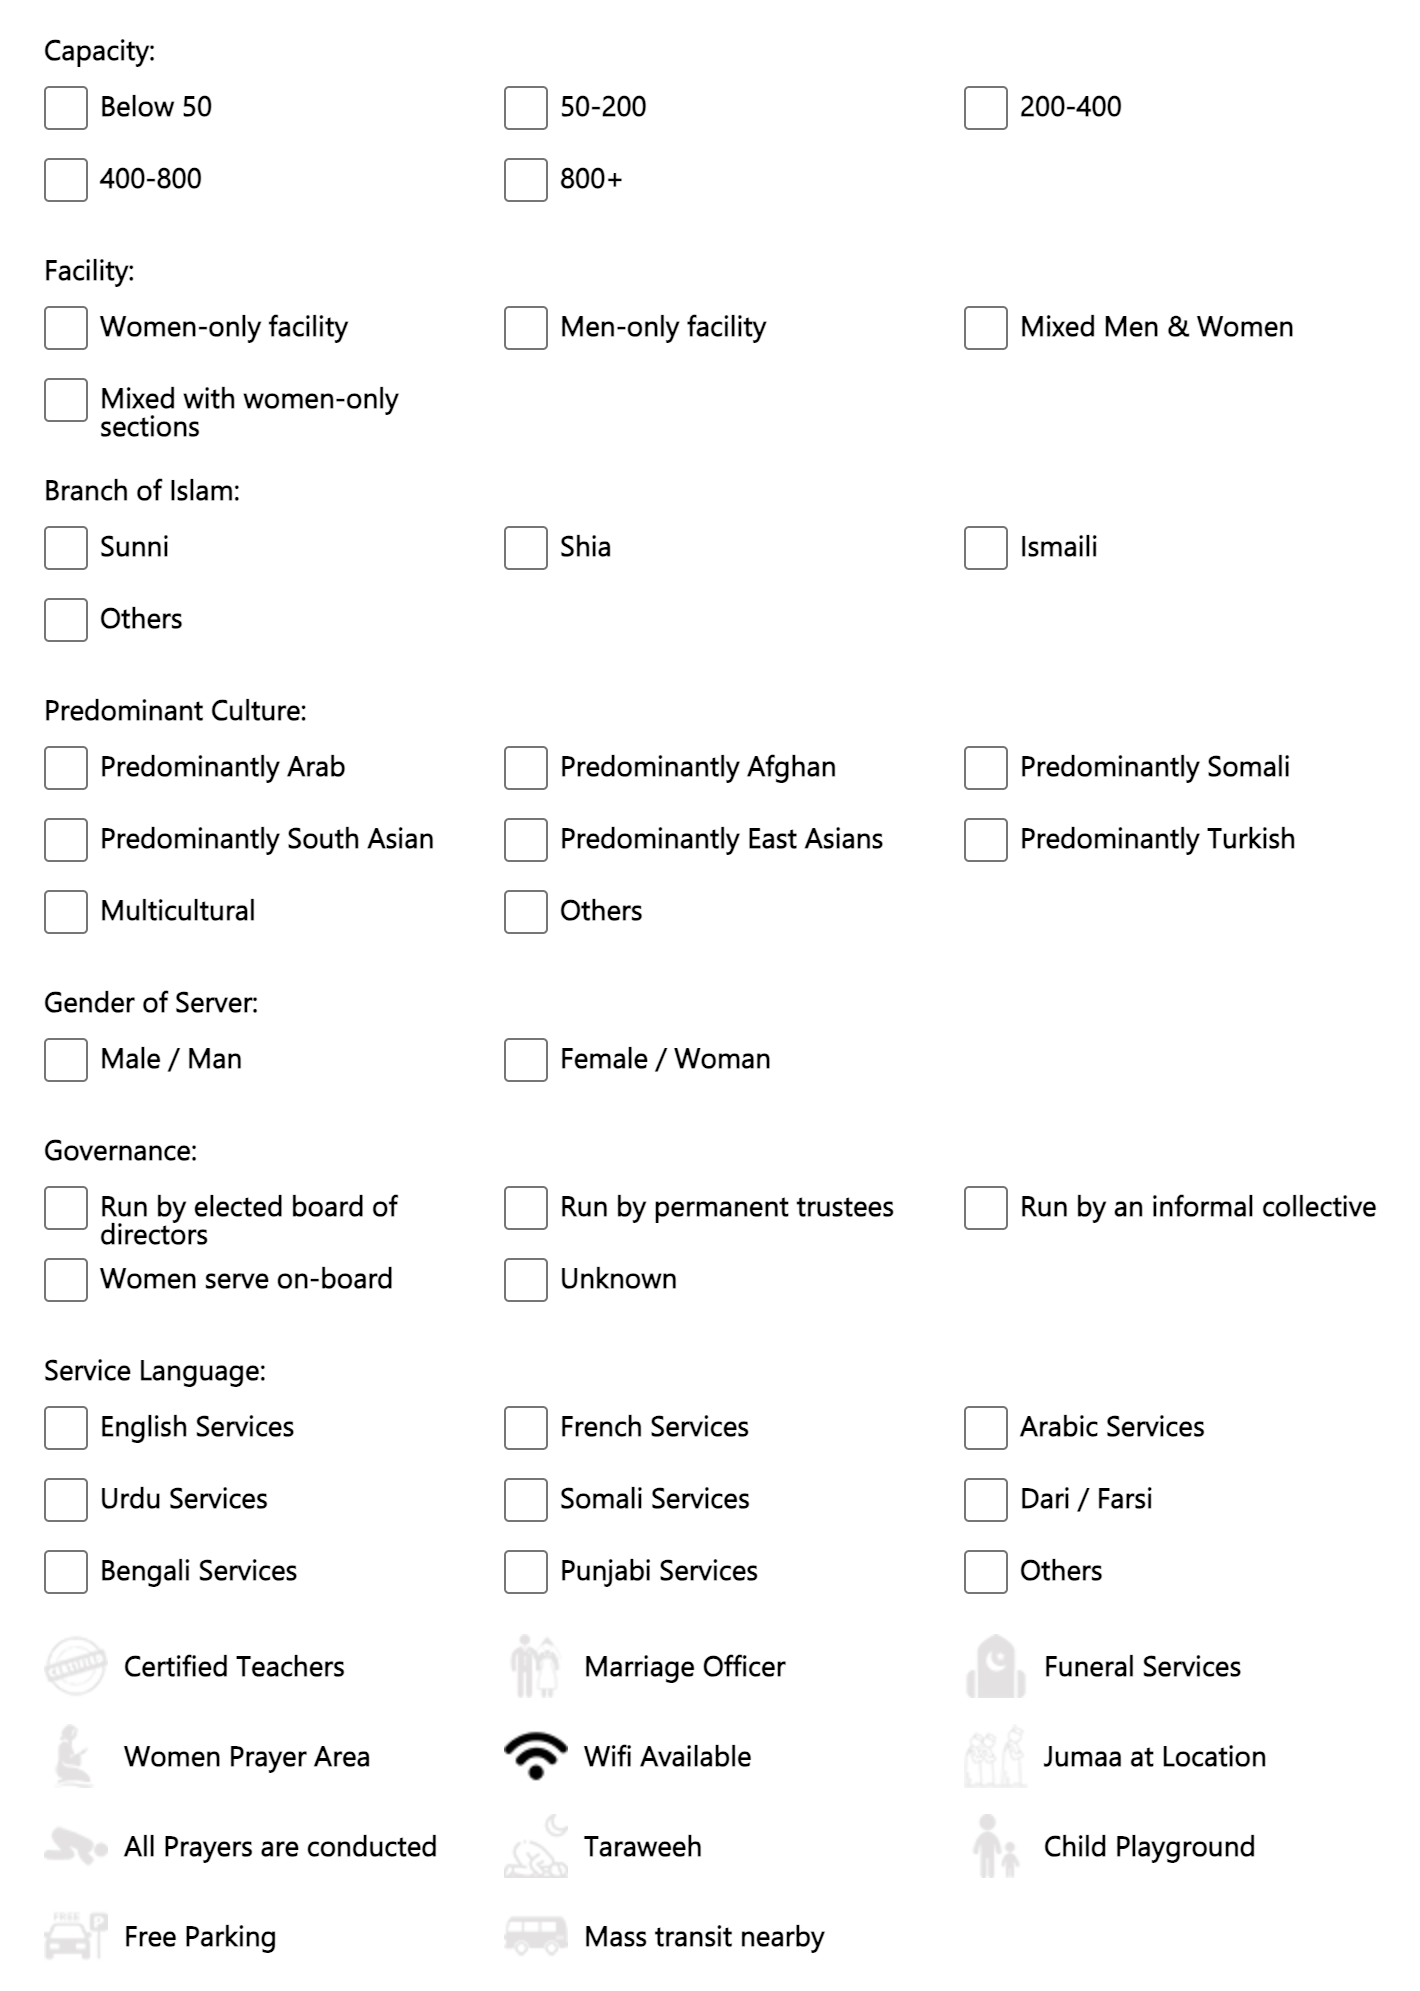
19. Since the cafe business falls under the restaurant category, you'll be prompted to specify the cuisines and meals offered, as well as select features and amenities provided.
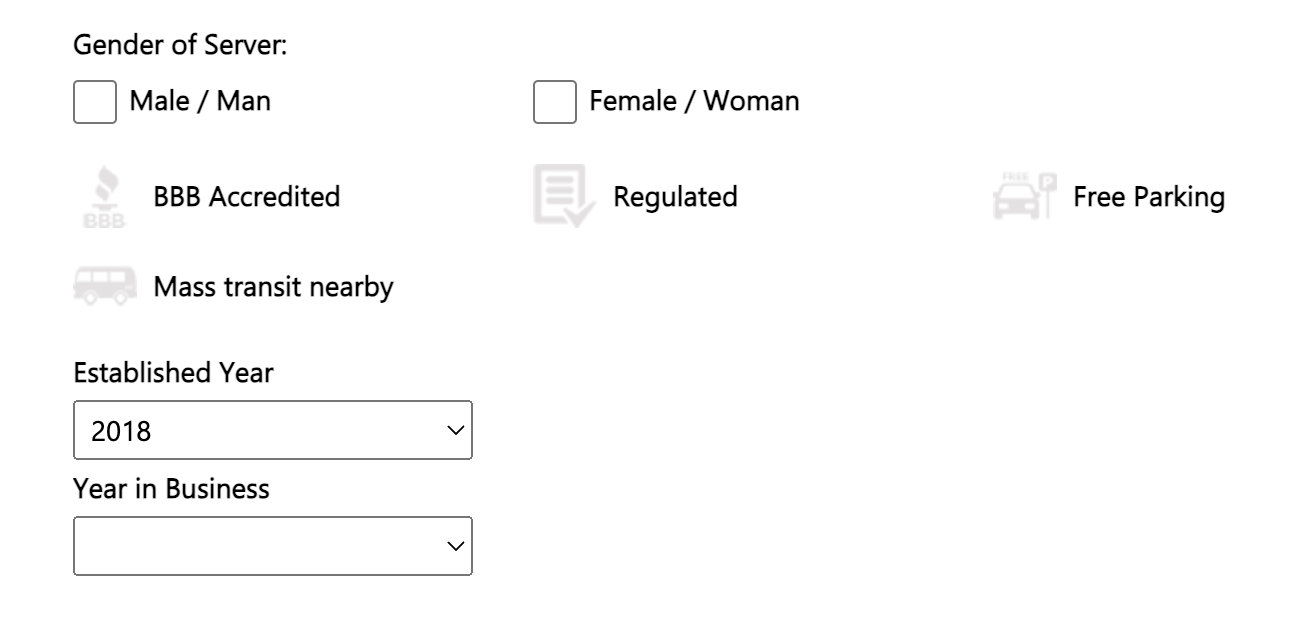
20. If your business falls under a different category, such as professional services, you'll be asked about the gender of the server and the features and amenities of the business.
21. Another example is when the business is in the Muslim services category, a different set of checklists specific to that category will be presented. Basically, the content of this section depends on the category you choose.
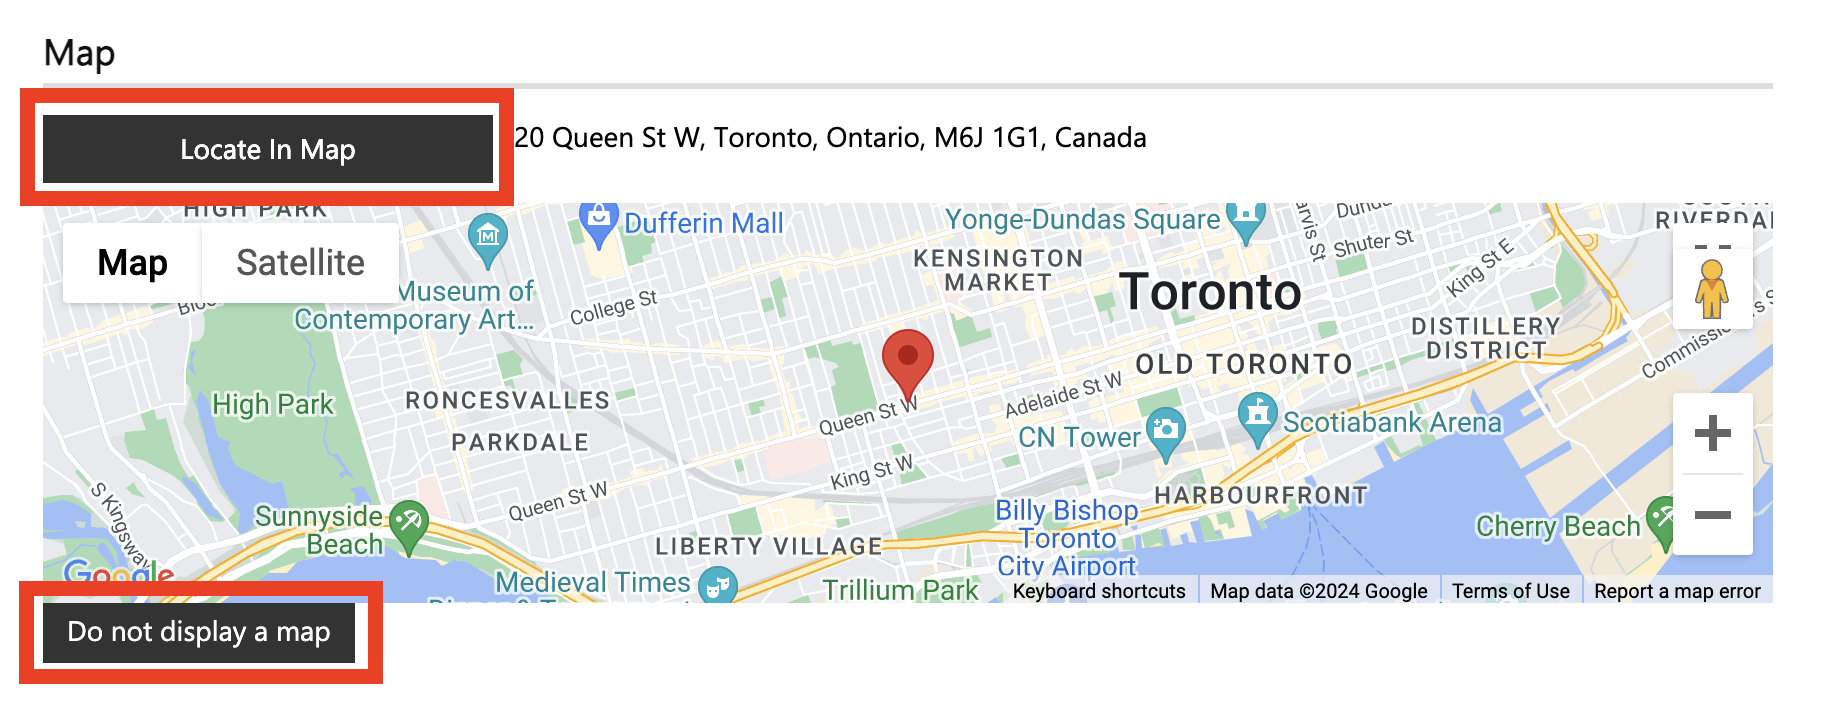
22. Map: You can add a map on the listing by clicking “Locate in Map”. If you don’t want to include a map, click here “Do not display a map”.
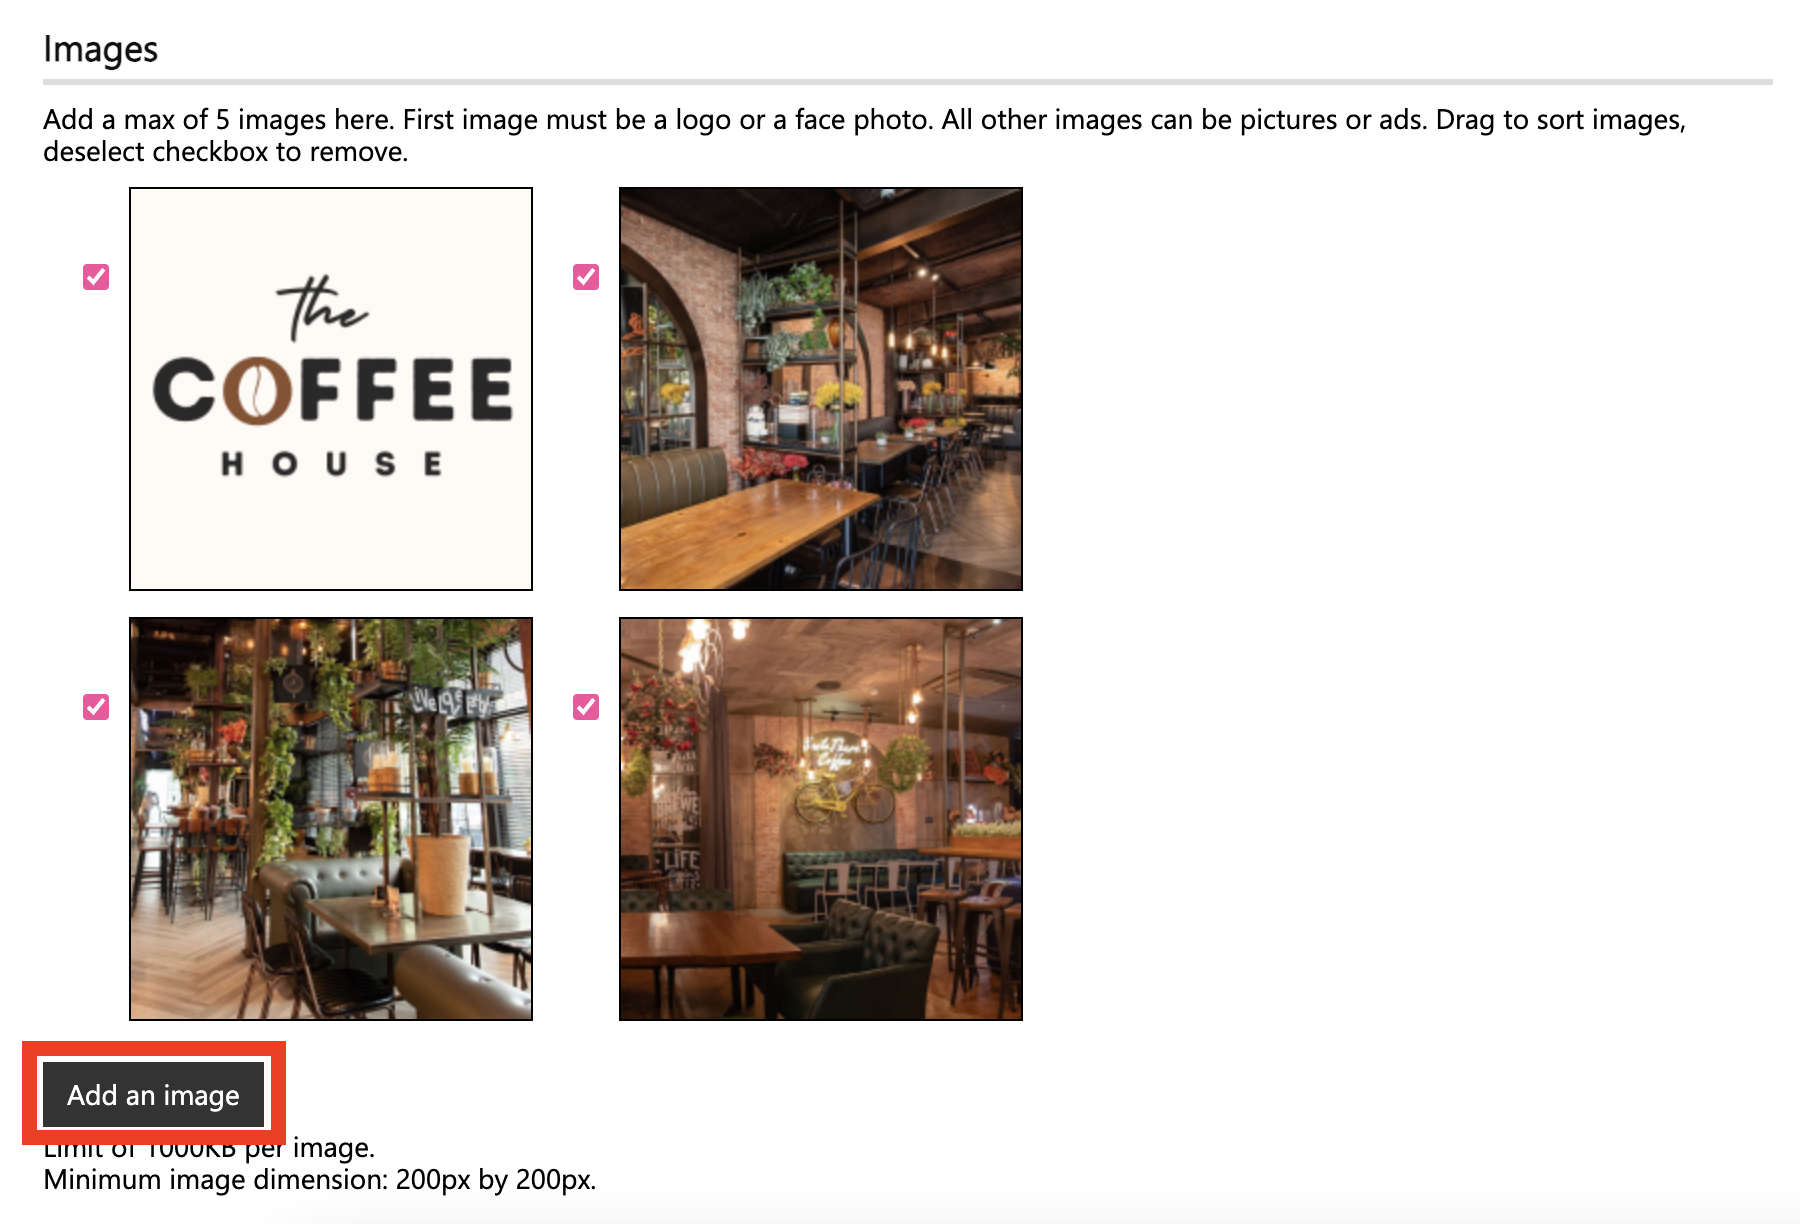
23. Images: Upload the image by clicking “Add an Image”. You can add up to 5 images here. The first one should be a logo or face photo. You can add pictures or ads for the rest.
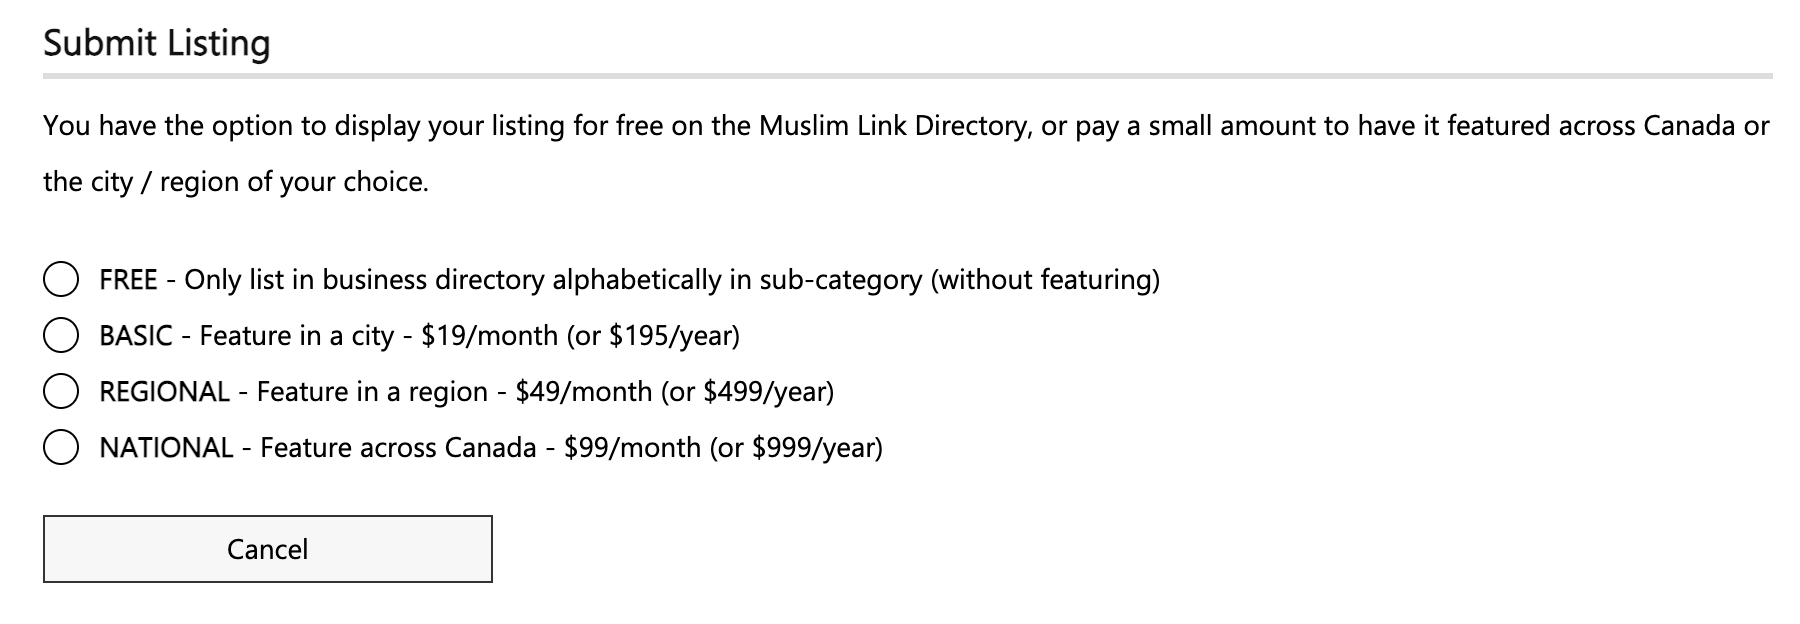
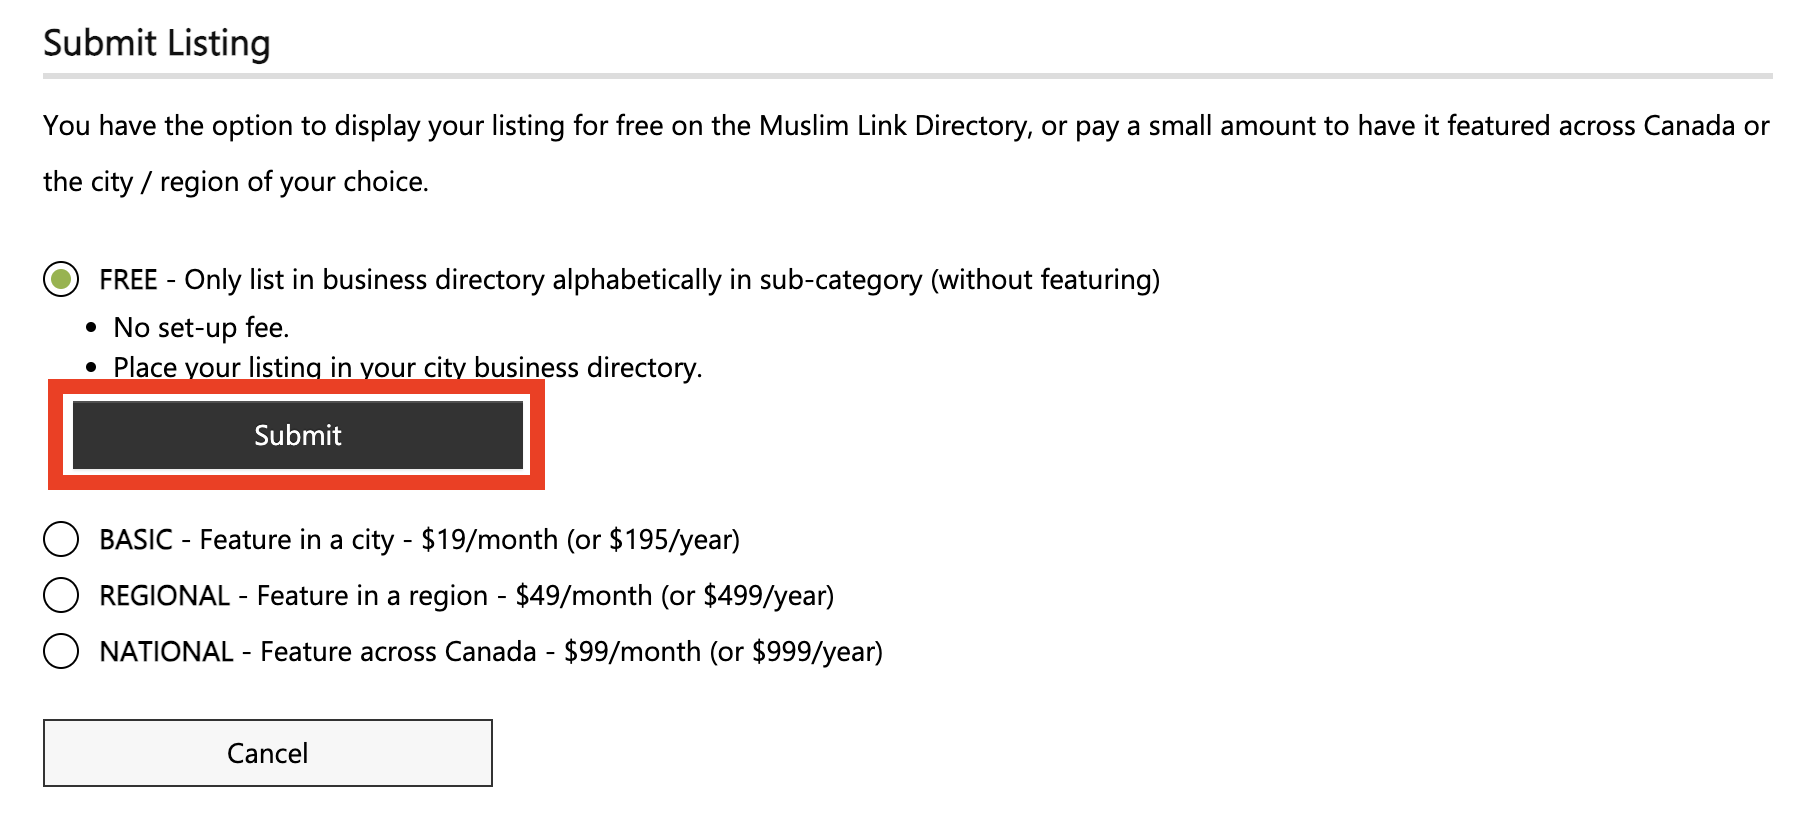
24. Submit Listing: You can showcase your listing for free on the Muslim Link Directory or choose to pay a small fee for it to be featured nationwide or in your preferred city or region.
25. For the Free listing, the business will be listed in the directory alphabetically within the sub-category for your selected city.
26. If you choose to list the business for free, select the “Free” option then click “Submit”.
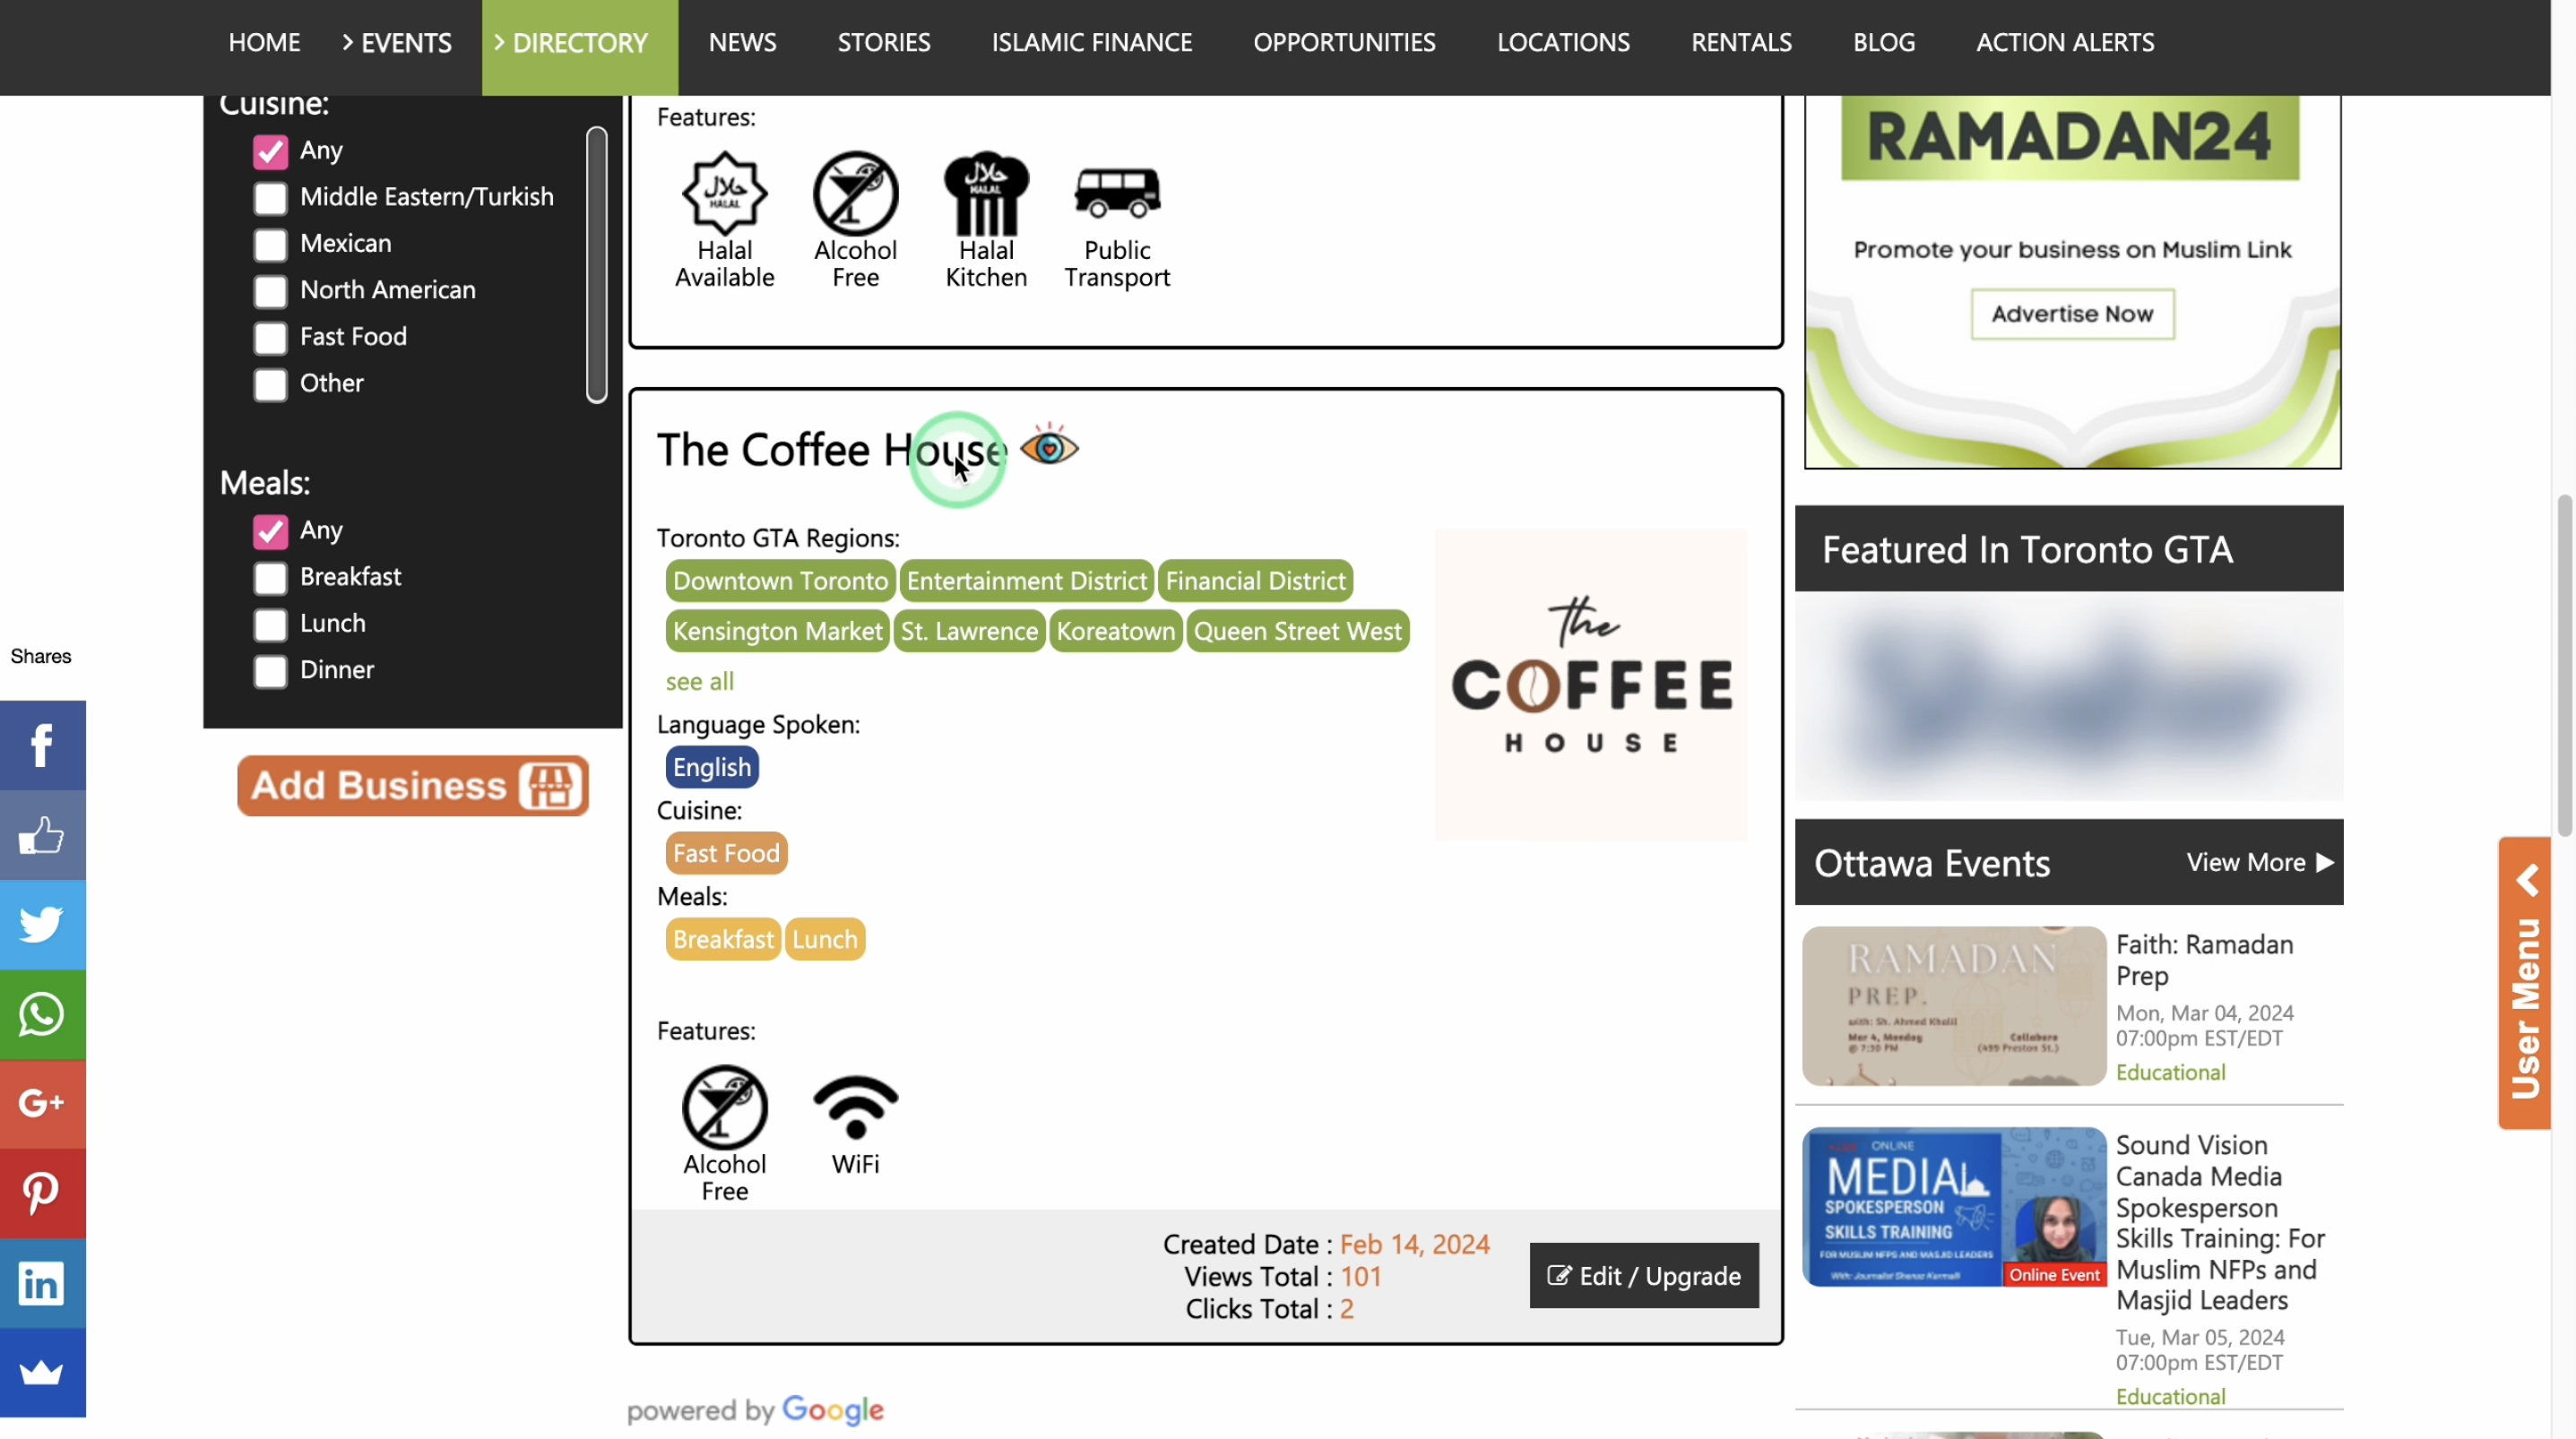
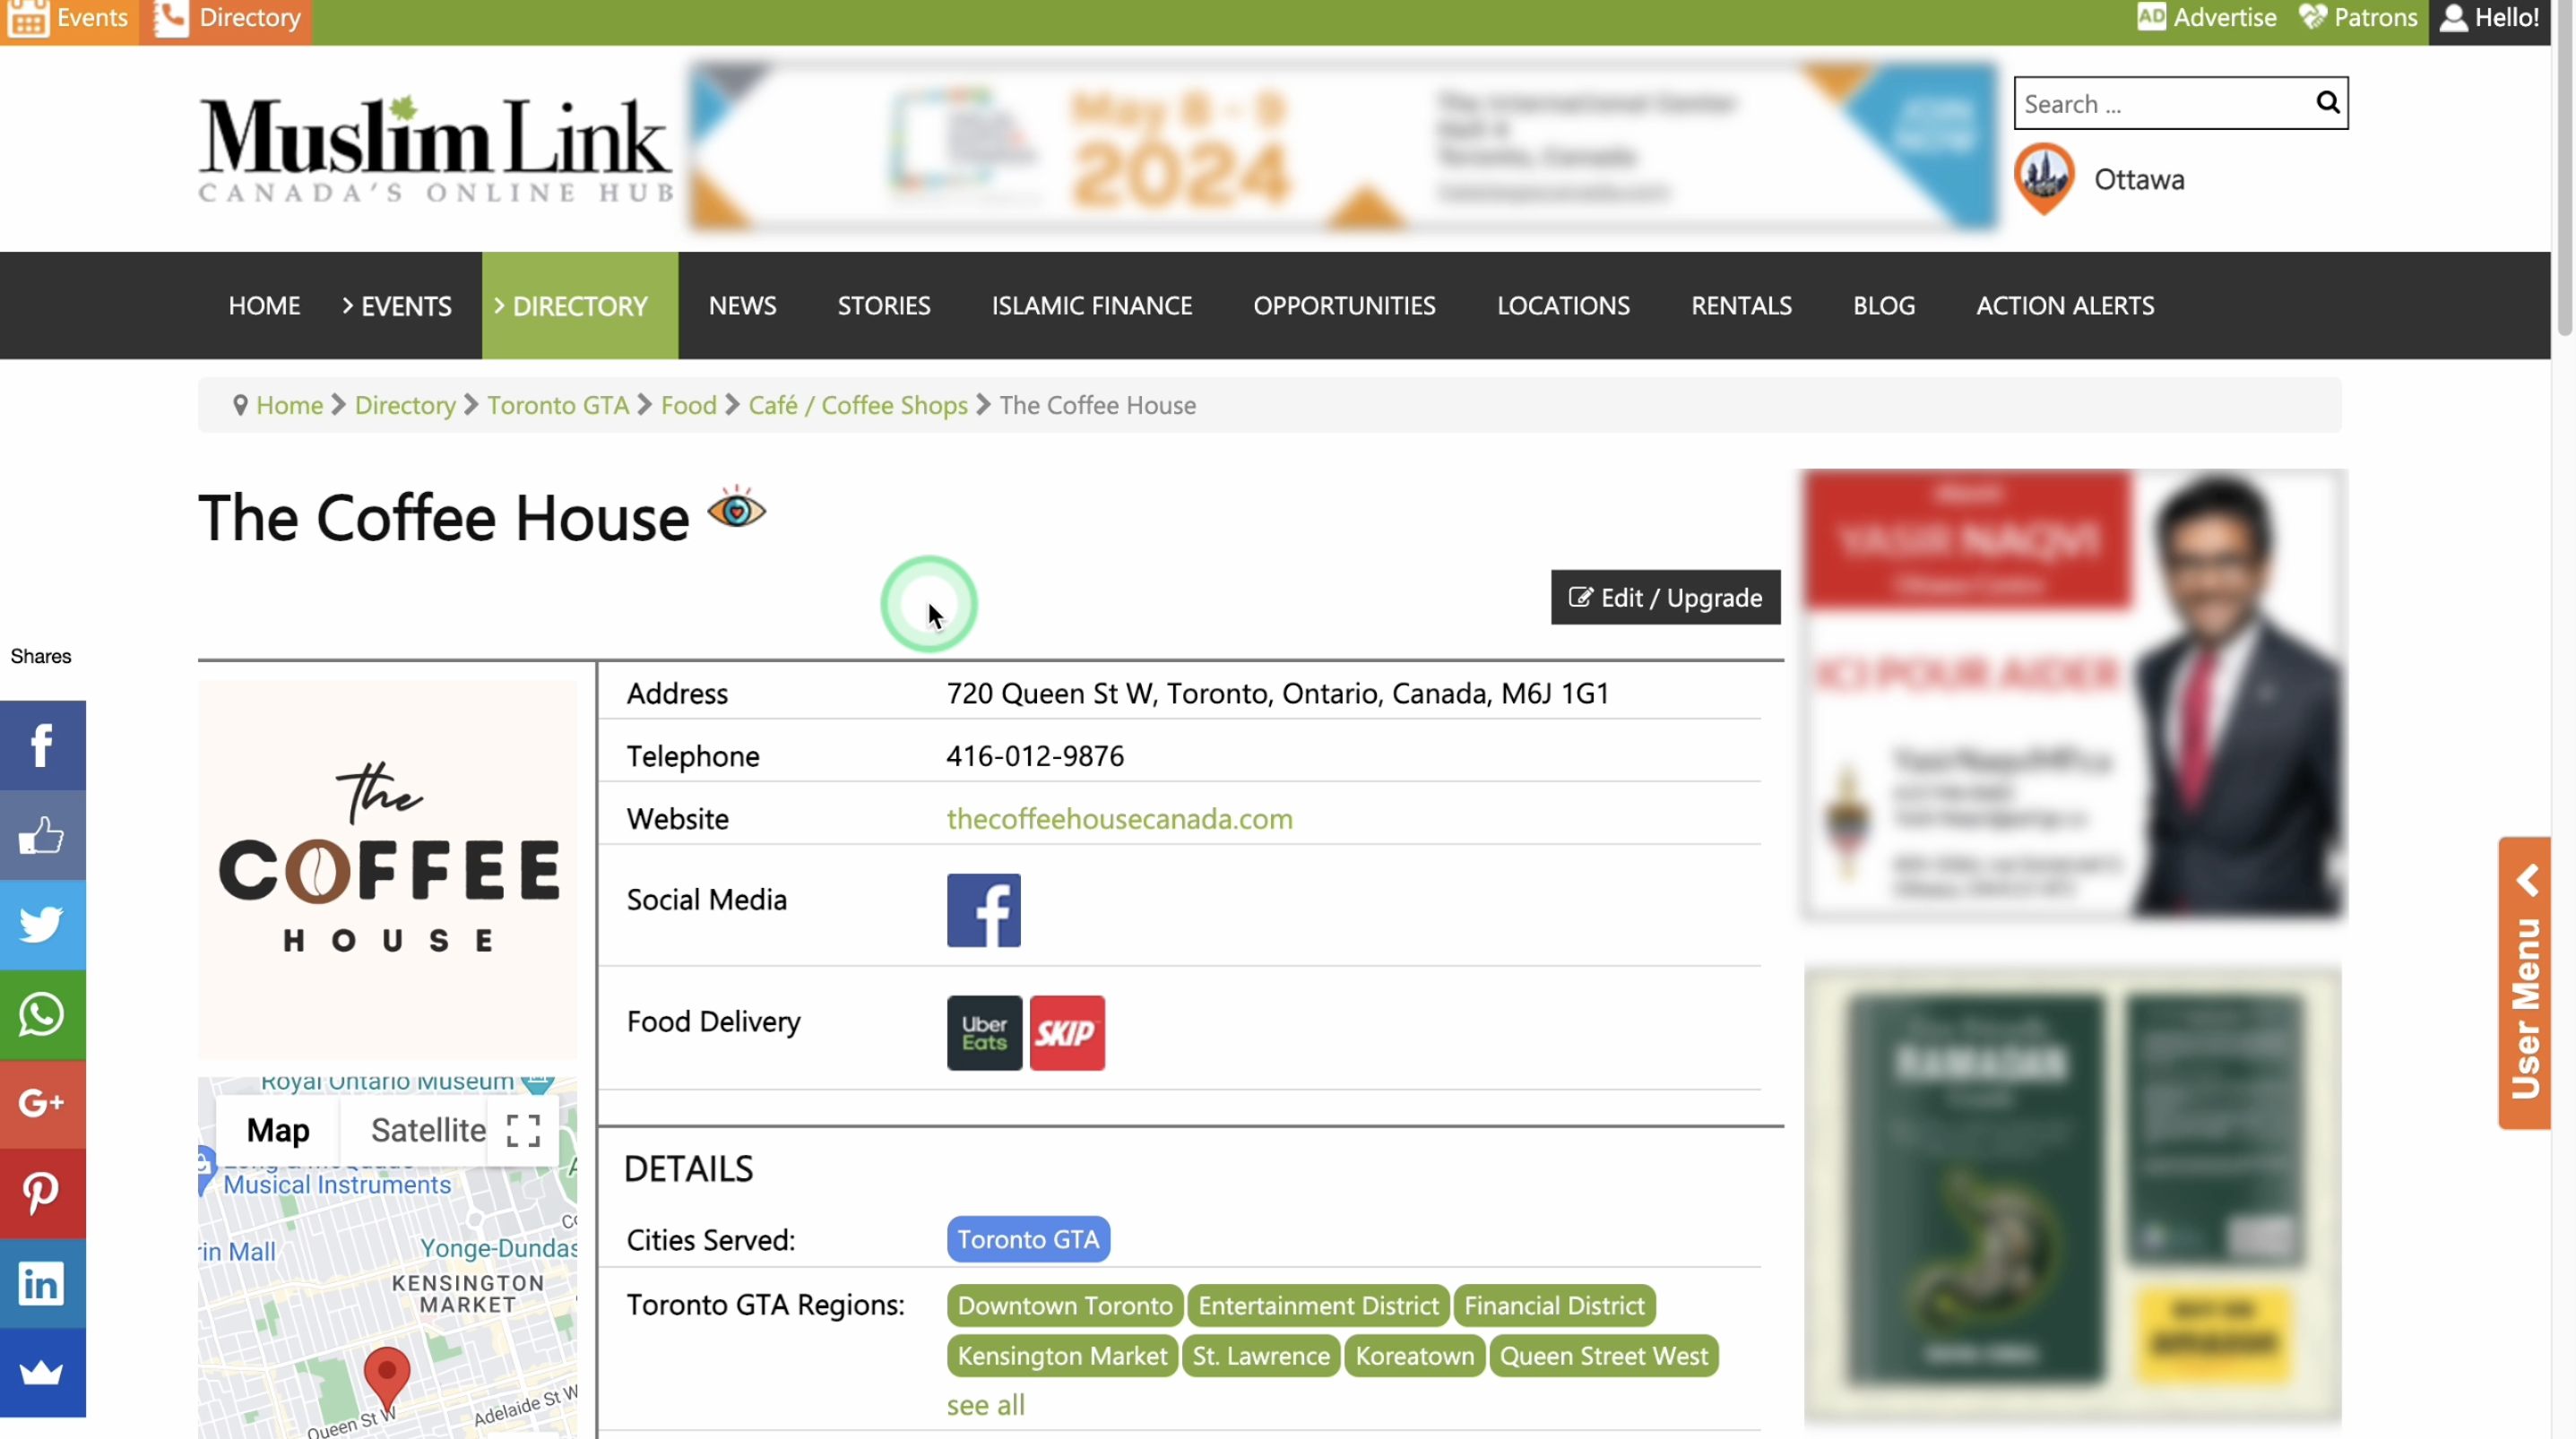
27. Await admin approval. Once approved, you can now see the business on the city’s directory.
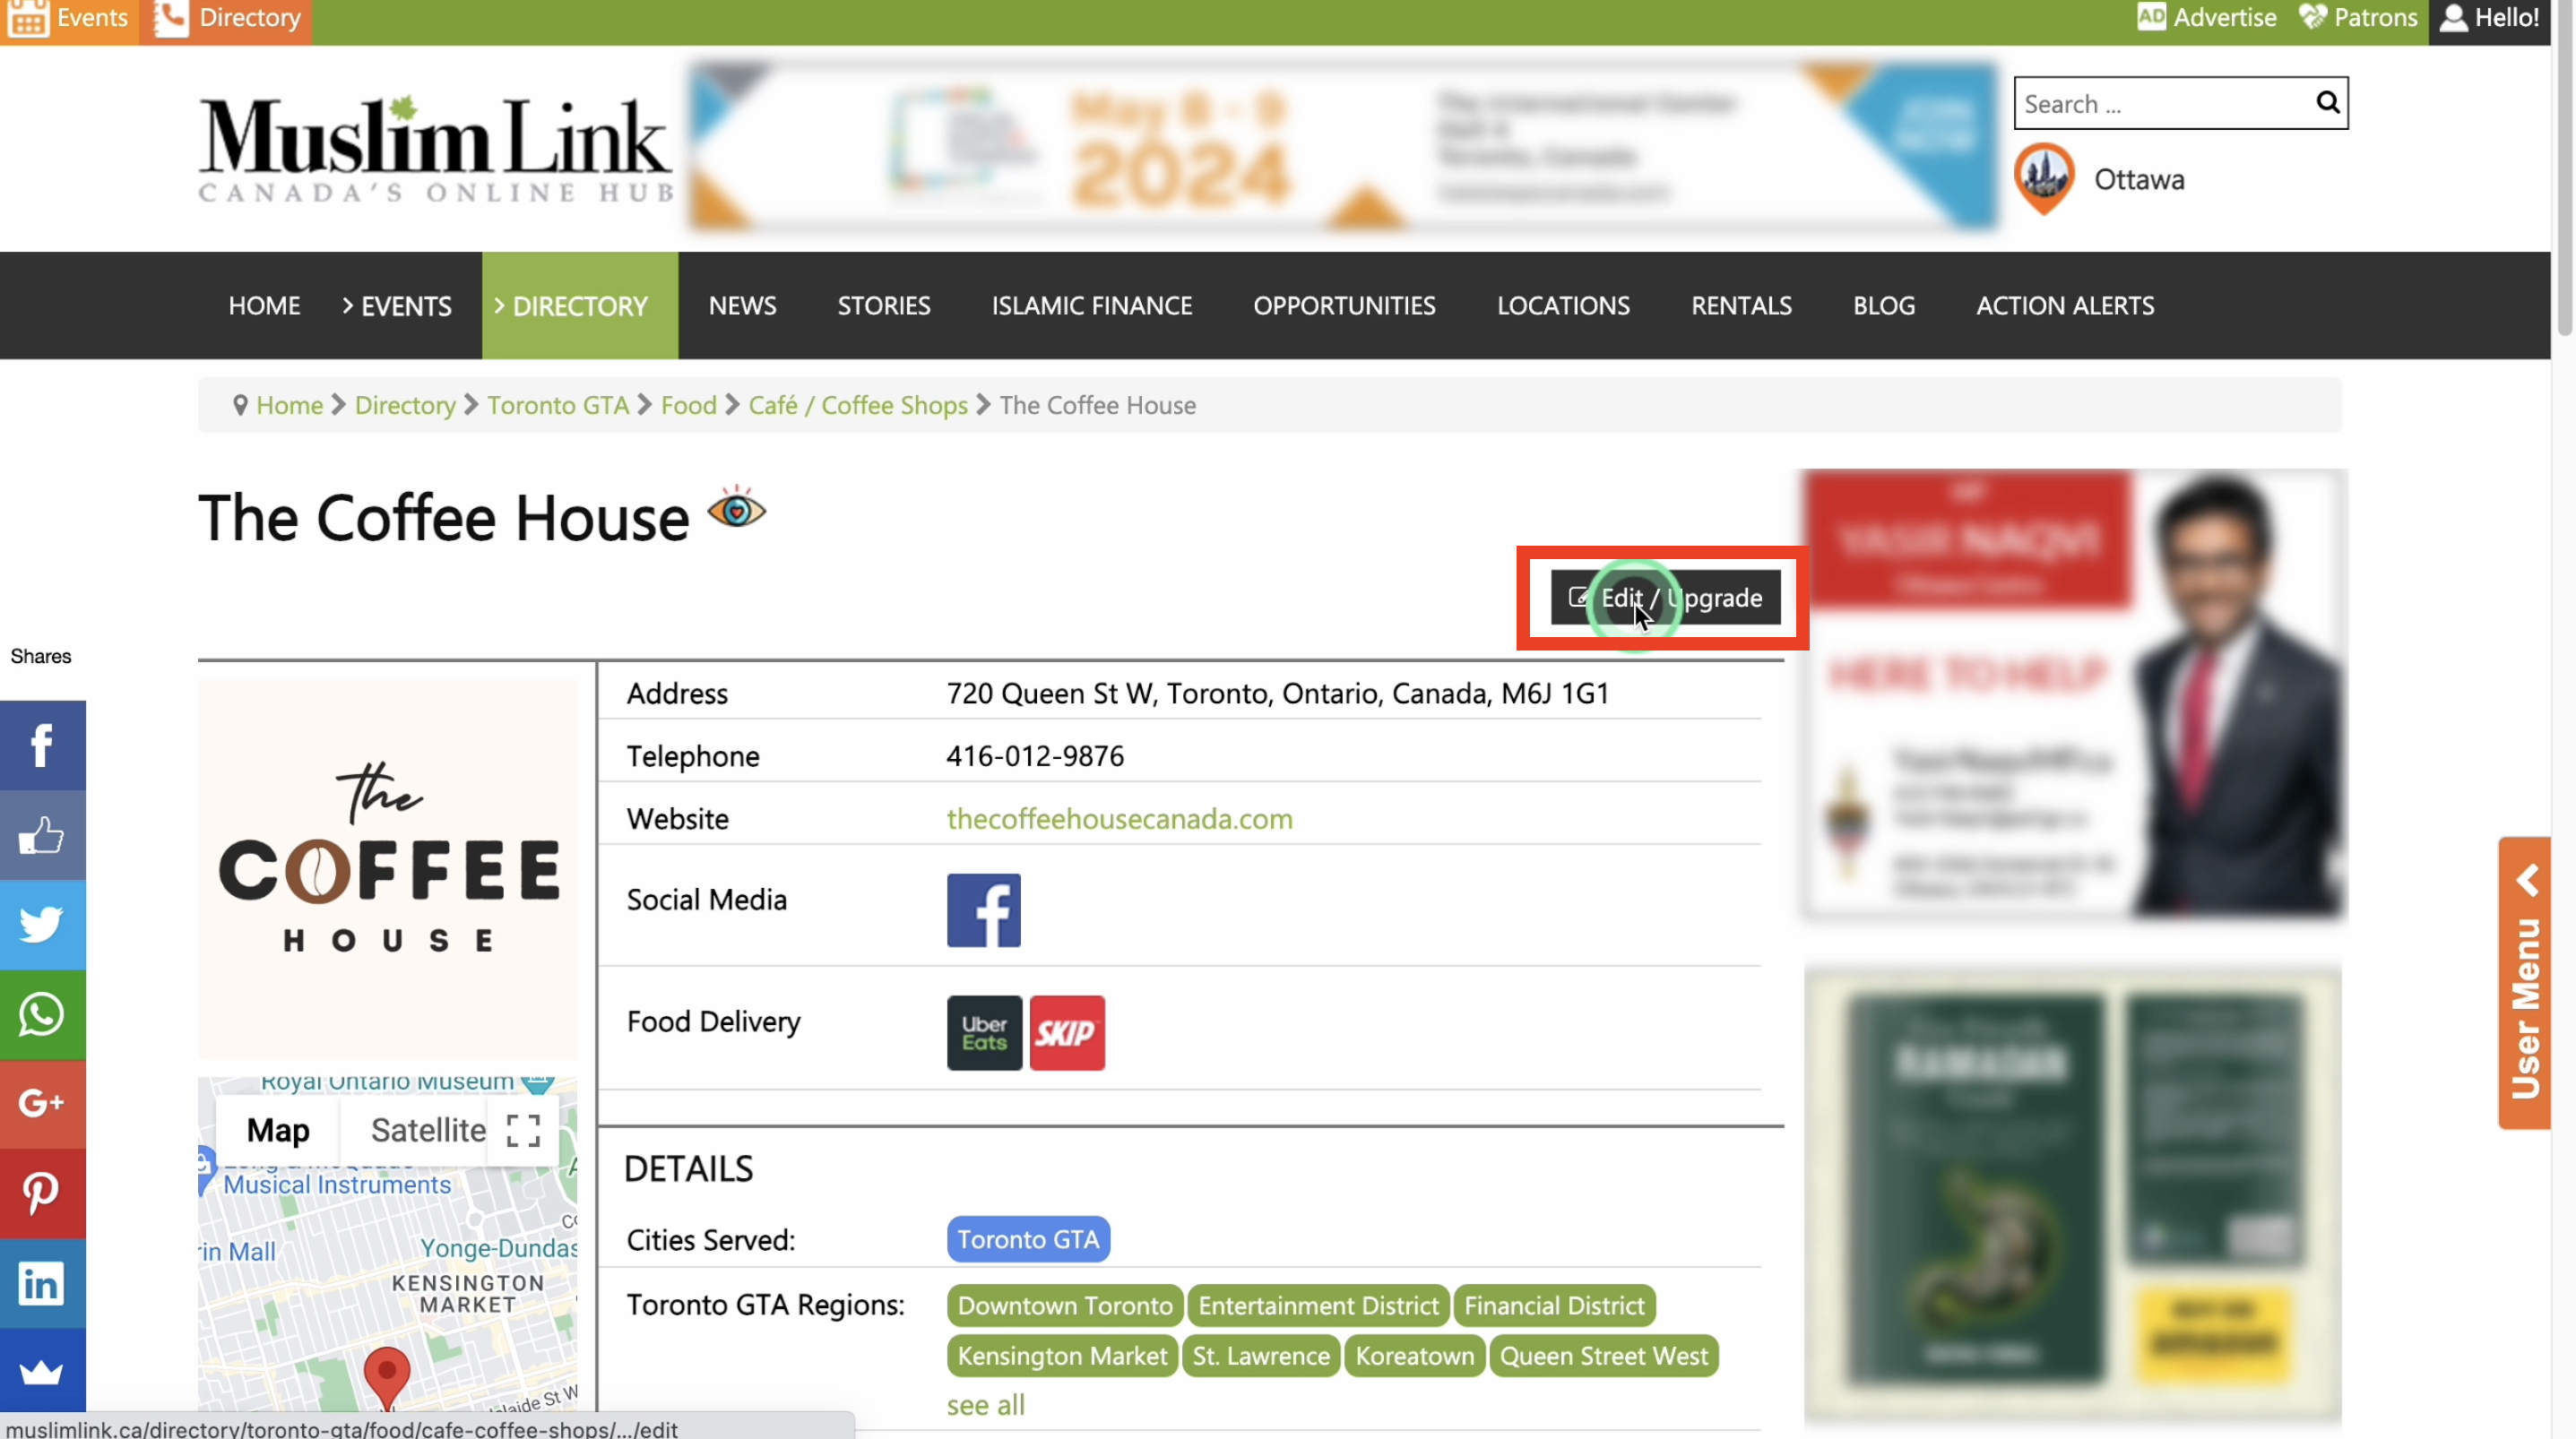
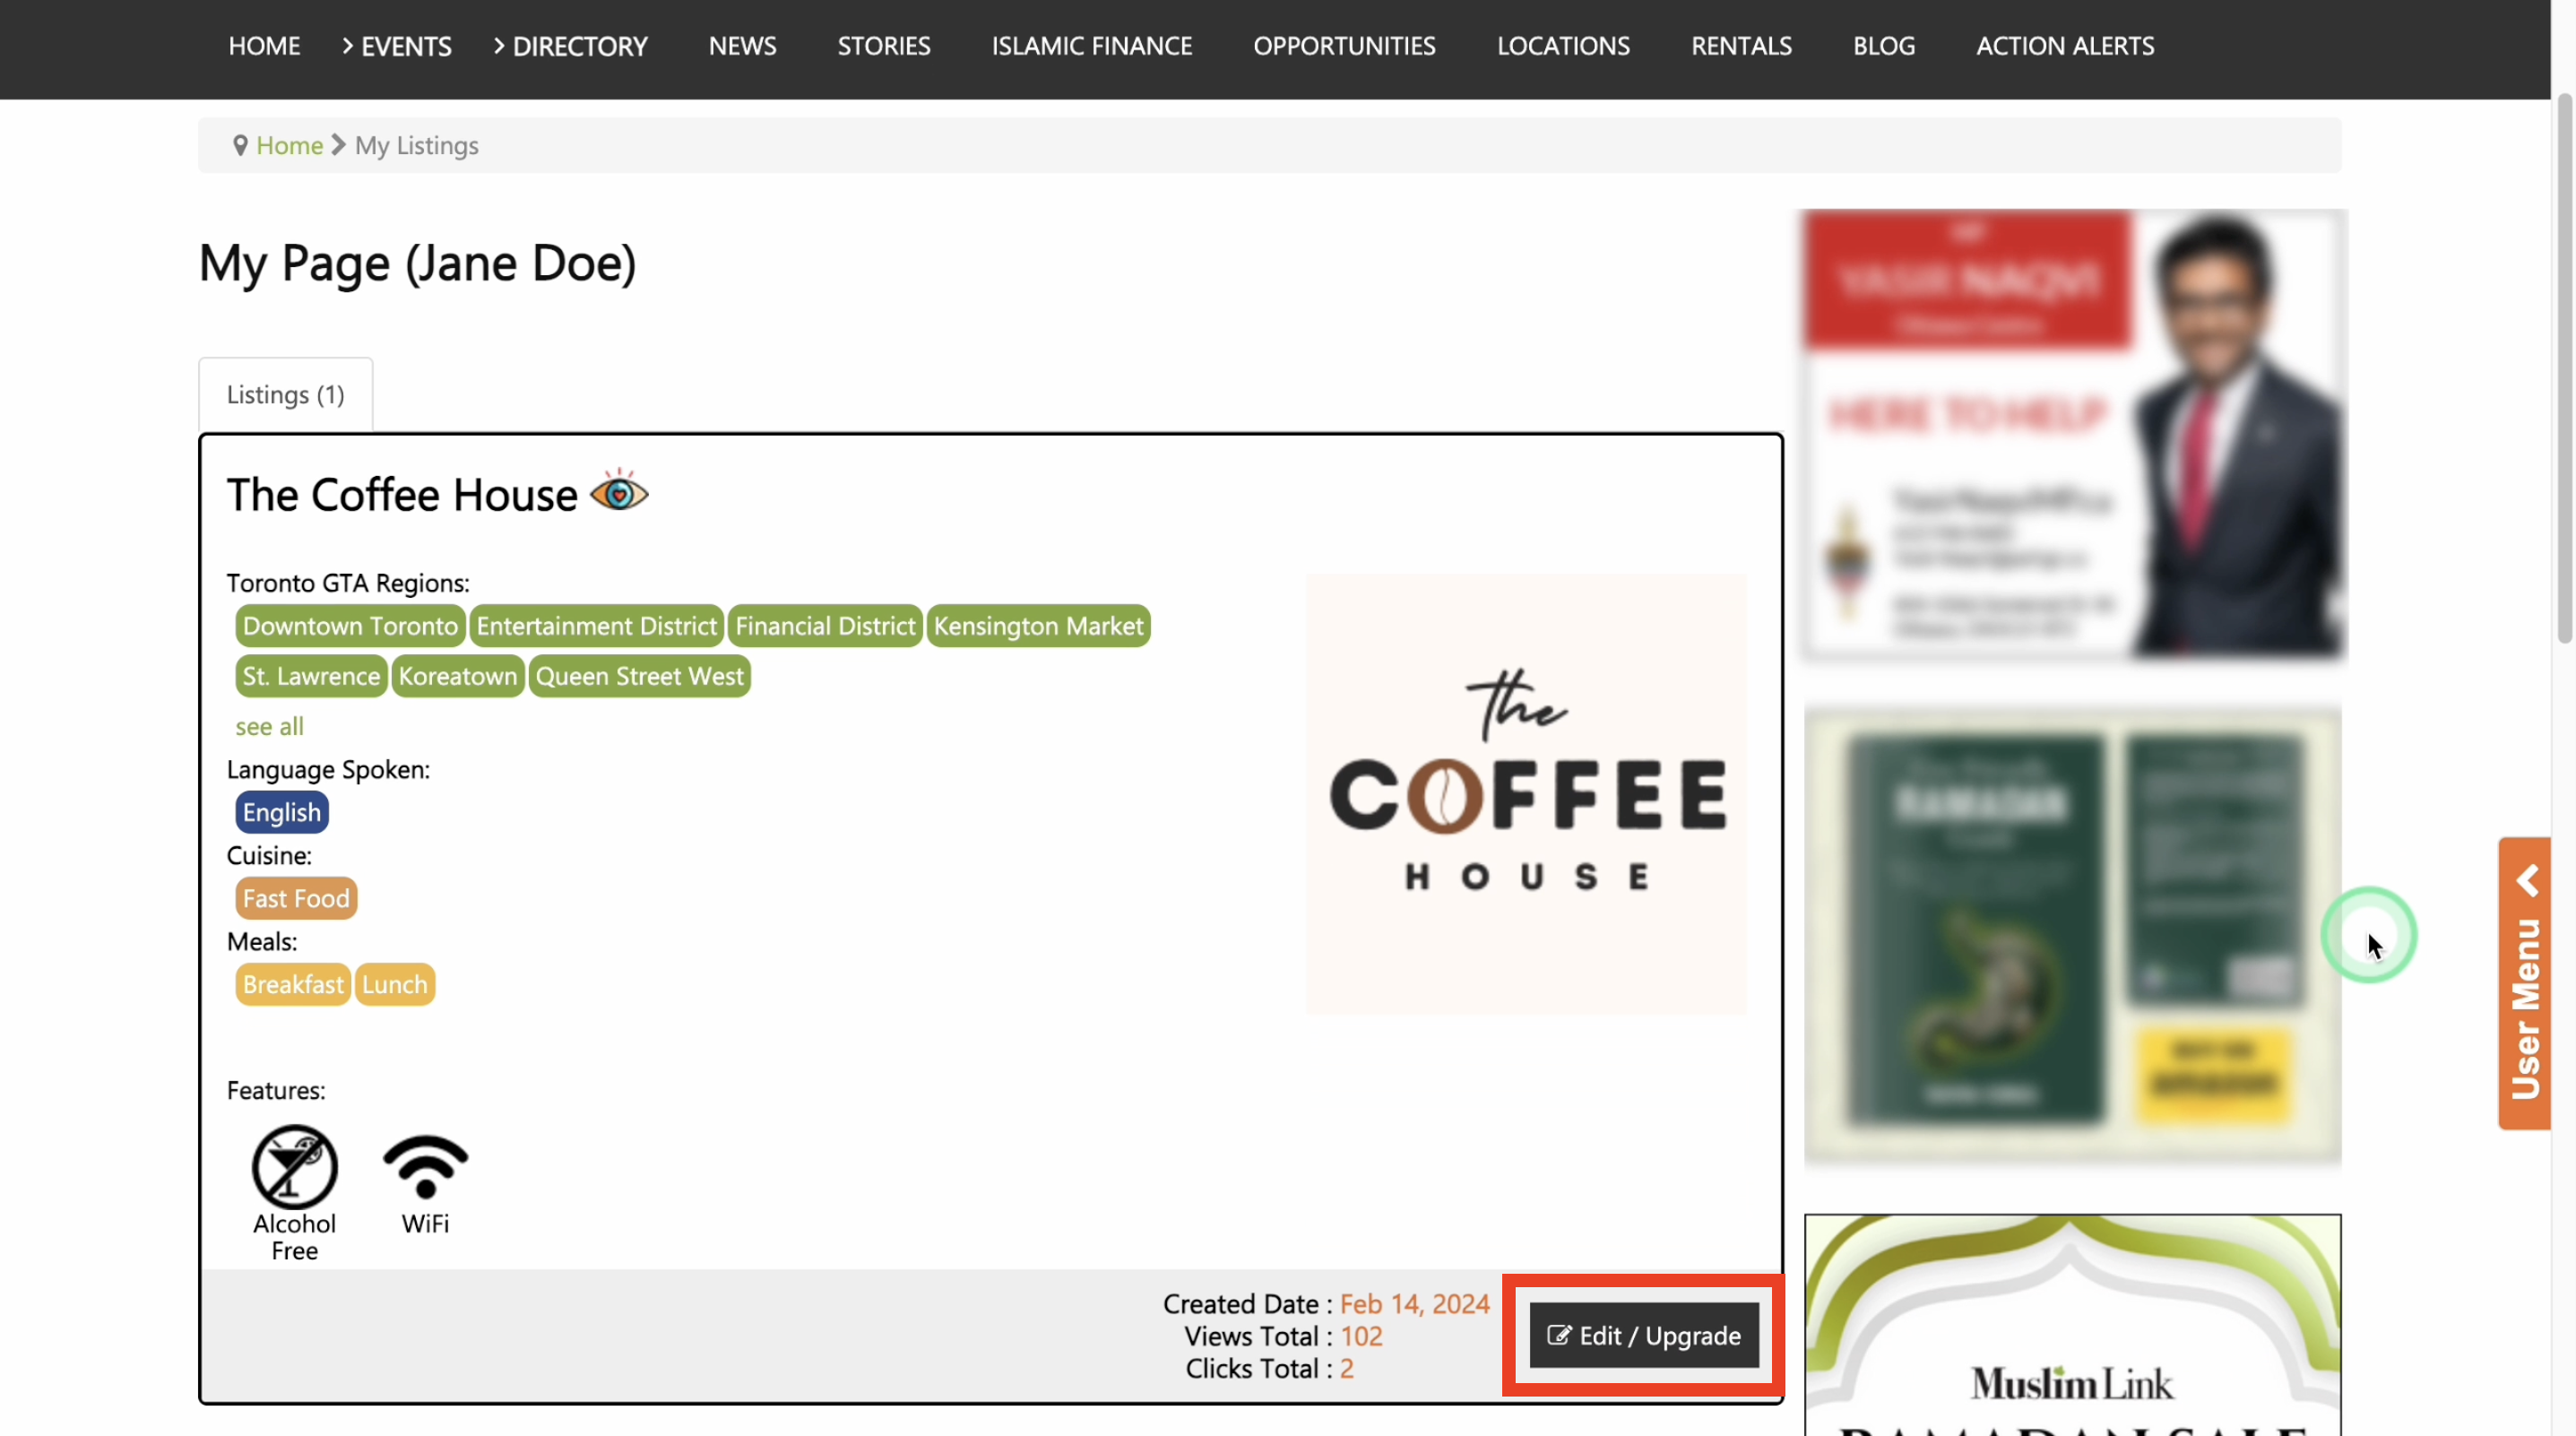
28. If you need to edit or upgrade your listing to be featured click the “Edit/Upgrade” button.
29. Or you can just navigate to the user menu and click my listings. Please note that additional edits do not require administrative approval. You have control over your listing, and you are trusted to manage its content, which will be publicly displayed.
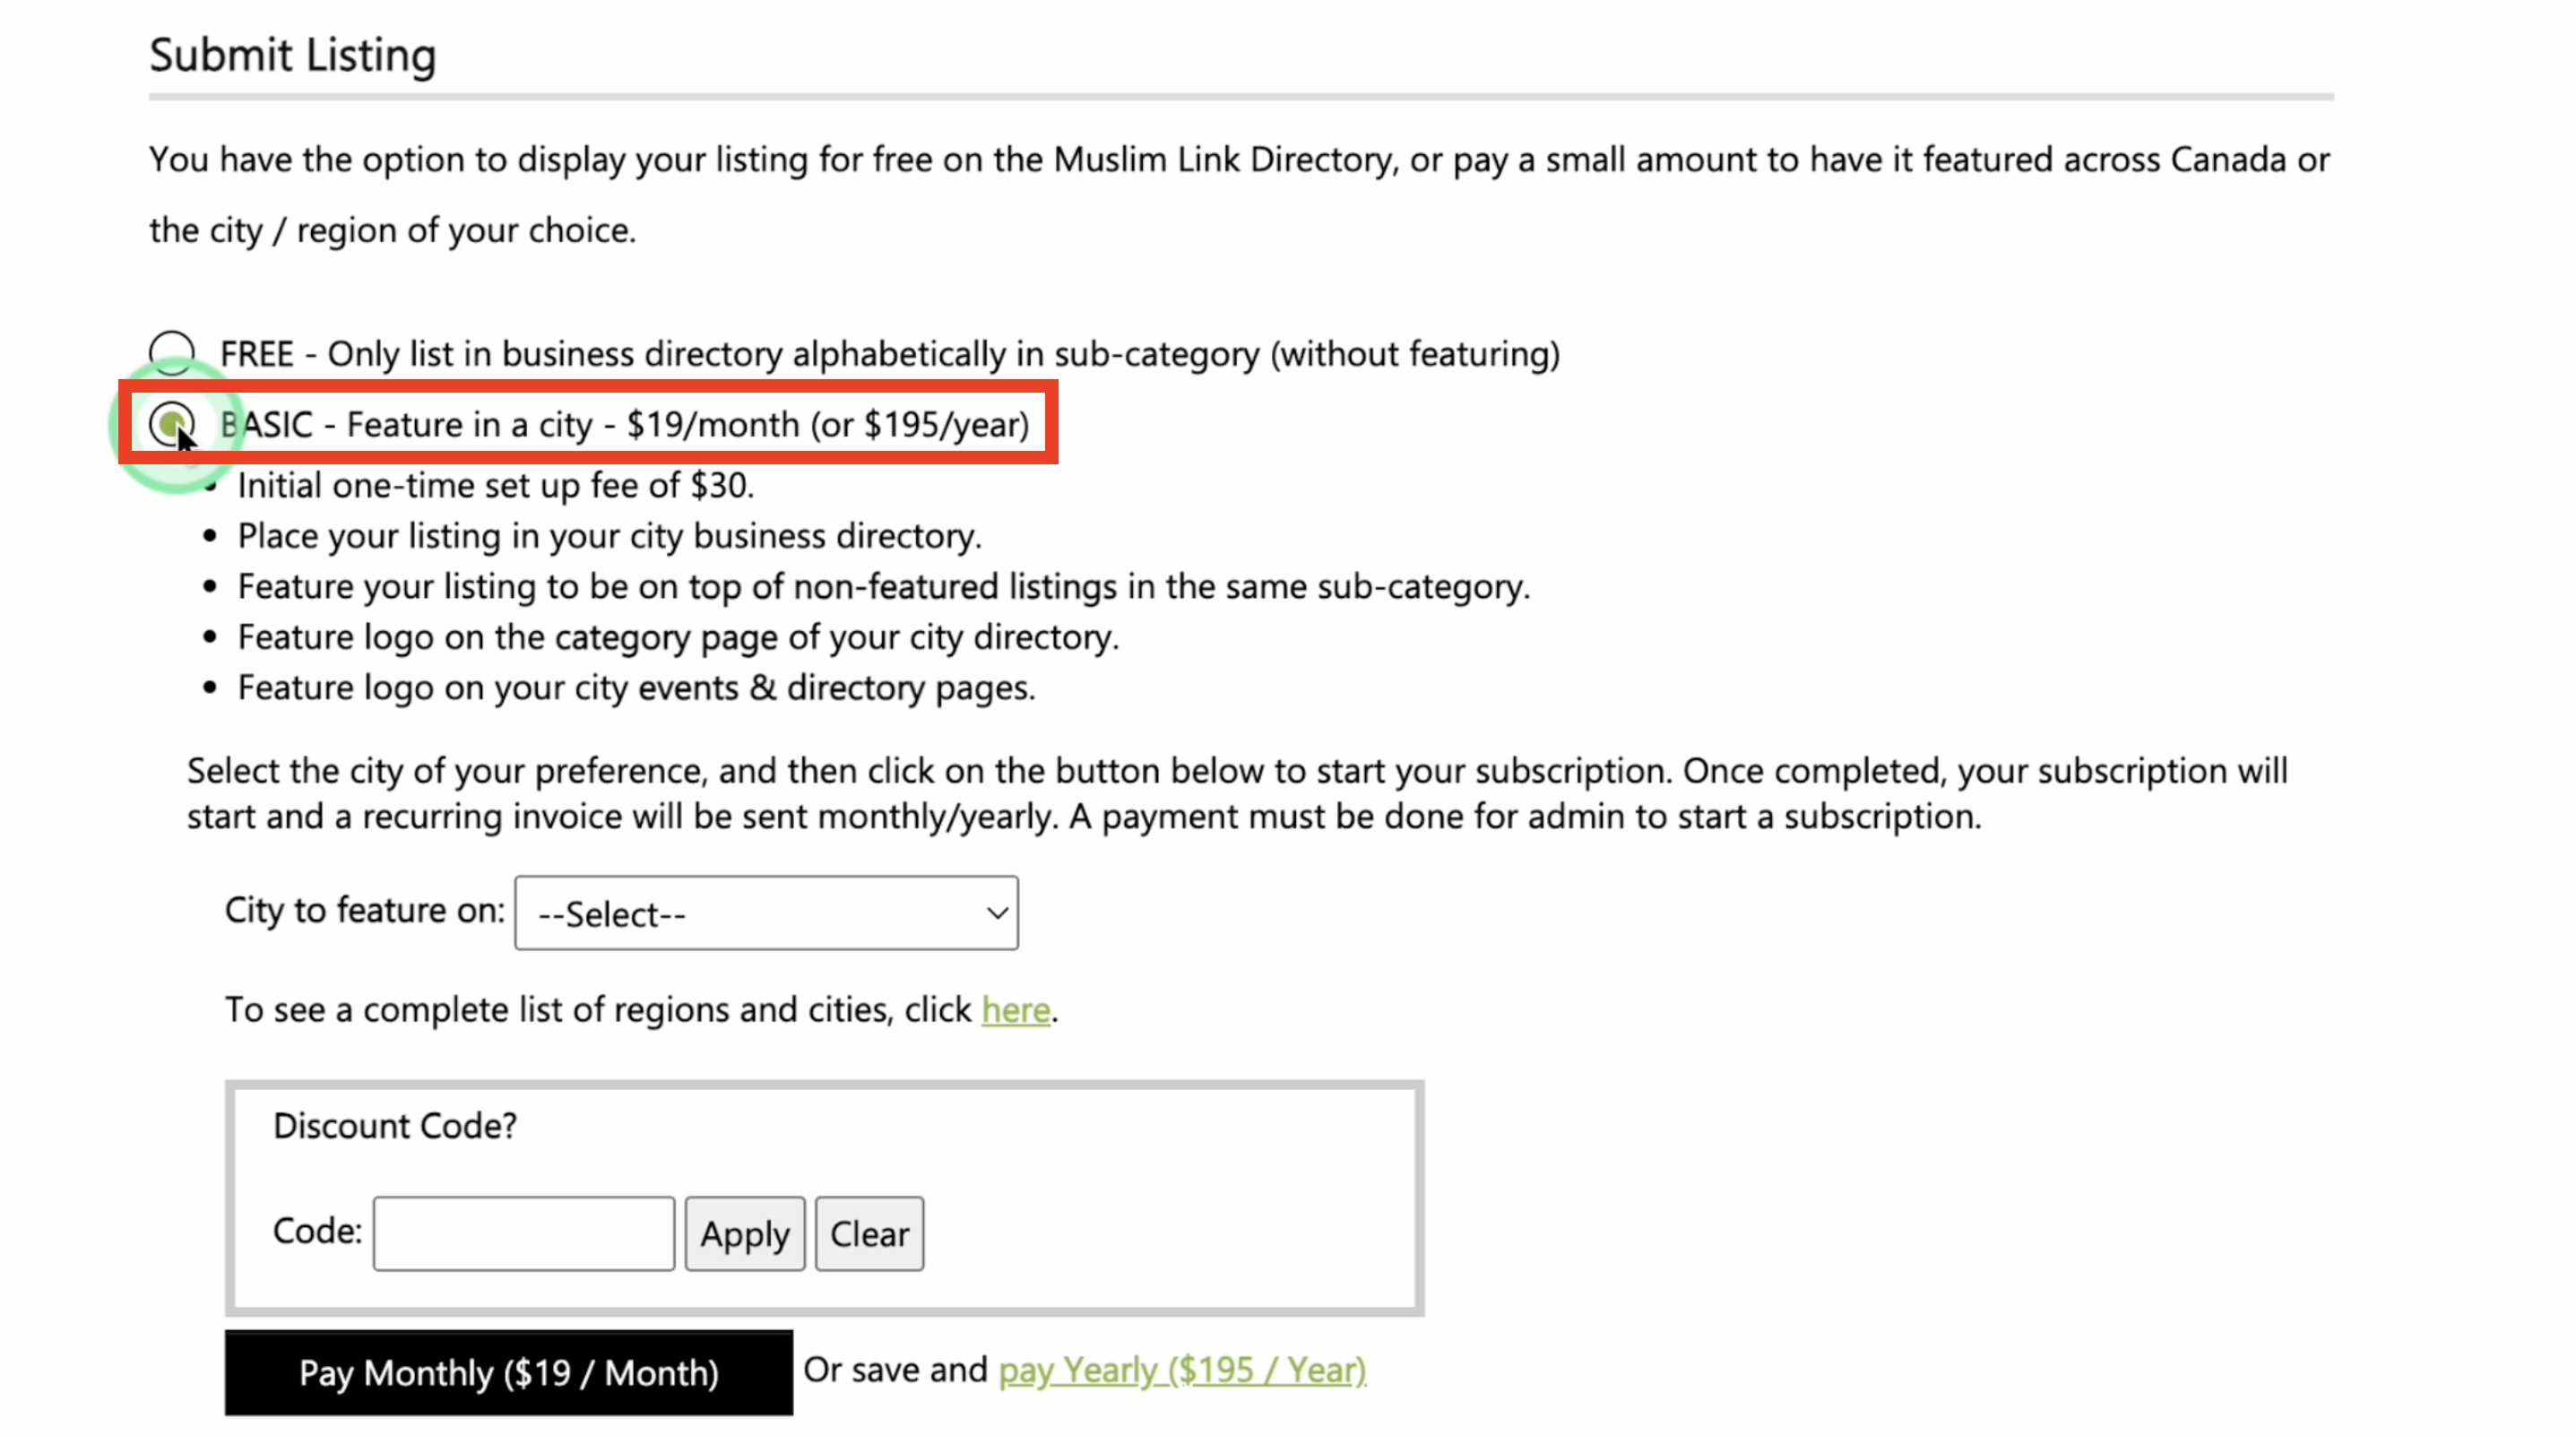
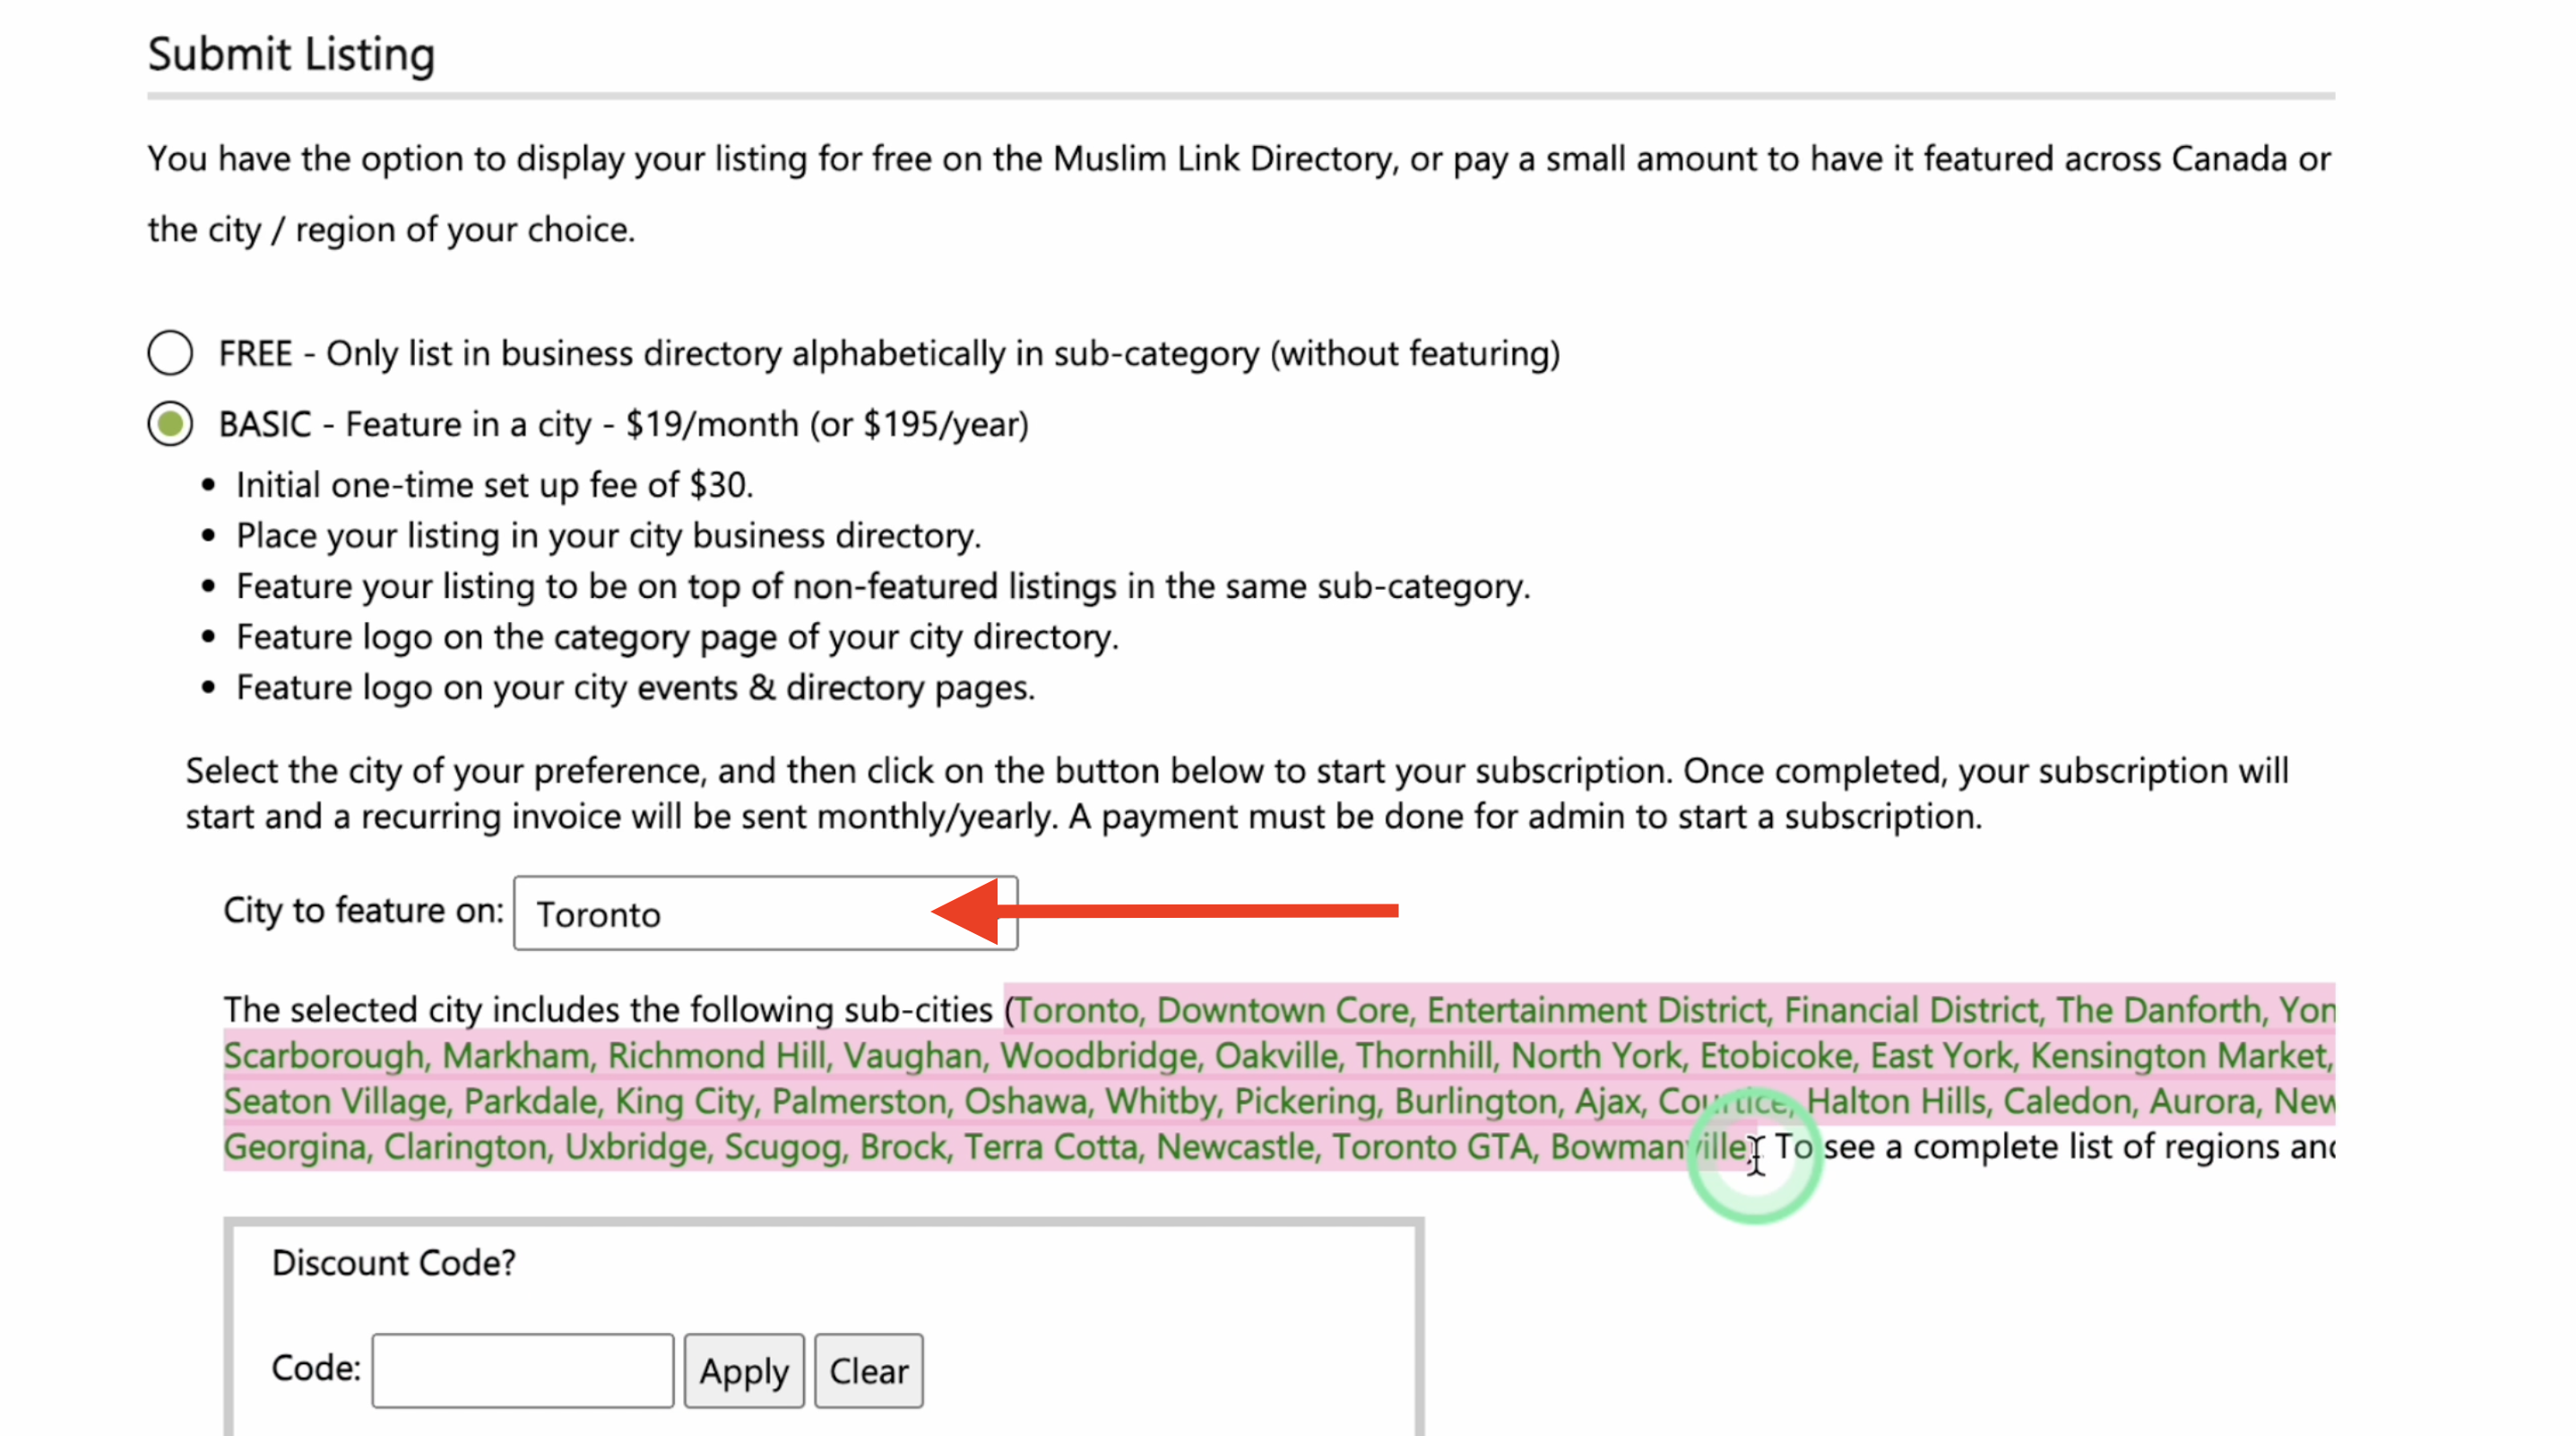
30. You can opt for the Basic listing at $19/month or $195/year to showcase your listing in your city's business directory. A one-time setup fee of $30 applies.
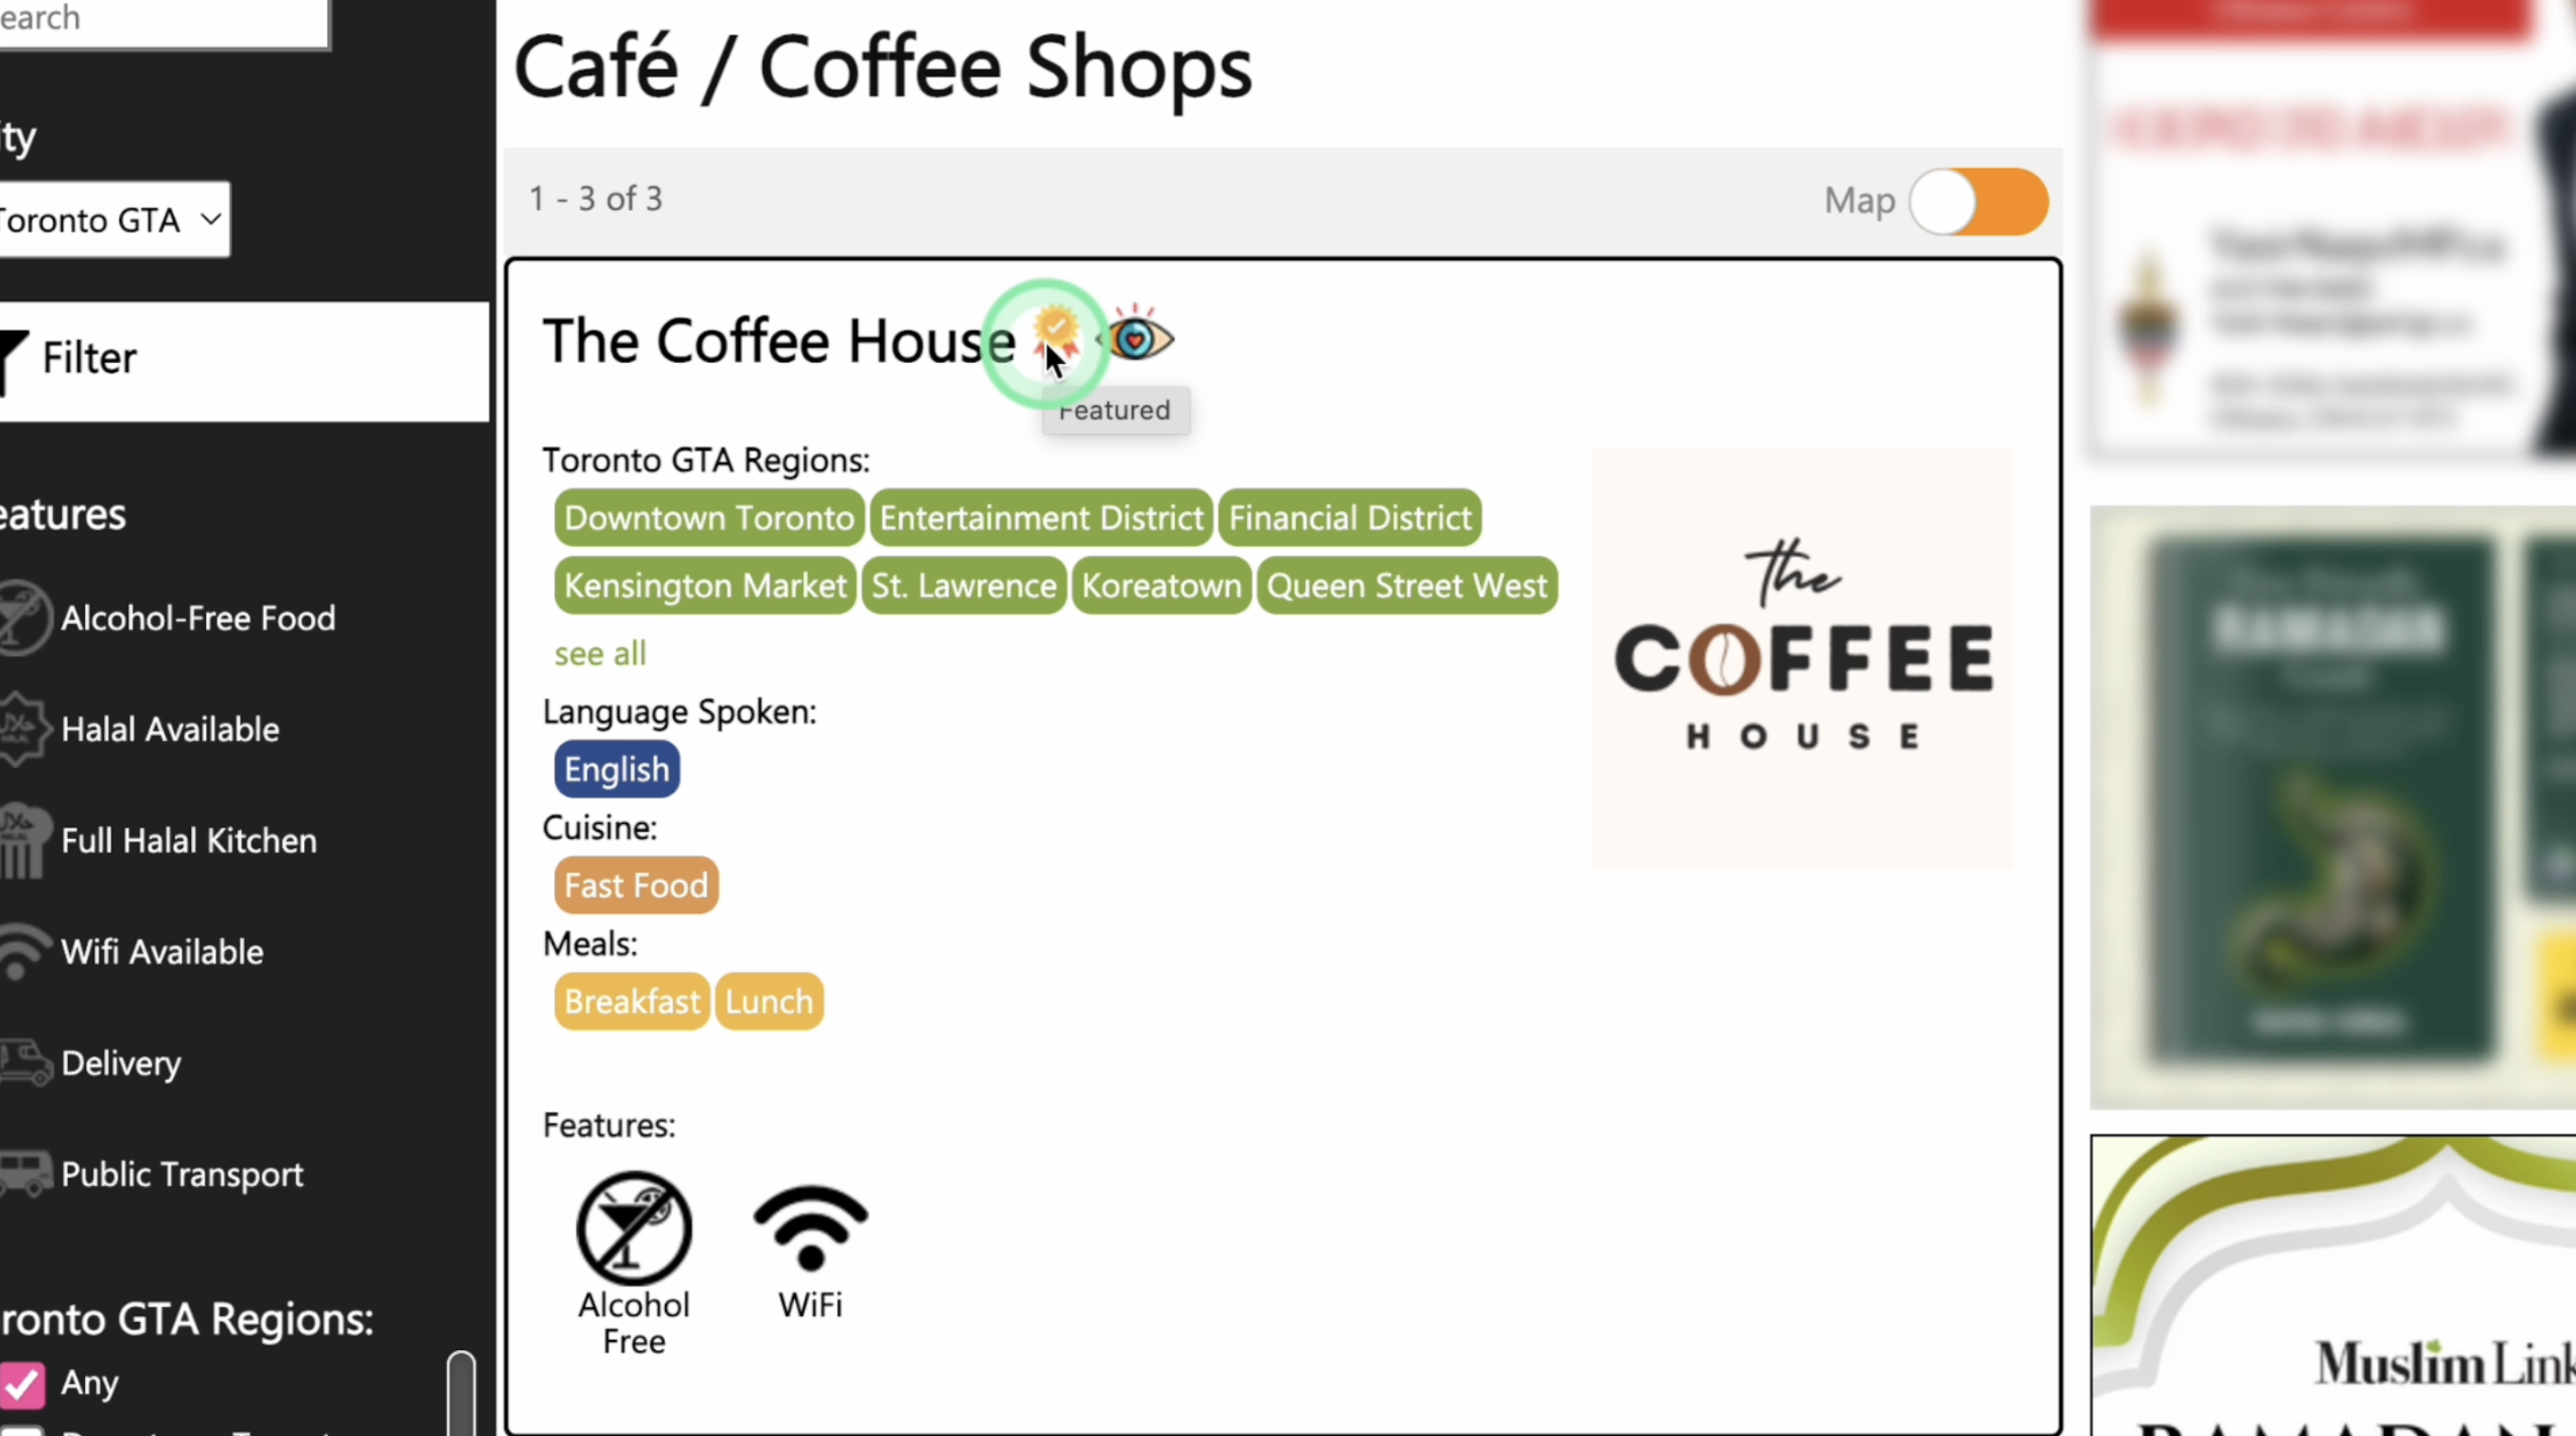
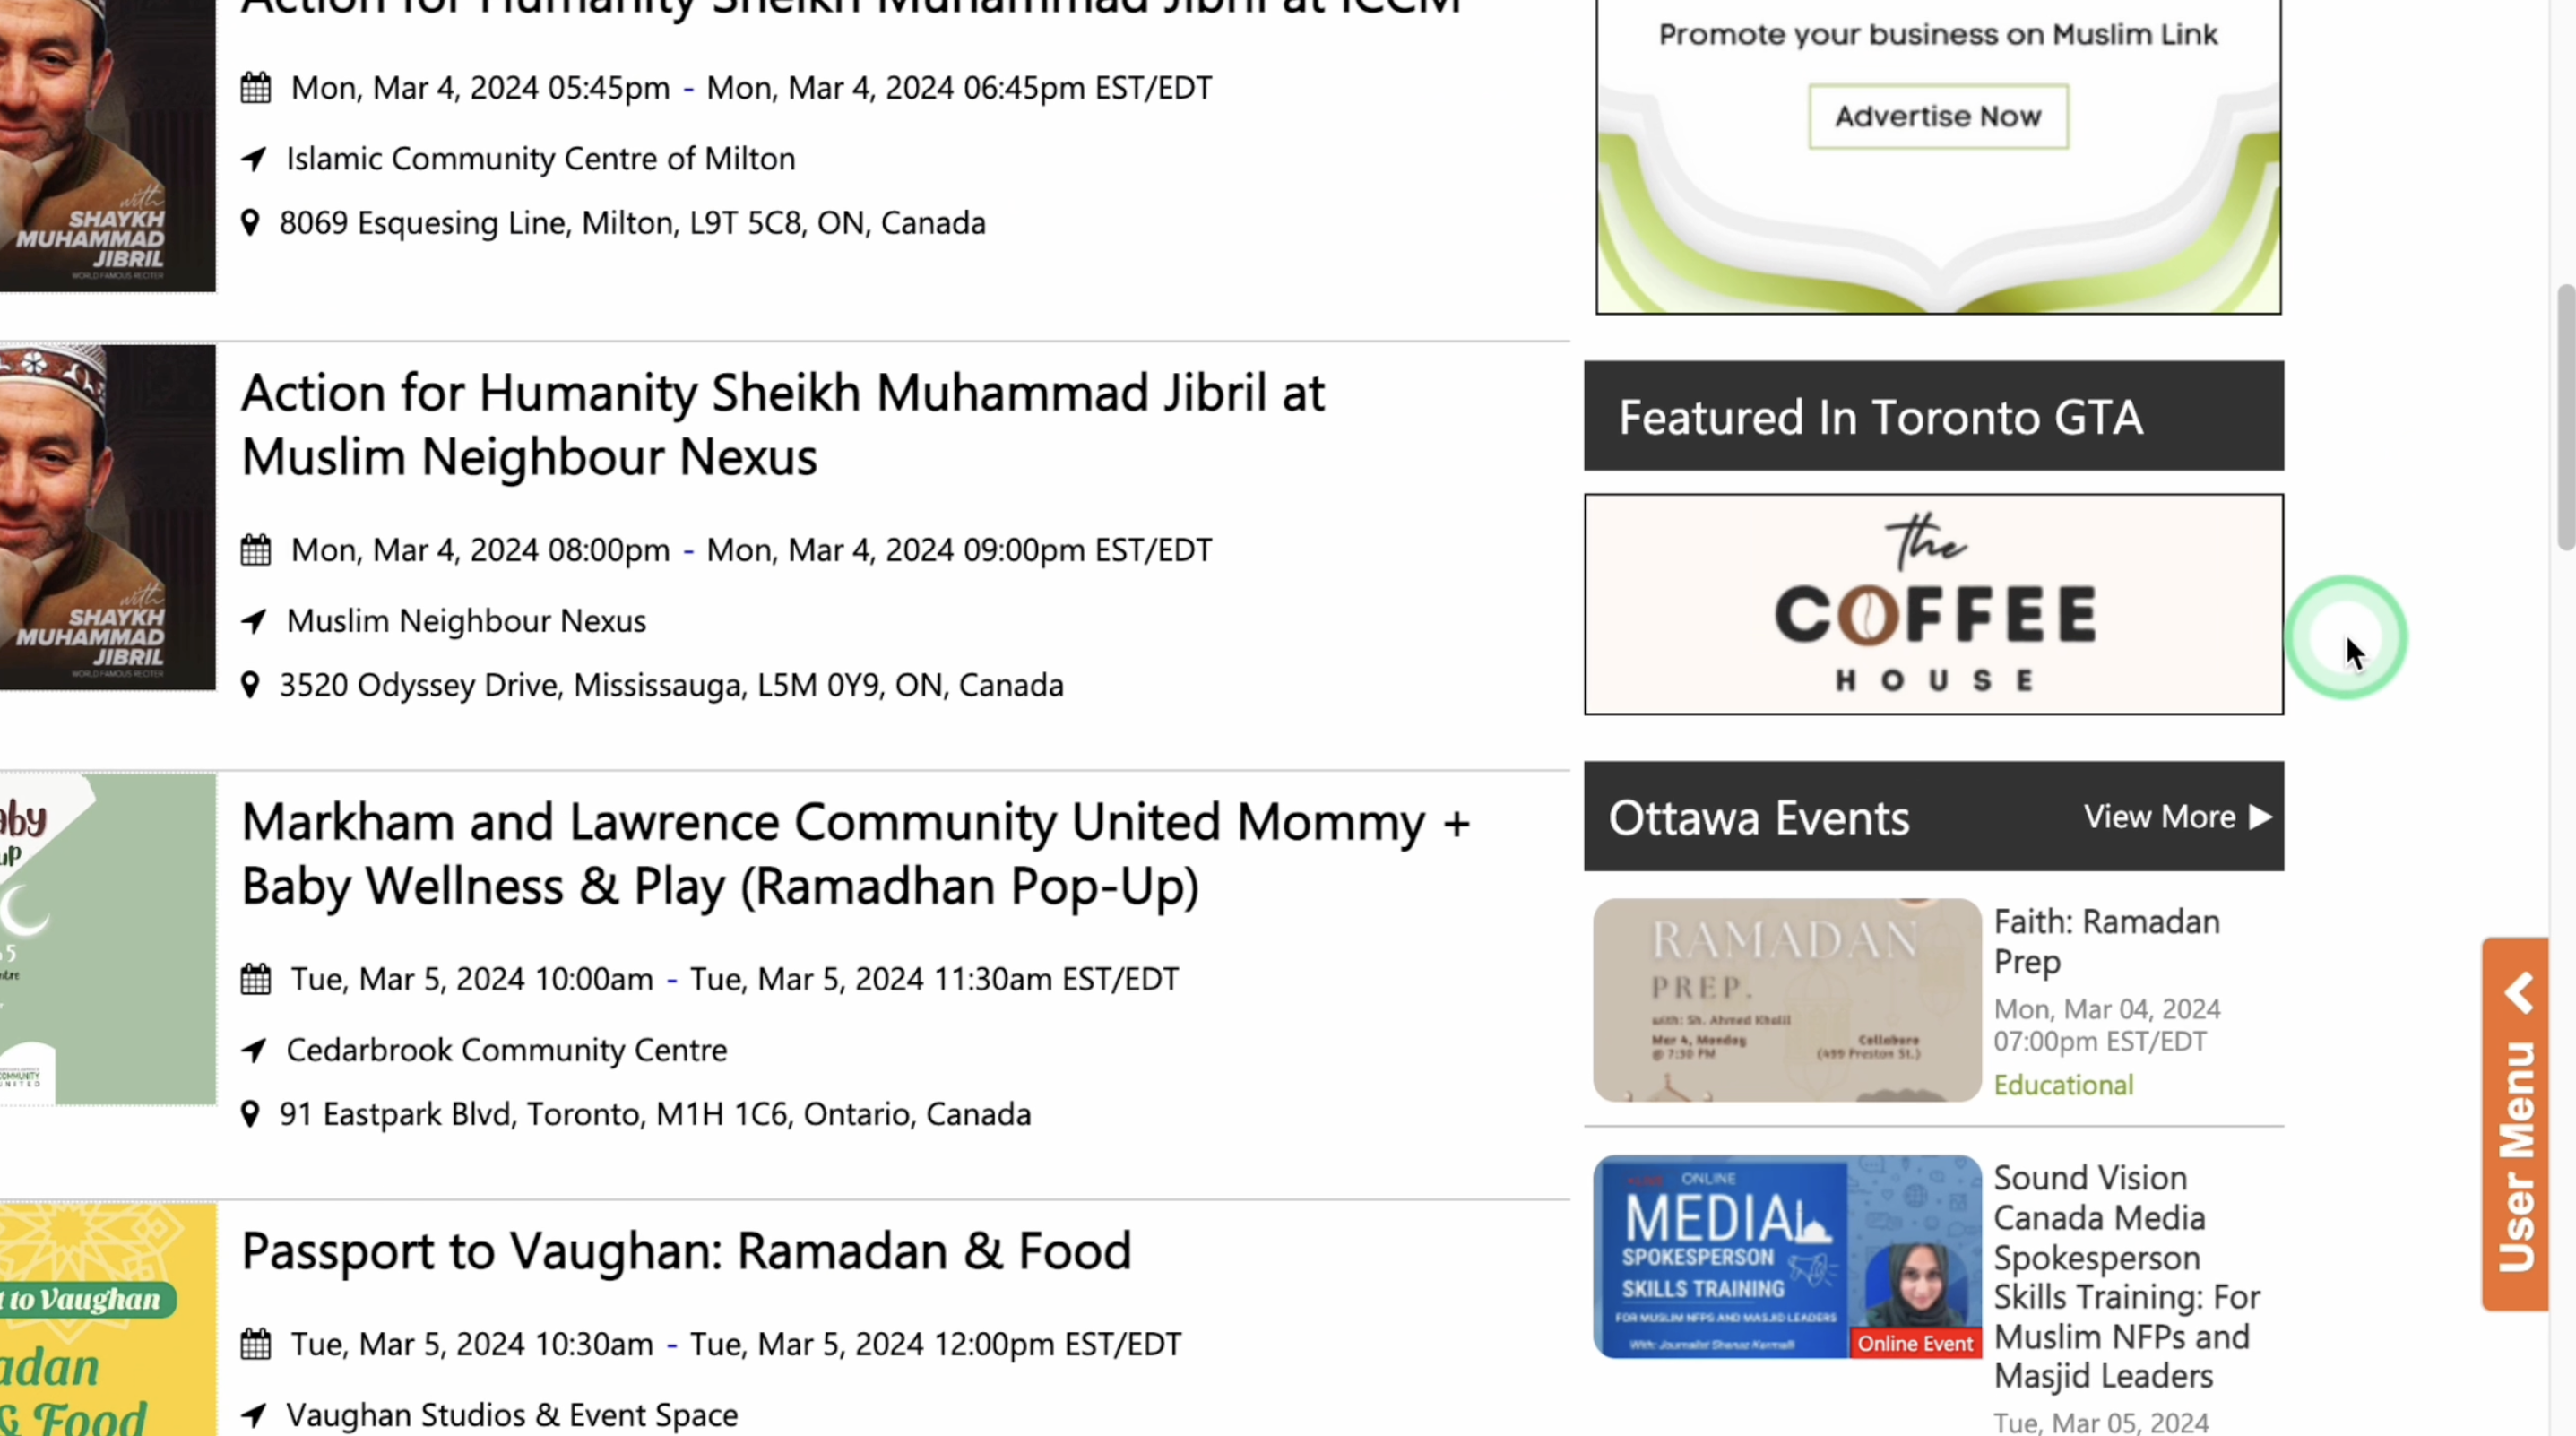
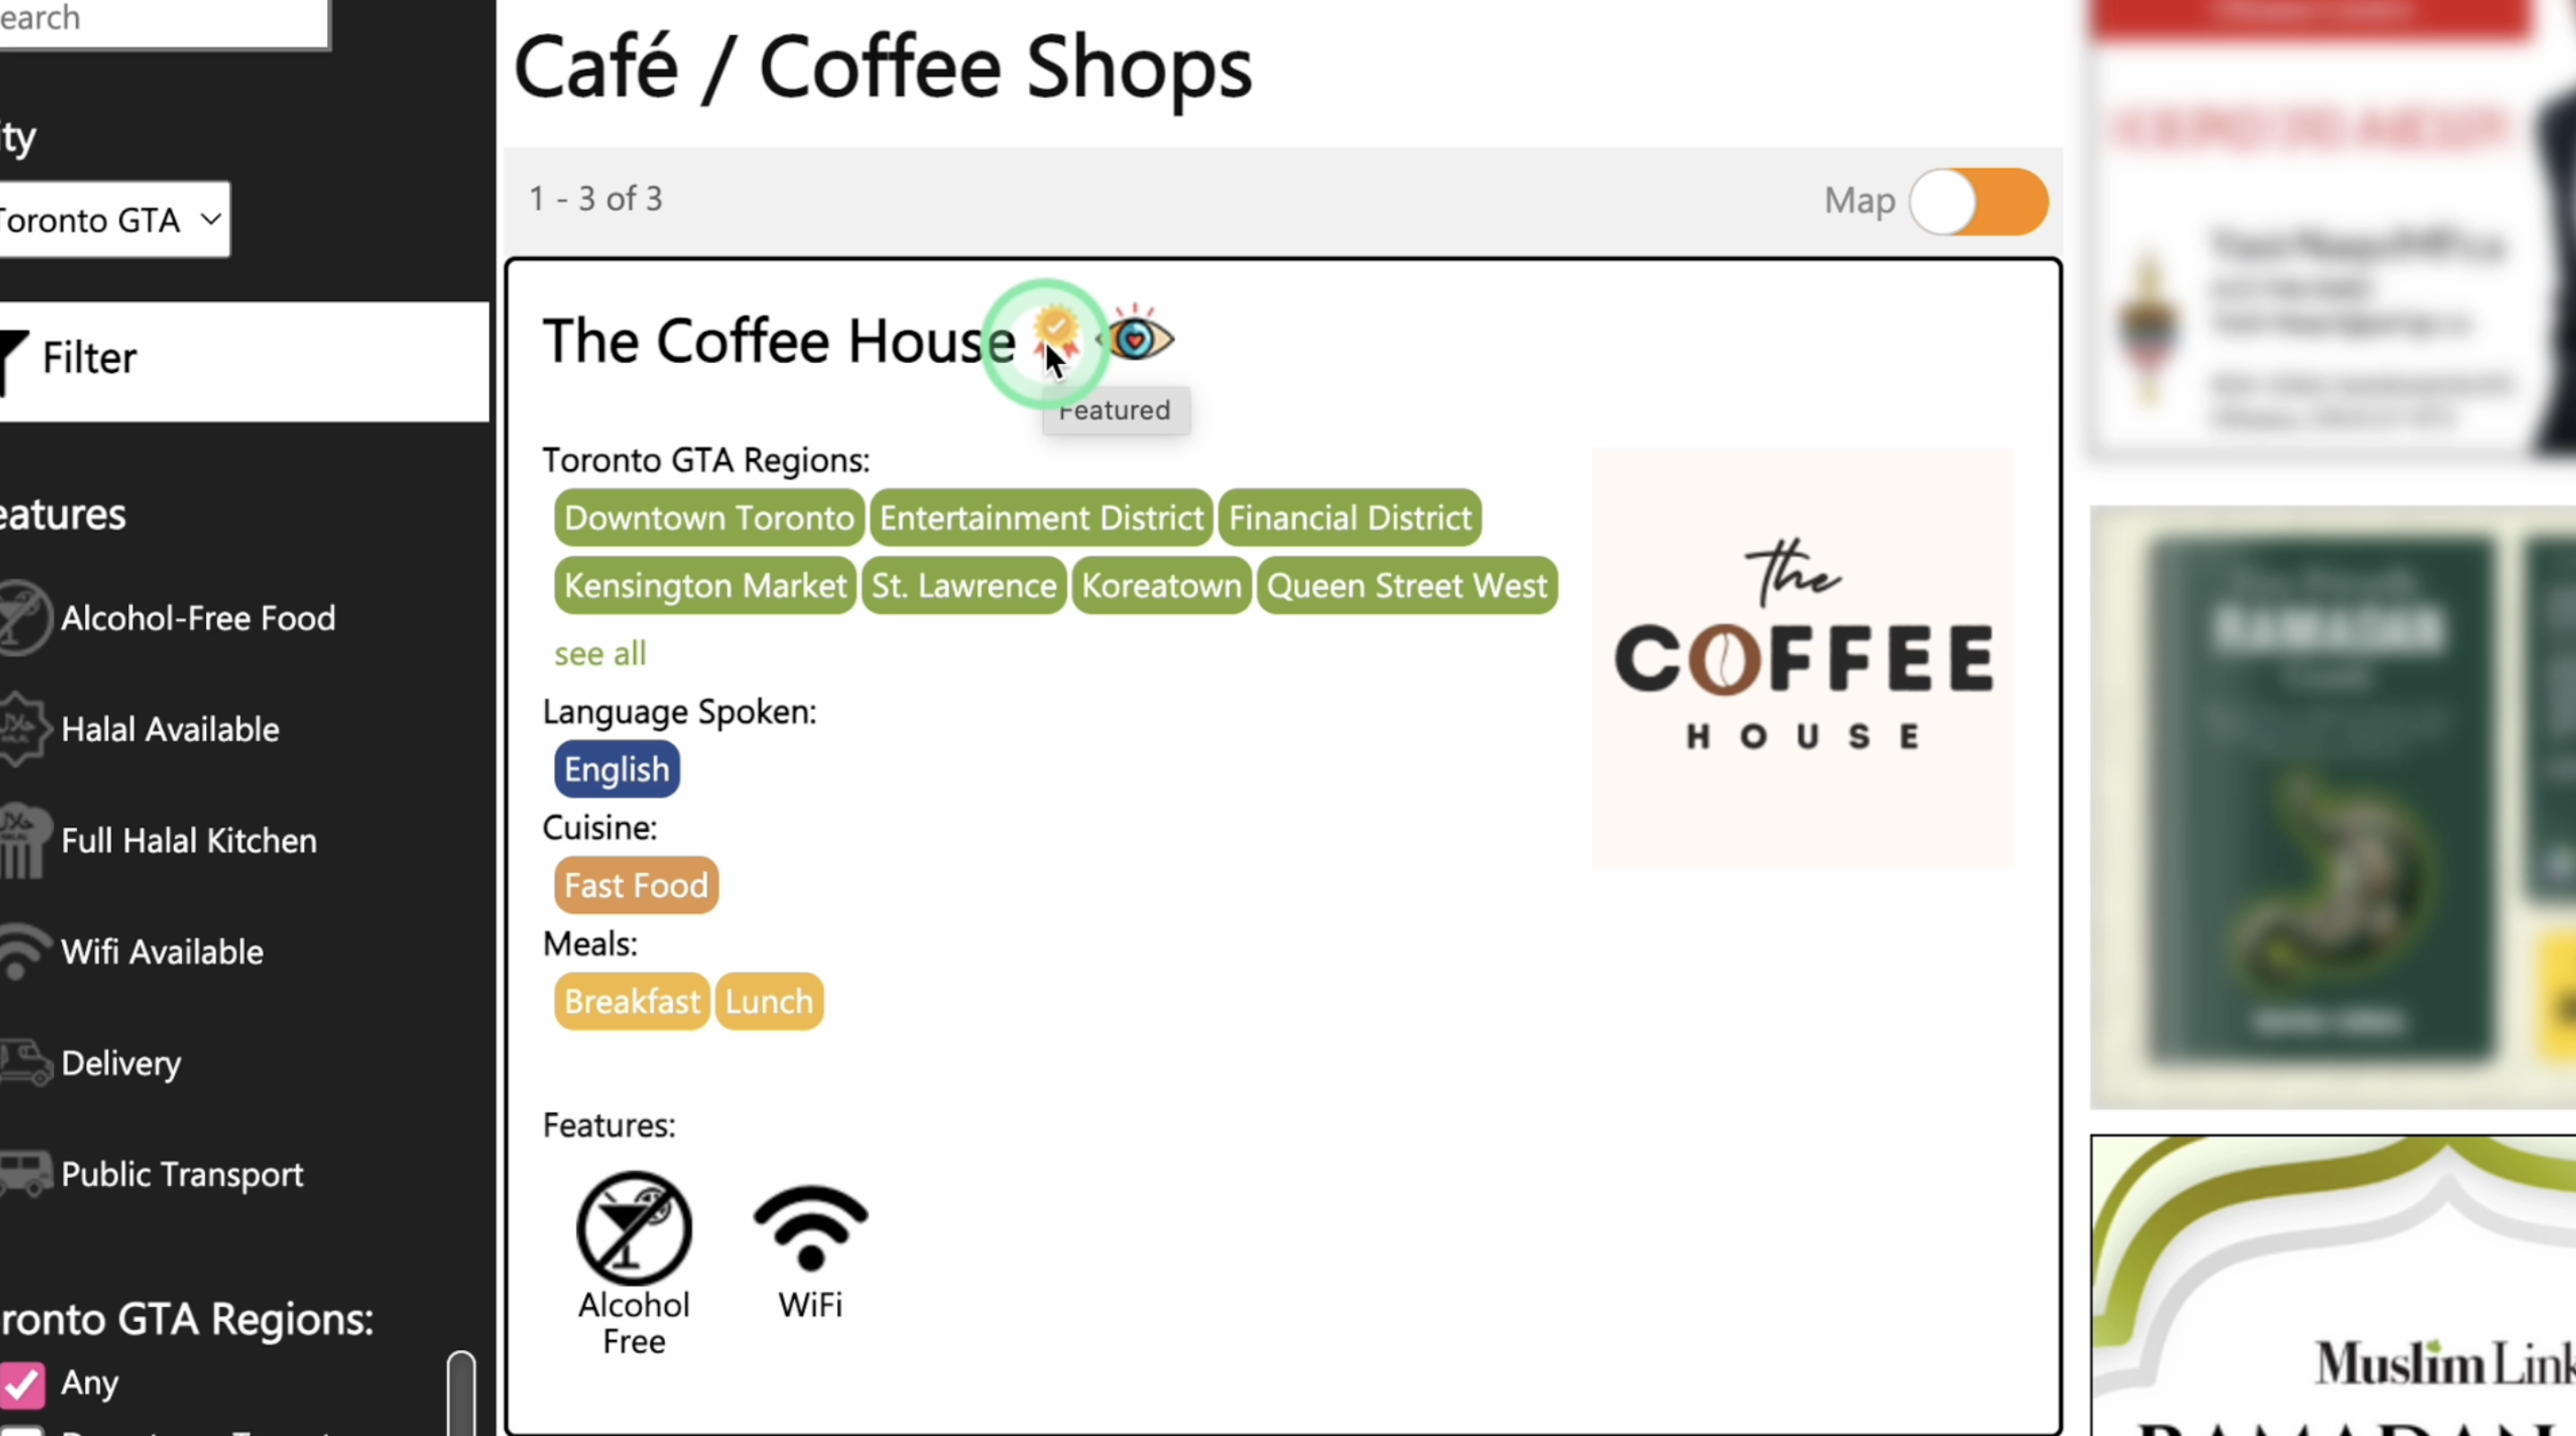
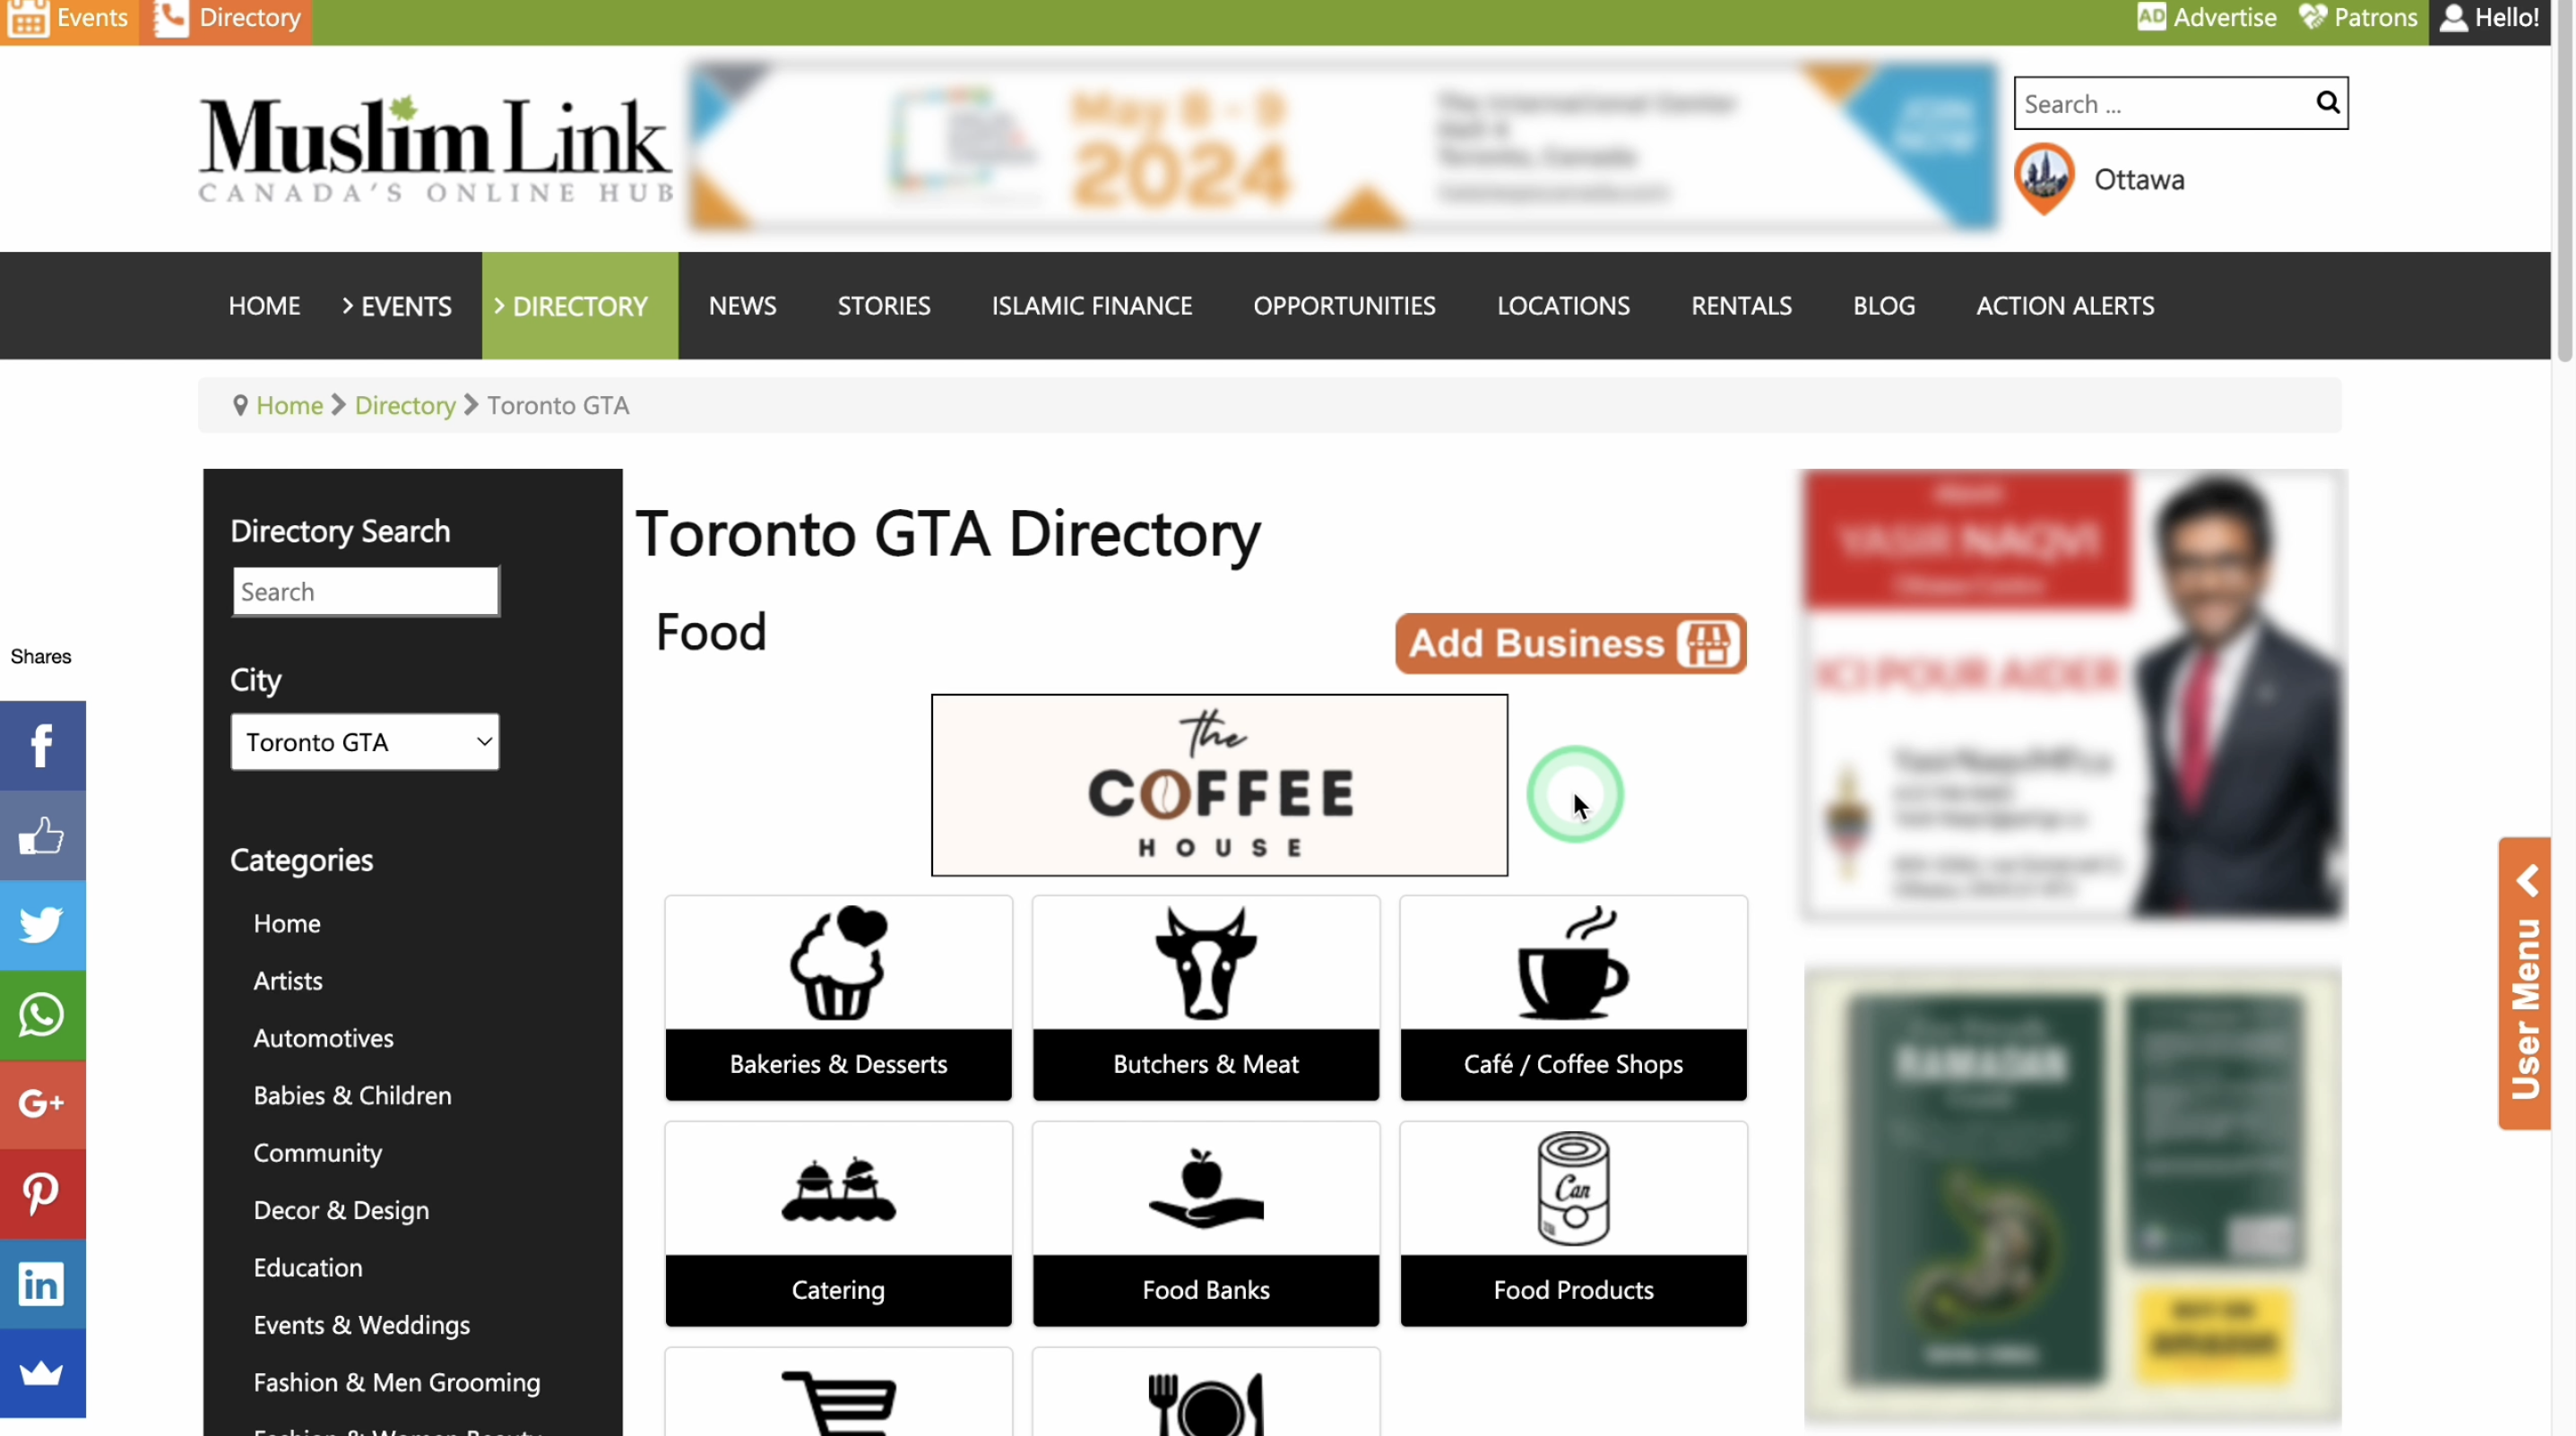
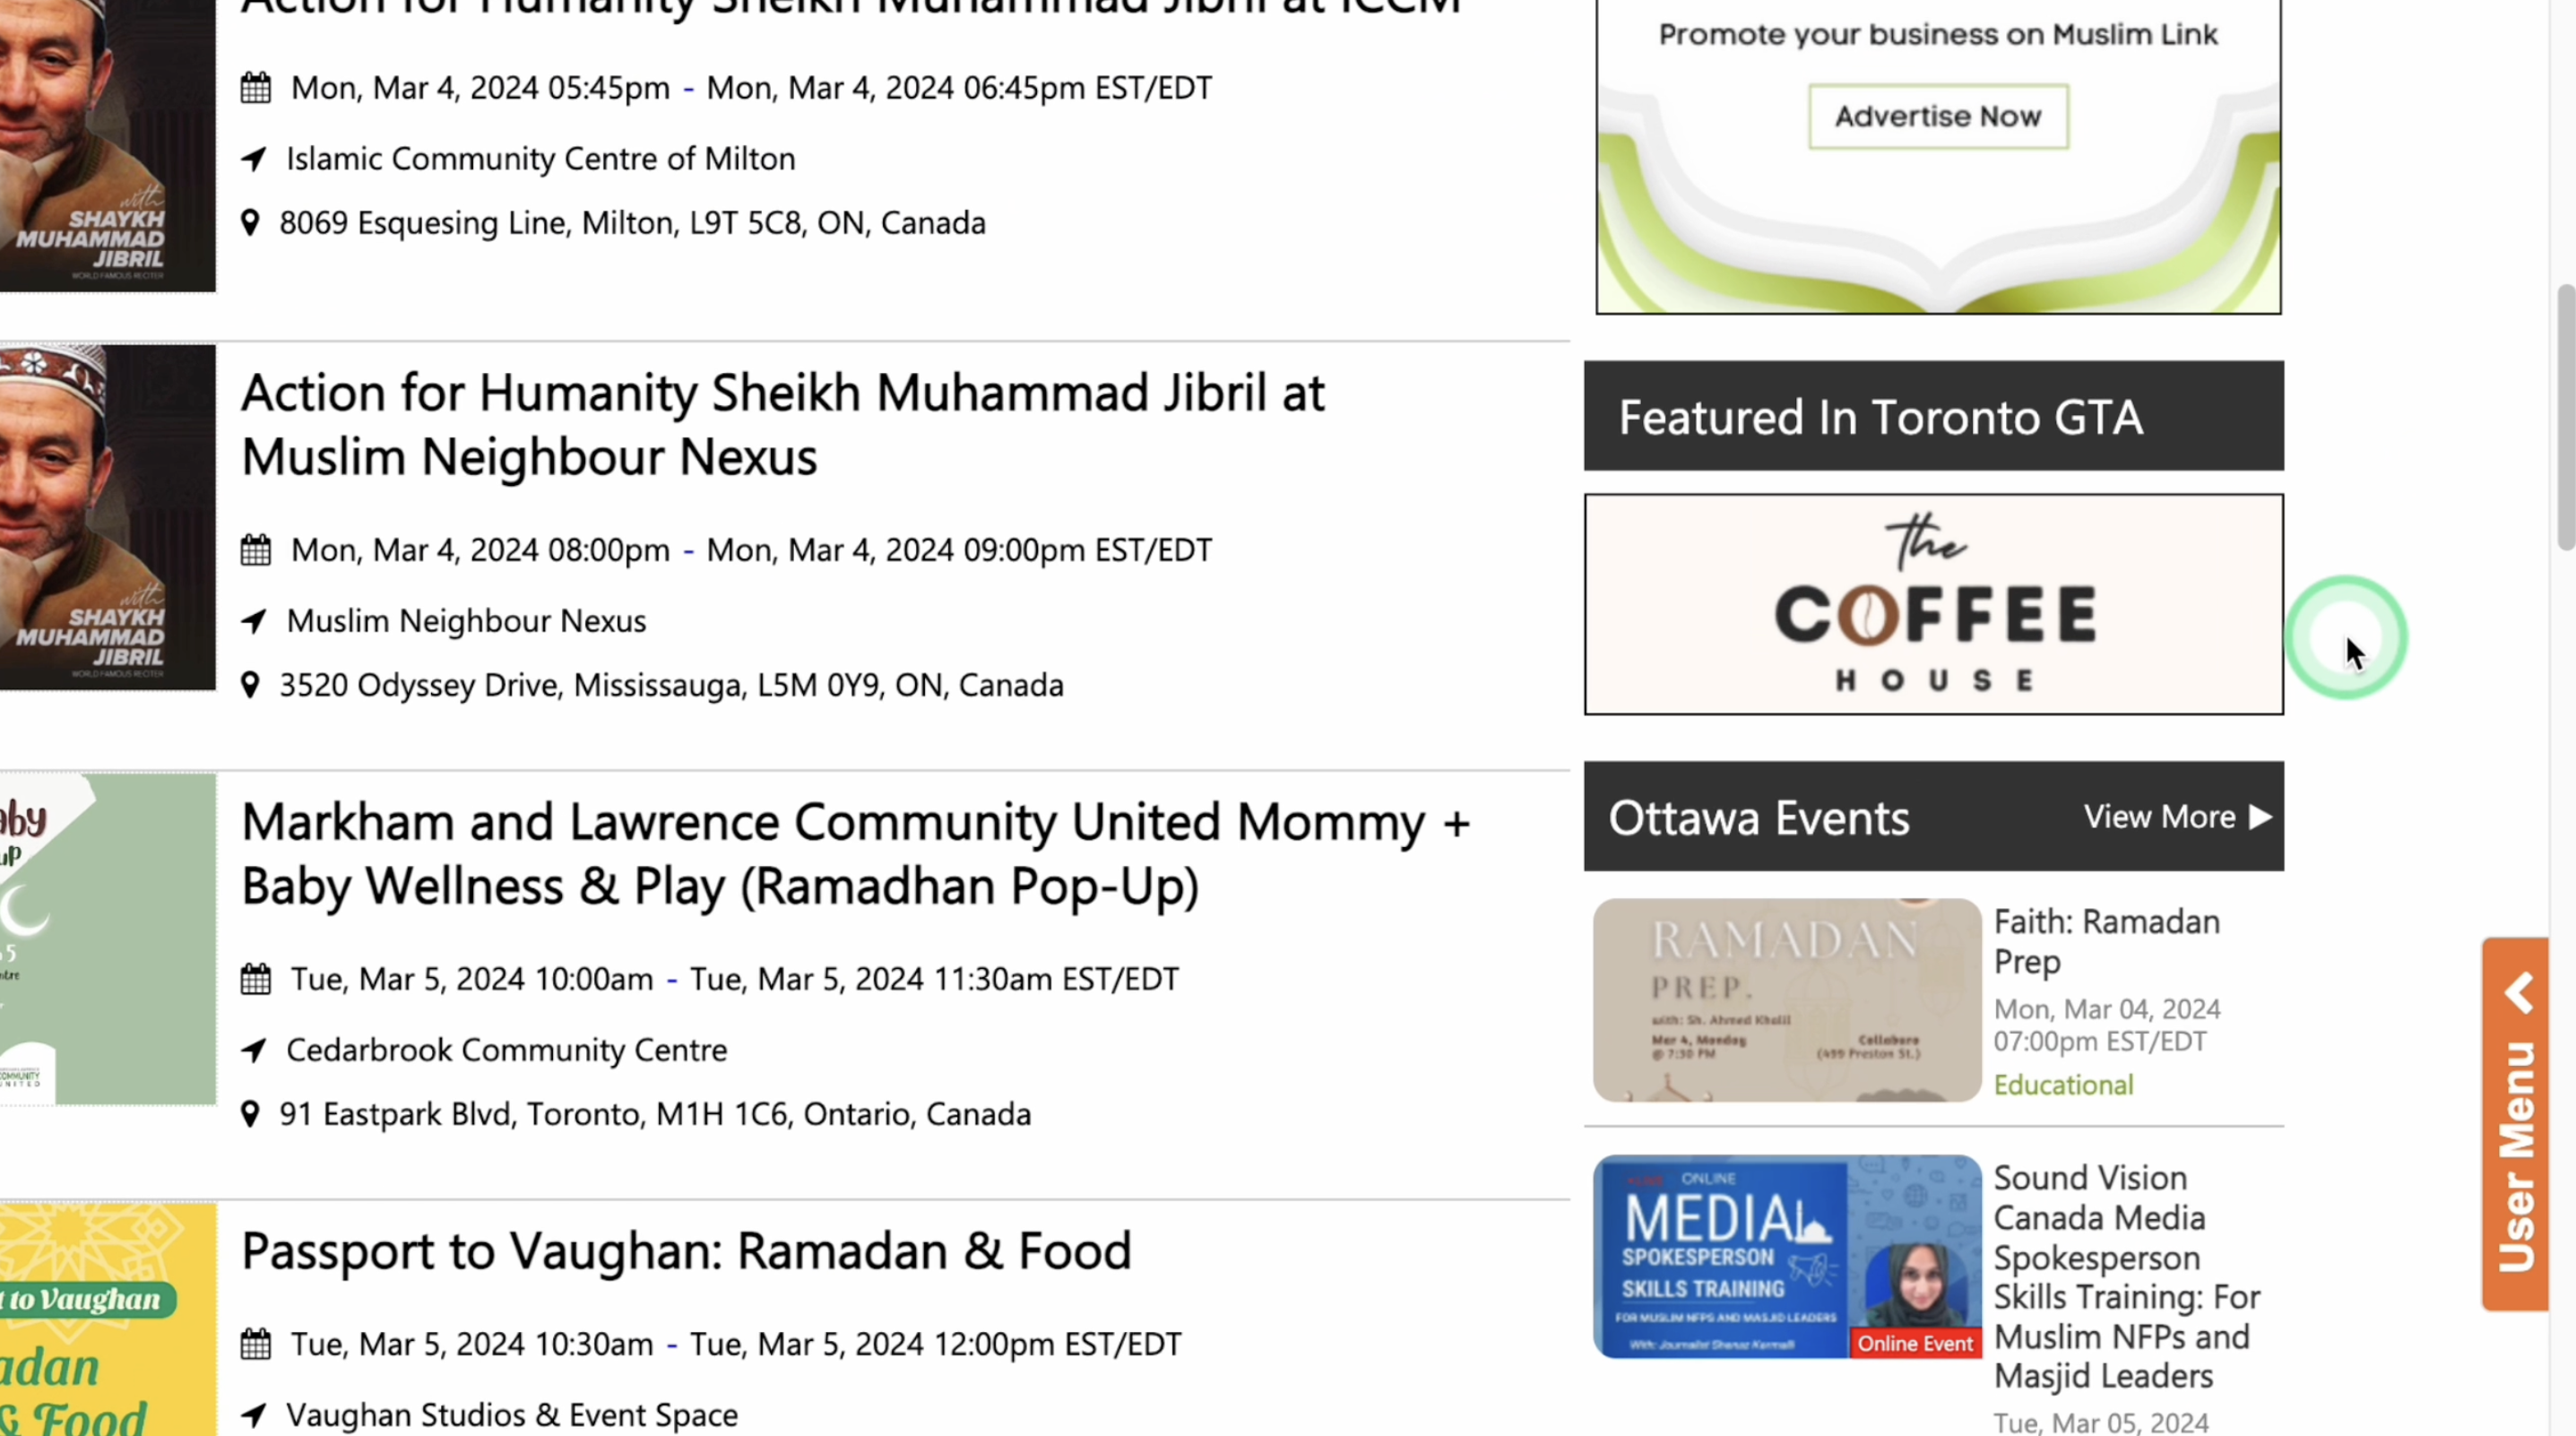
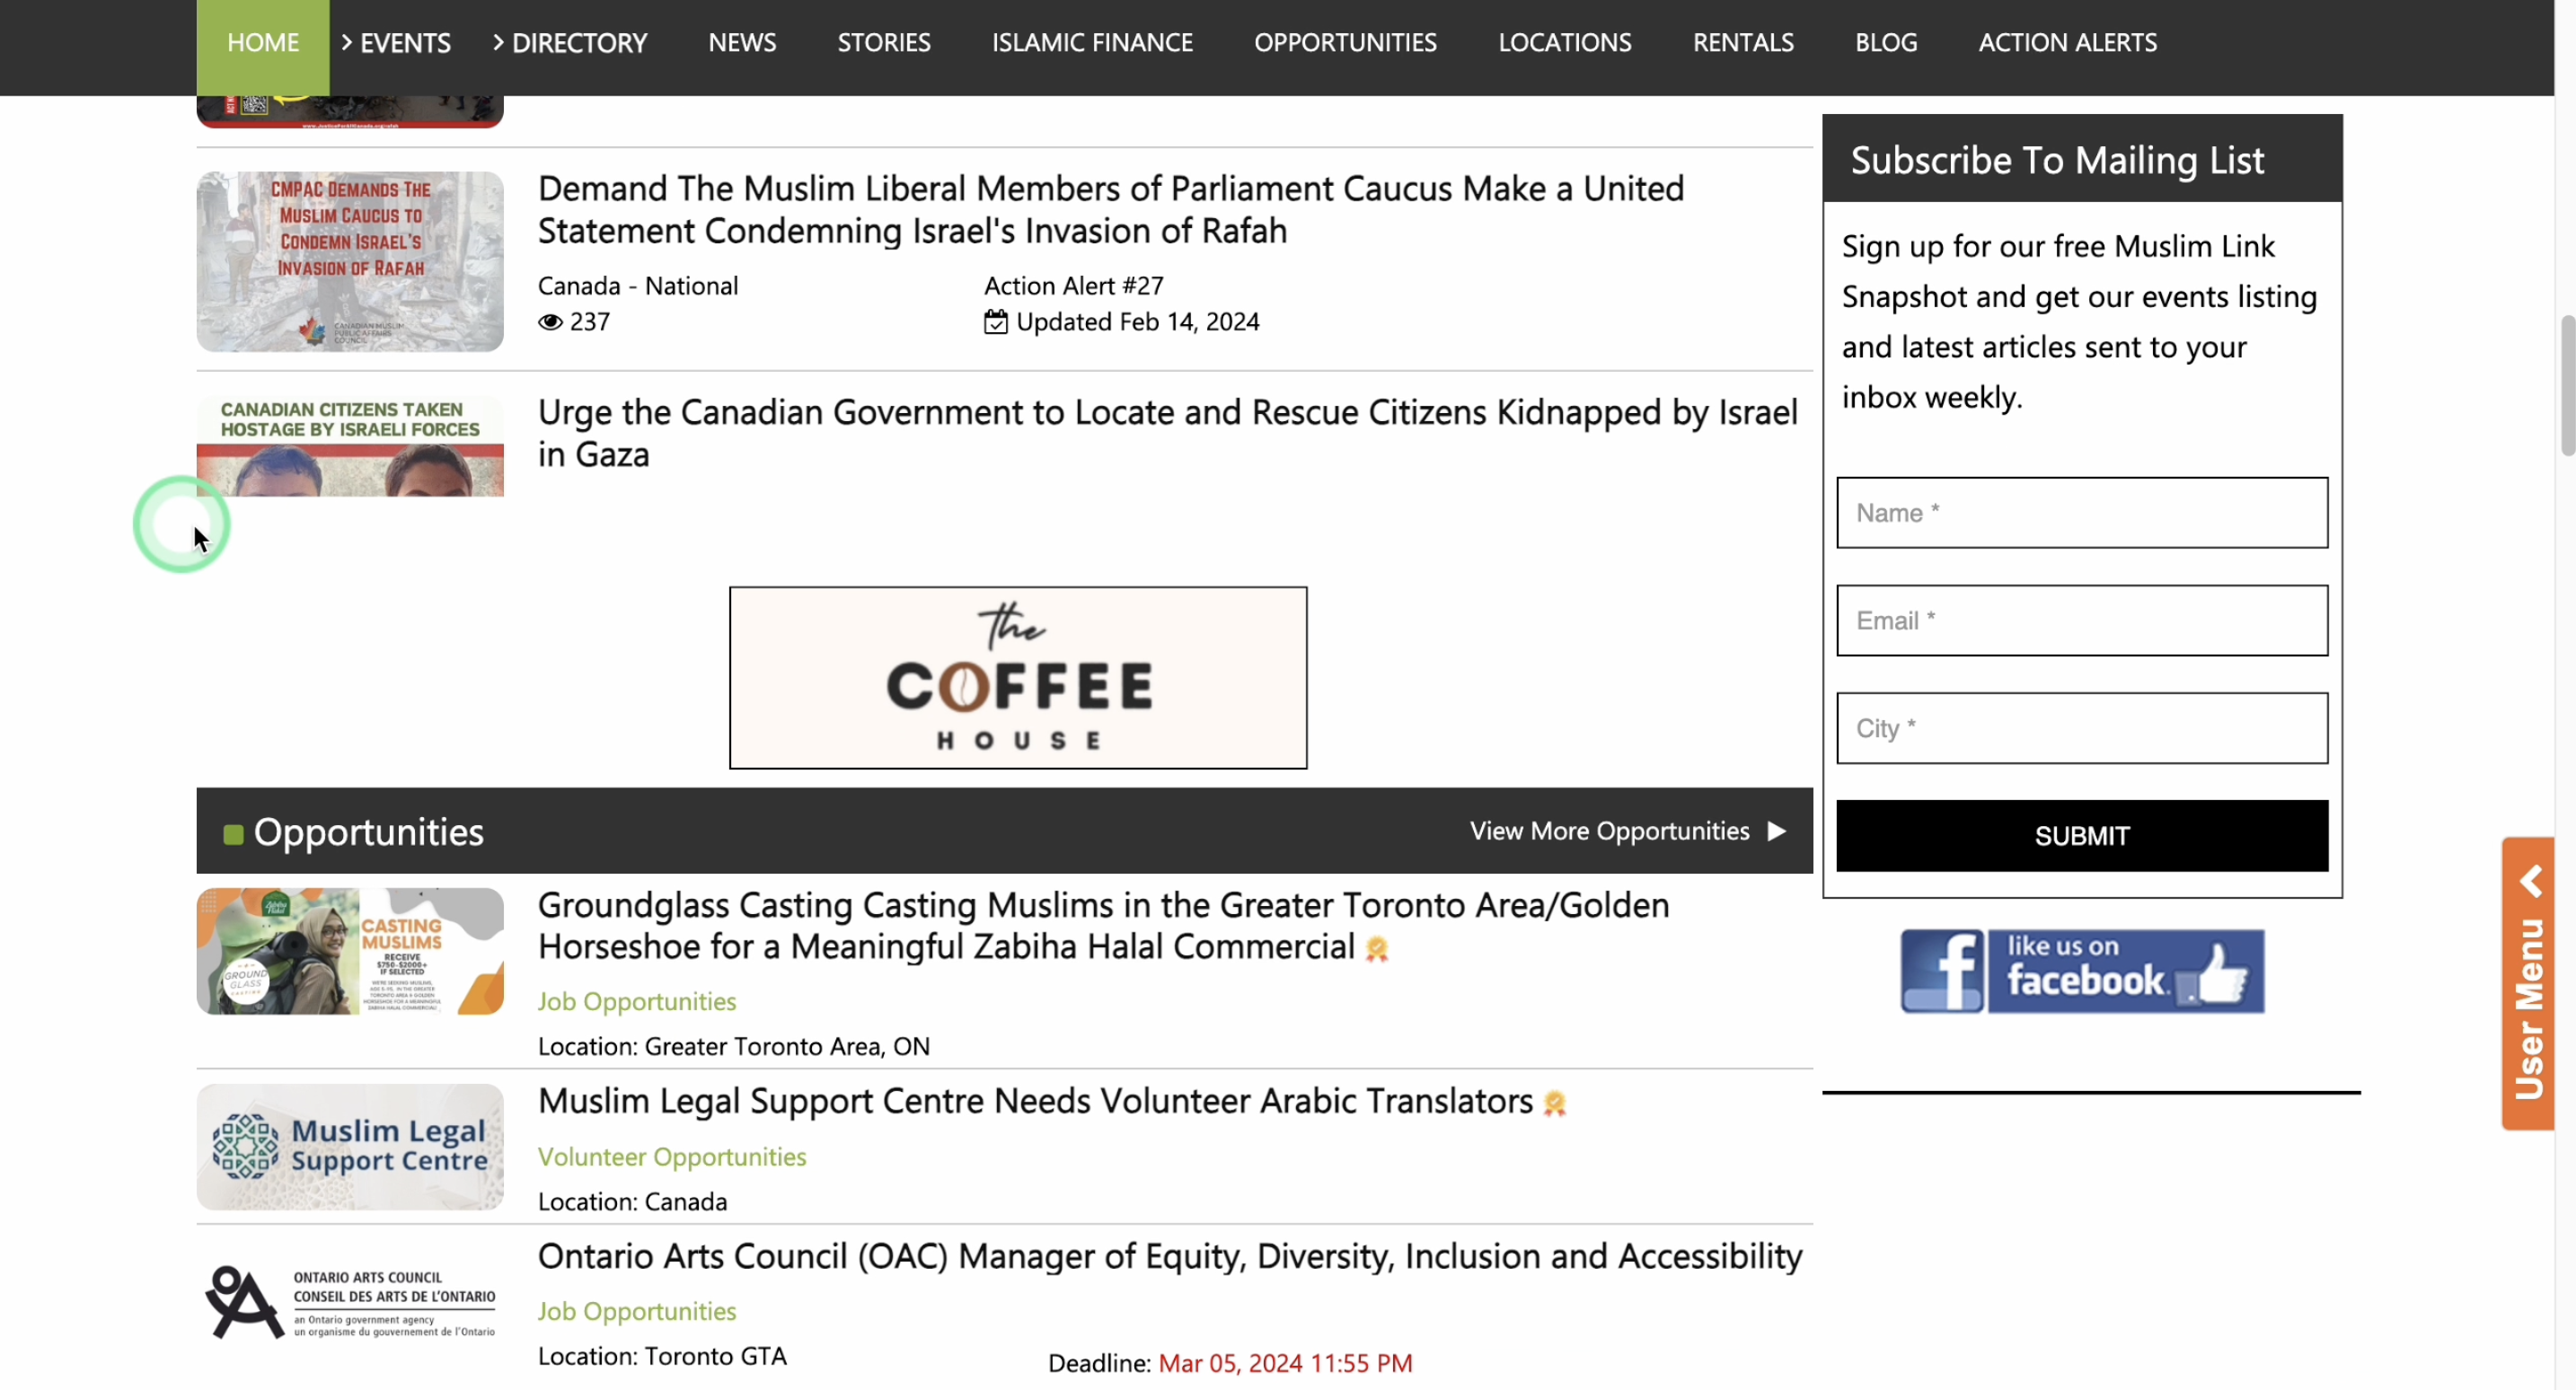
31. Your listing will be featured at the top of its sub-category, and your logo will appear on the category page and city events & directory pages.
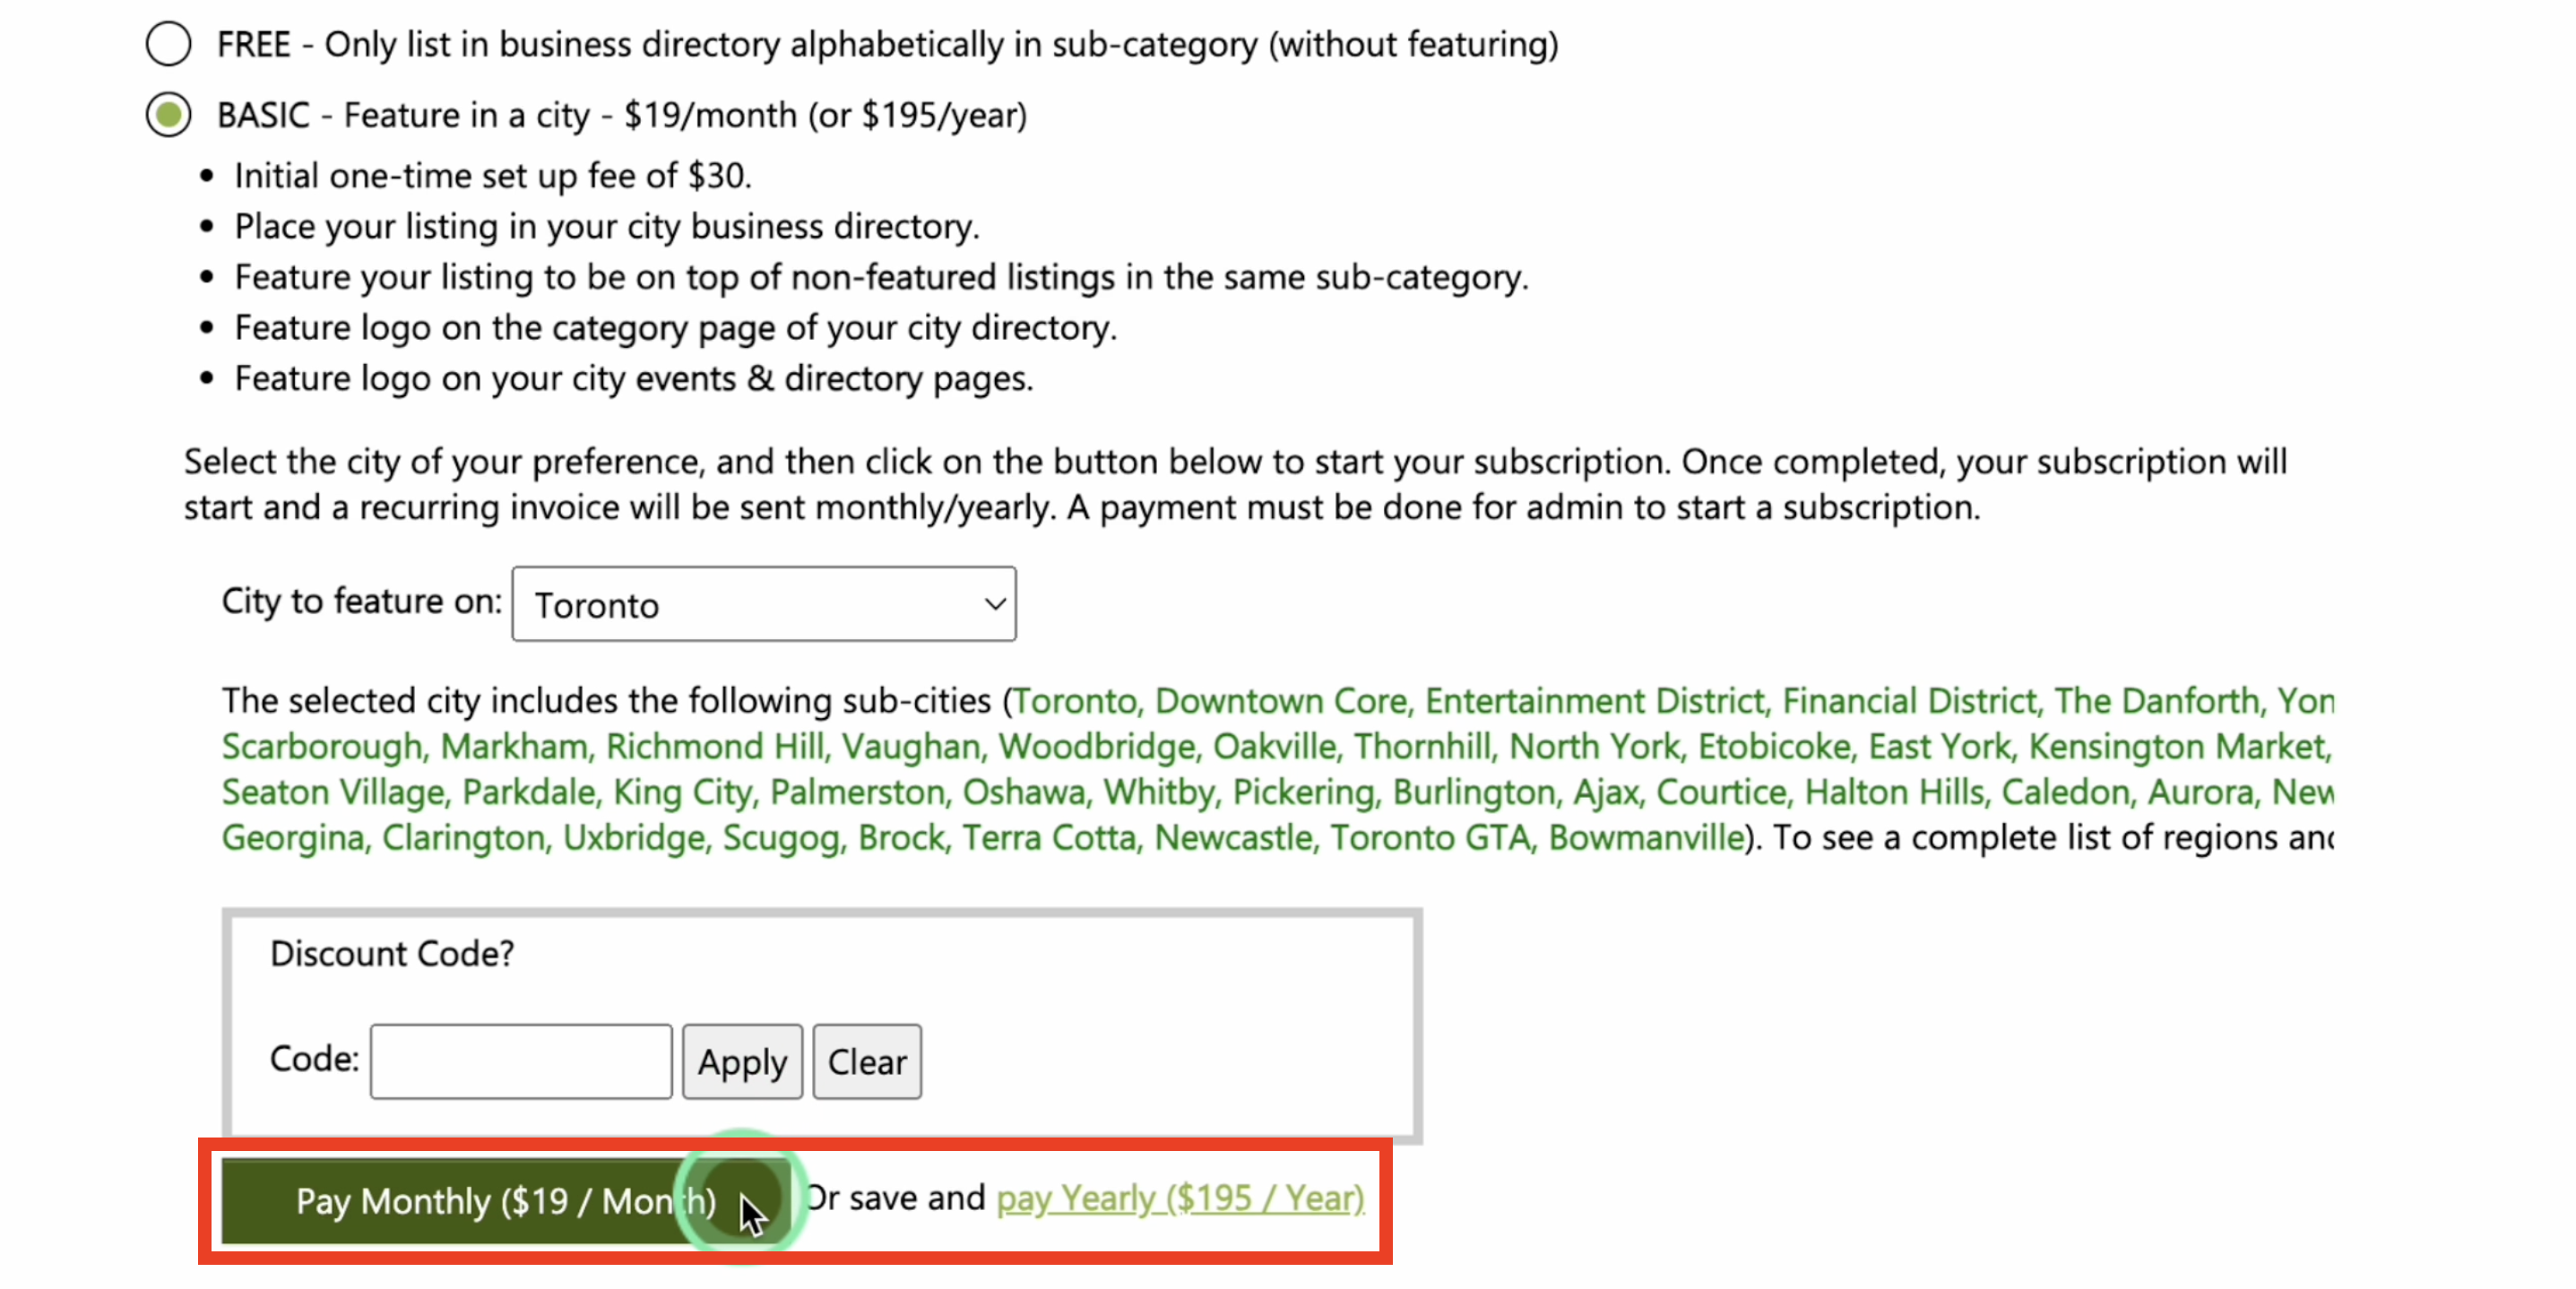
32. You can choose and select the cities to see the included sub cities.
33. If you have a discount code, enter it here then click “Apply”.
34. Start your subscription by clicking the button below.
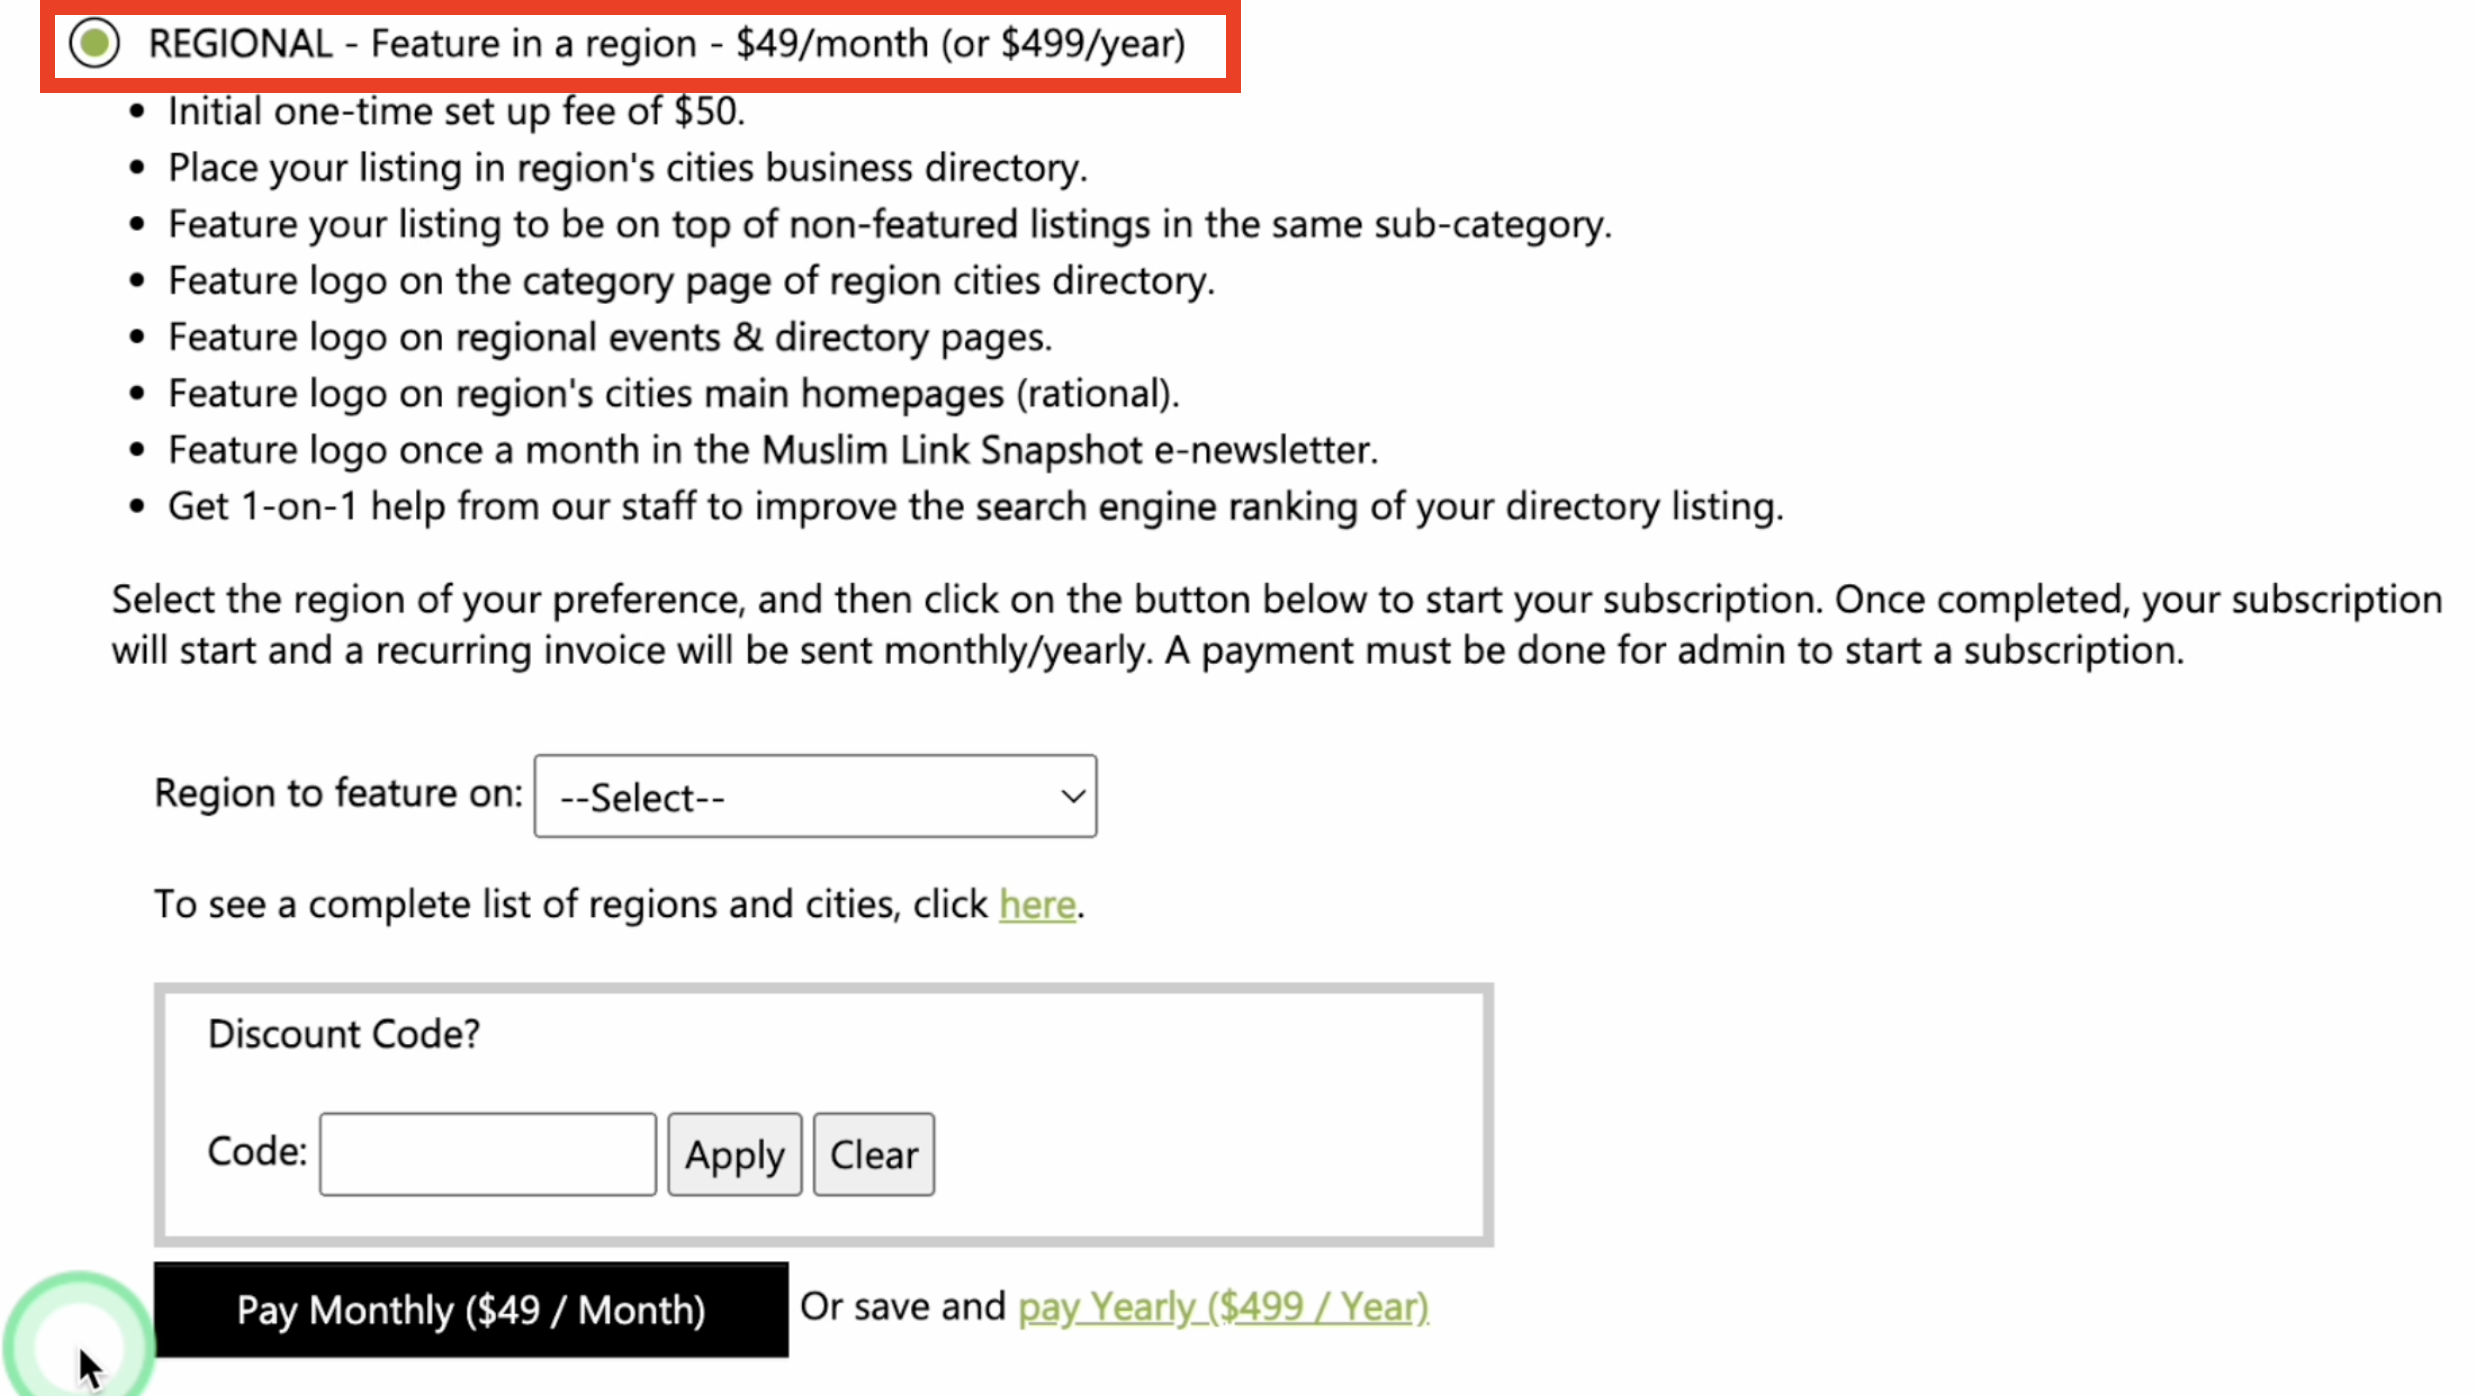
35. You can opt for the Regional listing at $49/month or $499/year to feature your listing in a specific region. There's an initial one-time setup fee of $50.
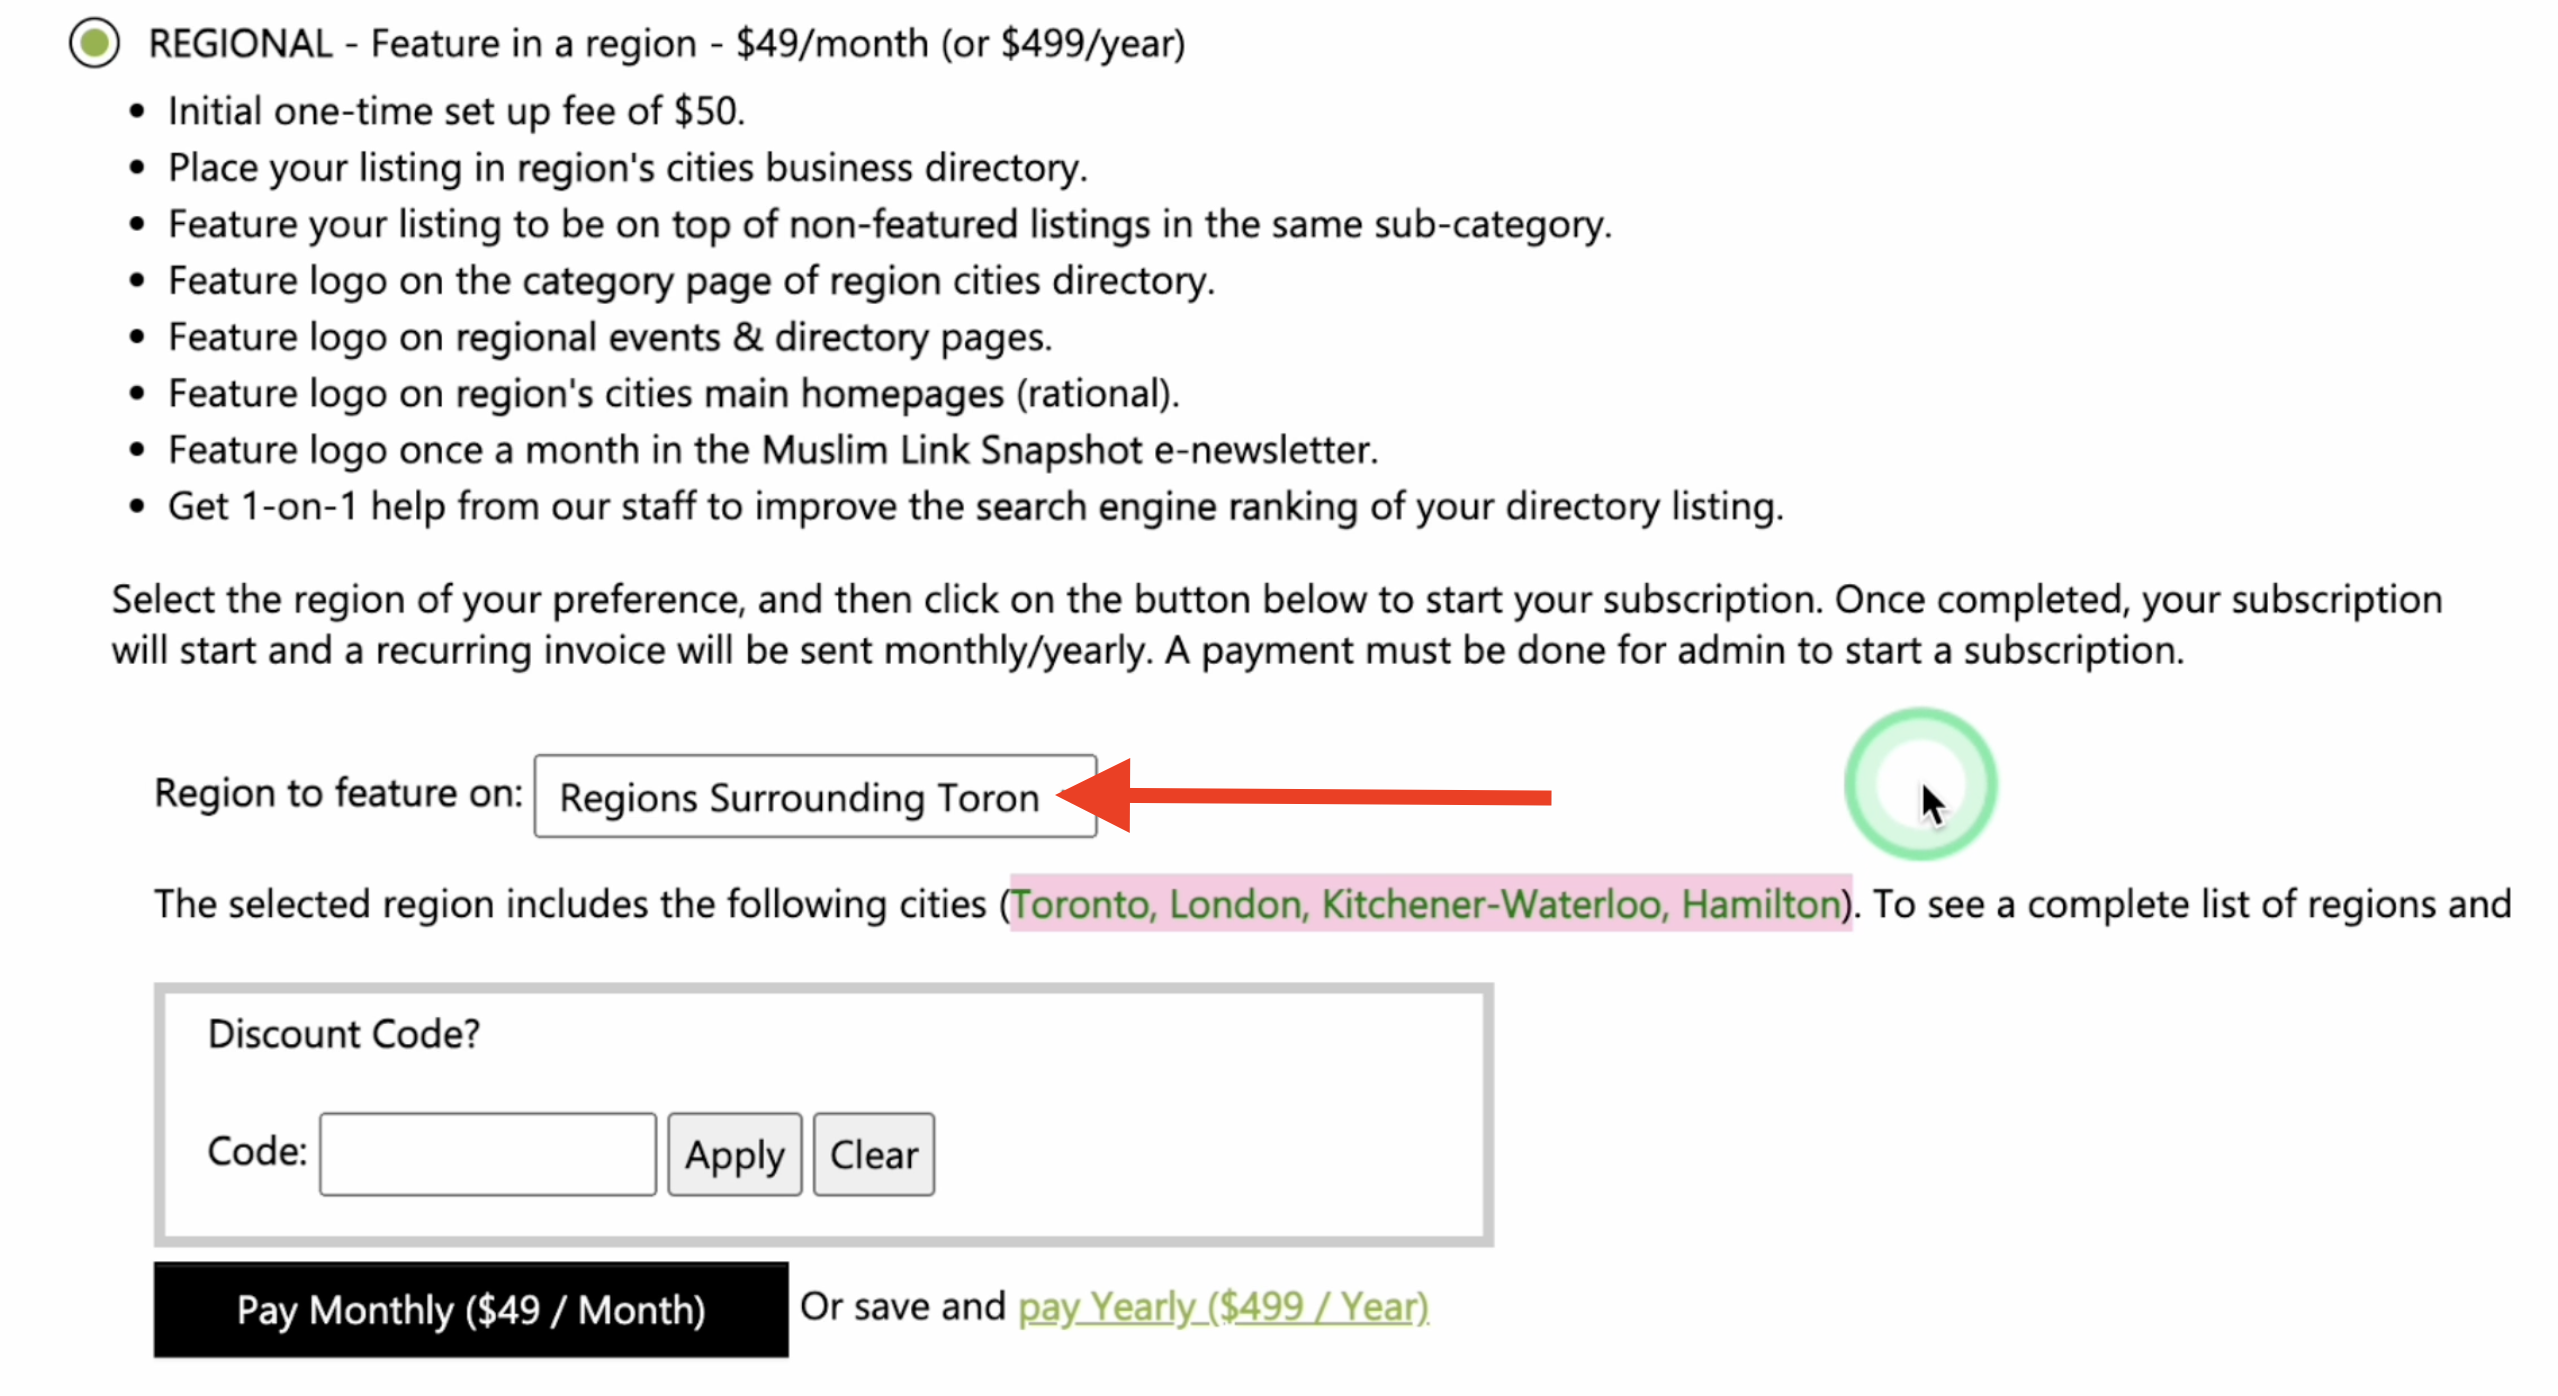
36. You can choose and select the region to see the included cities.
37. Input here if you have a discount code.
38. Your listing will be placed in the business directory for cities within that region, featured at the top of non-featured listings in the same sub-category, and your logo will be displayed on the category page, regional events & directory pages, and the main homepages of the region's cities.
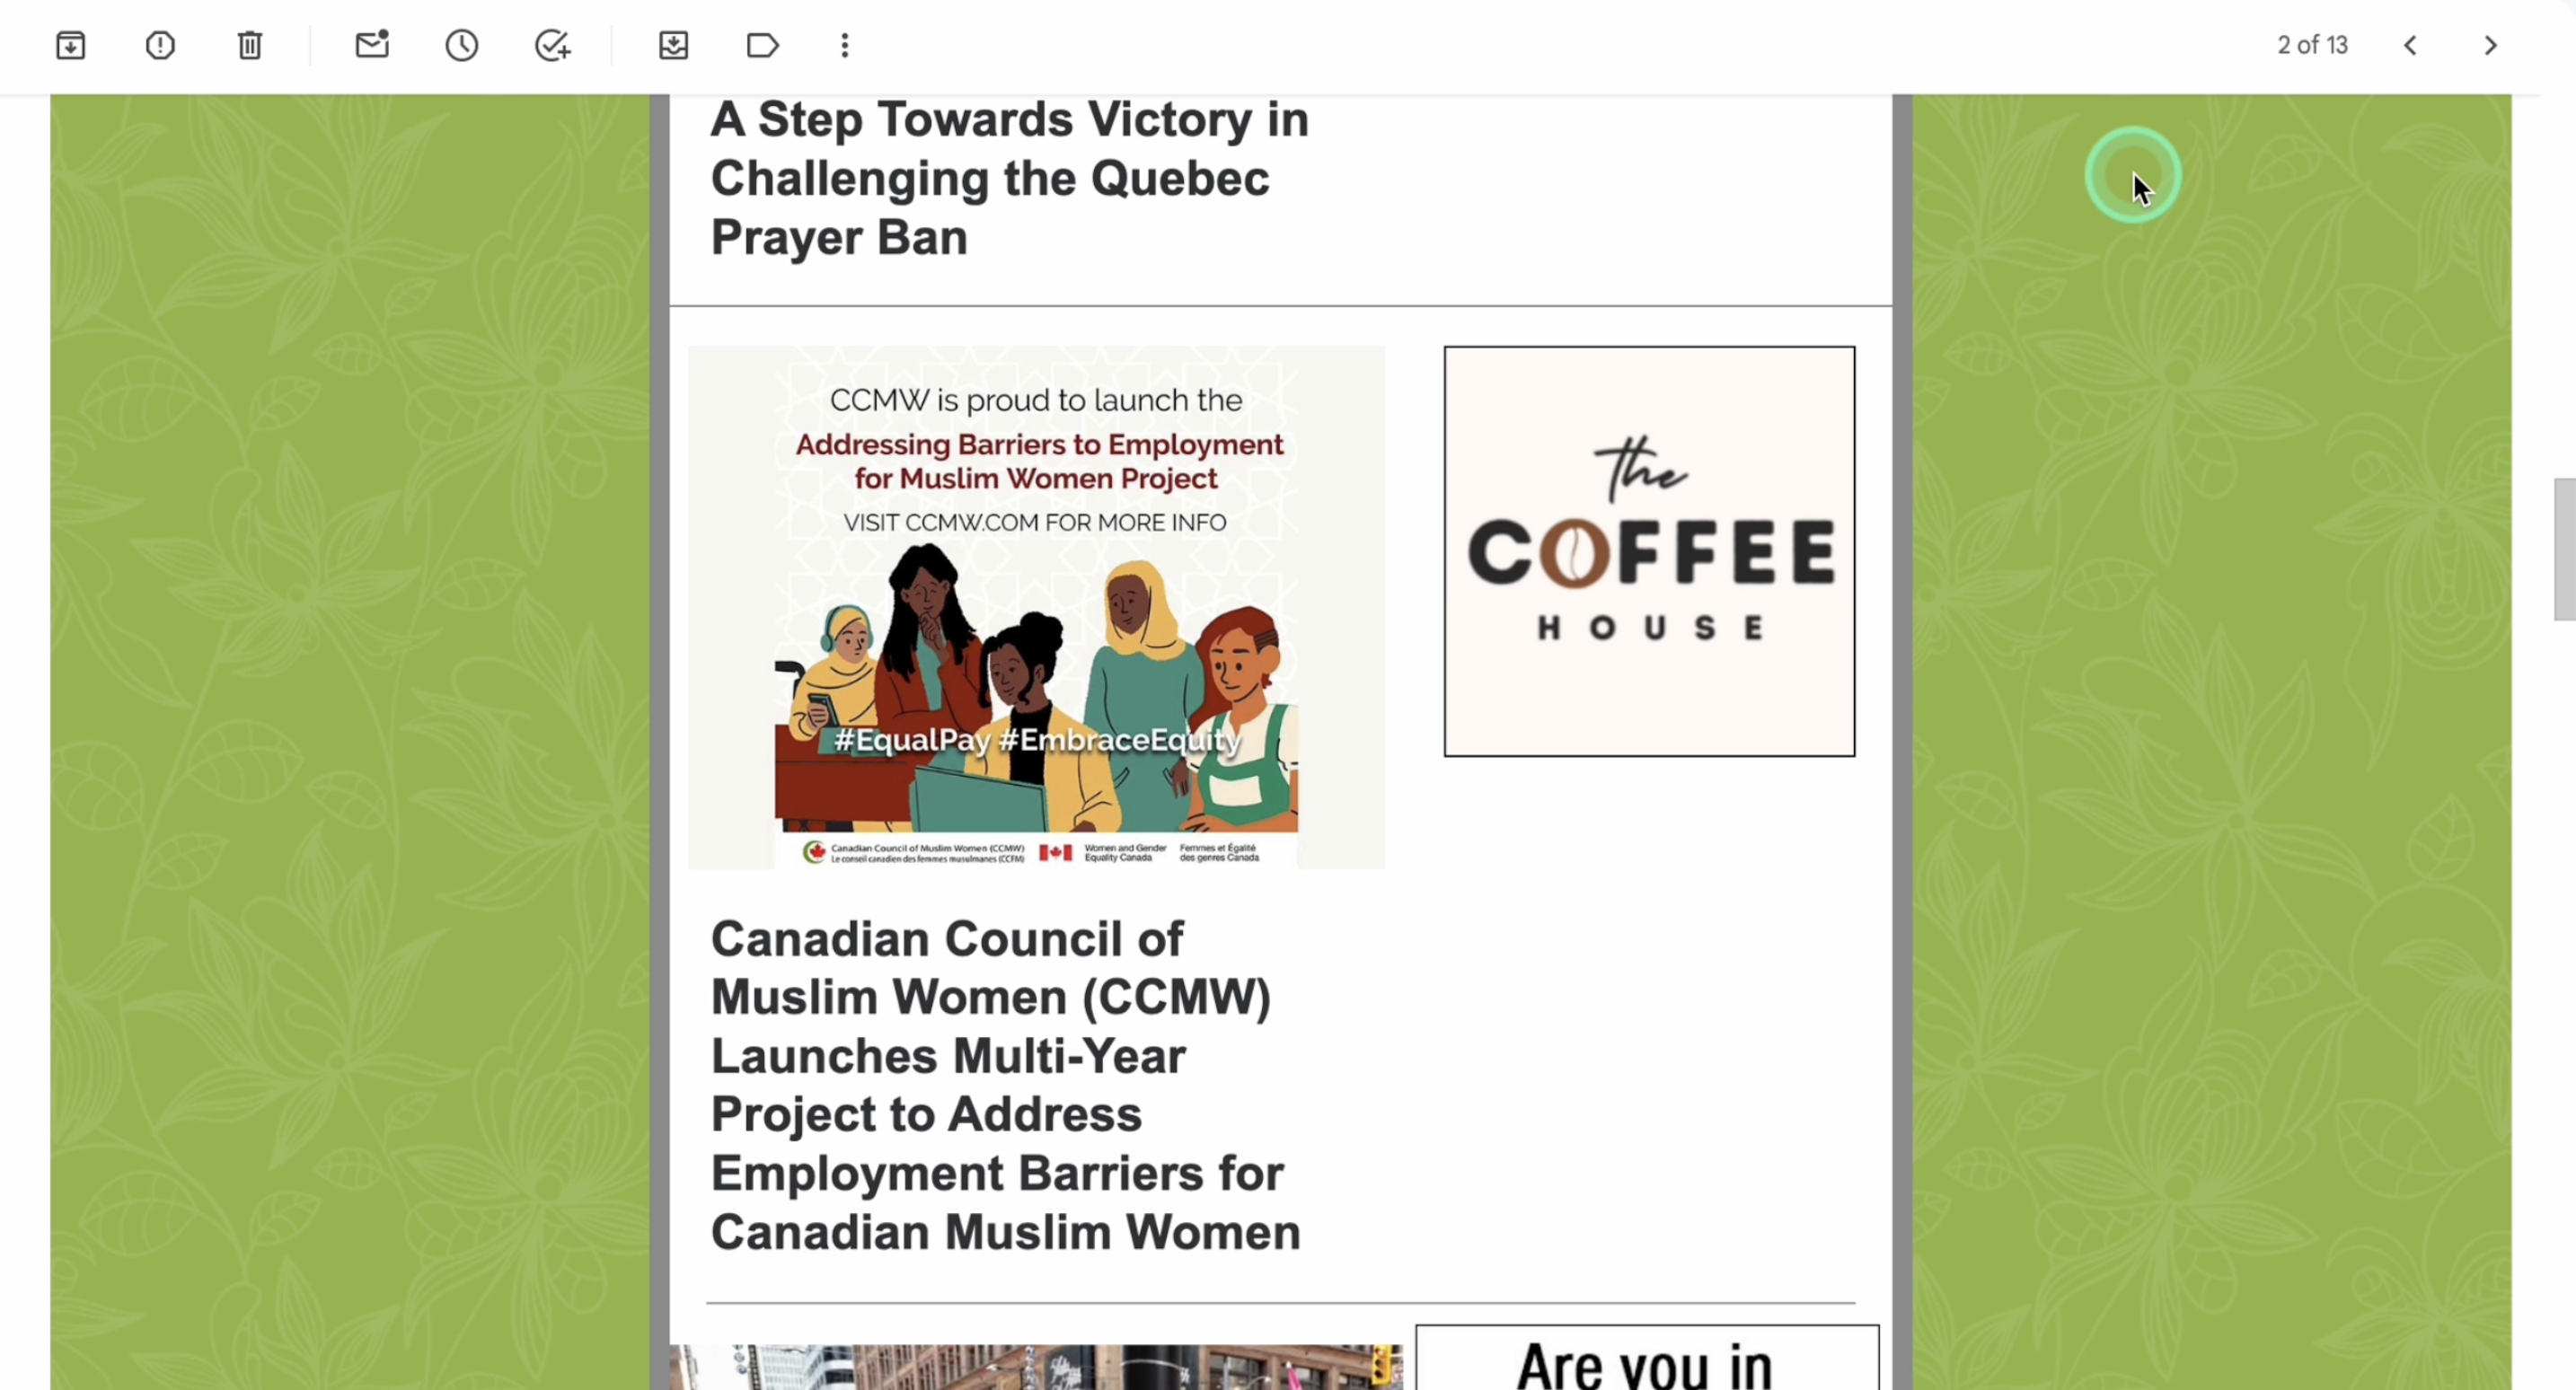
39. Additionally, your logo will be featured once a month in the Muslim Link Snapshot e-newsletter. You will also get a 1-on-1 assistance from our staff to enhance the search engine ranking of your directory listing.
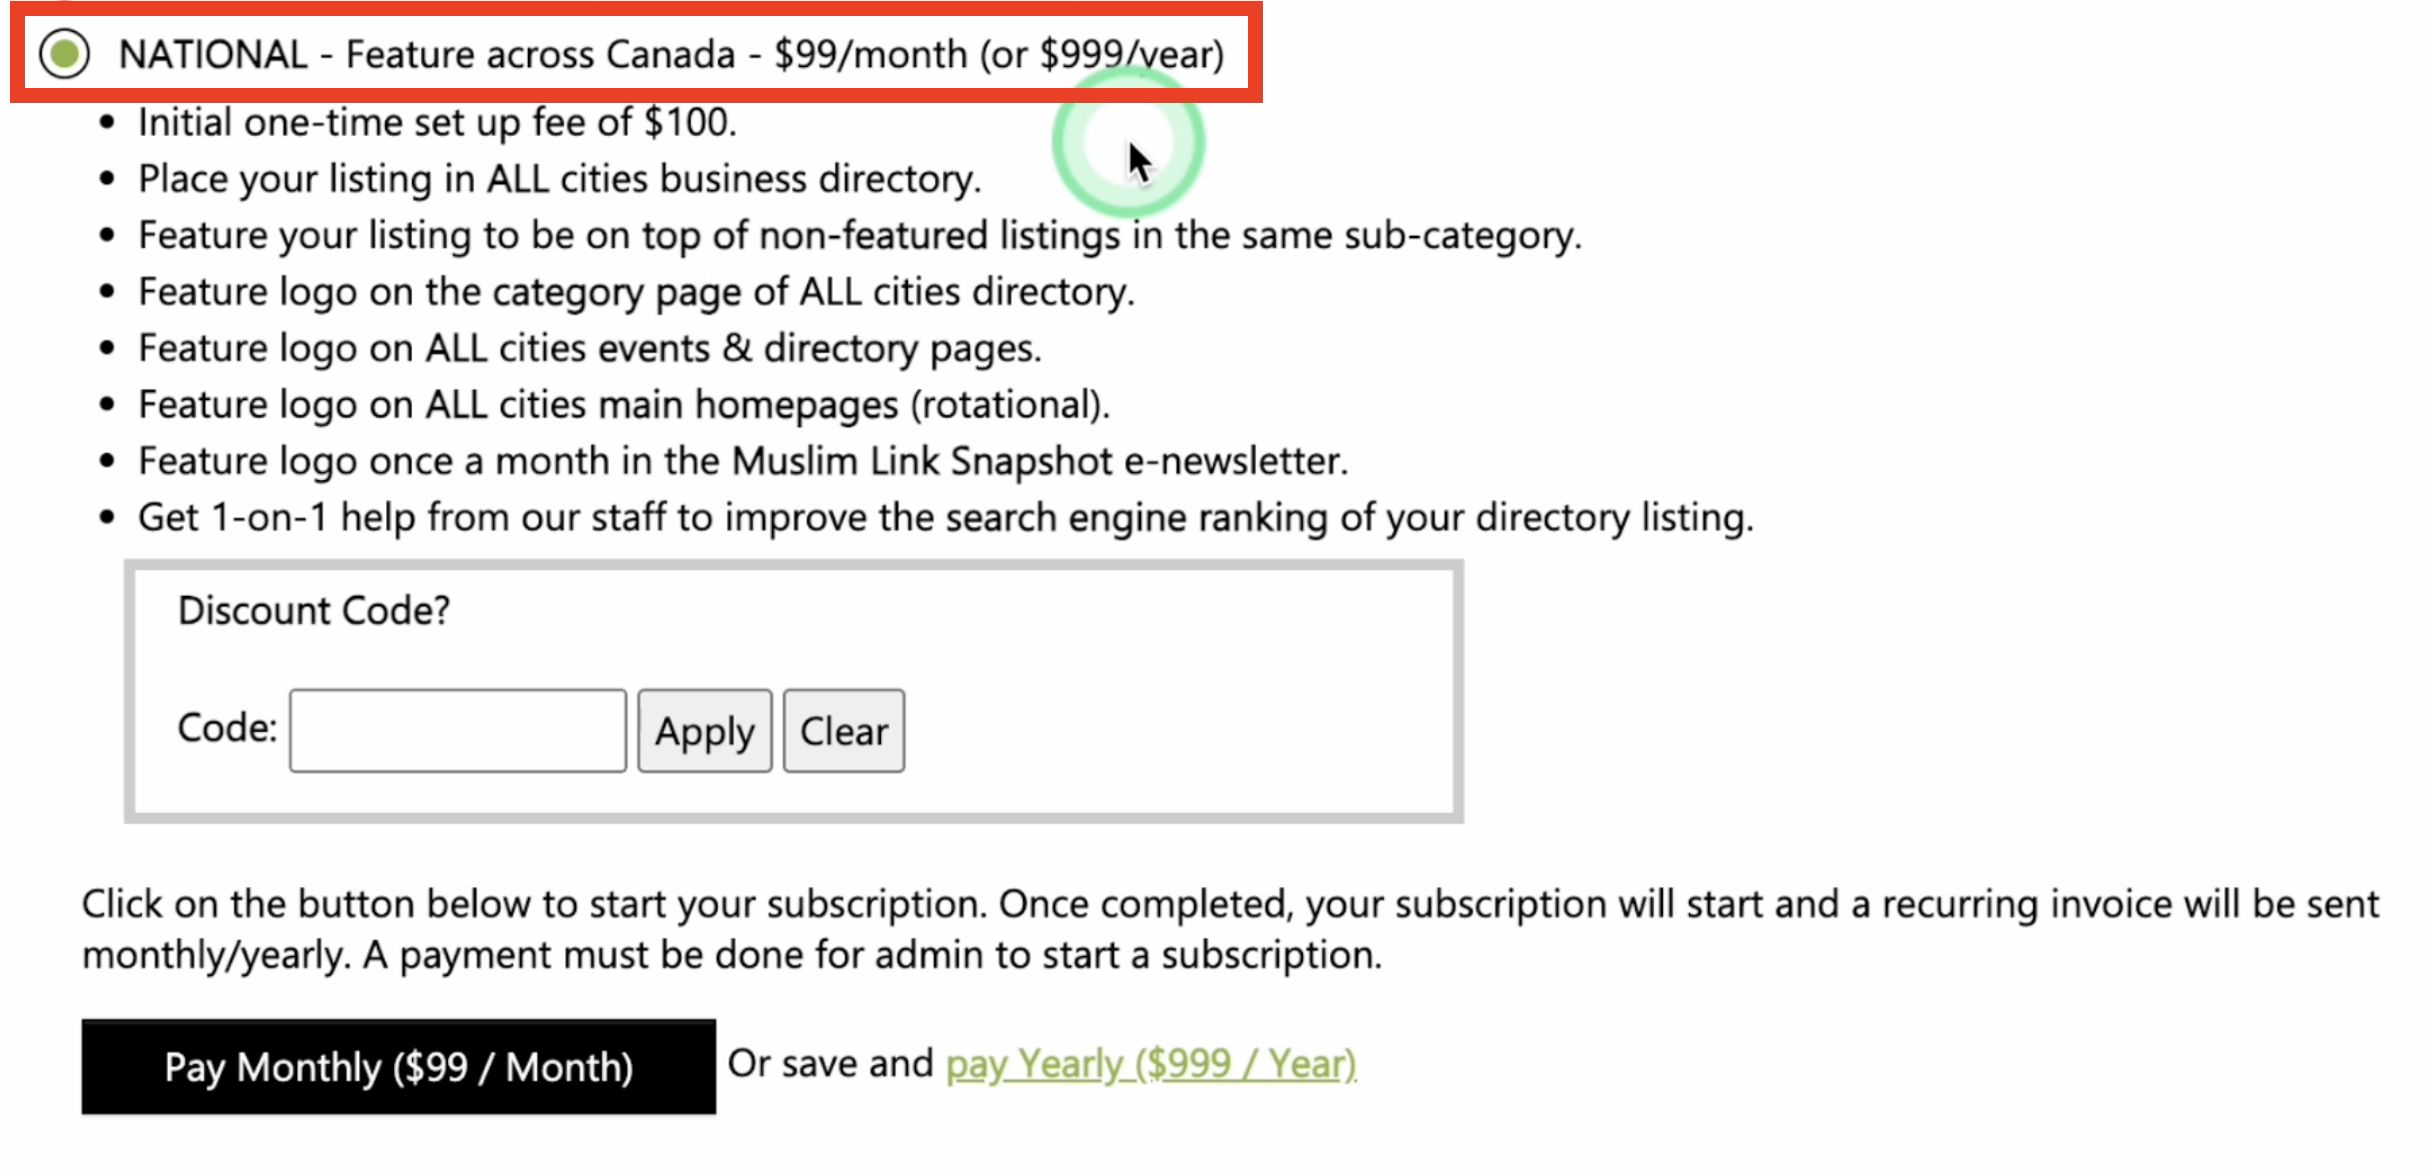
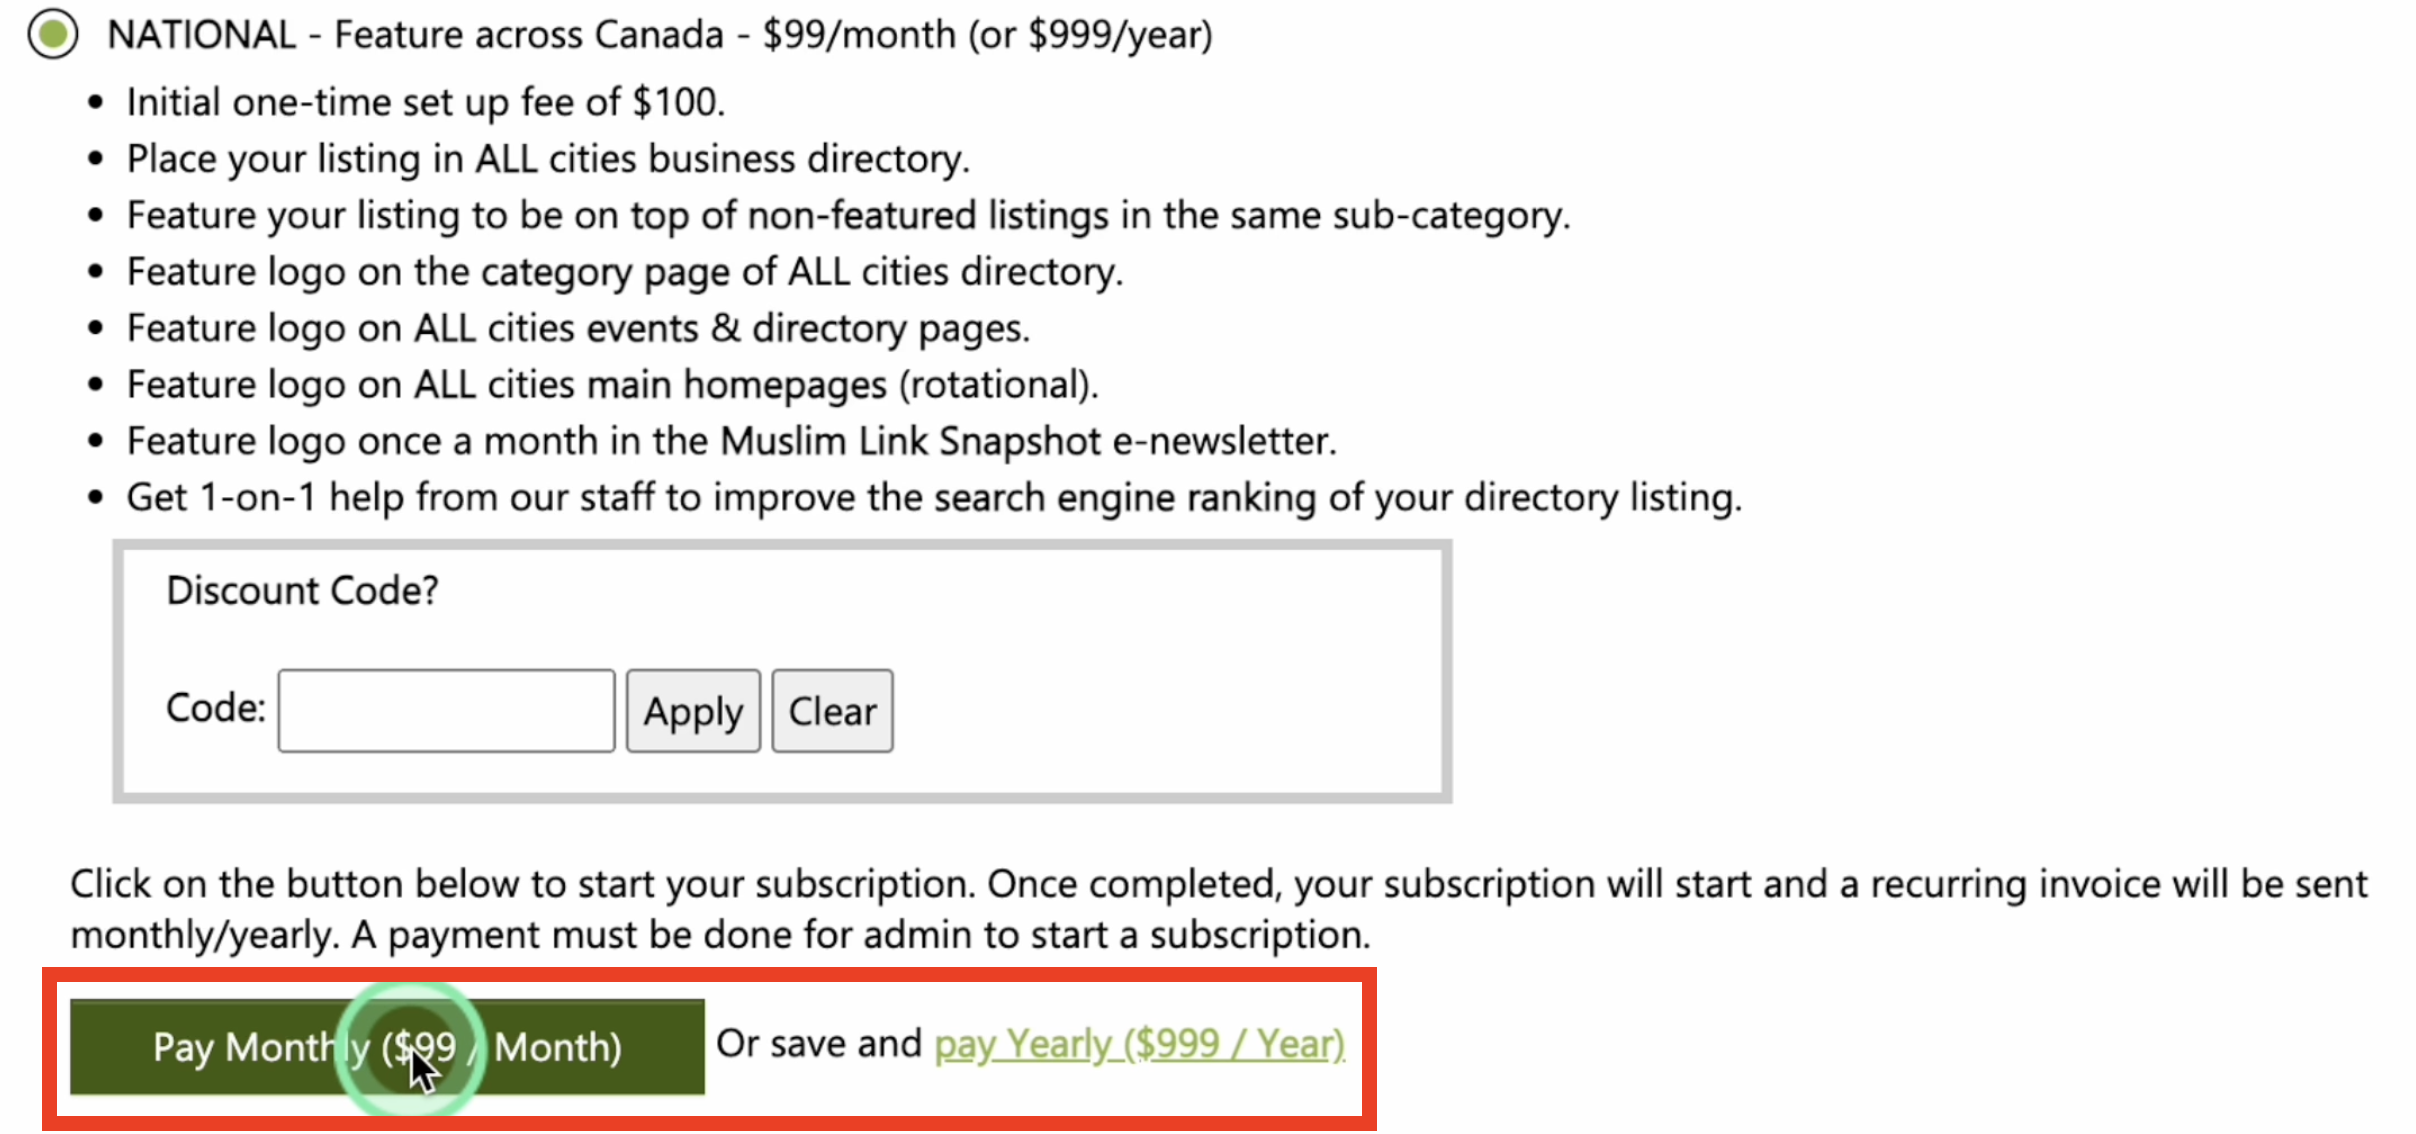
40. Lastly, you can opt for the National listing at $99/month or $999/year to feature your listing across Canada. There's an initial one-time setup fee of $100. Your listing will appear the same as the regional listings, but it will be displayed nationwide across Canada.
41. Input here if you have a discount code.
42. Start your subscription by clicking the button below.
43. Select between monthly or yearly payment options to proceed with your selected listing.
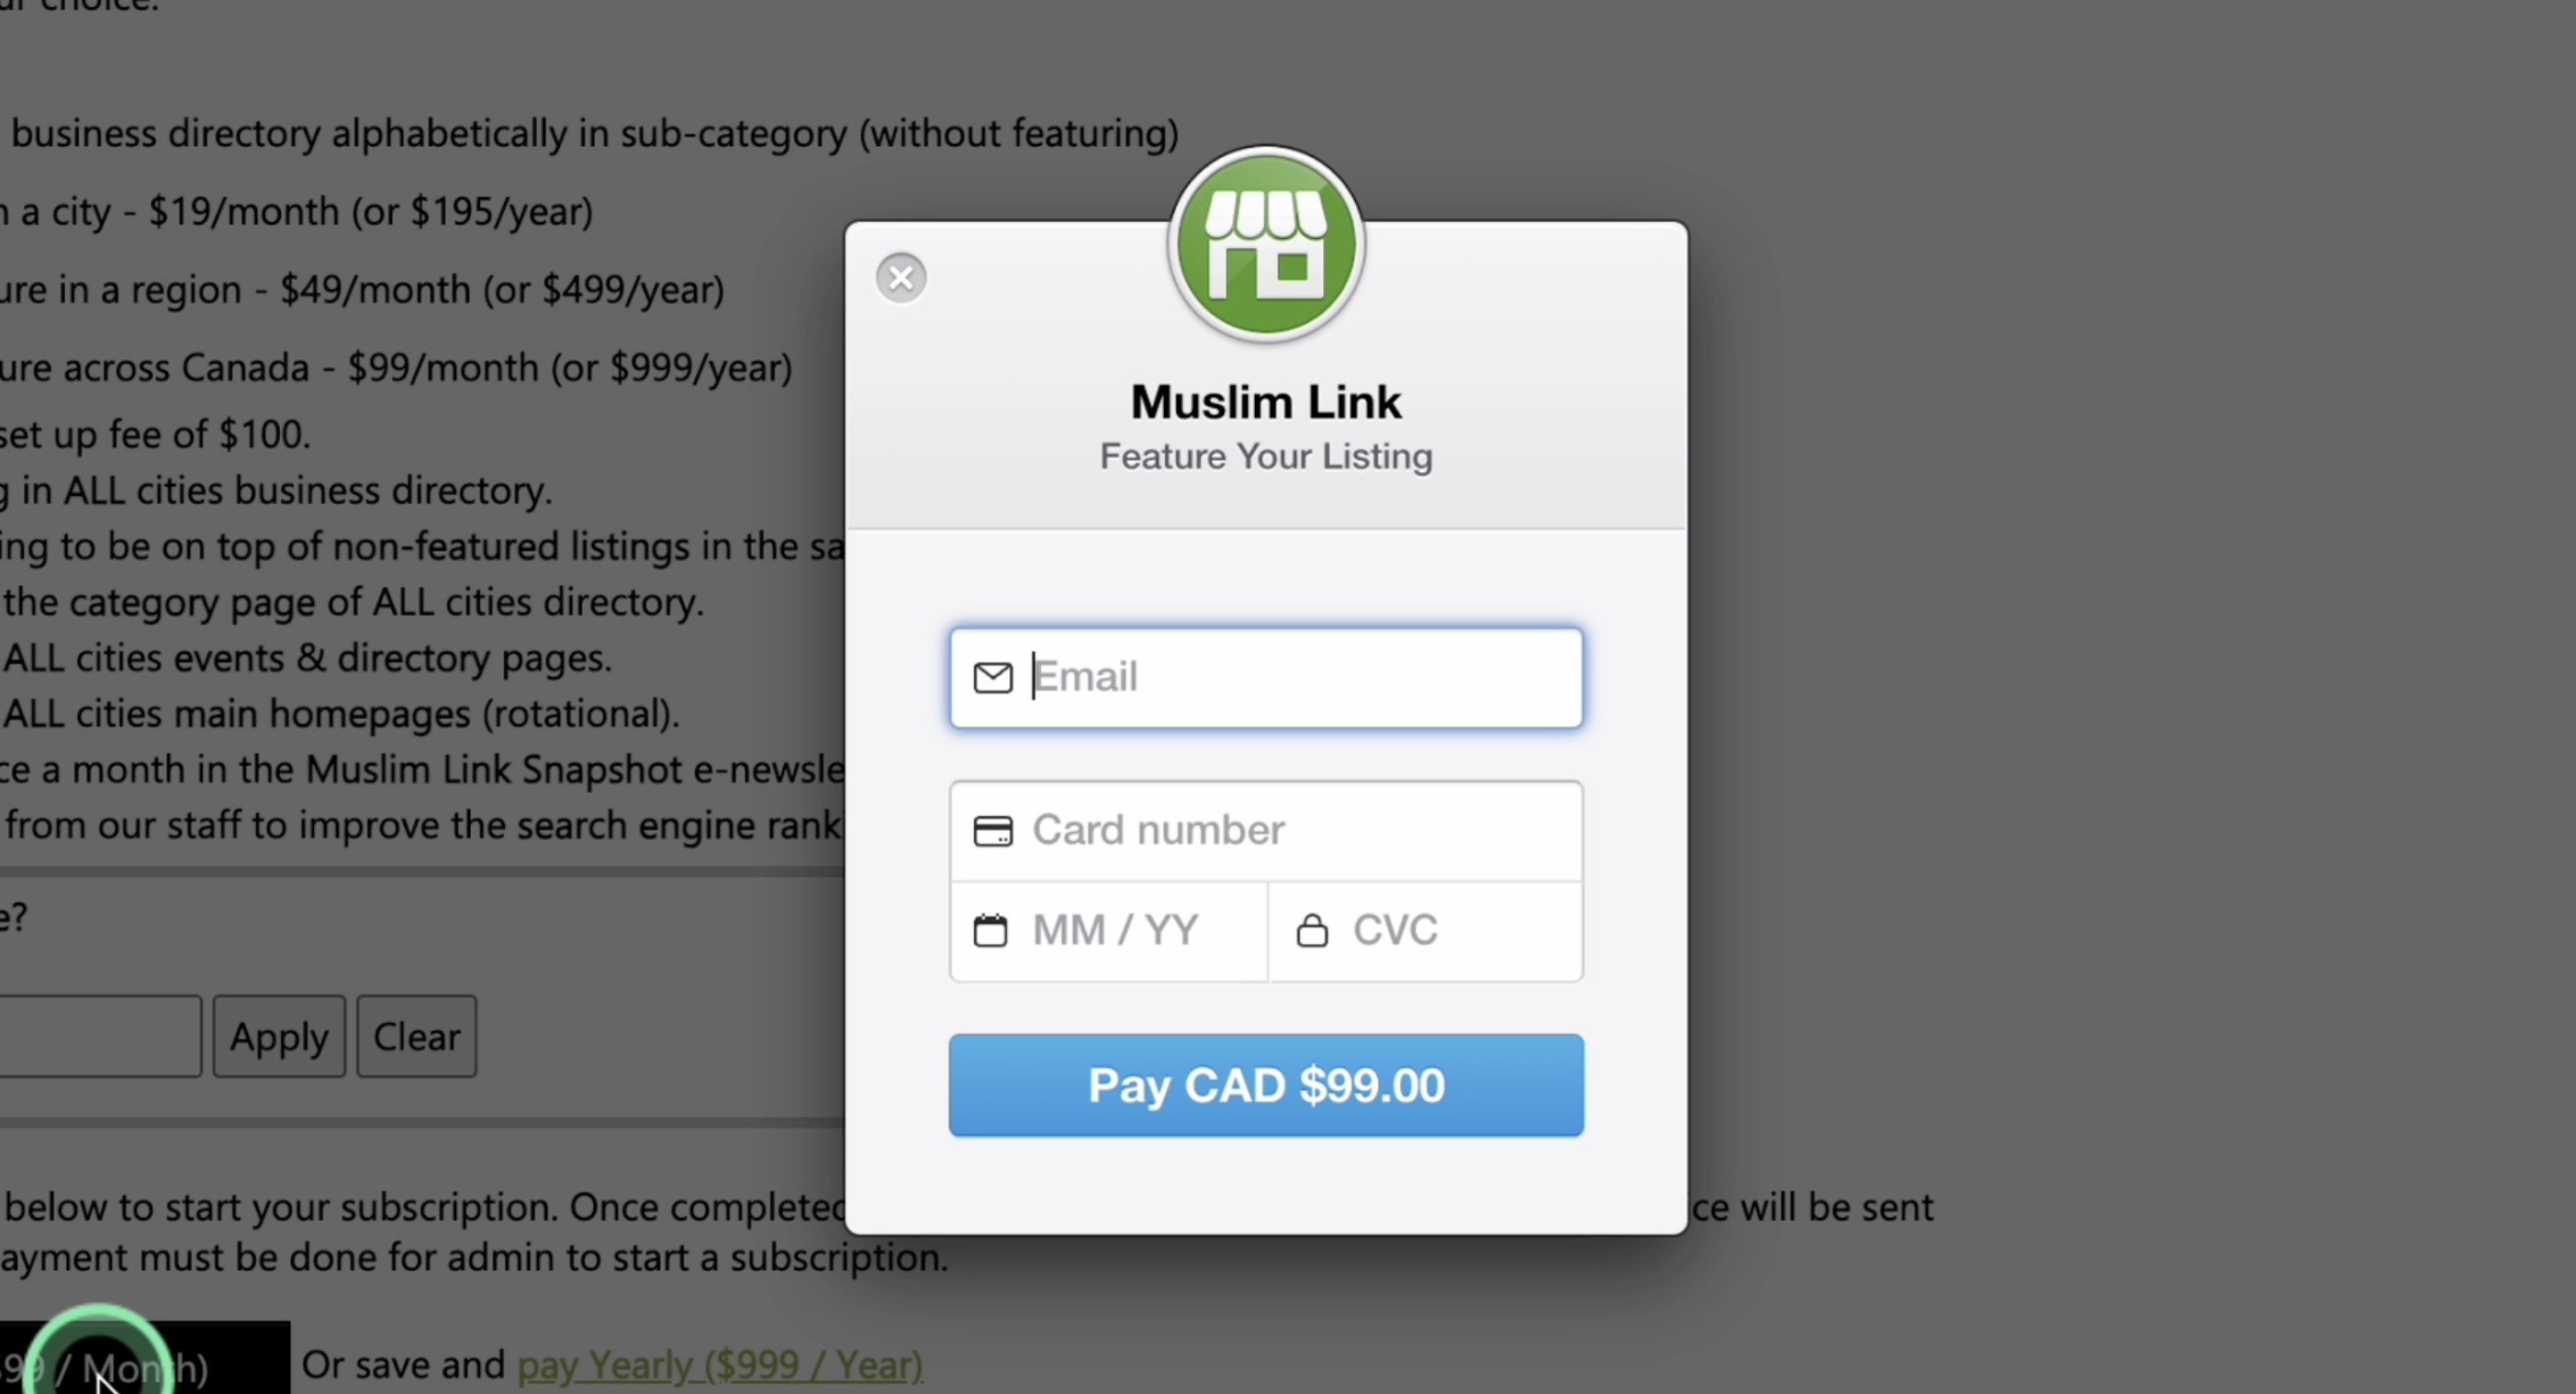
44. If you opt for a paid listing, provide your email and payment details to finalize the process.
45. Please be aware that this is a recurring expense. Muslim Link will automatically charge your credit card every month on the day you subscribe, and the same applies if you opt for an annual plan.
46. We use Stripe Payment as our encrypted payment method.
47. After completion, await admin approval.
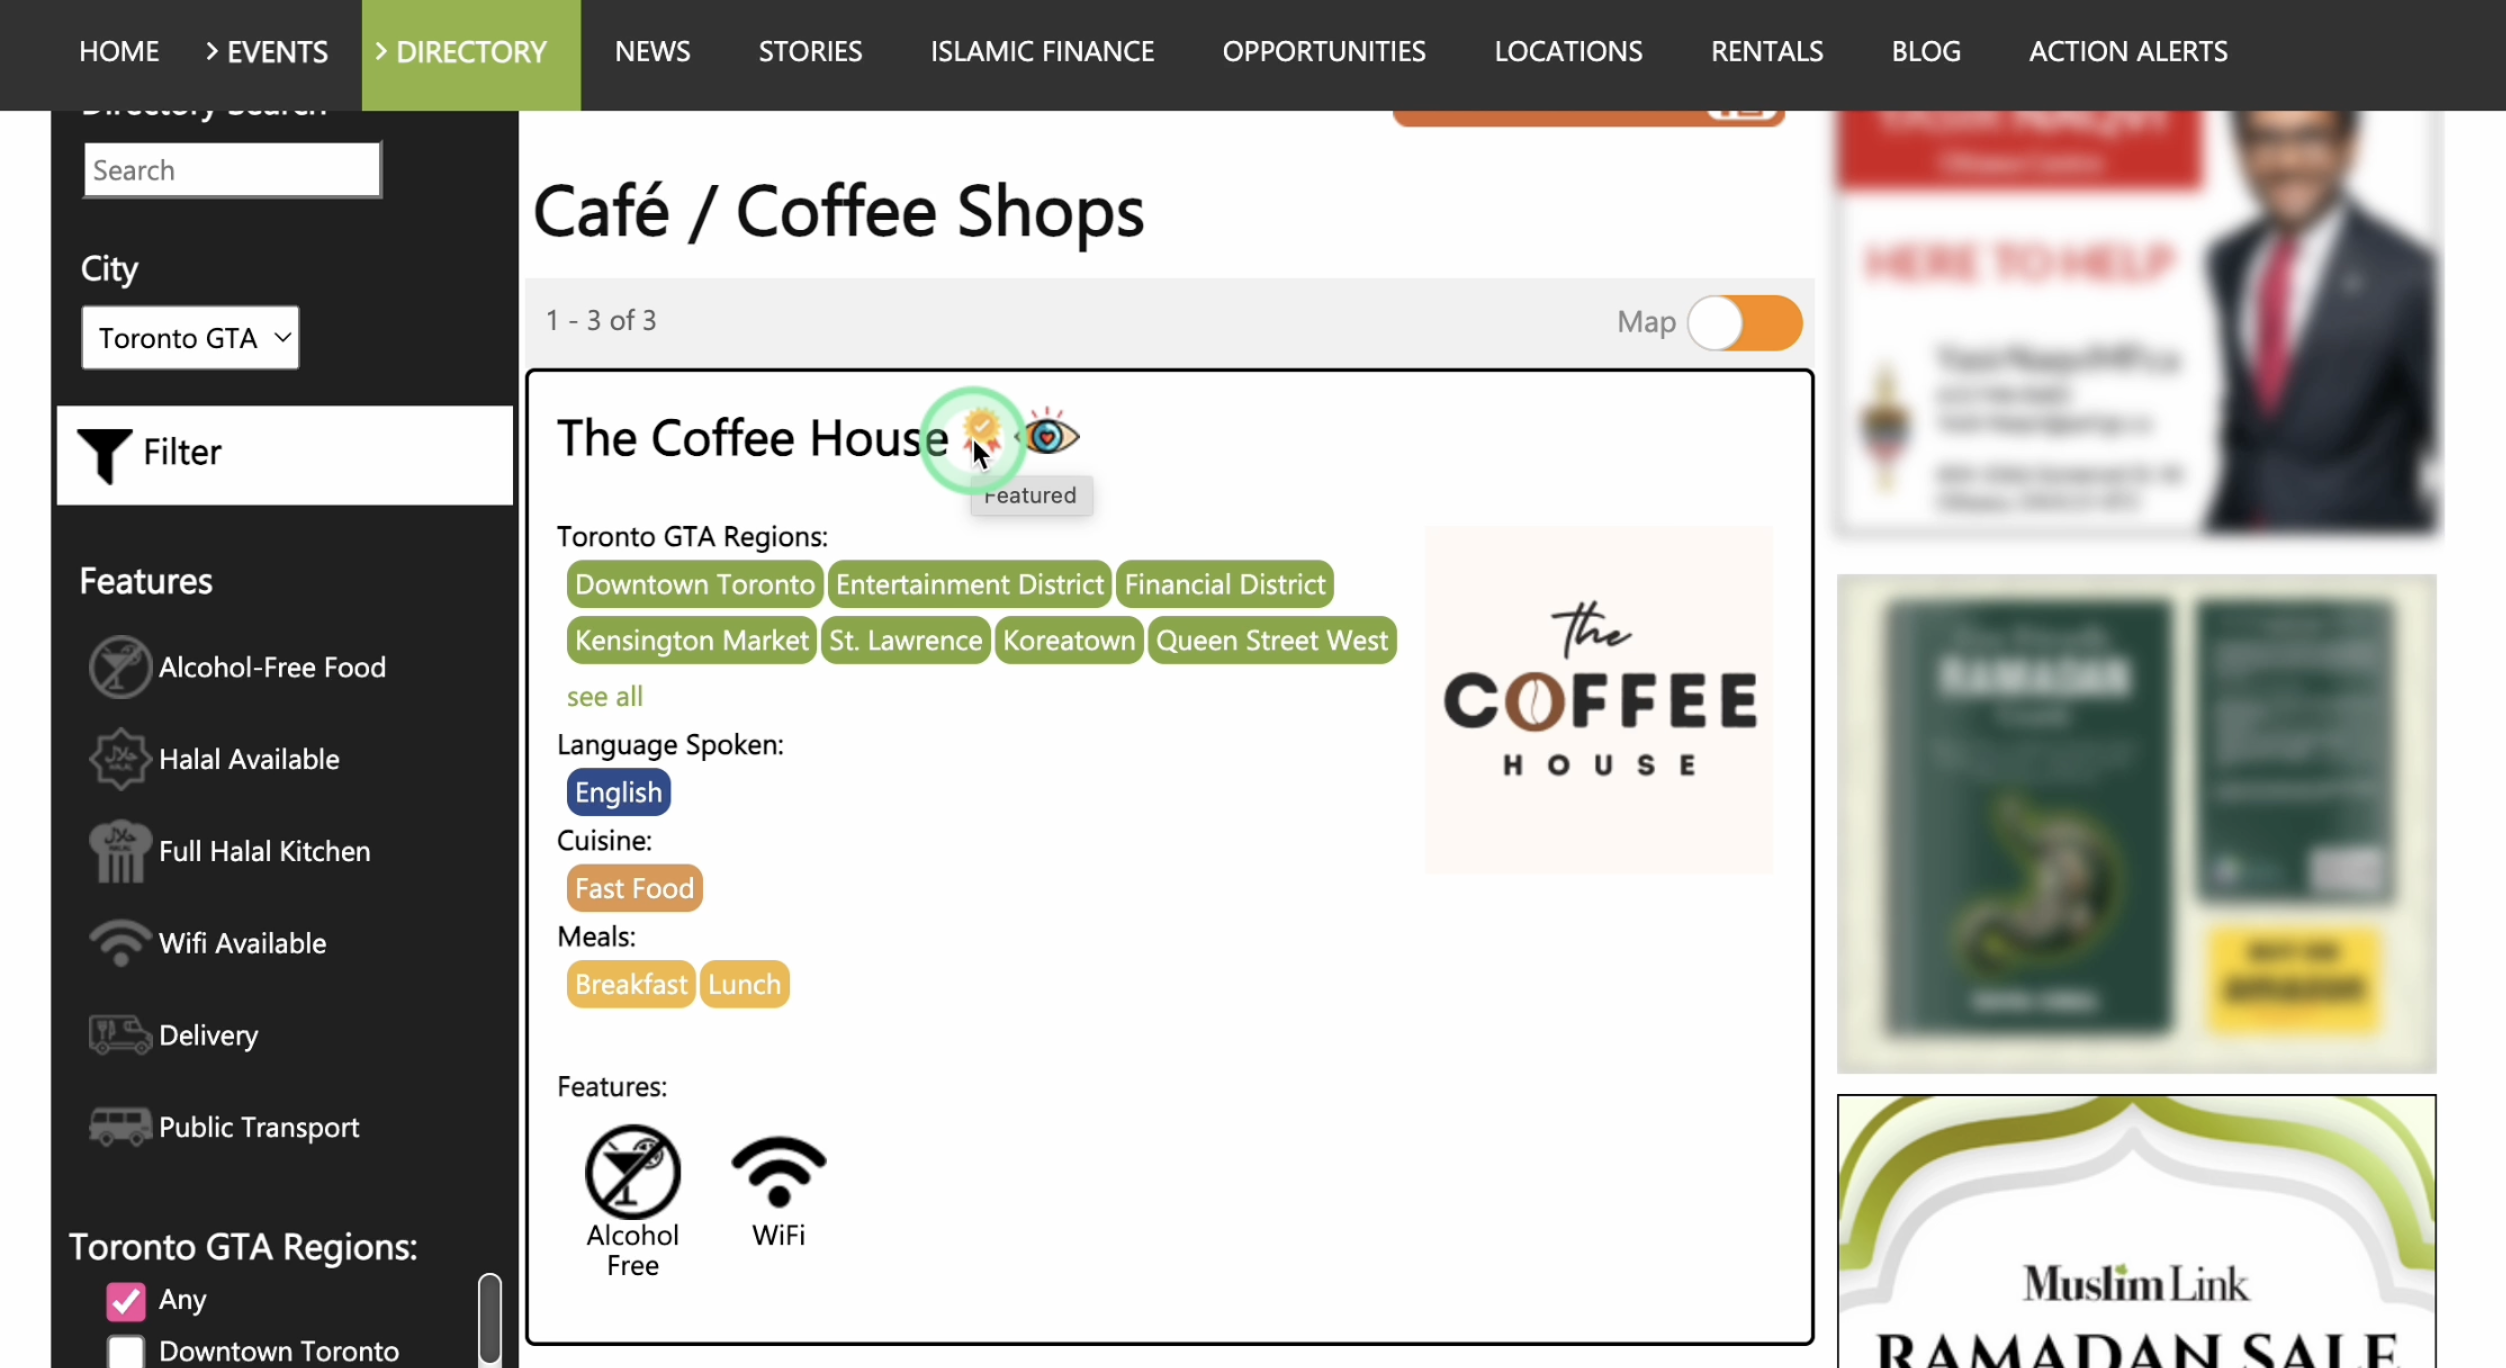
48. Once approved, you can now see the business featured.
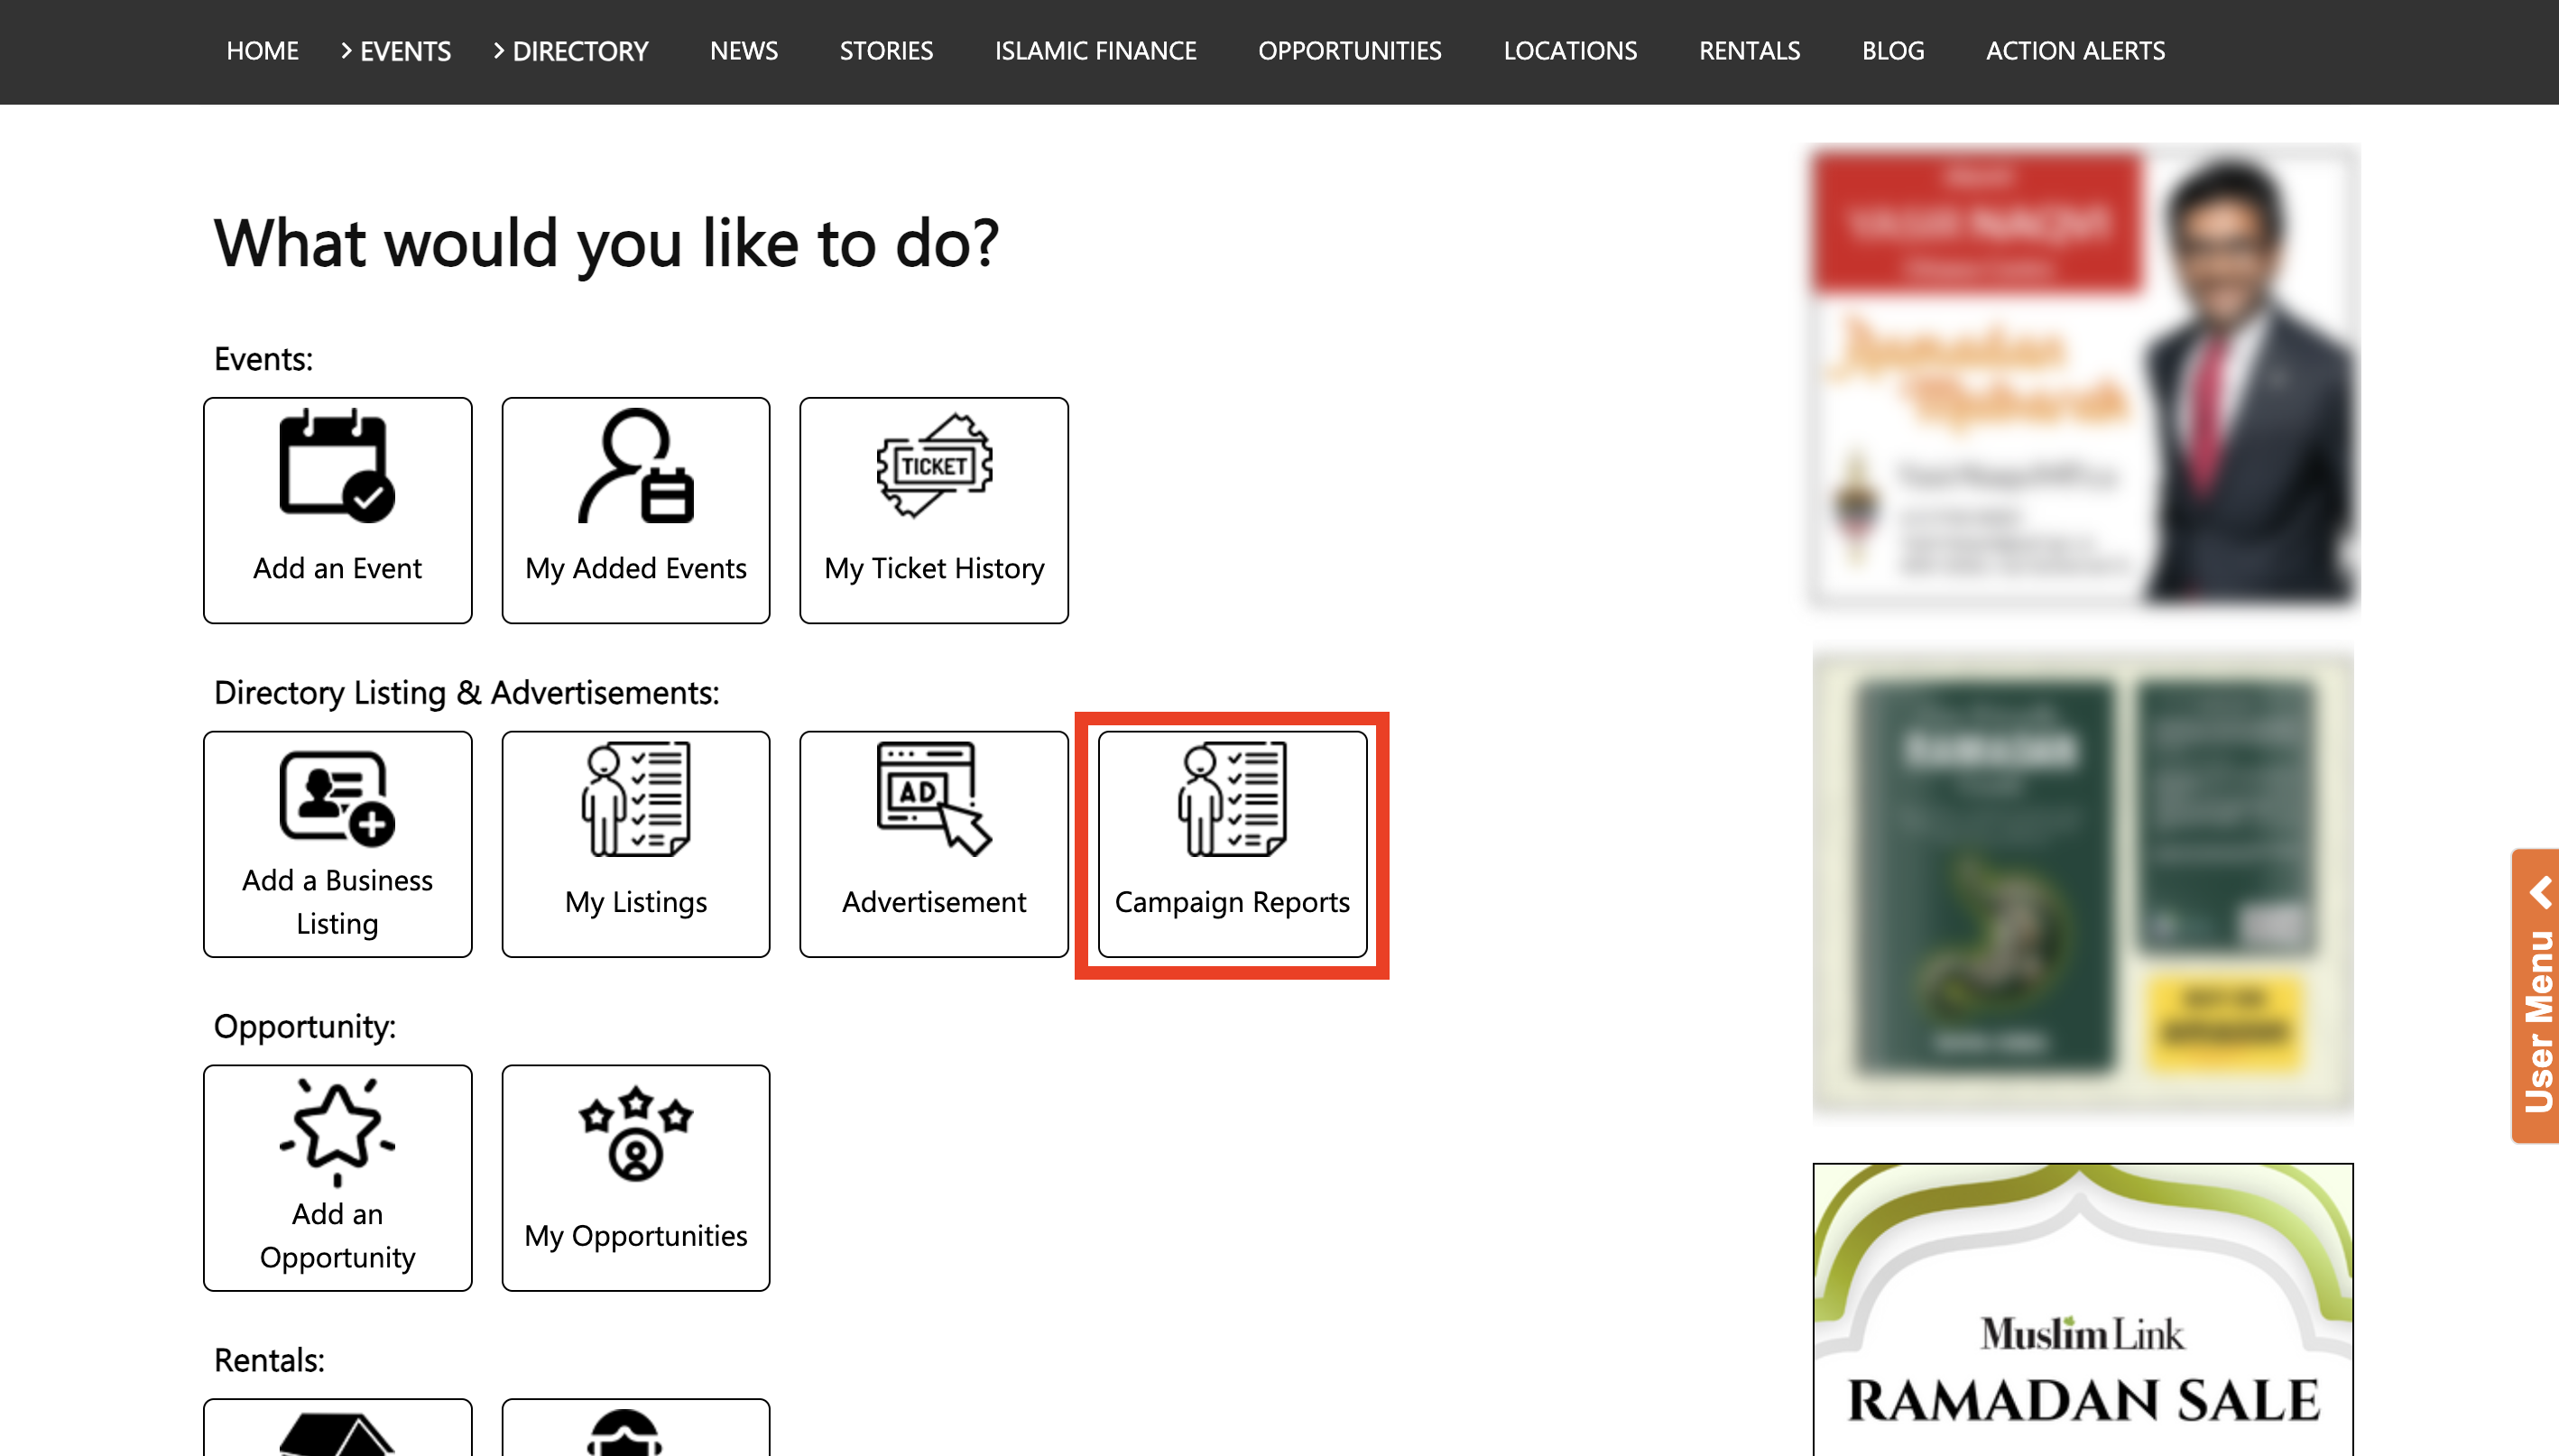
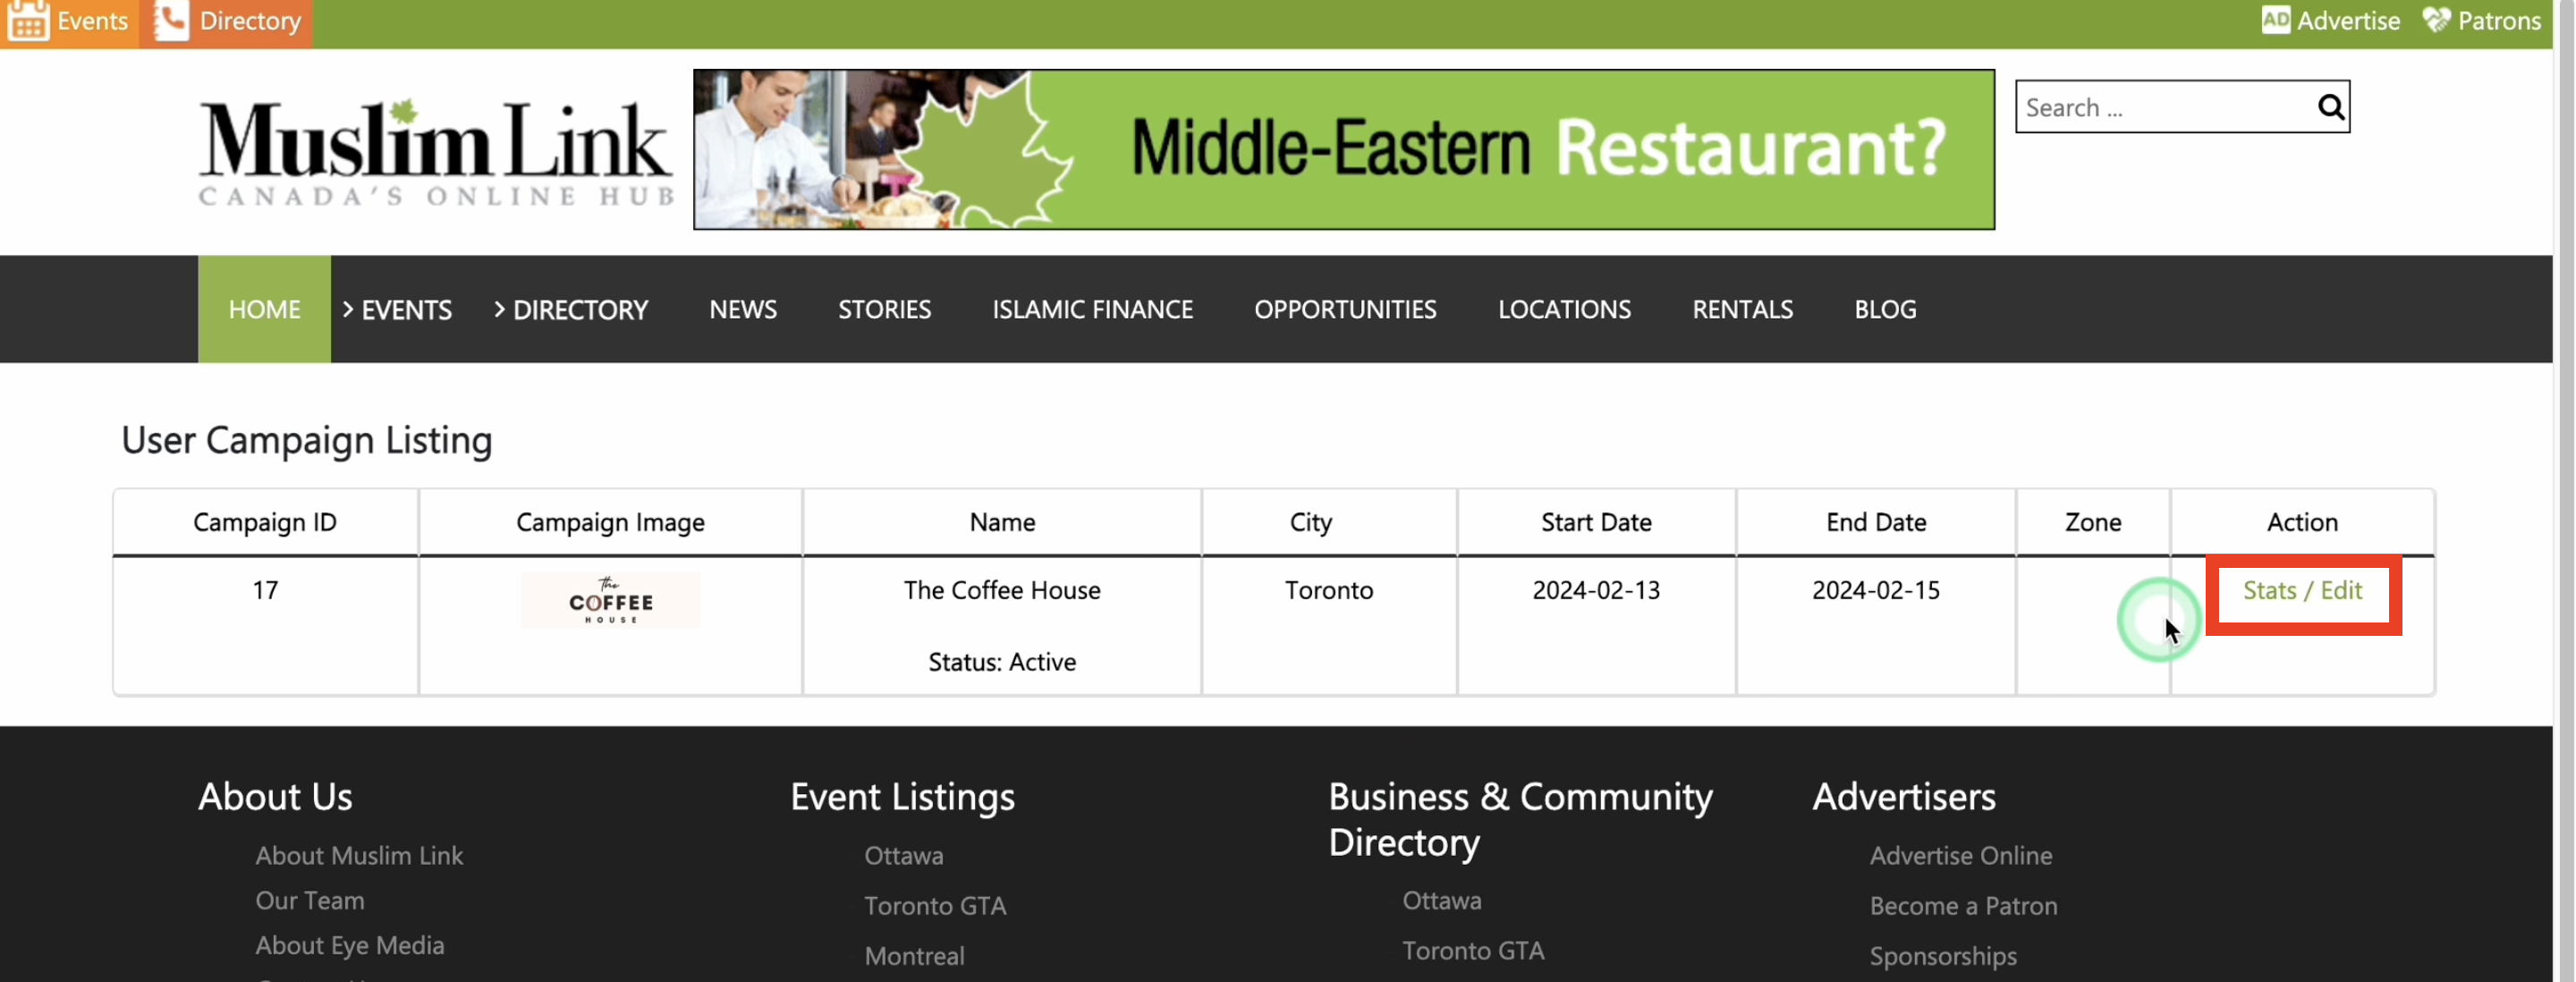
49. If you choose your listing to be featured, you will have access to the campaign reports of your ad. Go to the user menu then click campaign reports.
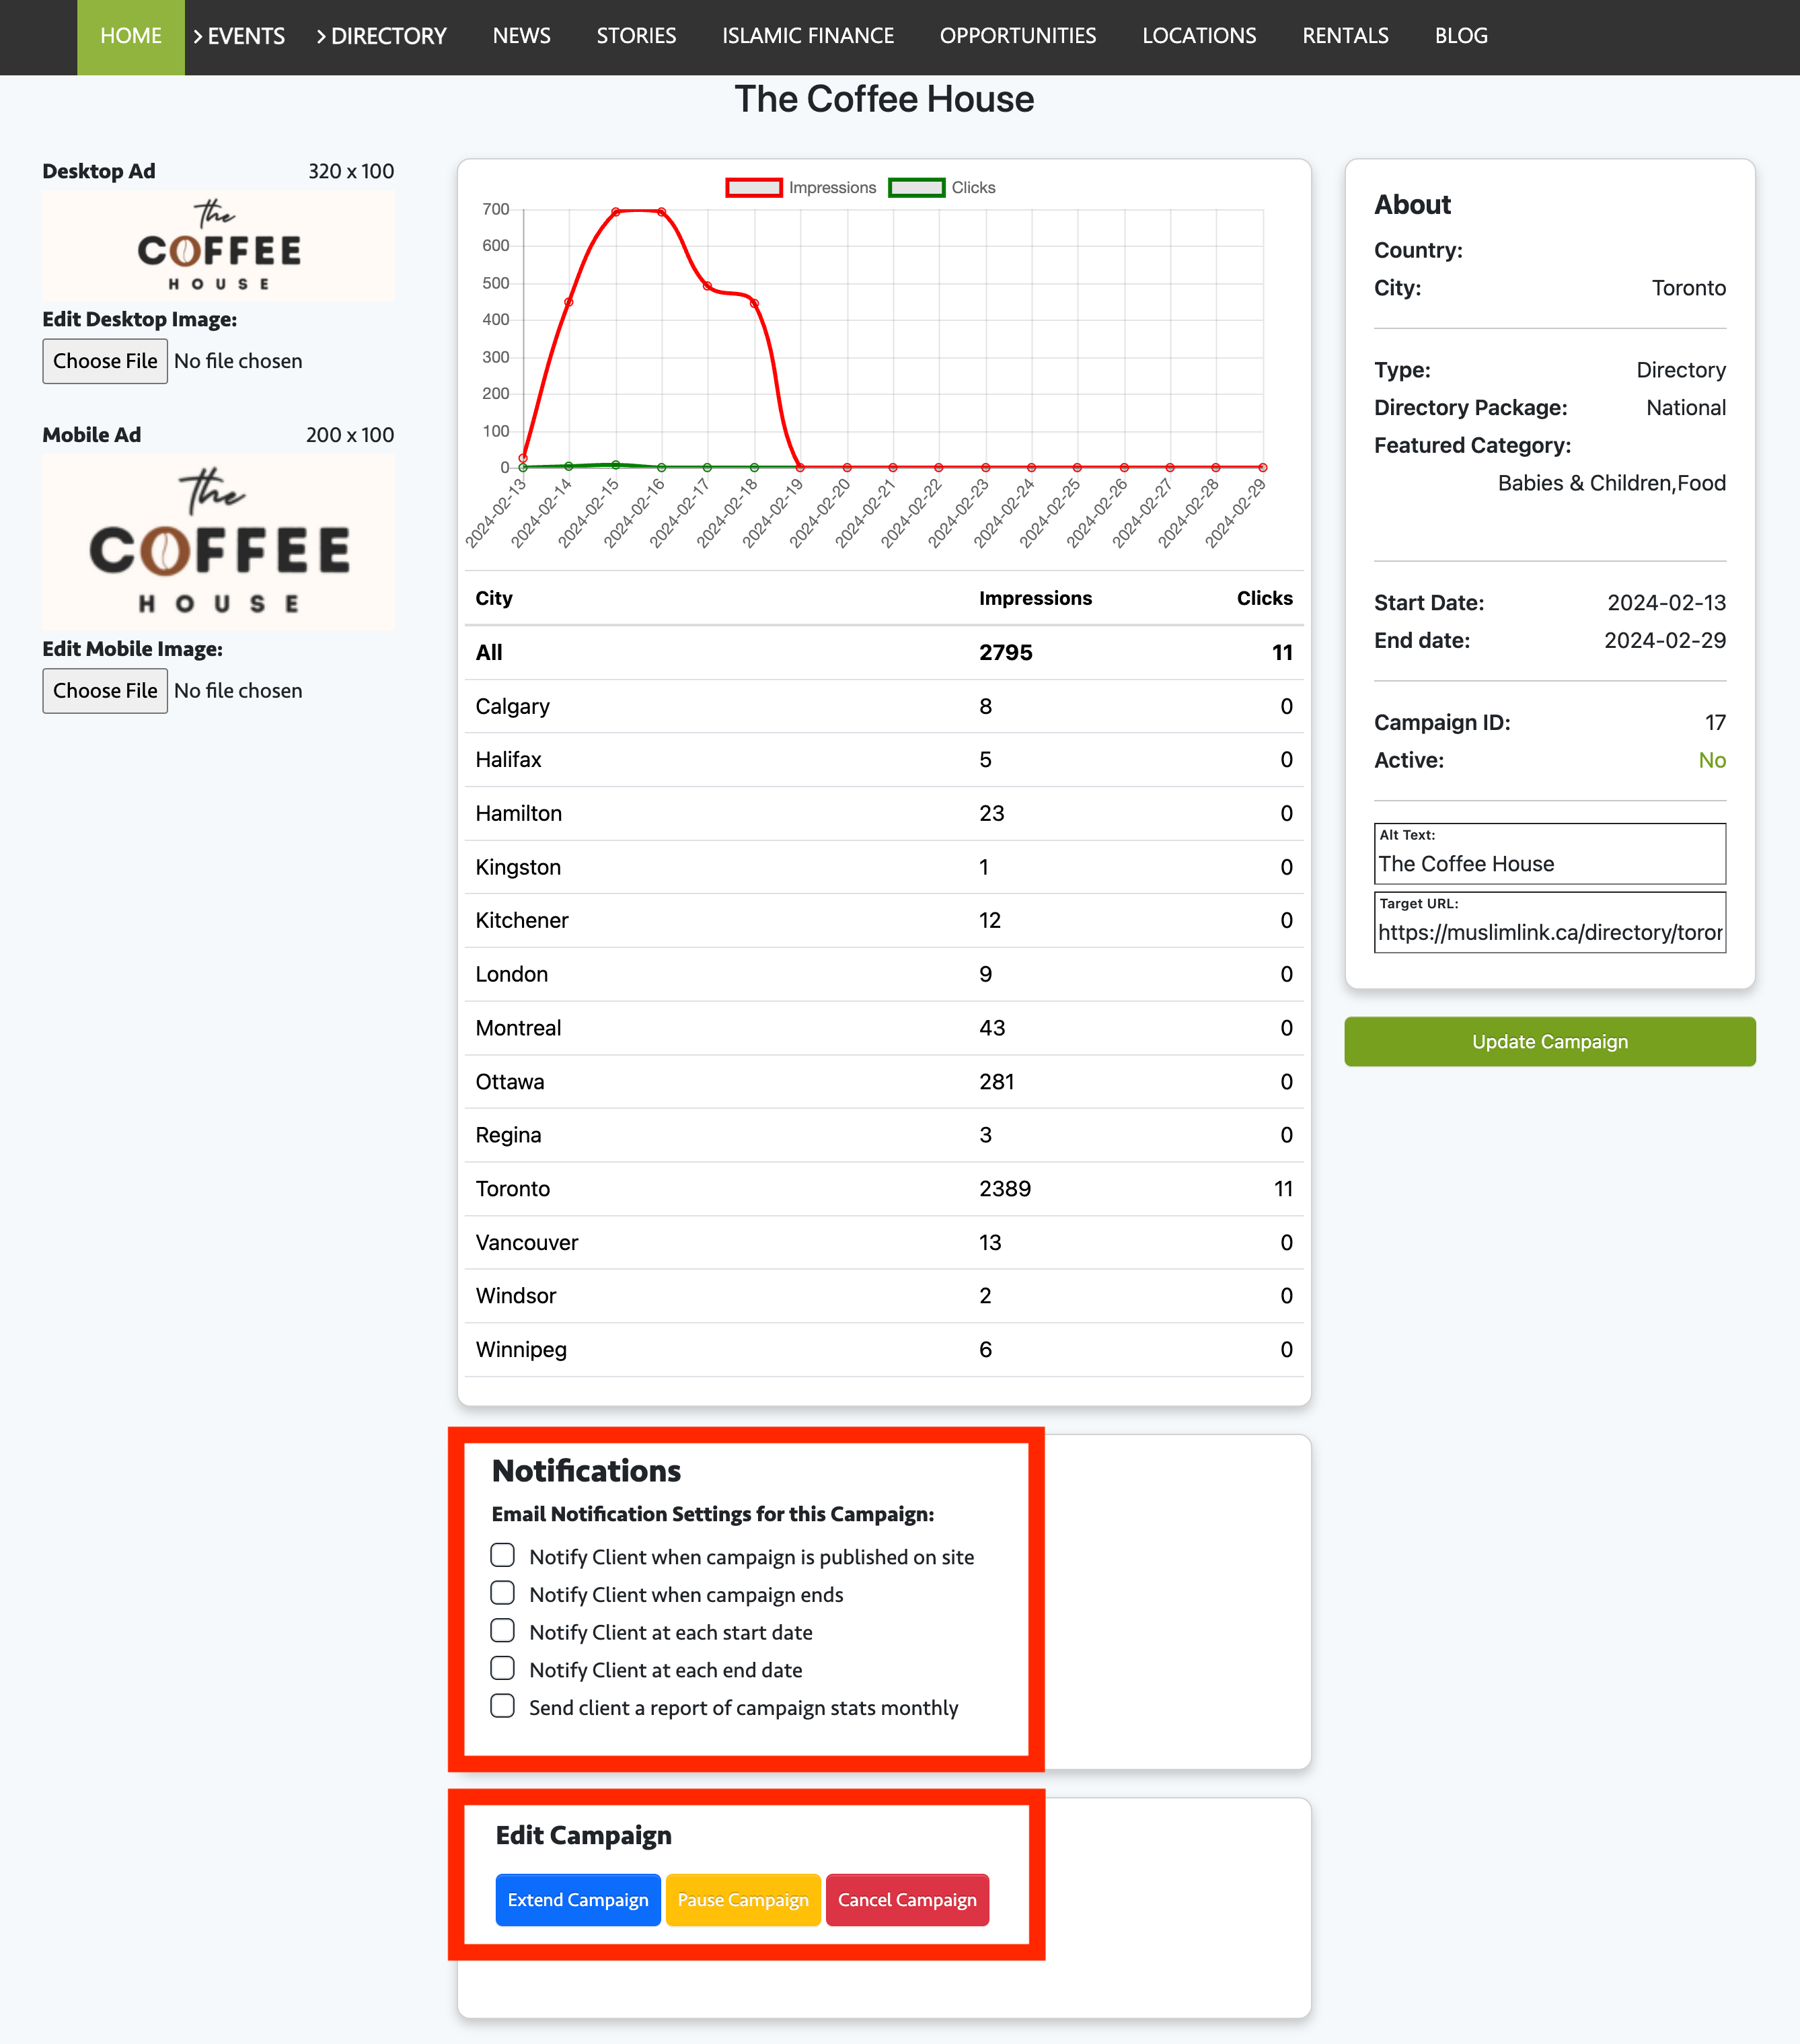
50. Click “Stats/Edit” to see the statistics and edit the ad.
51. You can now see the statistics. You can edit the notifications here. You can also extend the campaign, and request to pause or cancel the campaign.


