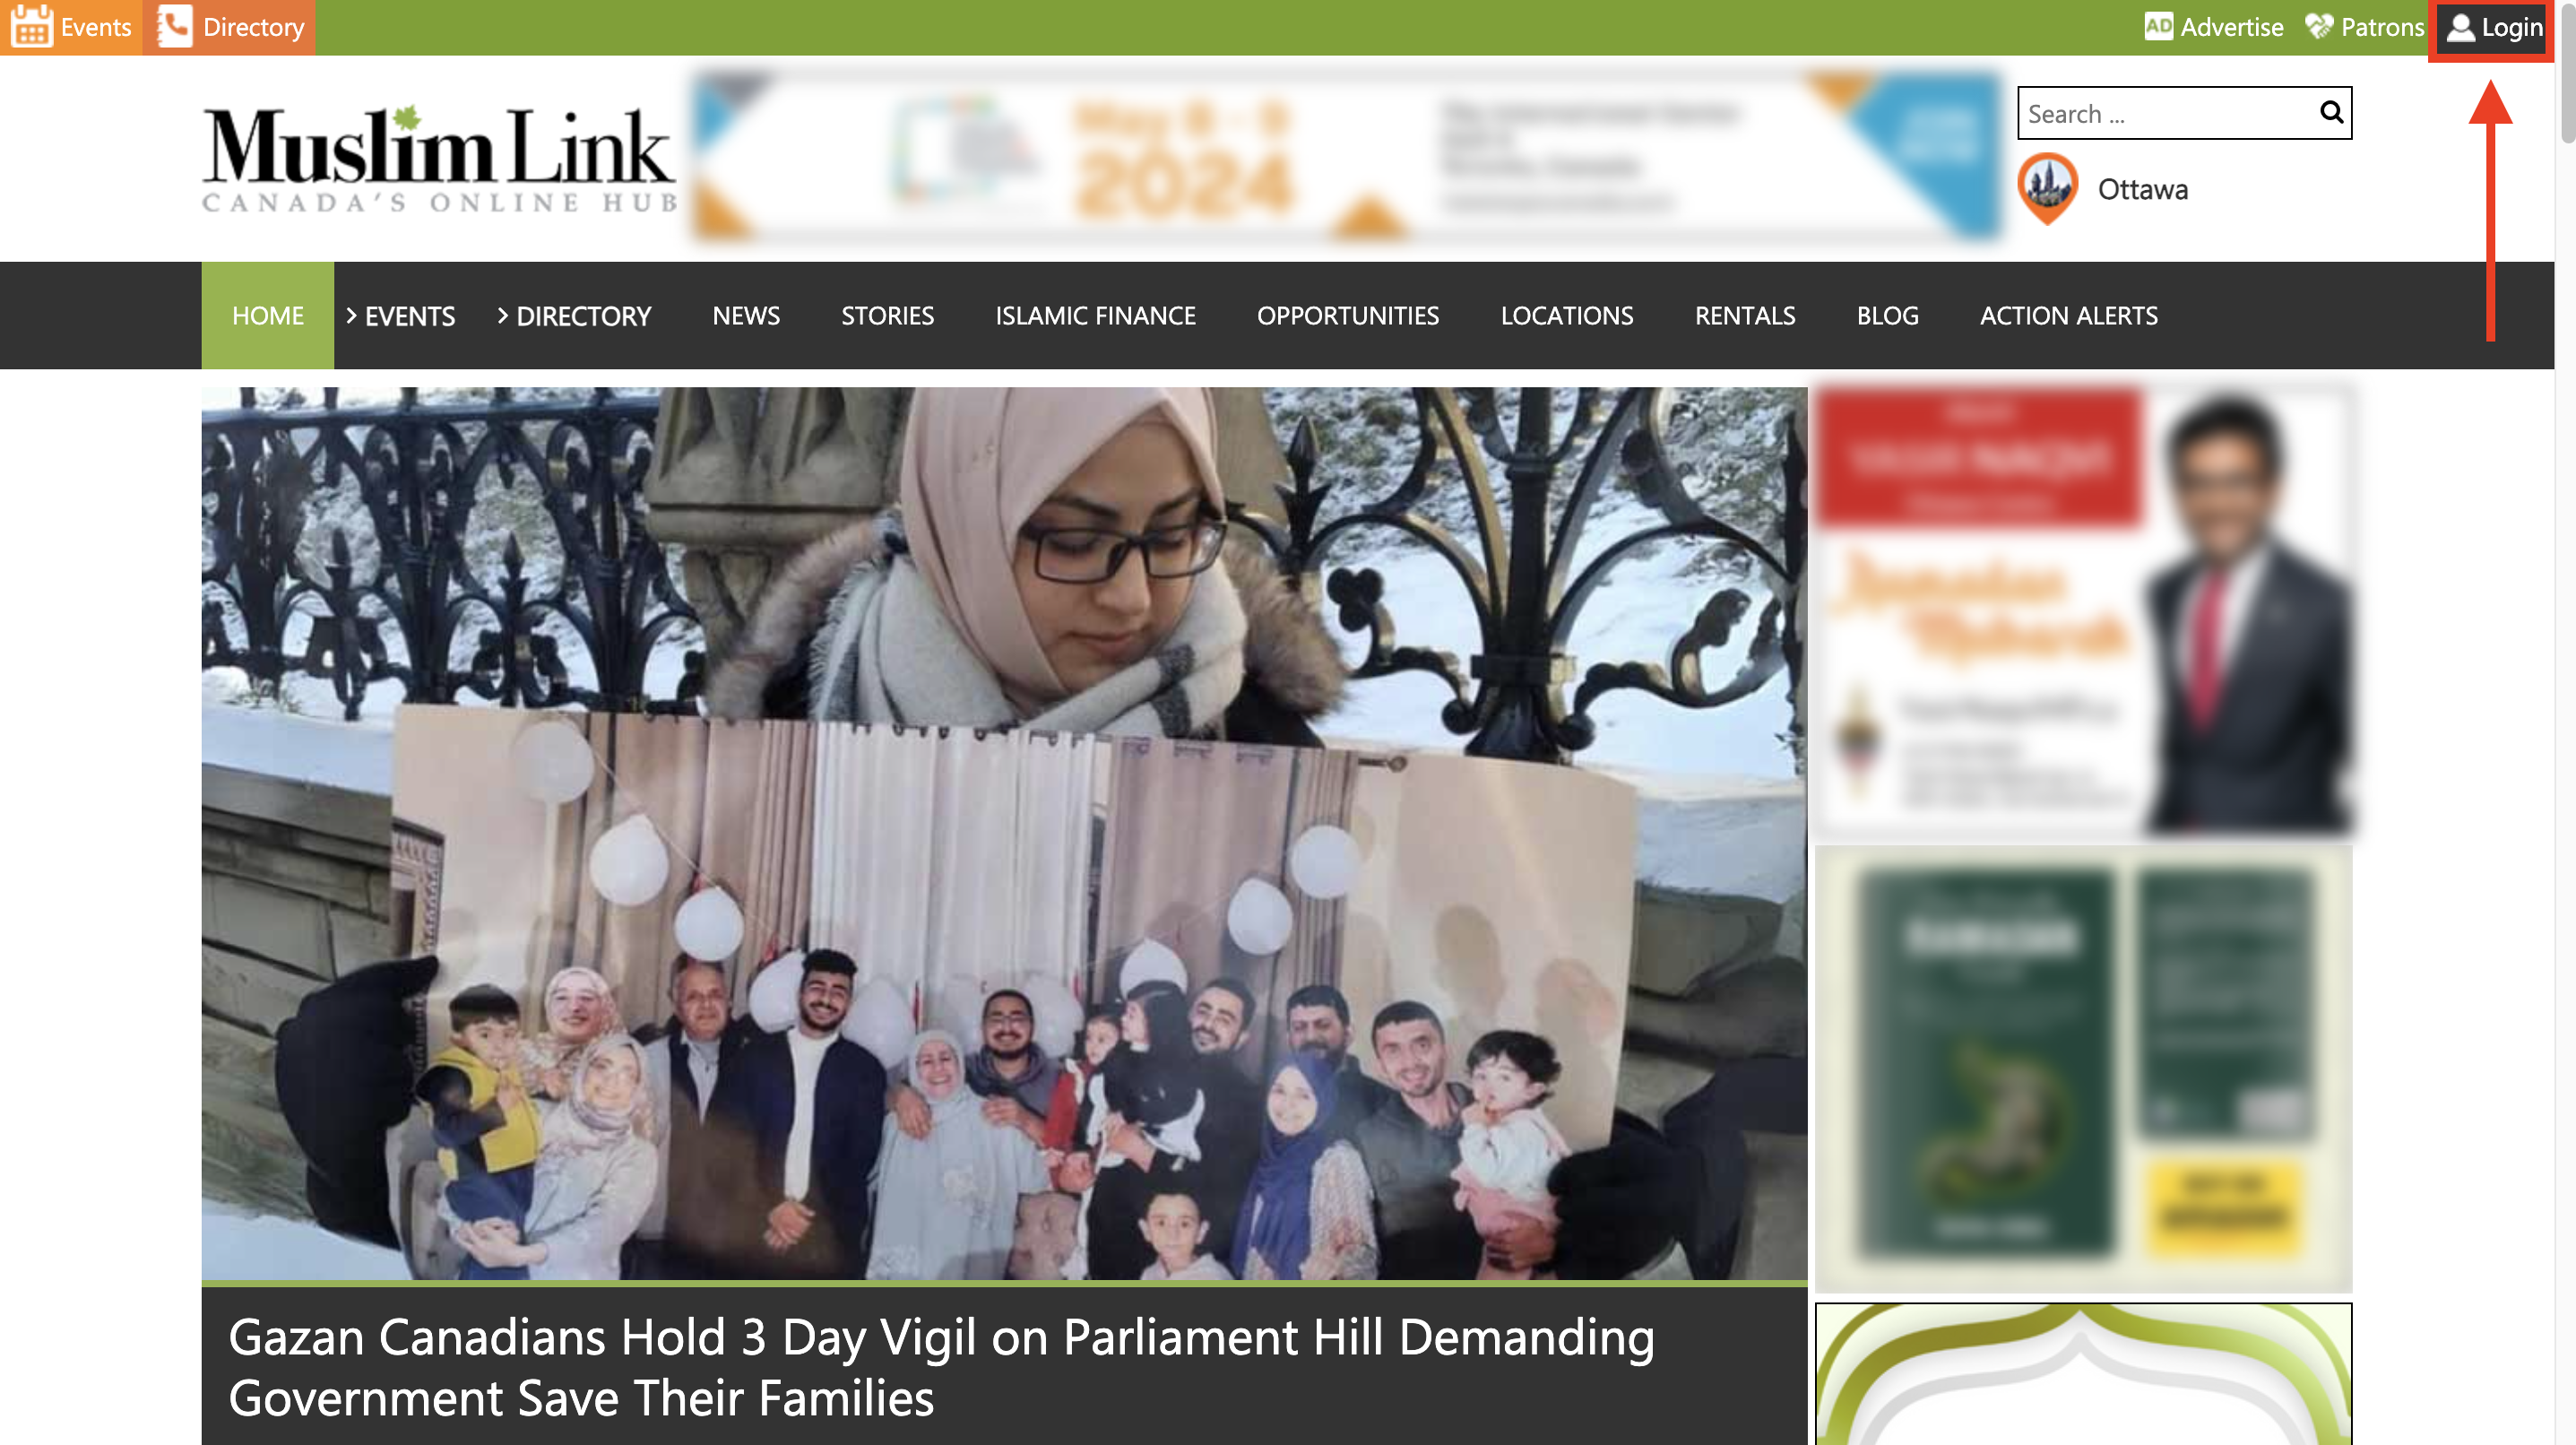
1. To create a user account, click on "Login" in the top right corner.
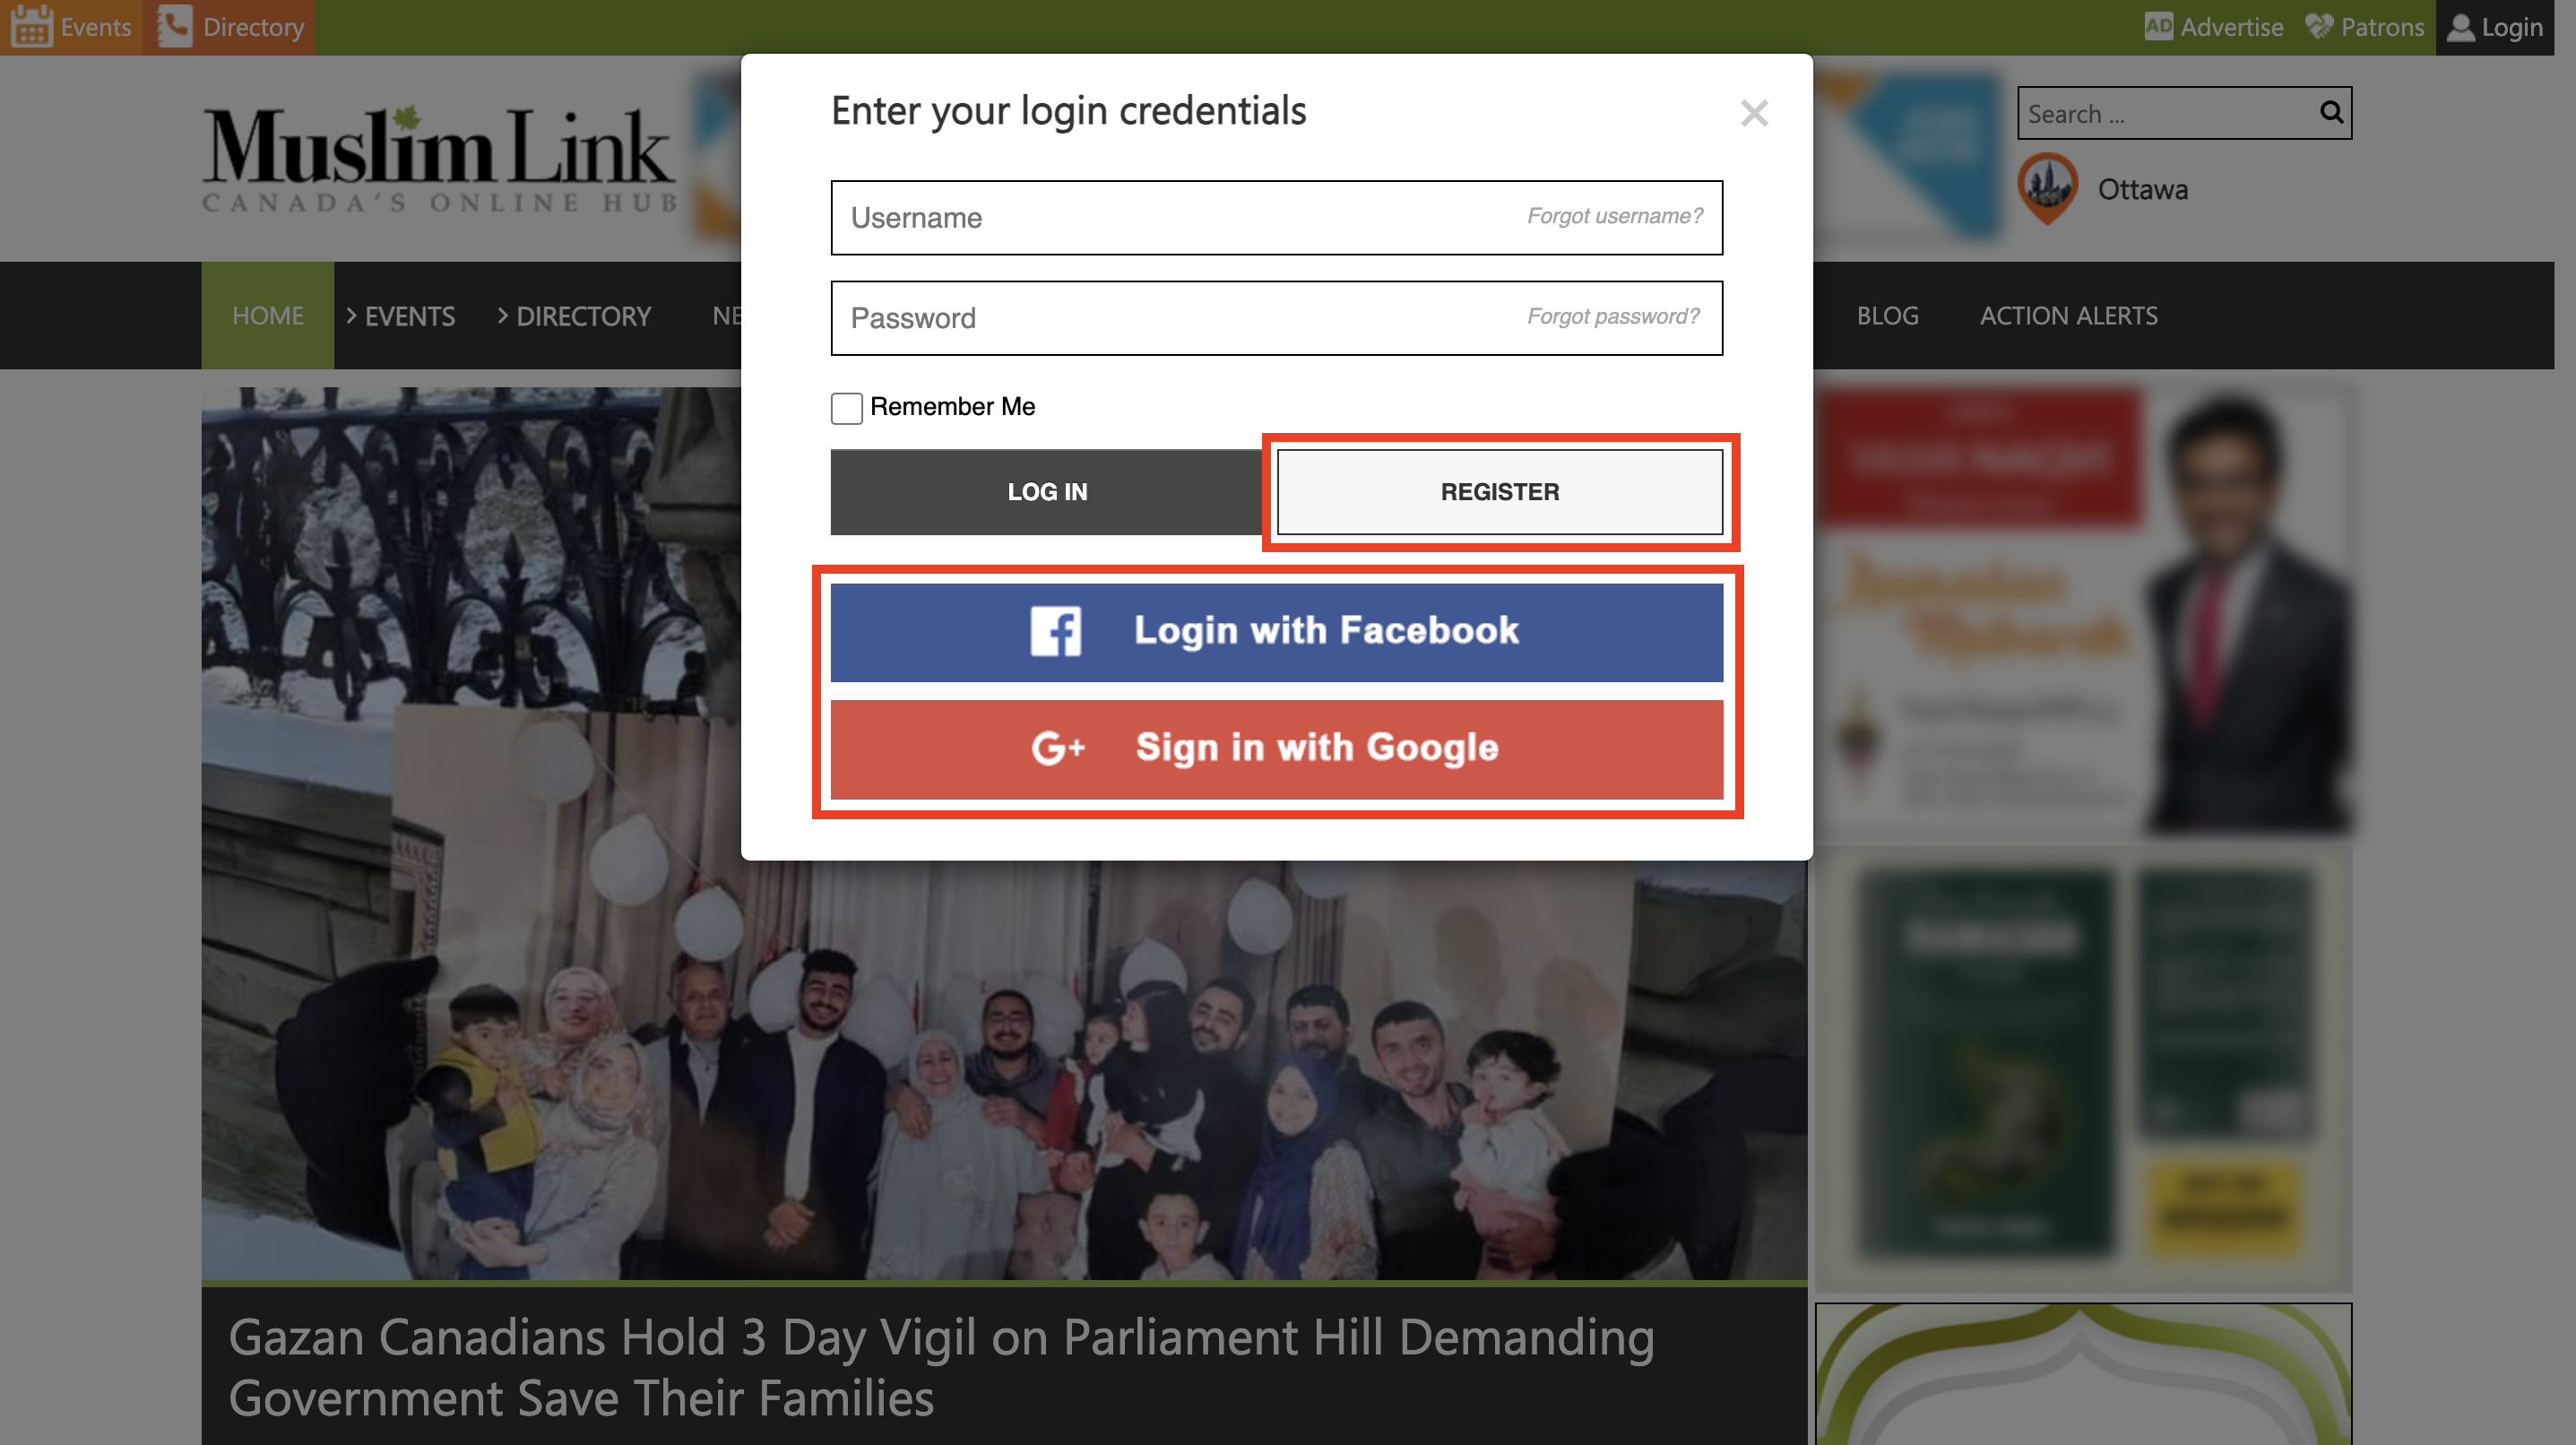
2. Click on “Register” to create a user account. You can also sign up using your Facebook or Google accounts for faster registration. If you already have a user account, login and skip to step 4.
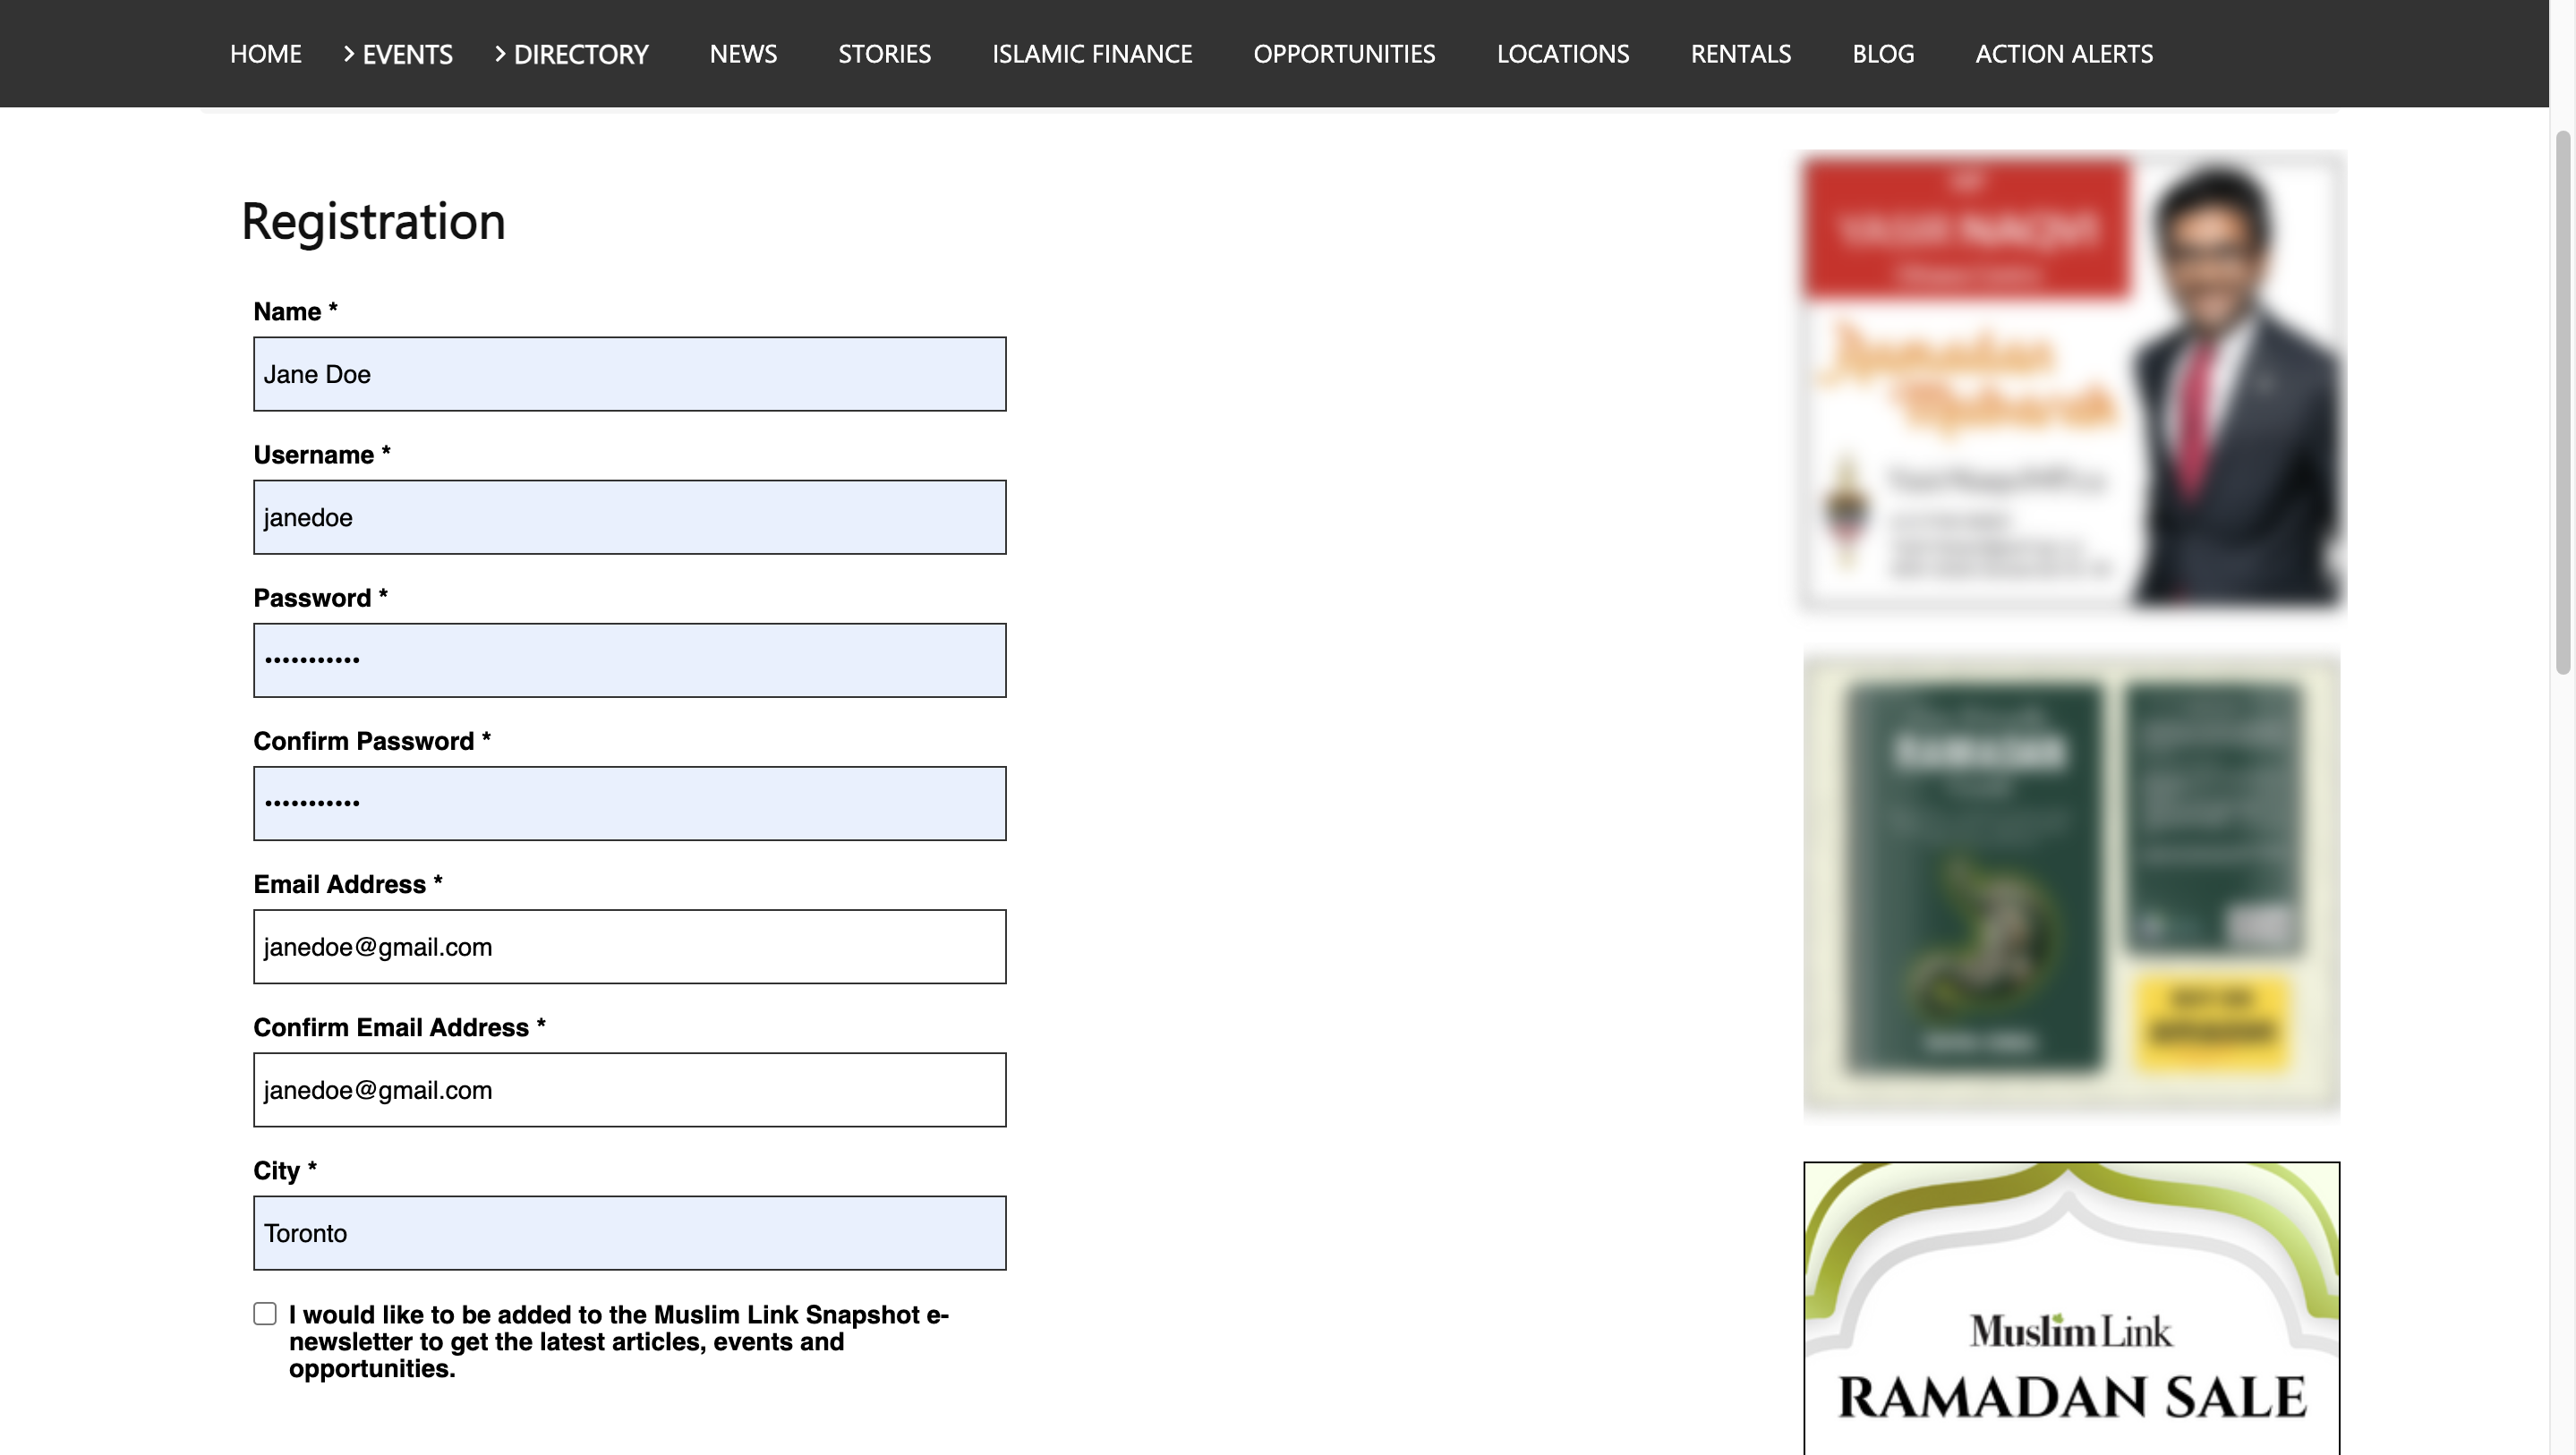
3. Fill in details to create your user account.
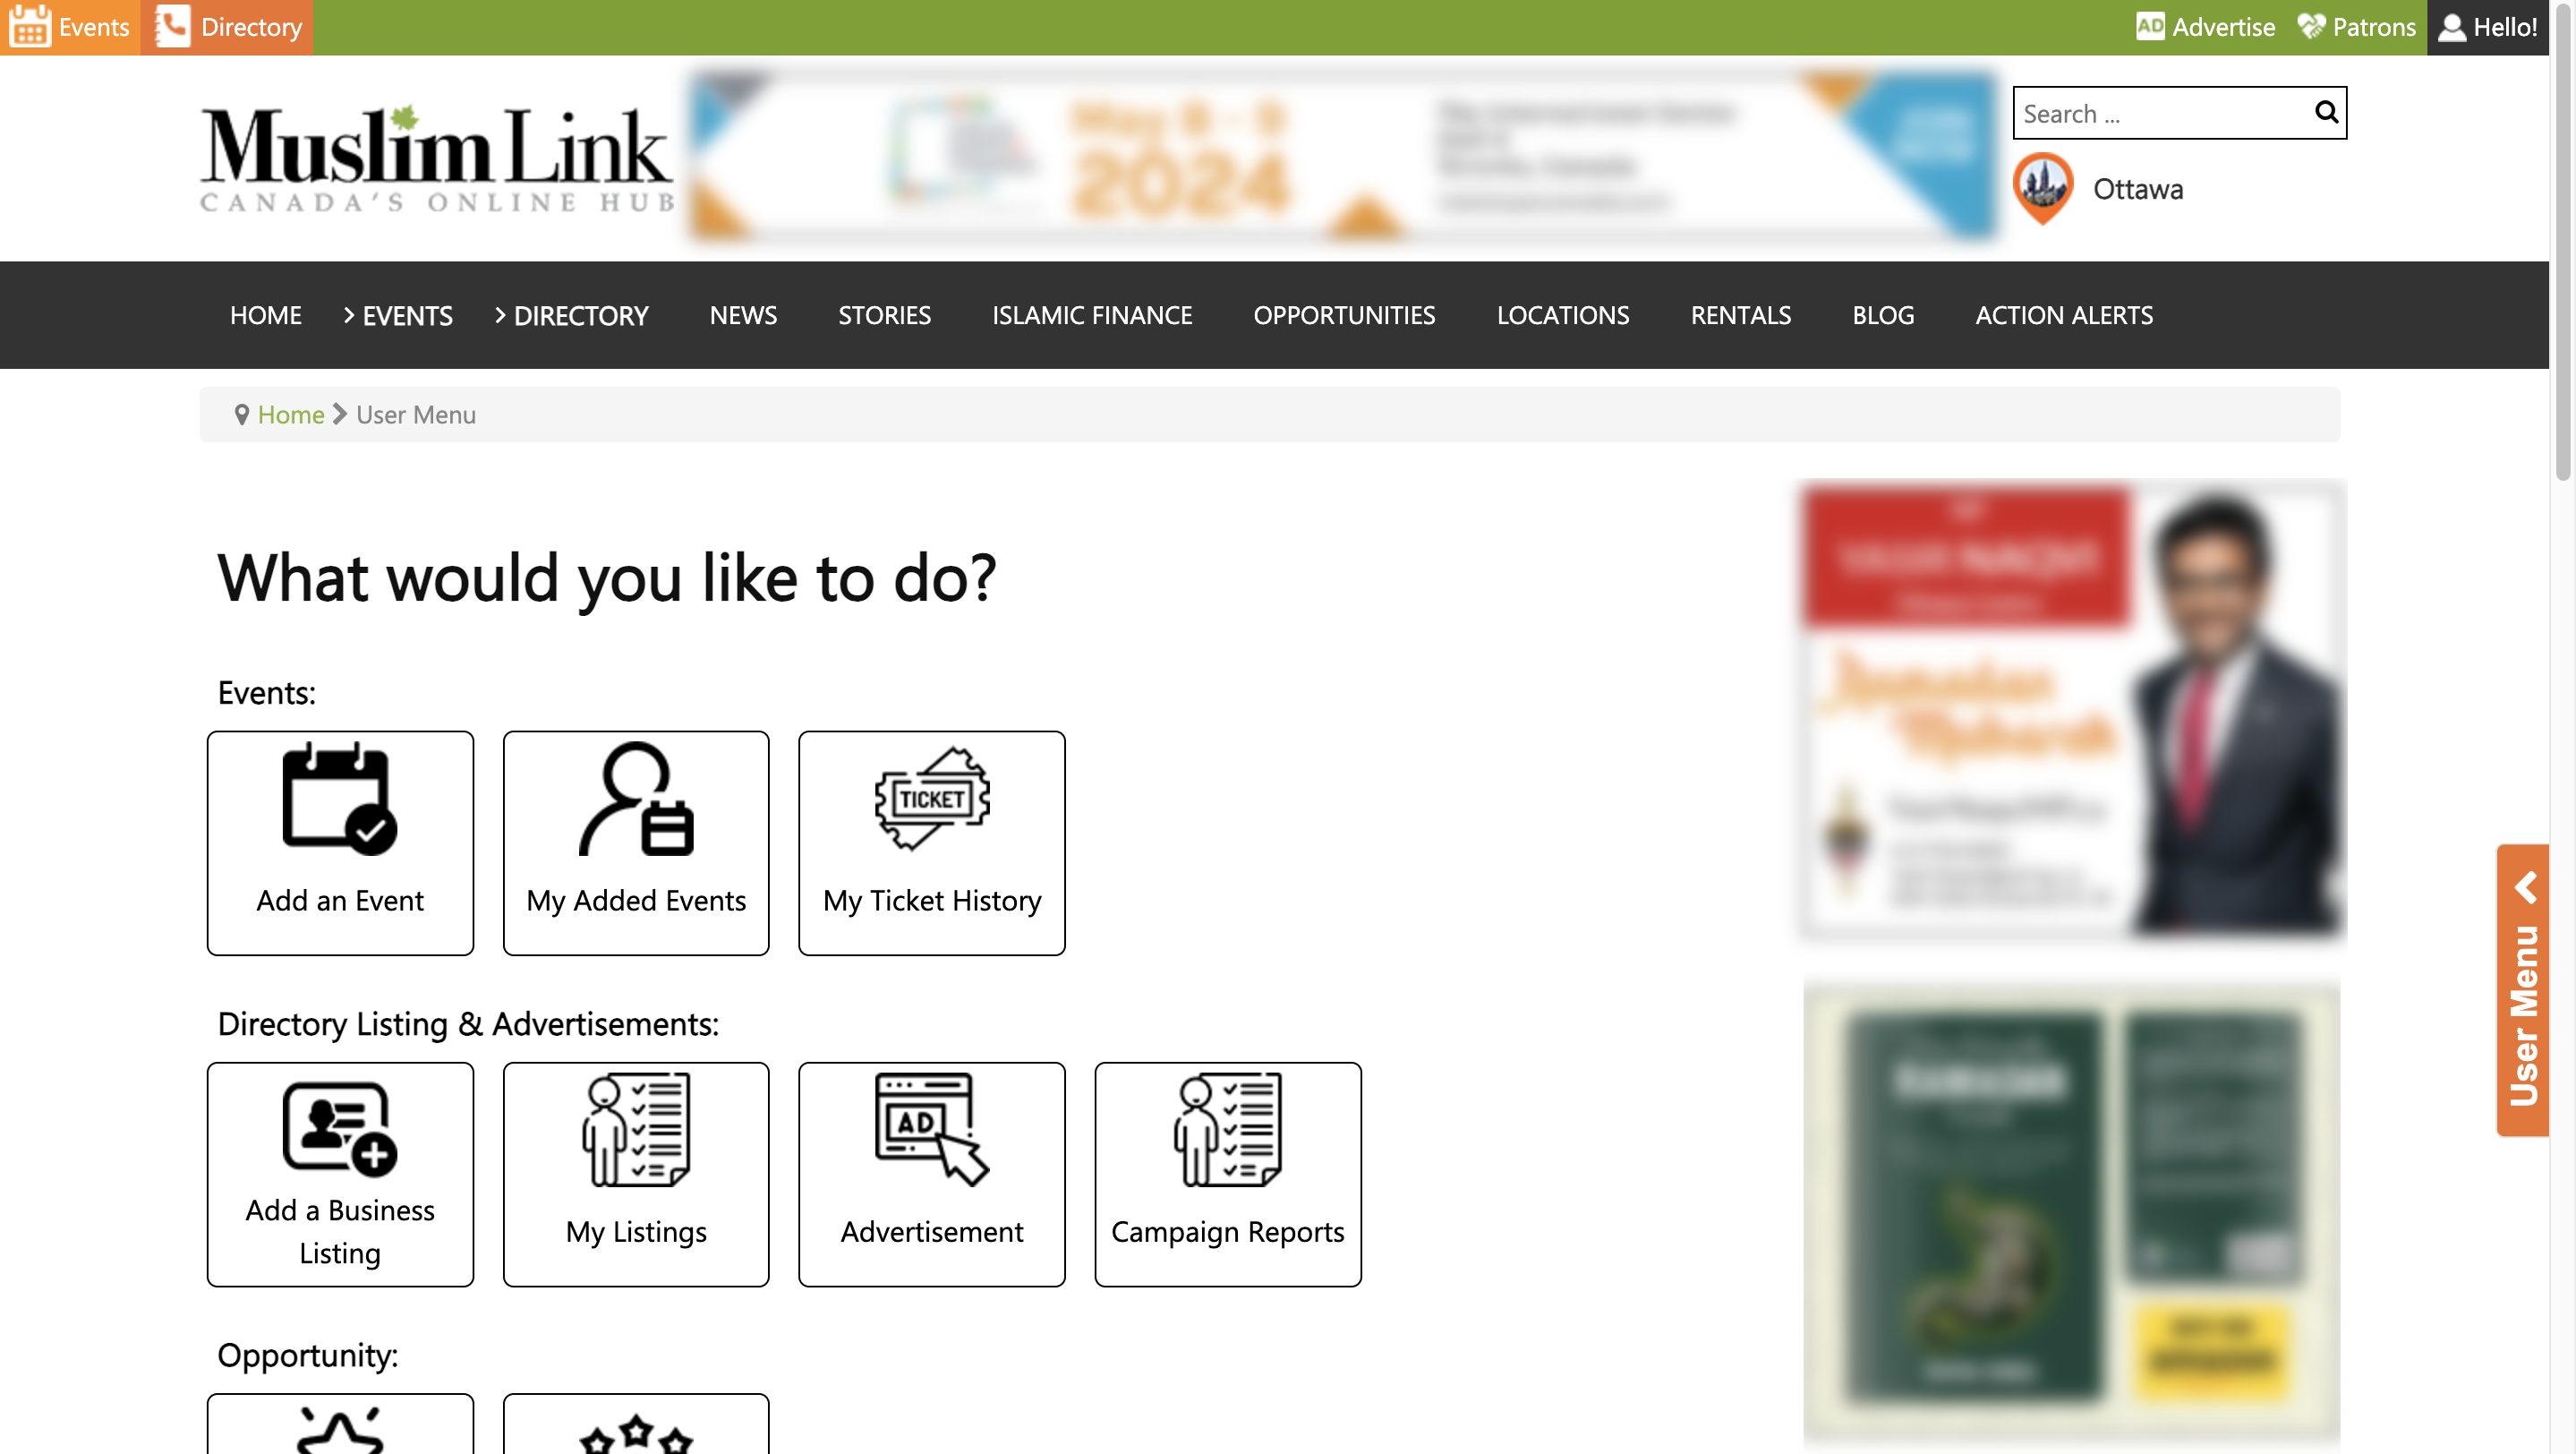
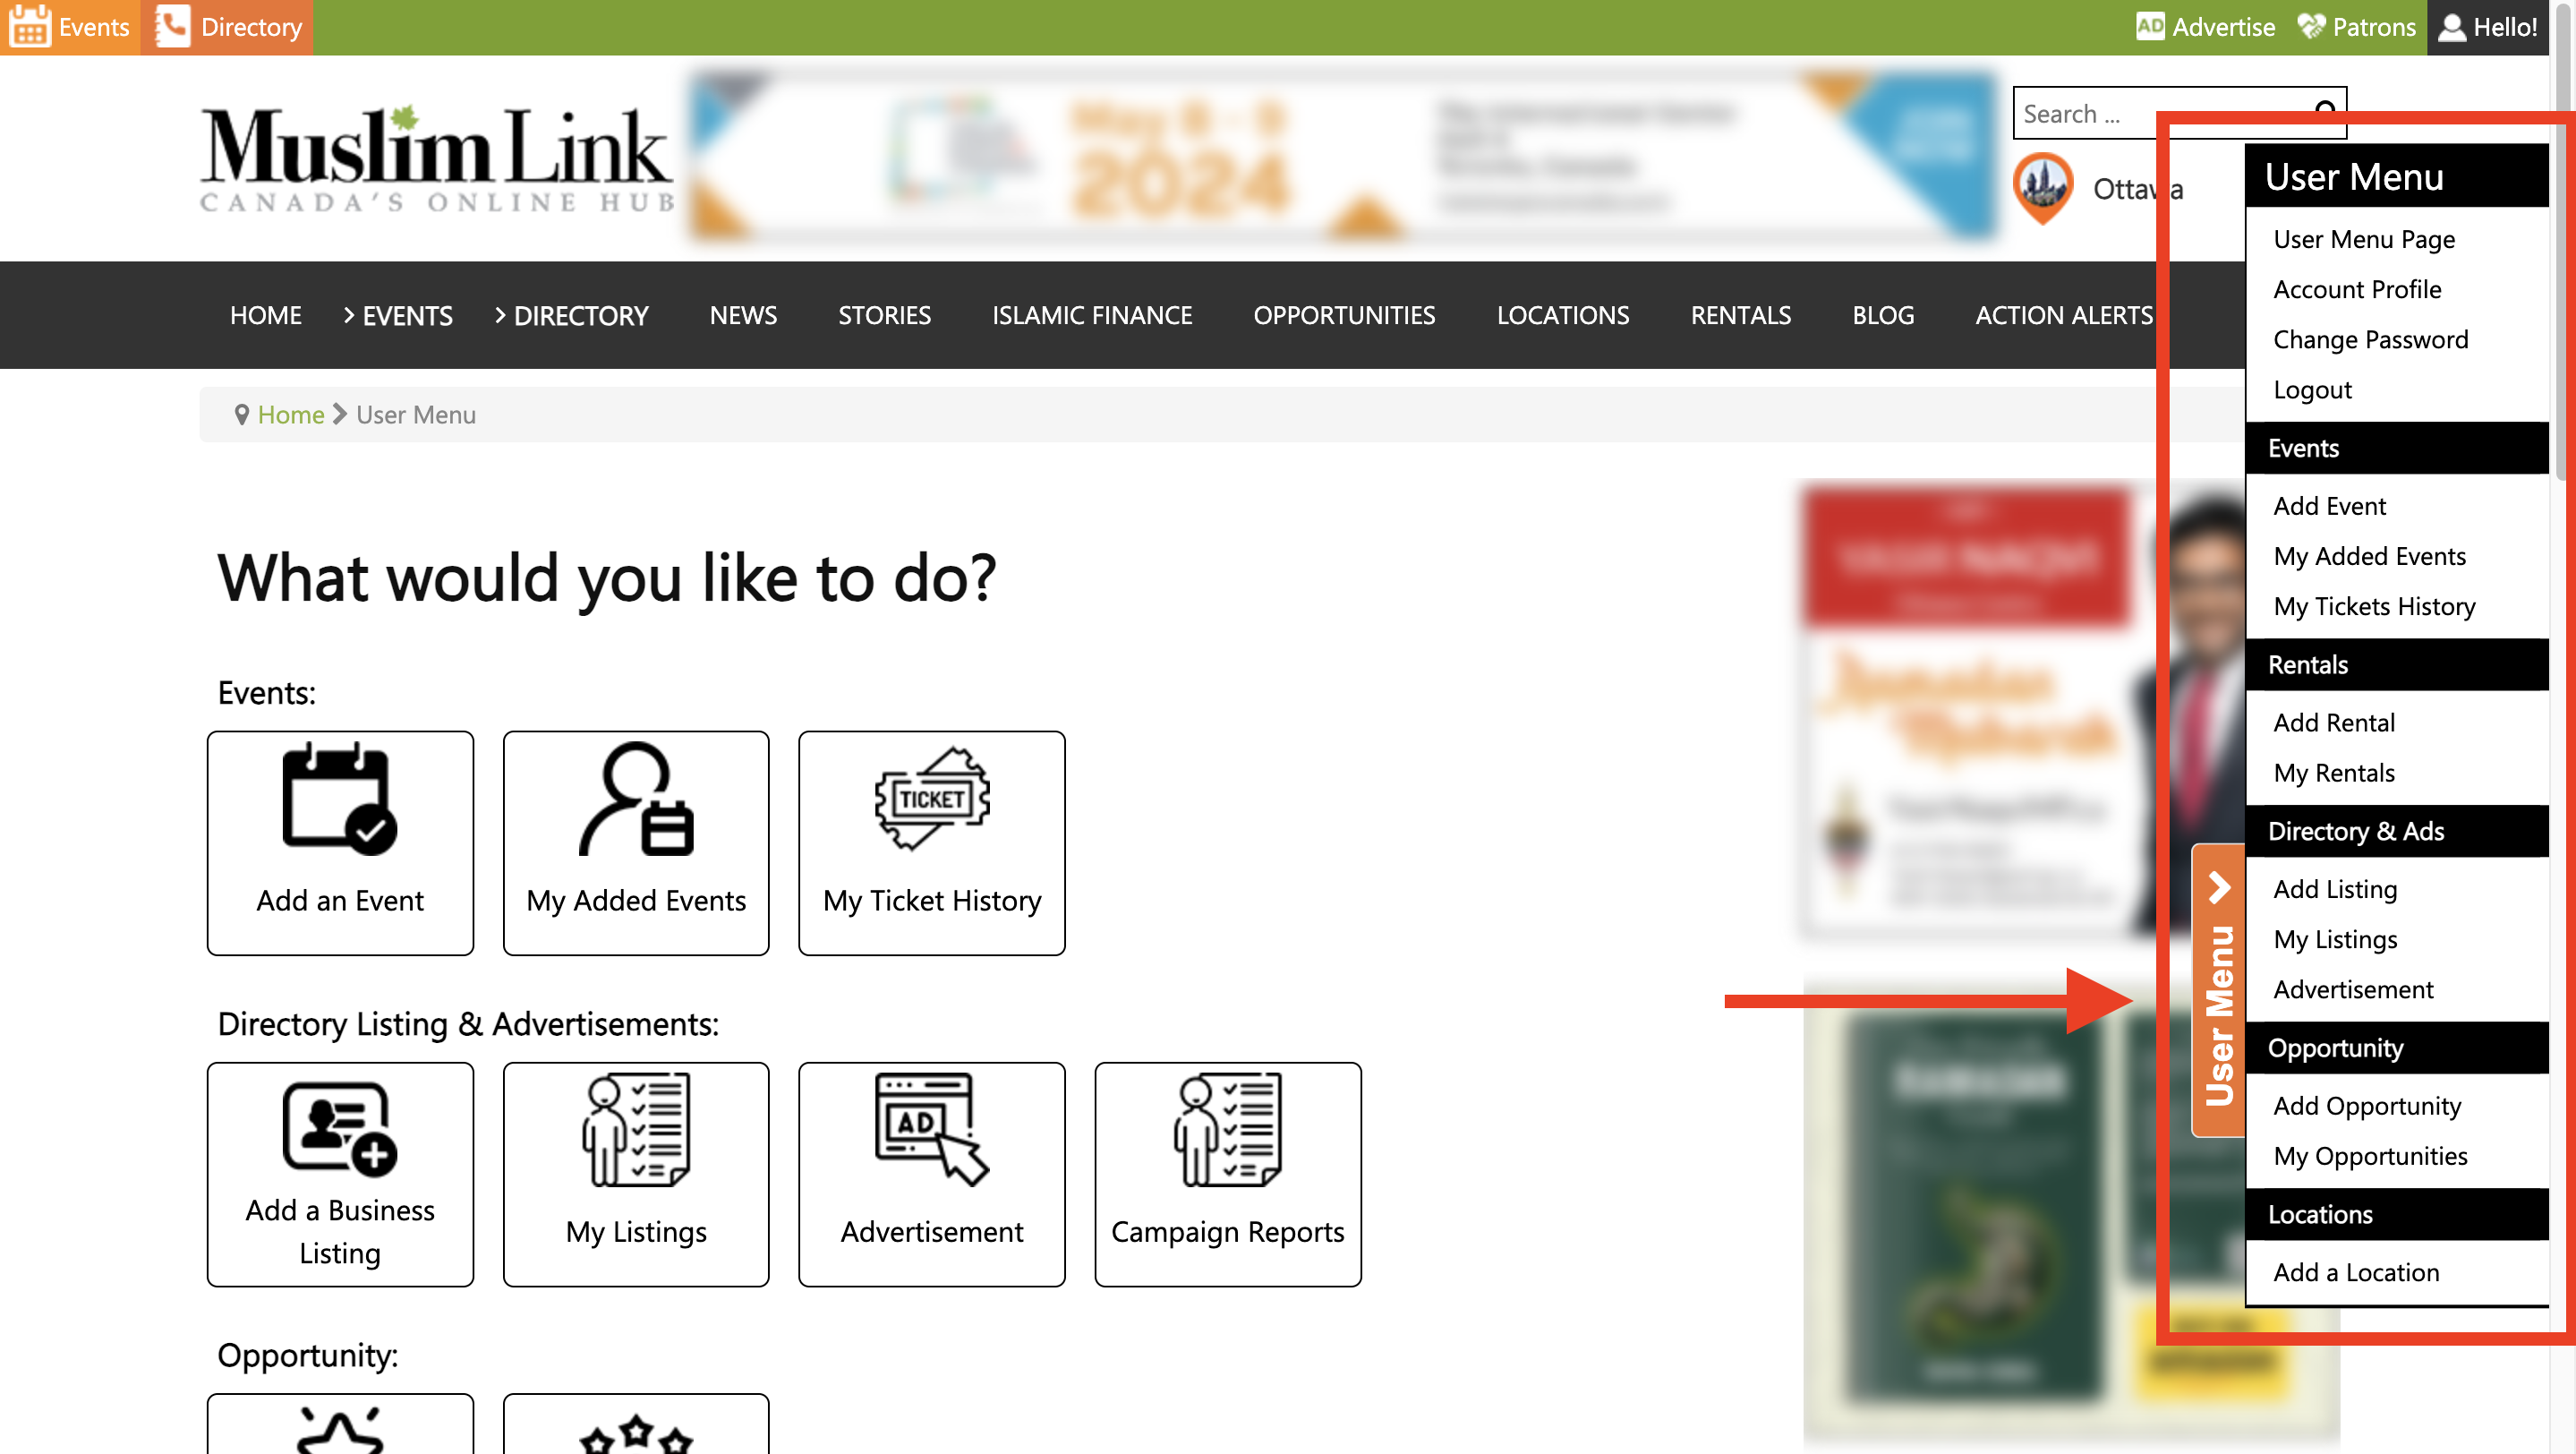
4. Once logged in, you'll be automatically directed to the “User Menu”.
5. You can also access the "User Menu" by clicking on "Hello!" in the upper right corner, or from the right side menu.
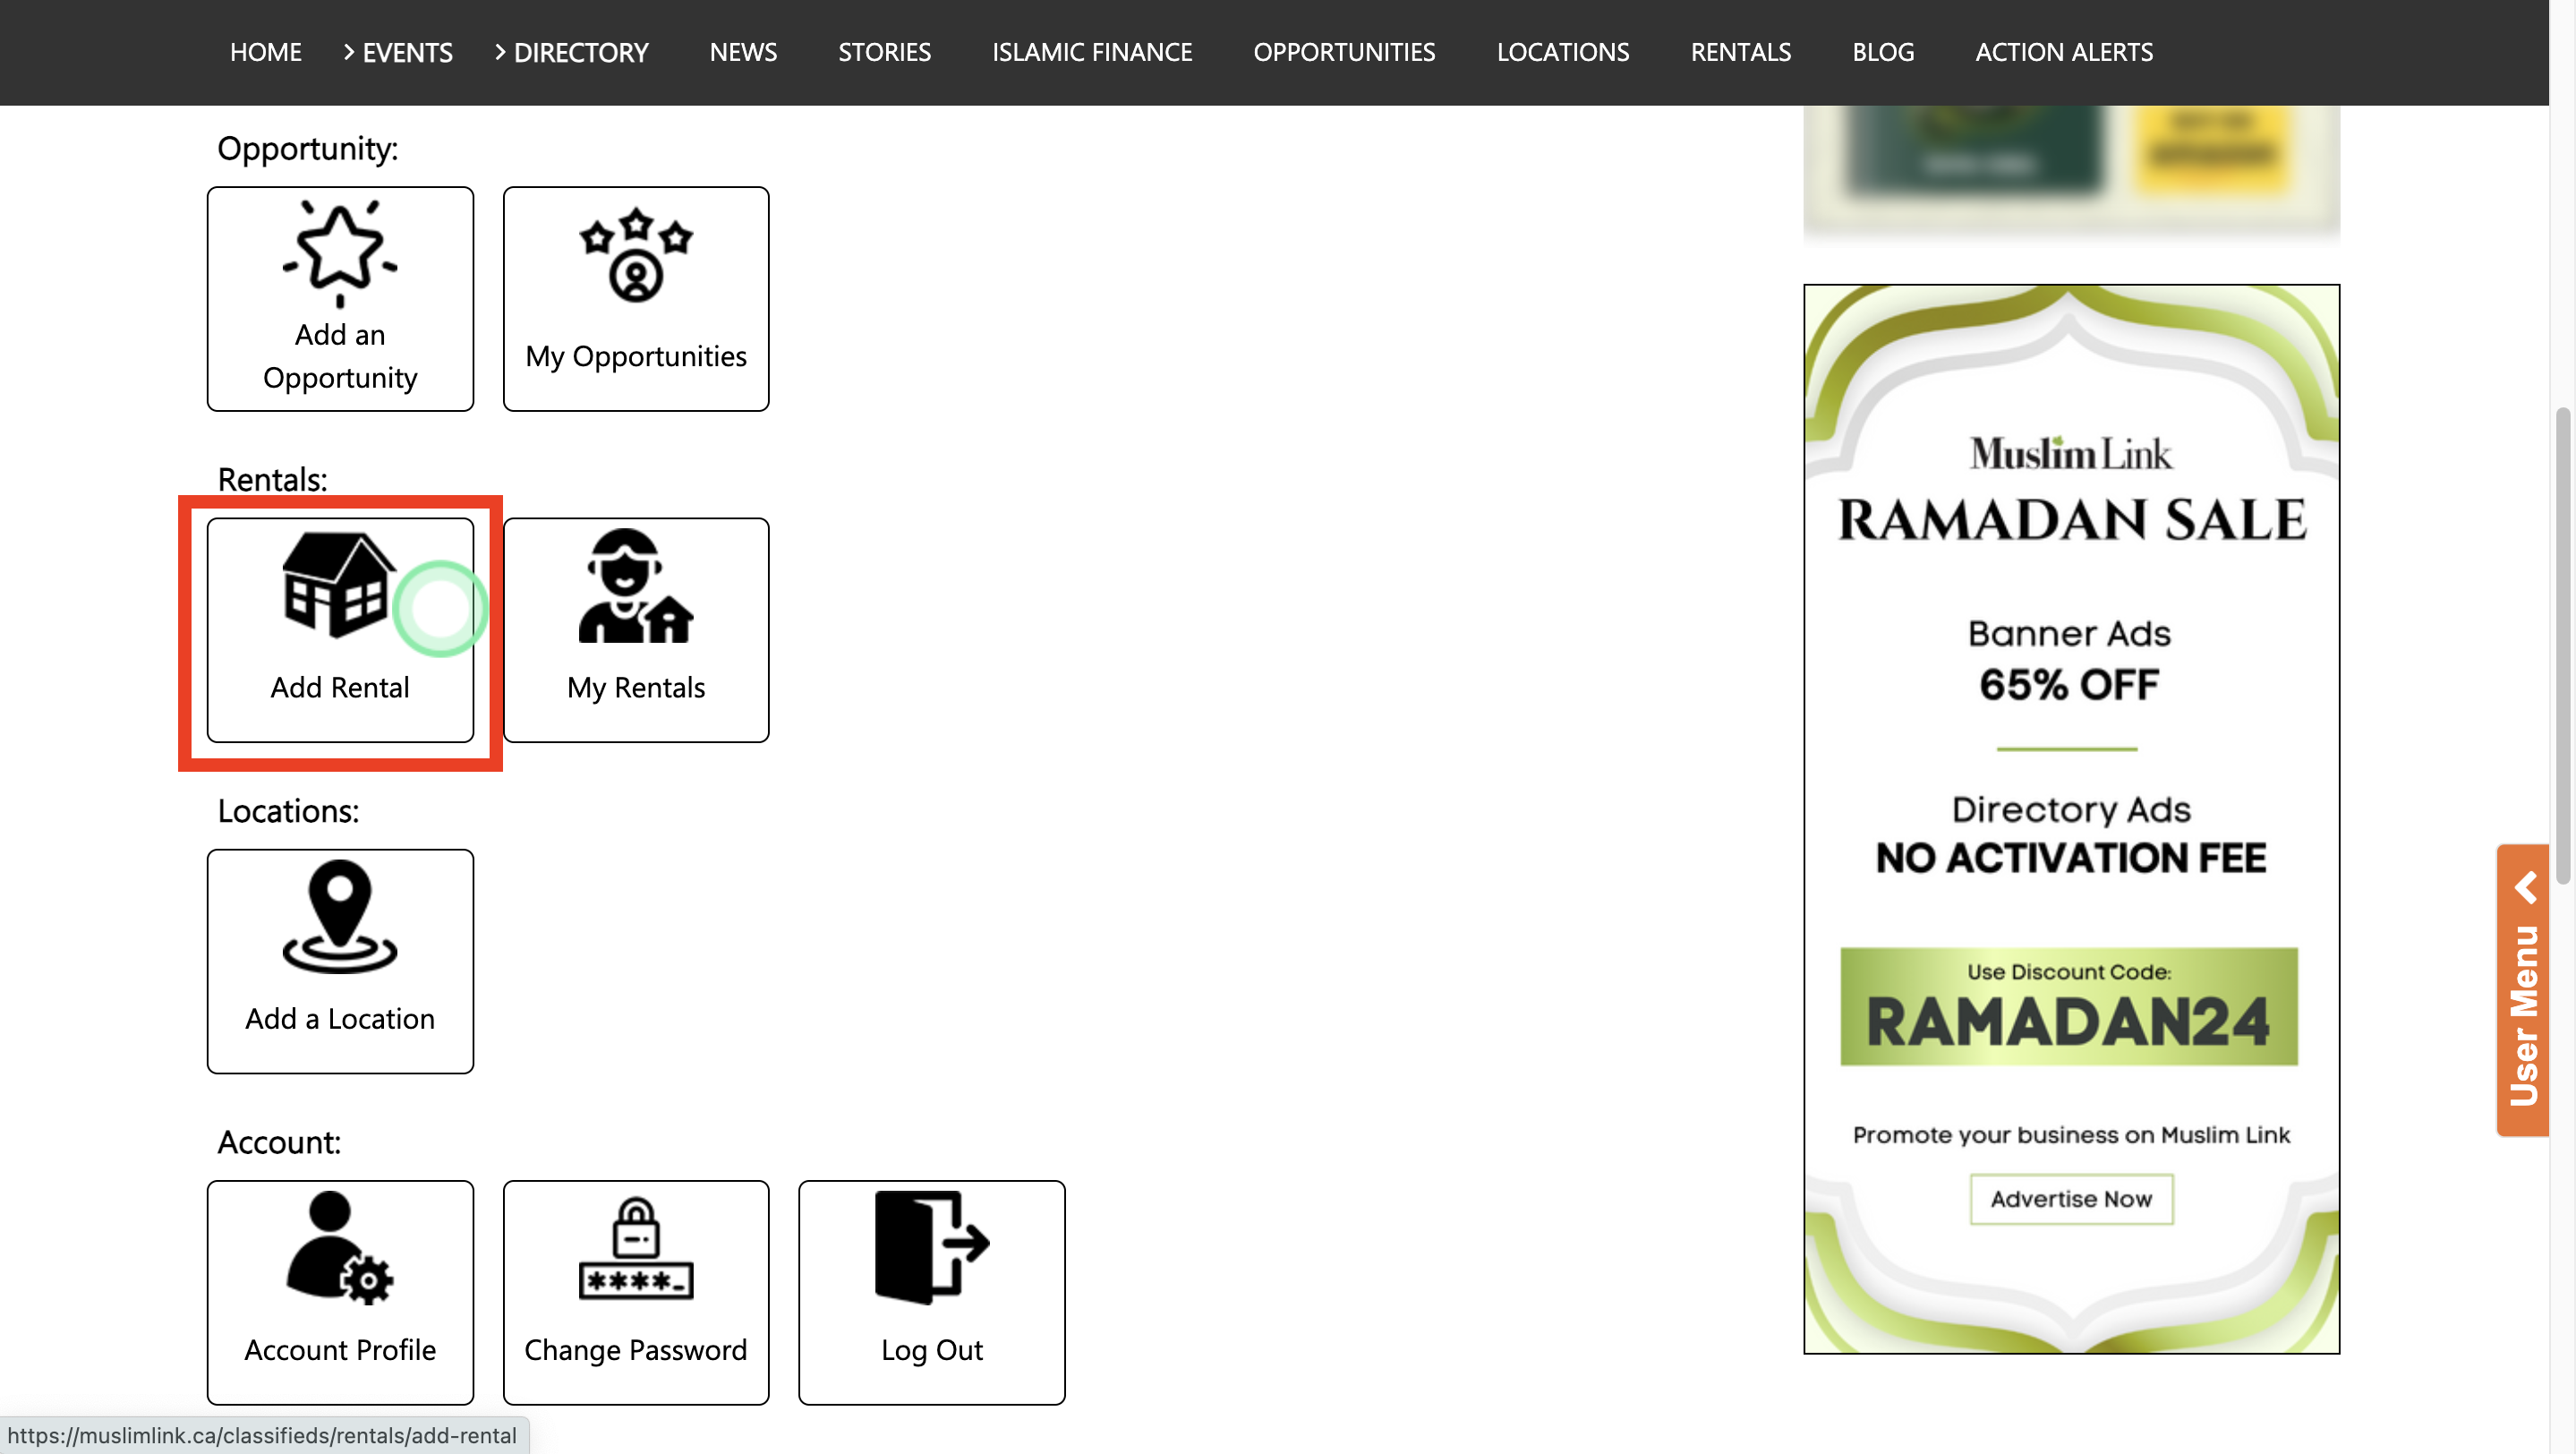
6. To add a rental, click “Add Rental”.
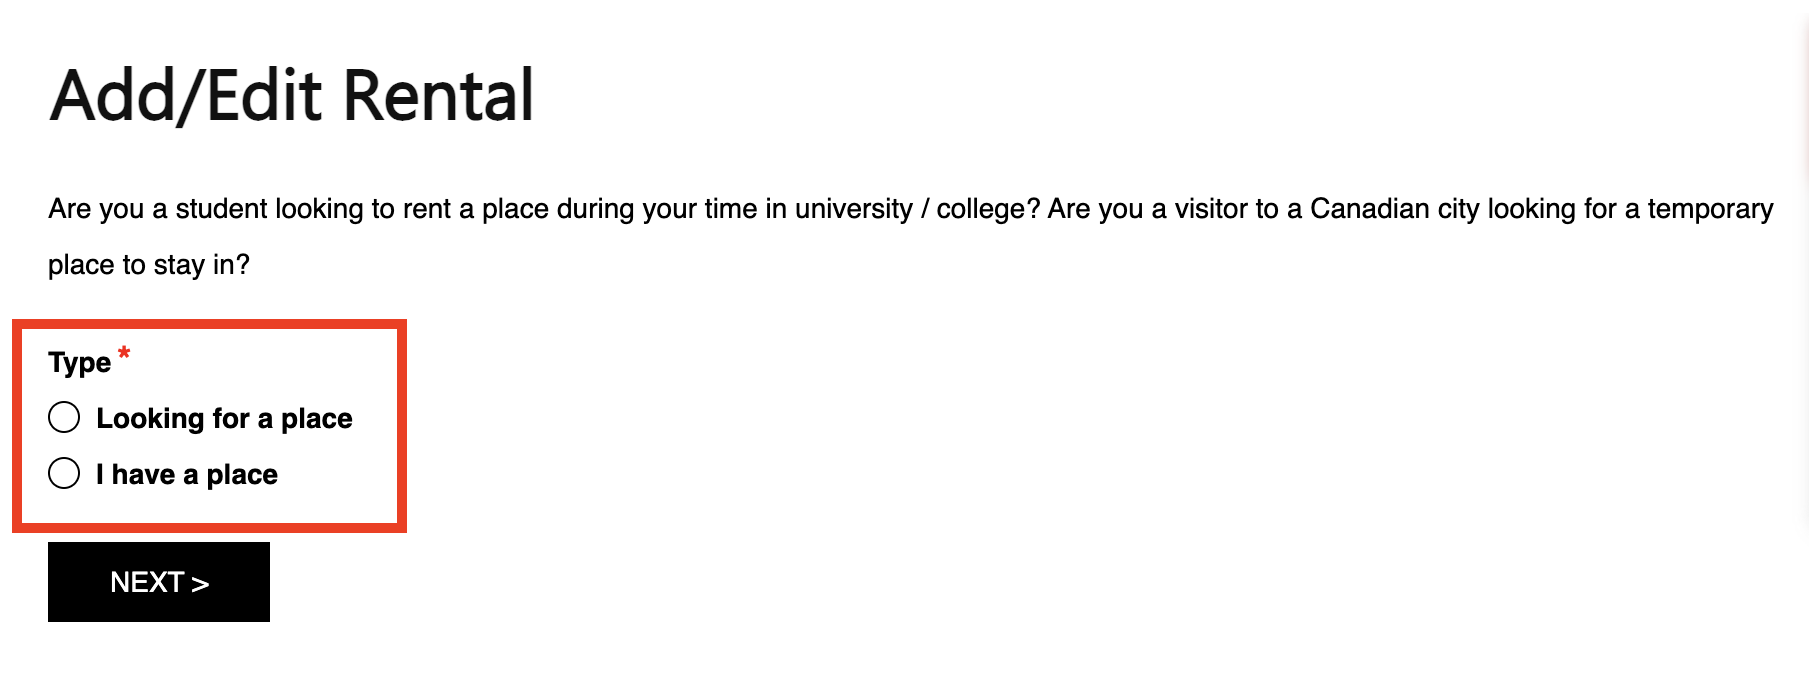
7. First, specify whether you are seeking a place or if you have a place available for rent.
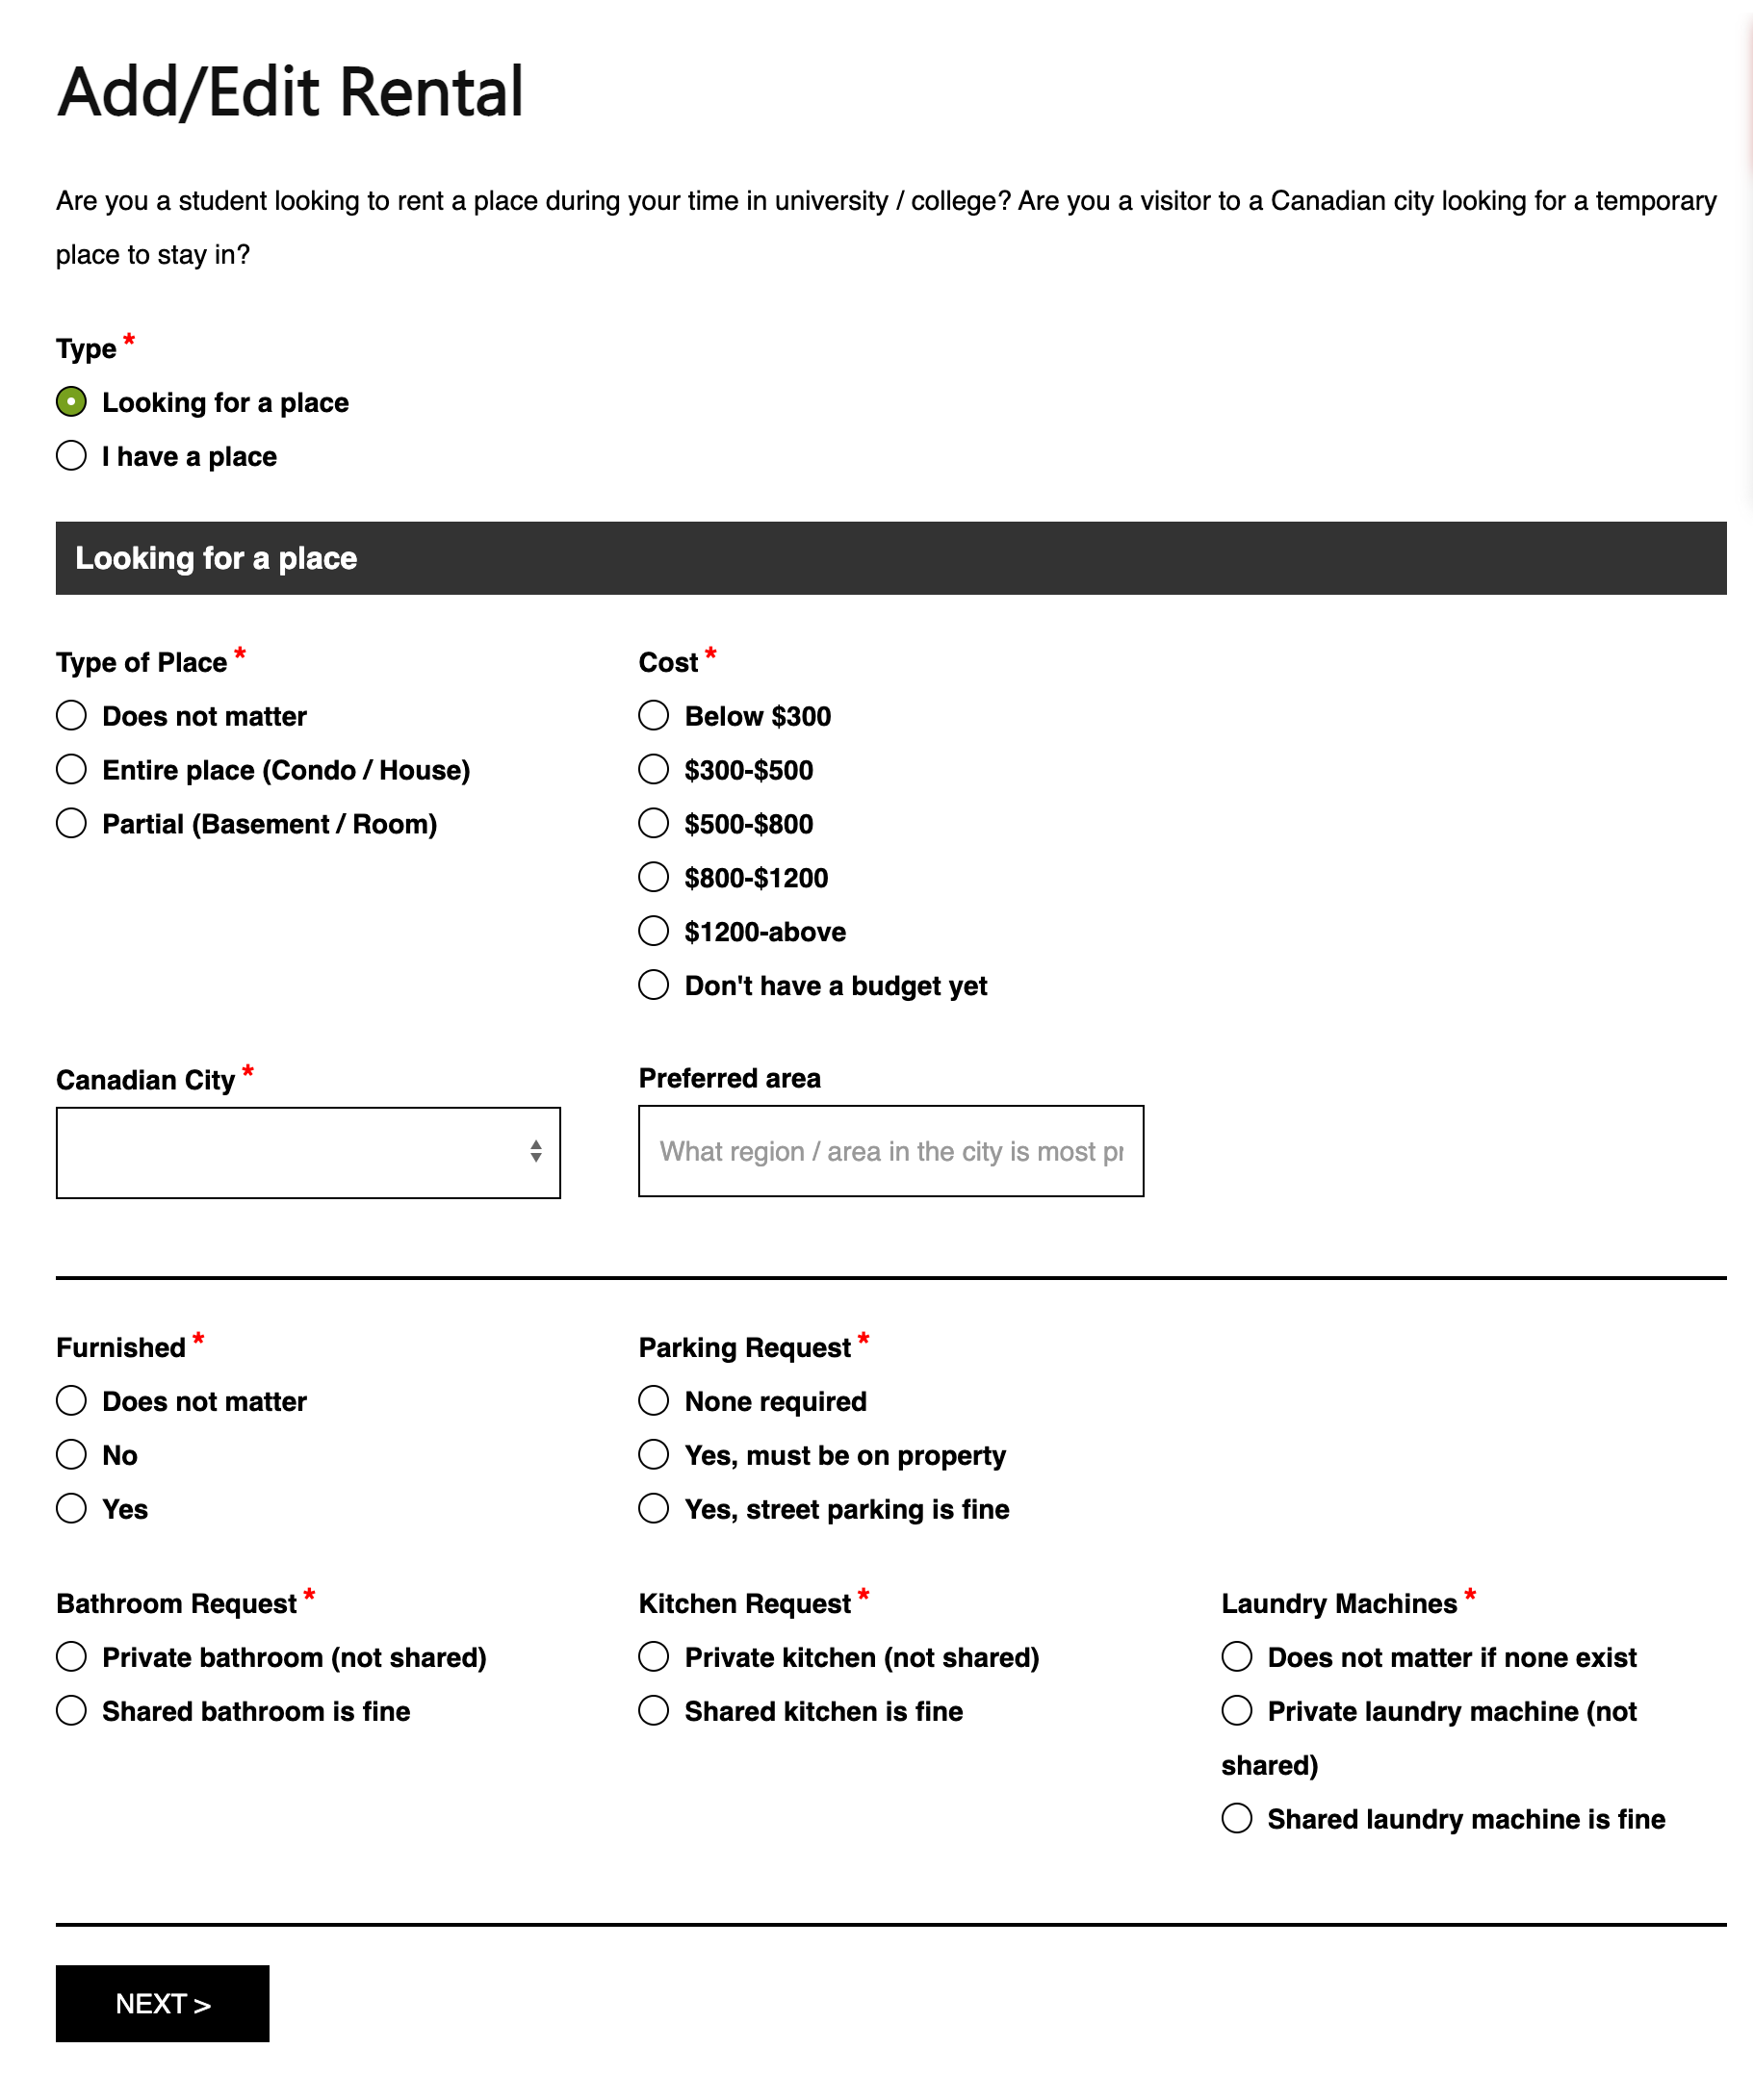
8. For “Looking for a place”, these are the contents of the page. (Skip to step 30 for “I have a place”)
9. Type: Choose the type of place you prefer. If you have no specific preference, you can select "Does not matter." You can also choose from an Entire place or a Partial room.
10. Cost: Also, choose the budget cost that you have.
11. Canadian City & Preferred Area: Select your desired city then type your preferred area.
12. Furnished: Choose between a furnished, unfurnished, or no preference for the place.
13. Parking Request: Specify your parking preference. Whether none, on the property, or street parking.
14. Bathroom Request: Select your bathroom request, whether you prefer a private bathroom or a shared bathroom.
15. Kitchen Request: This same goes the kitchen request. You can choose a private kitchen or a shared kitchen.
16. Laundry Machines: Lastly, specify your preference for laundry machines - whether it doesn't matter if none exist, you prefer a private laundry machine, or if a shared laundry machine is acceptable.
17. Click “Next”.
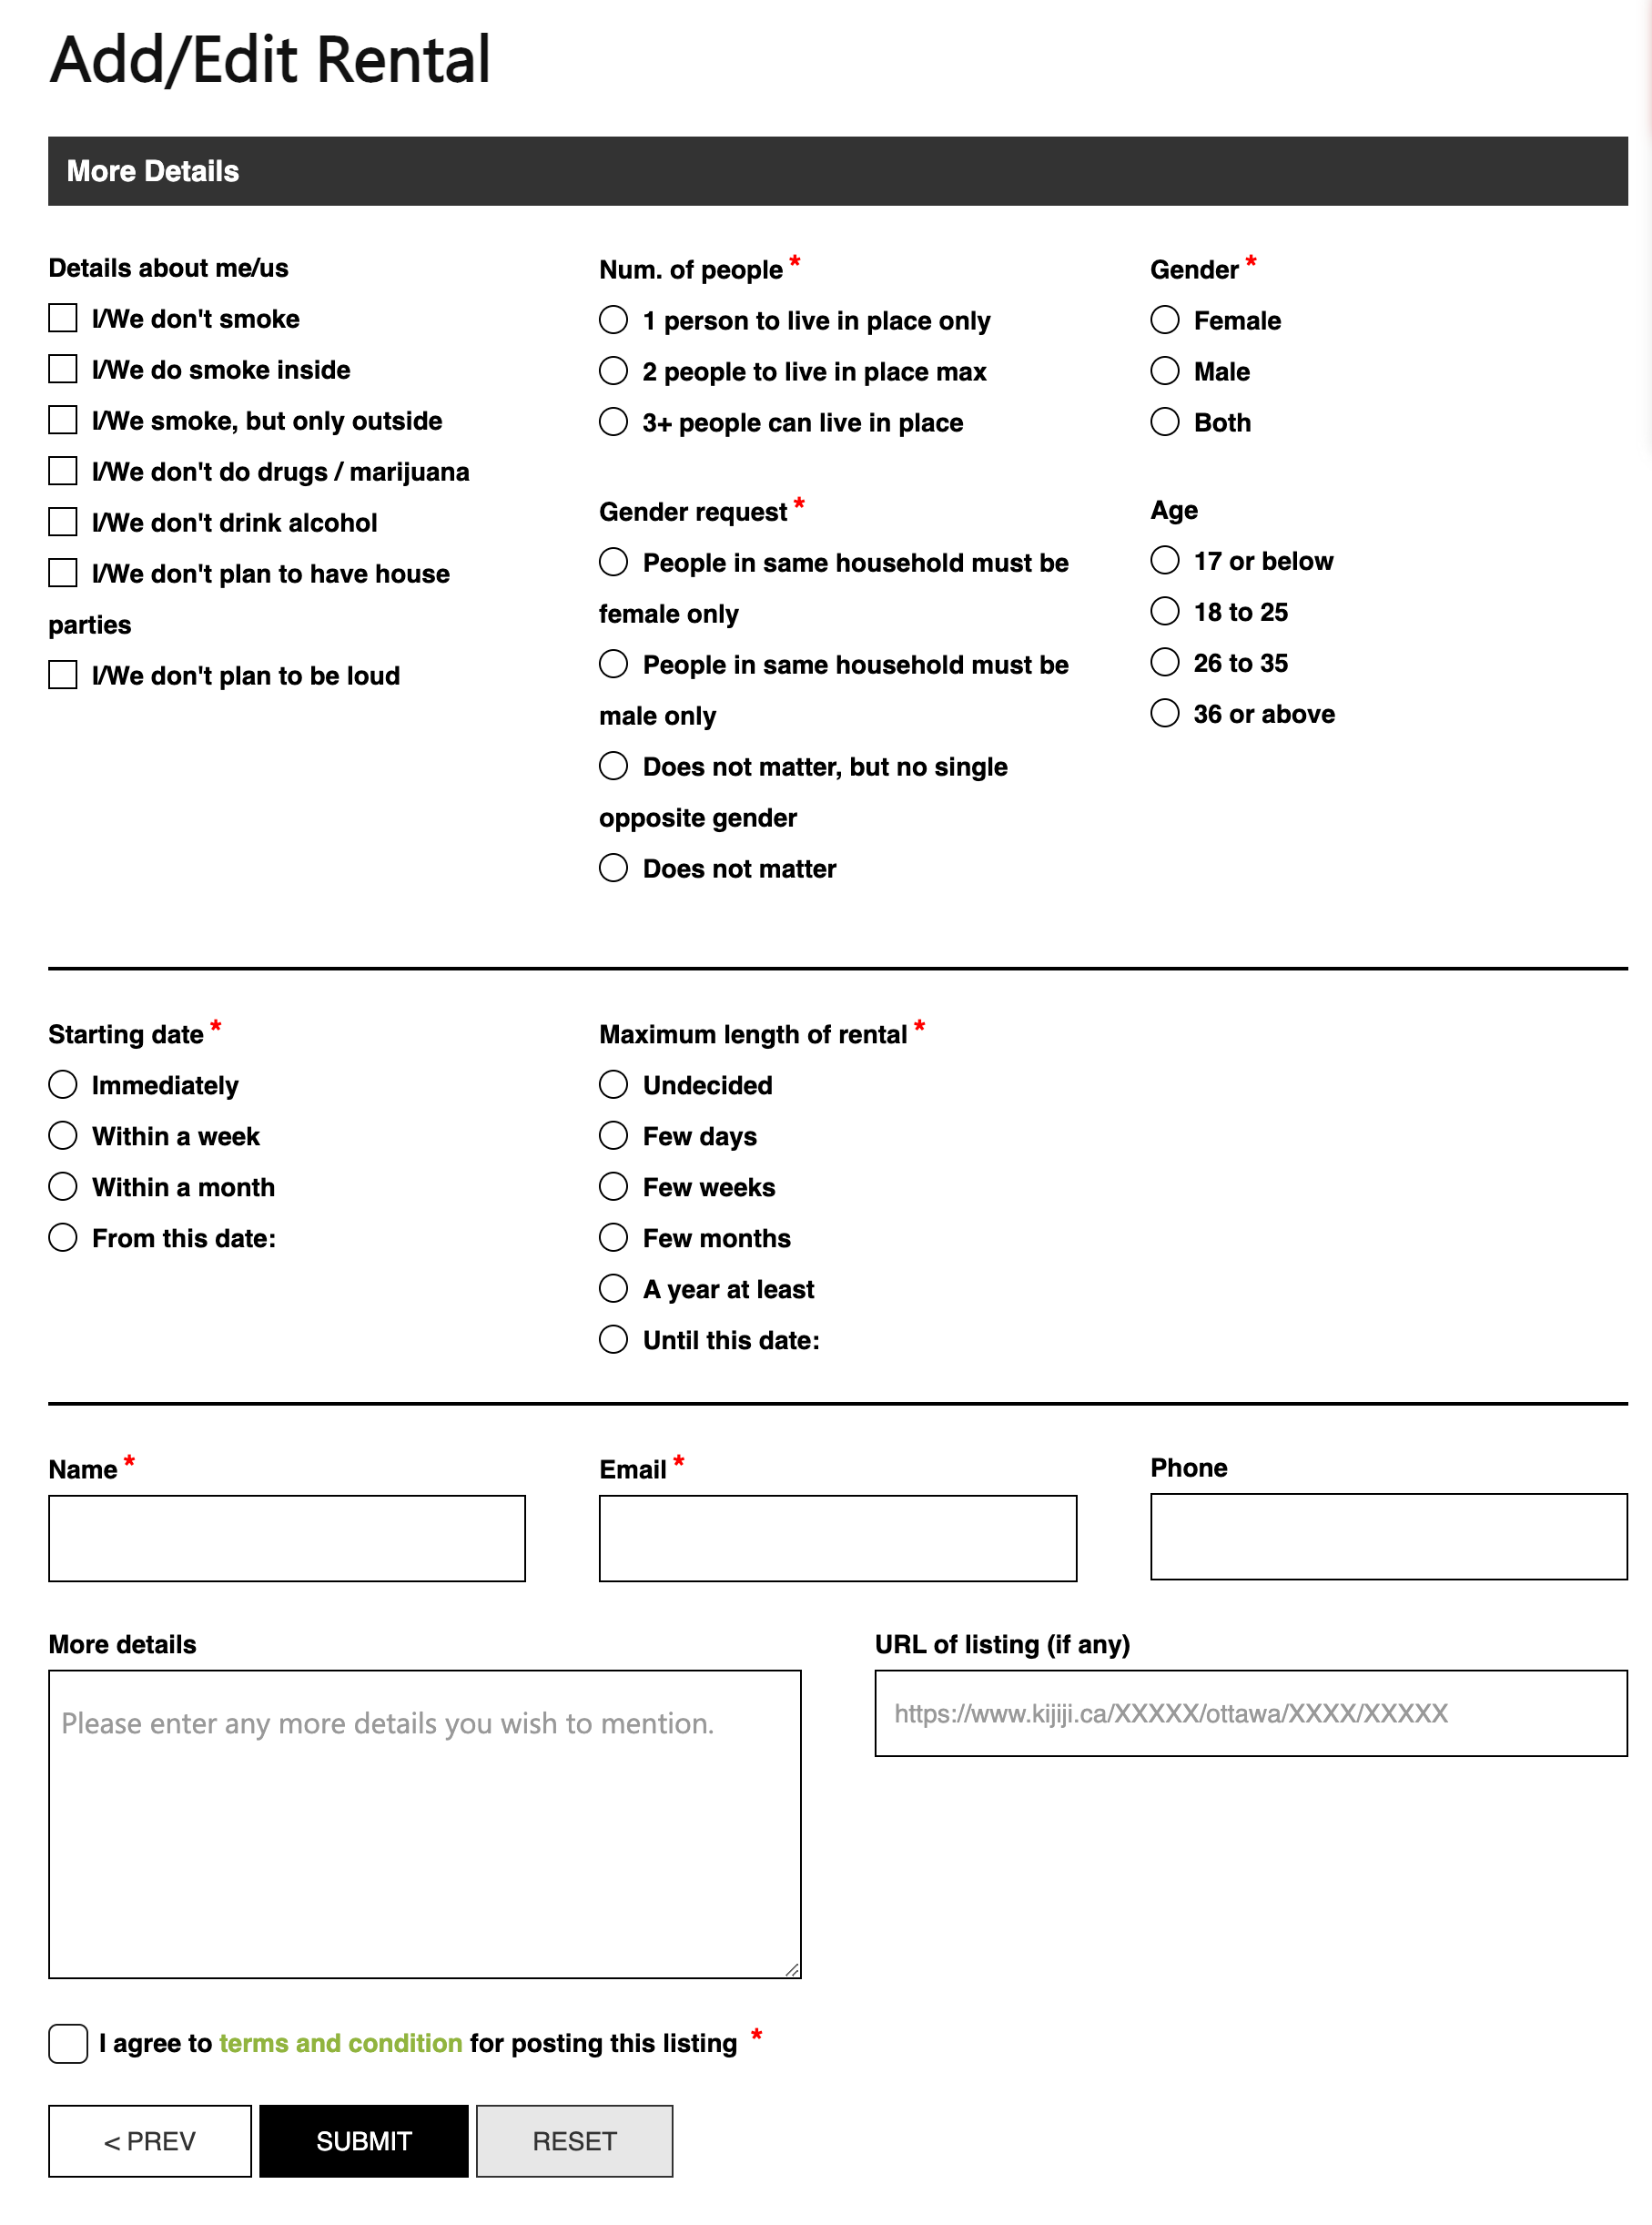
18. Details about me/us: On the next page, indicate whether you do not smoke, use drugs, consume alcohol, plan parties, and intend to be loud.
19. Num. of people: Select the number of people that will be living.
20. Gender Request: You can specify the gender that you prefer to live with the same household. It could be female only, male only, no single opposite gender, or it does not matter.
21. Gender: Specify your gender.
22. Age: Select your age bracket.
23. Starting Date: Specify when you can start living or renting in a place. You can select immediately, within a week, within a month, or provide a custom date.
24. Maximum length of rental: Provide your maximum length of rental. You can also provide a custom date.
25. Name, Email, Phone, More Details: Enter your contact details such as your name, email, and phone. You may also provide additional details of yourself.
26. URL of listing: You may also provide a URL such as a Kajiji link.
27. Then agree on the terms and conditions then click “Submit”.
28. Await admin approval.
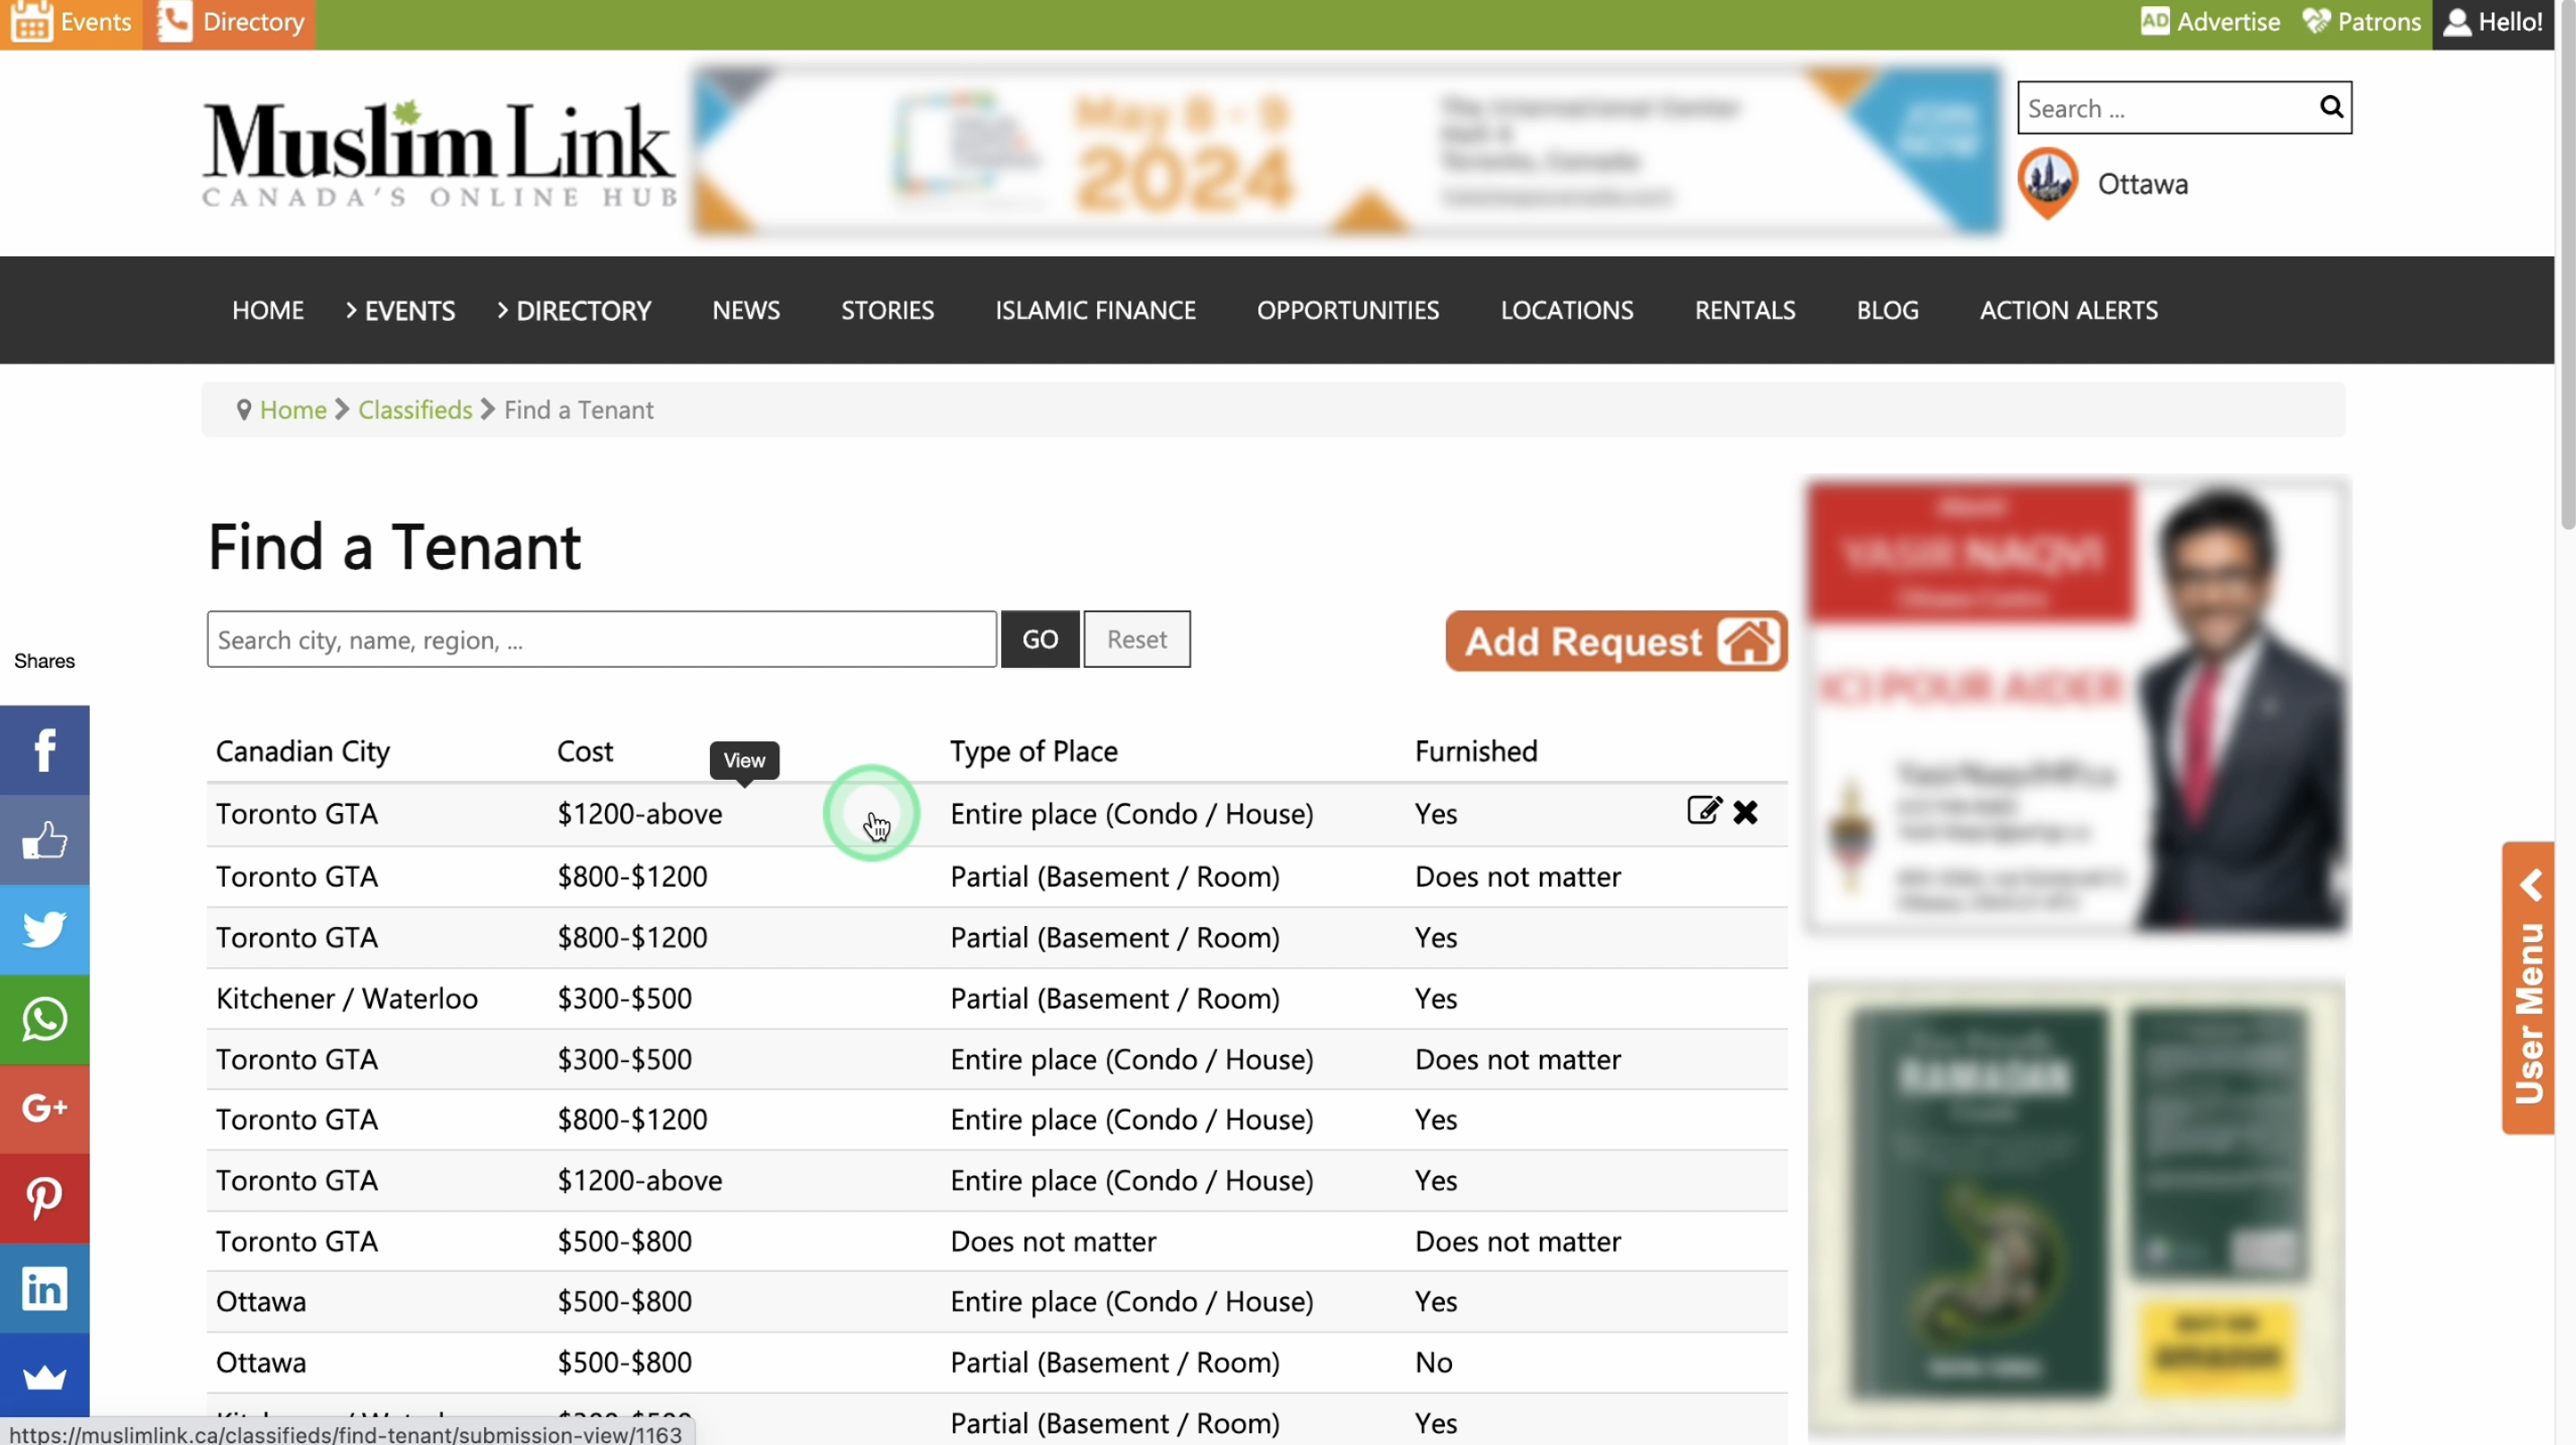
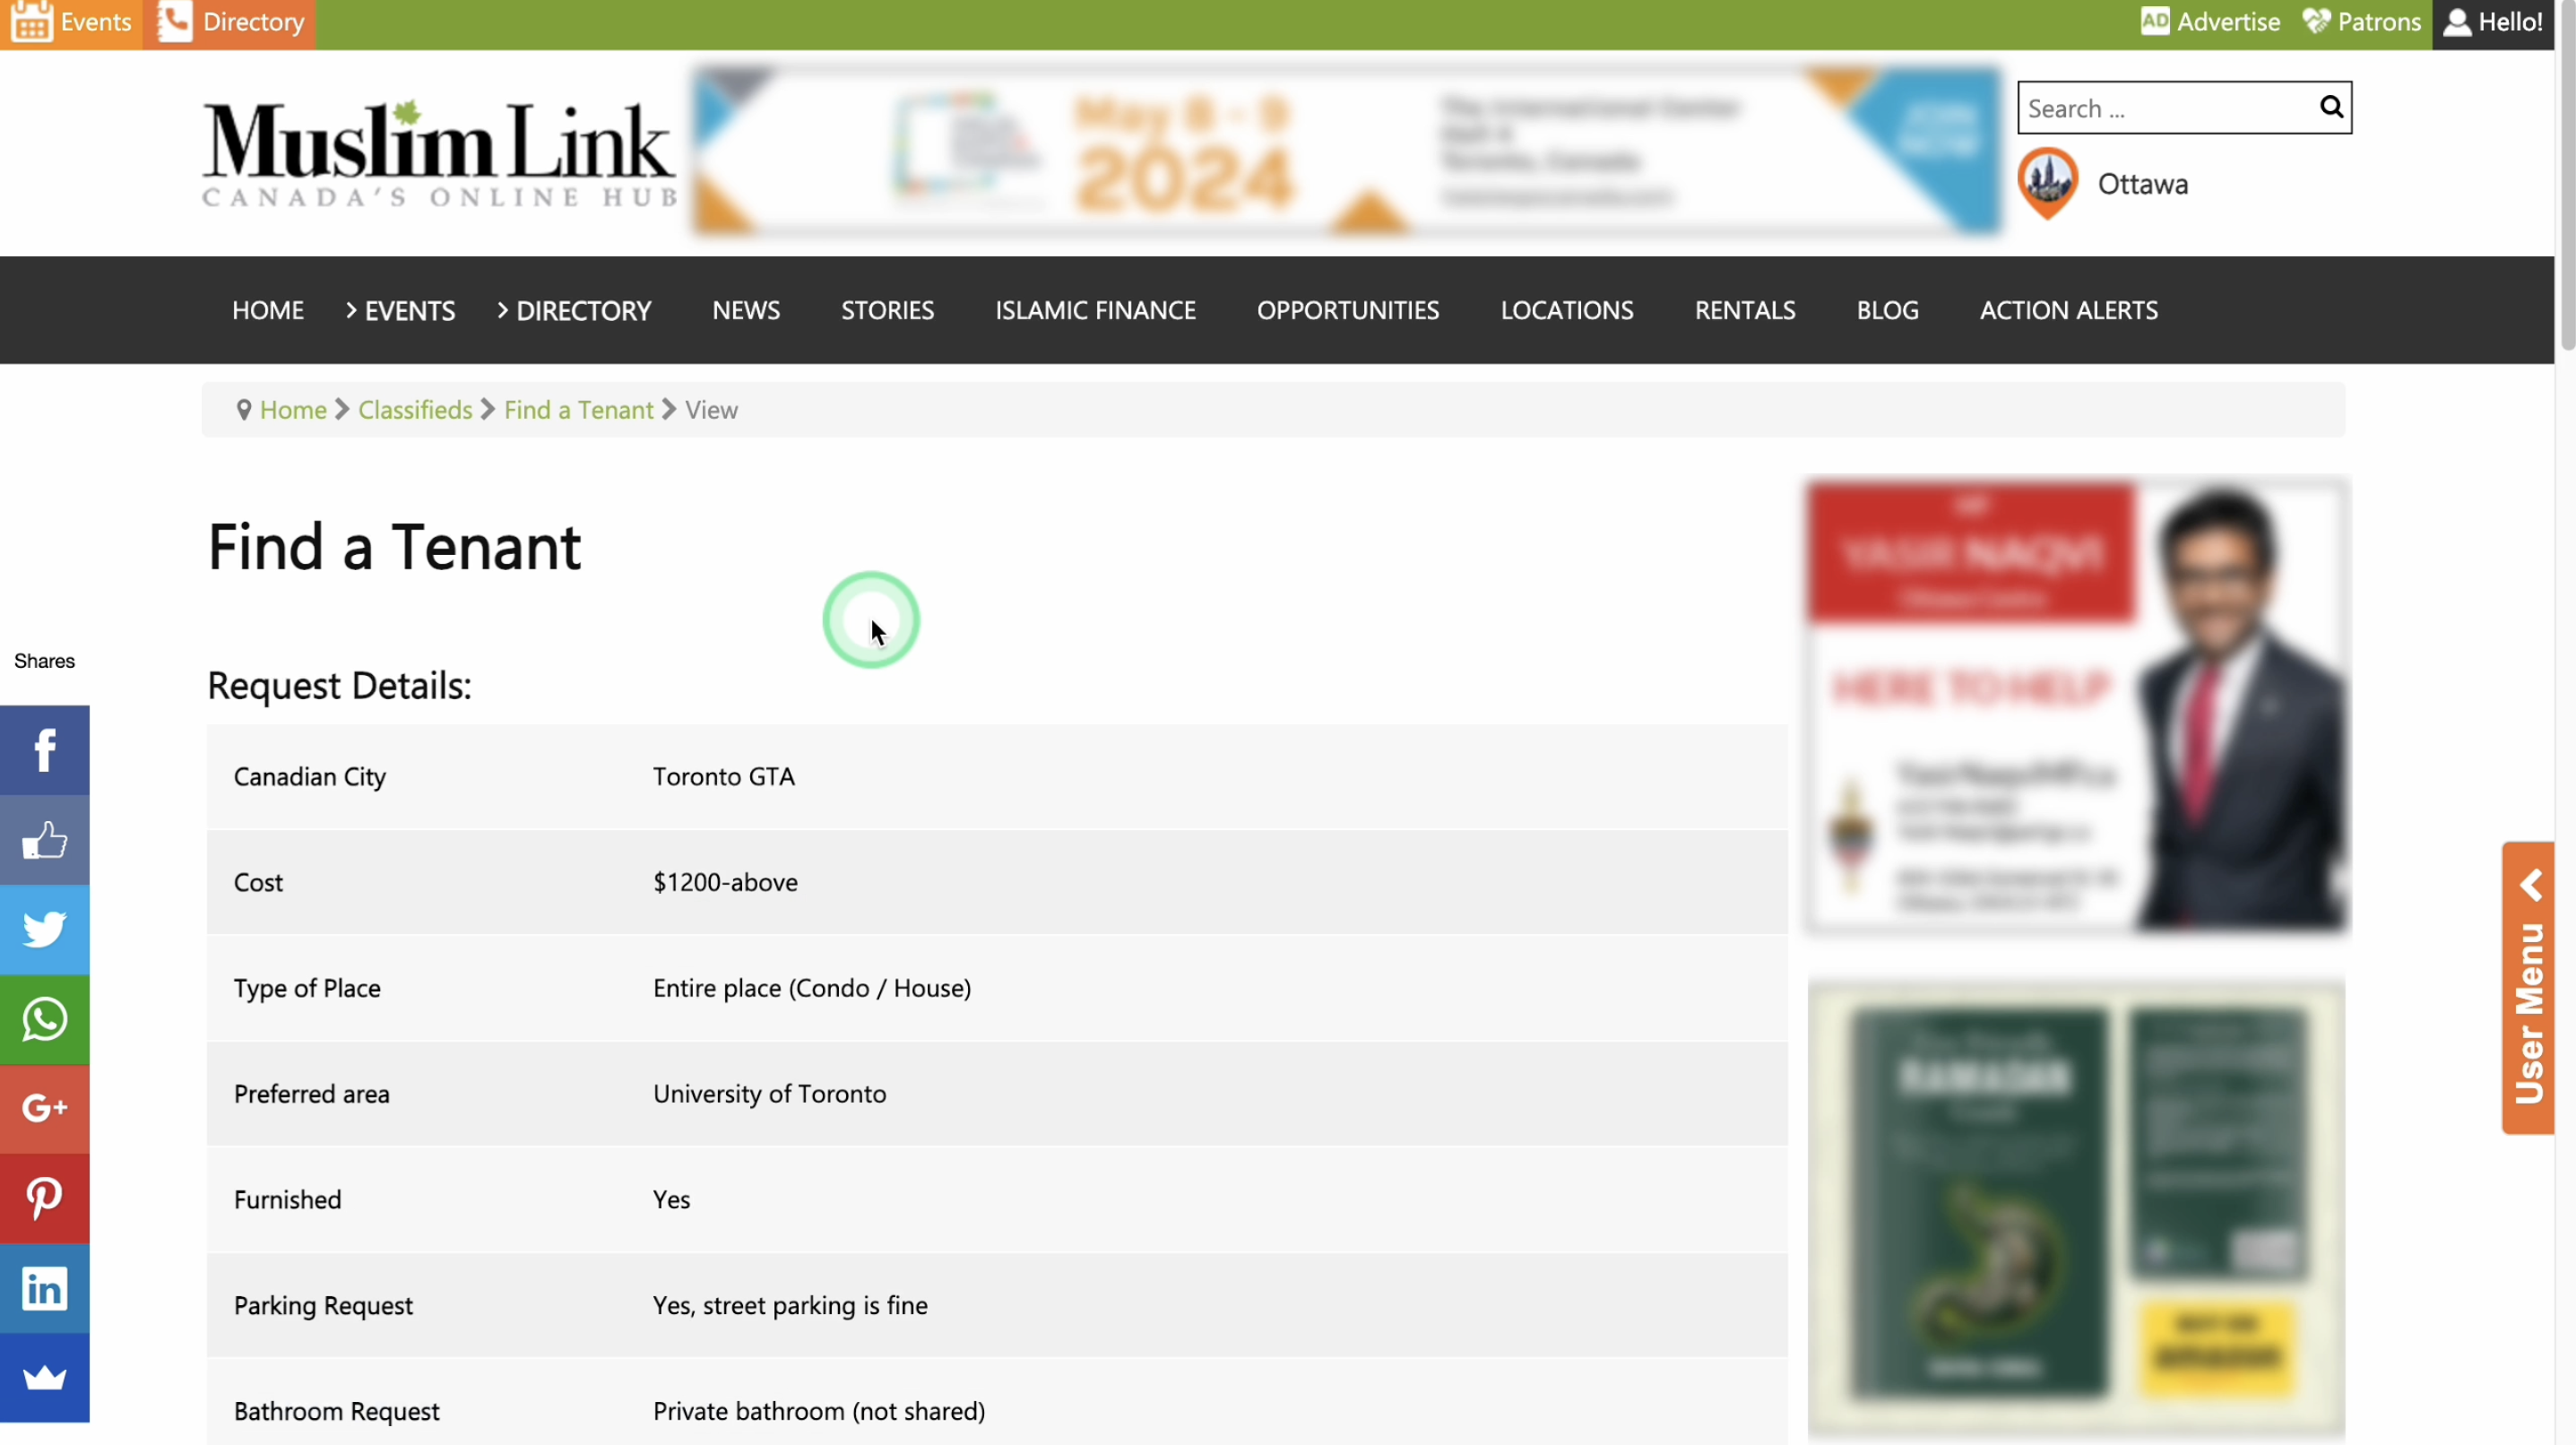
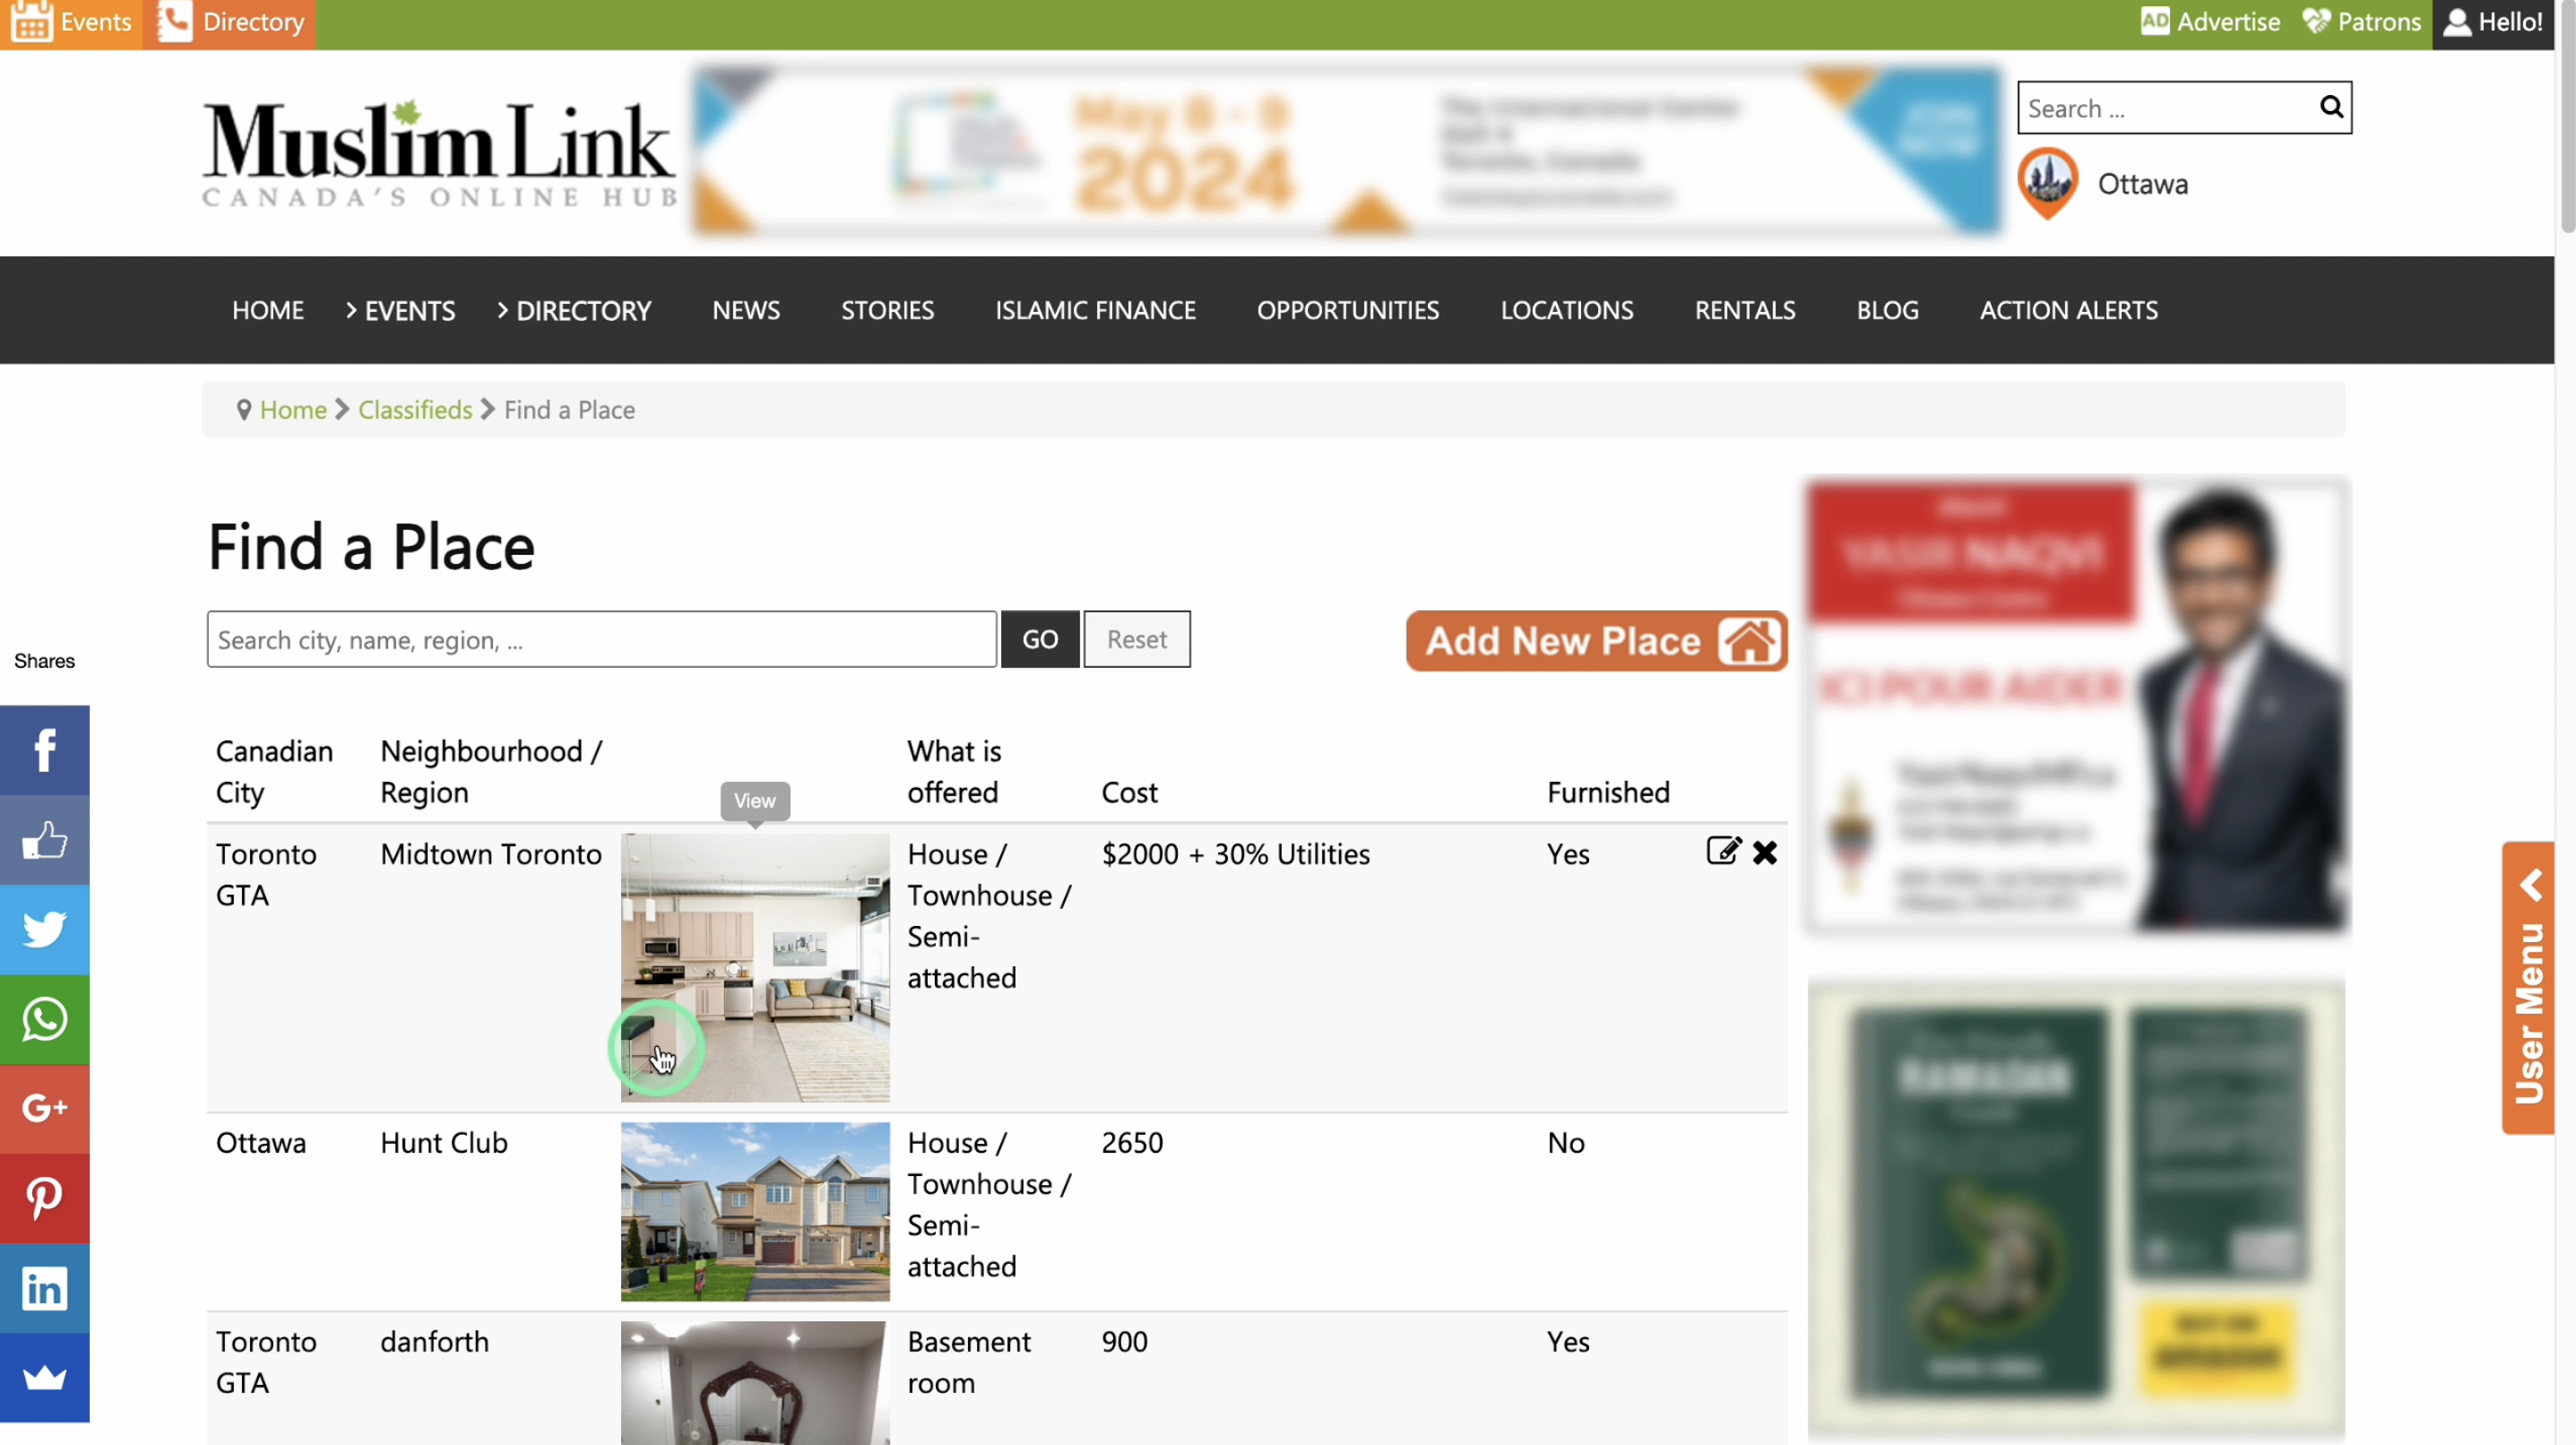
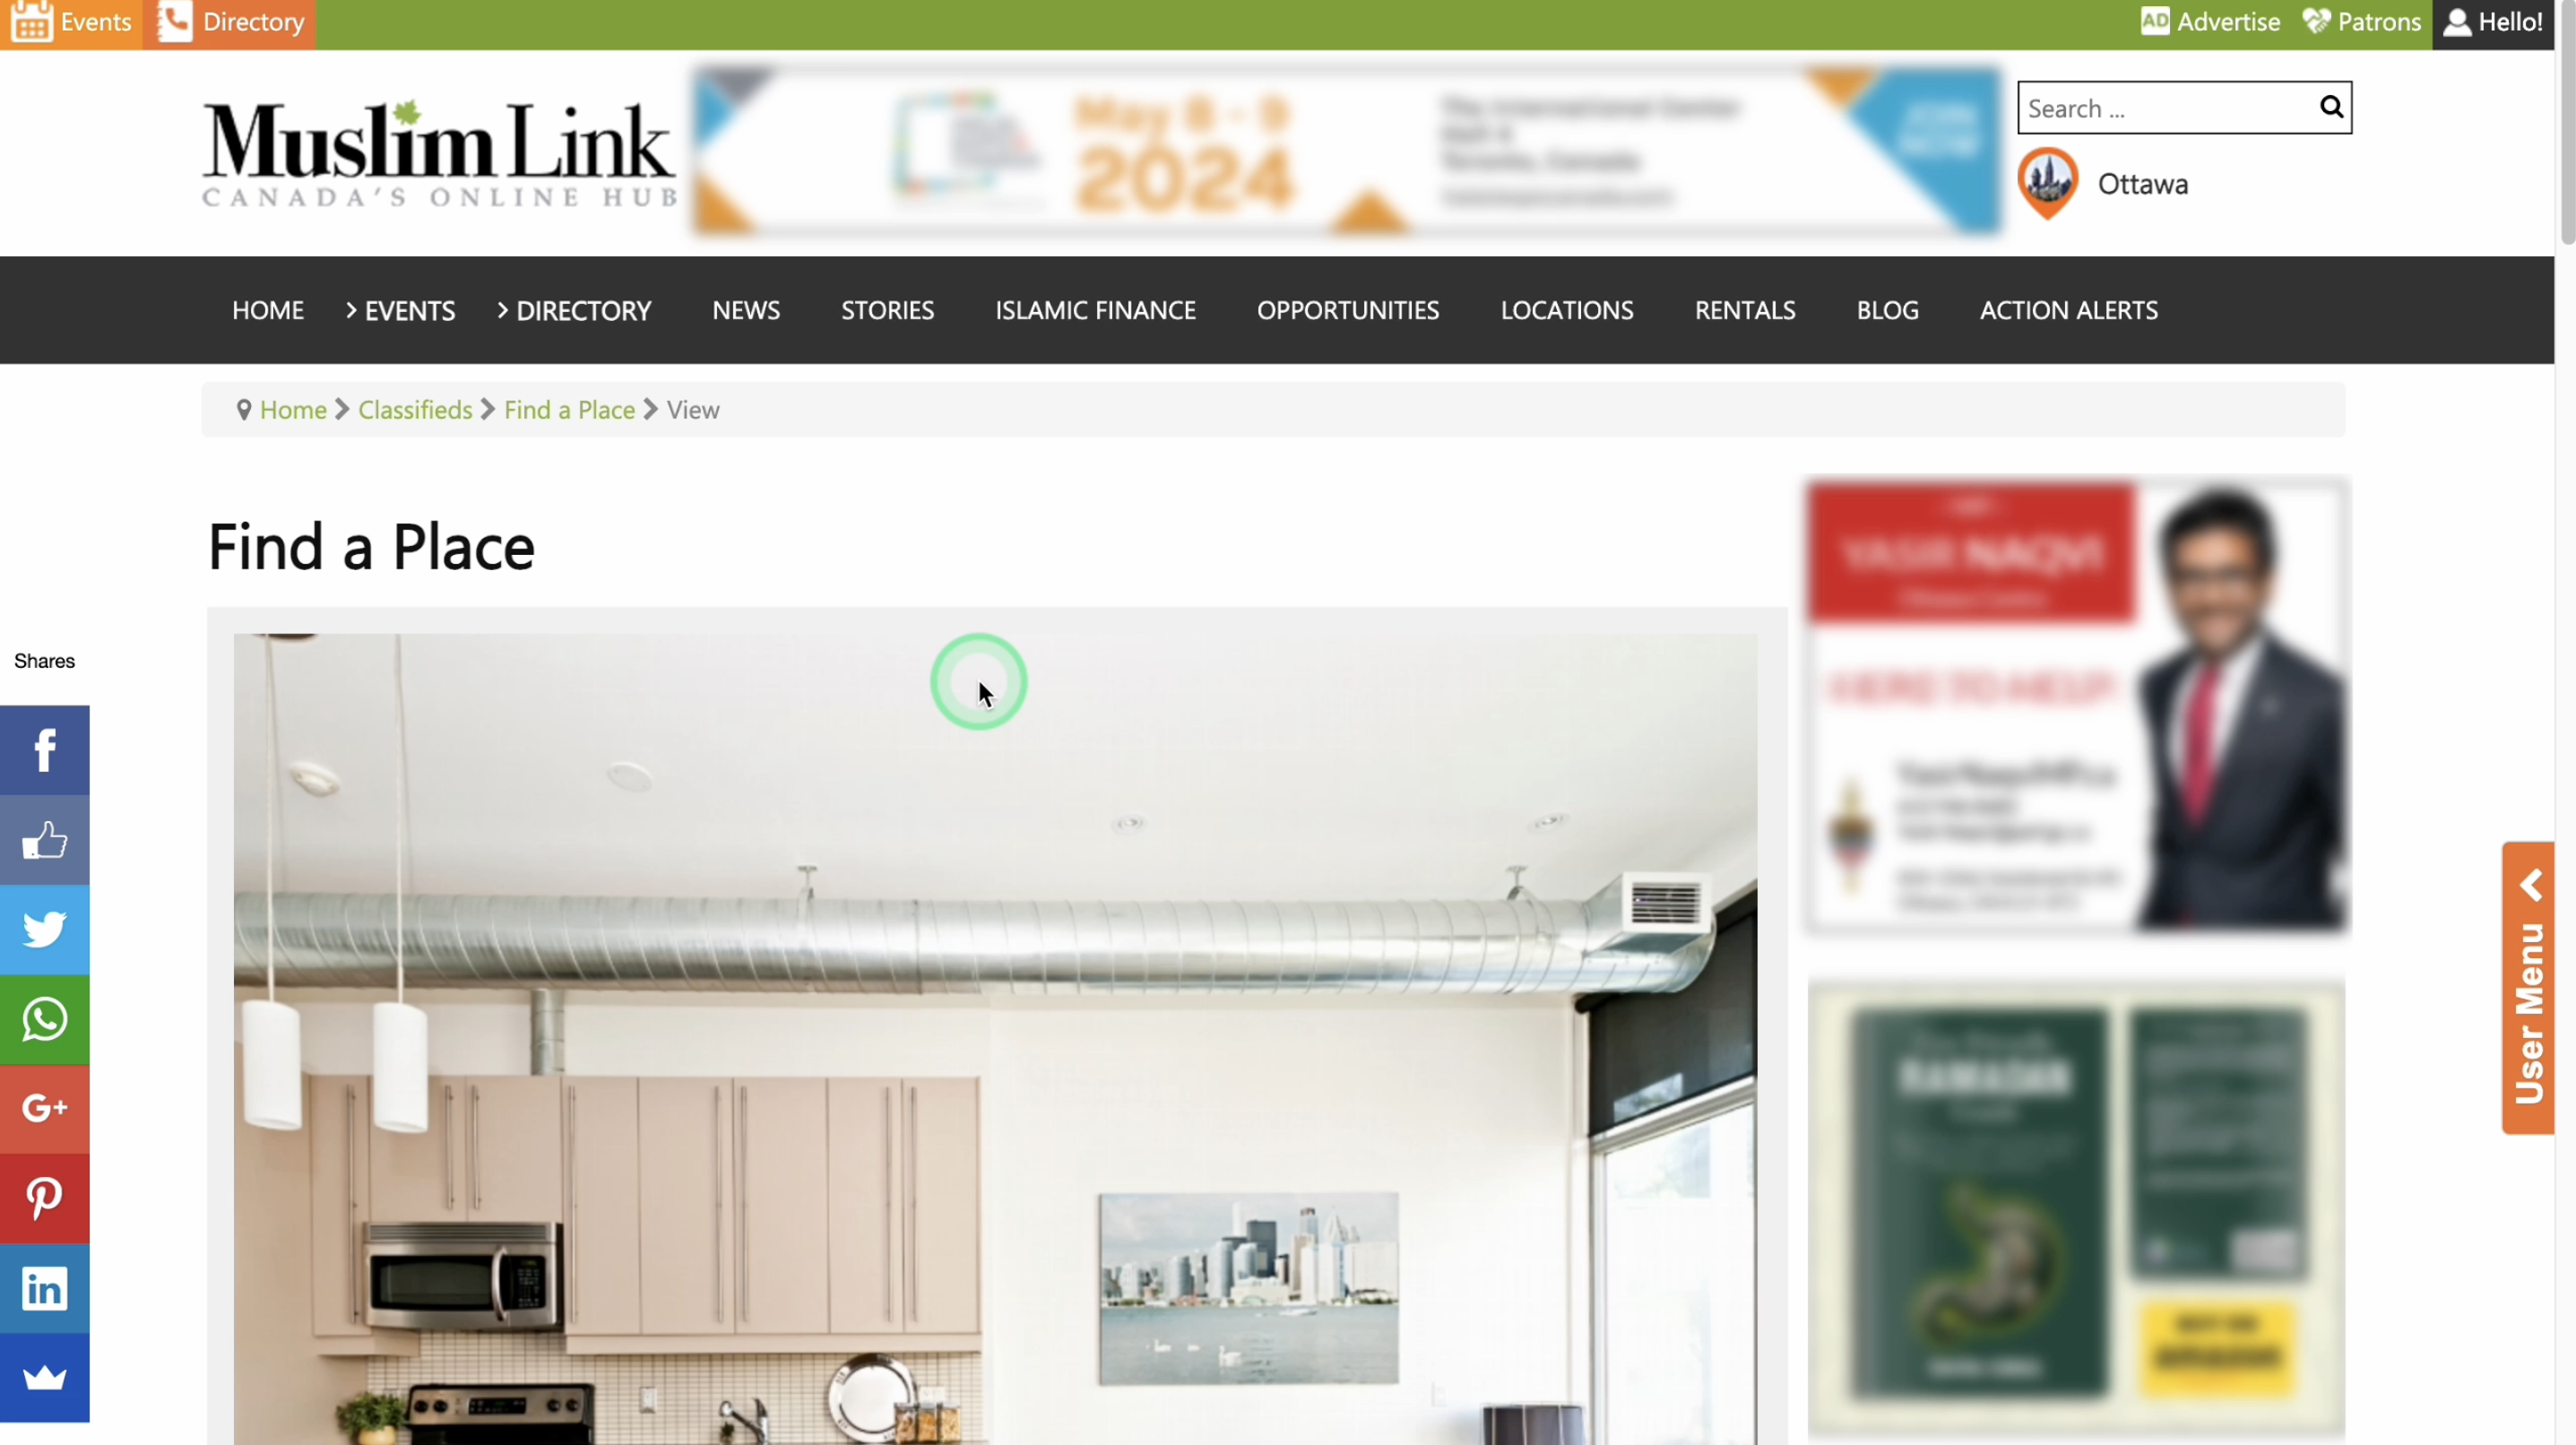
29. Once approved, you can now see your listing on the Rentals page under Find a Tenant.
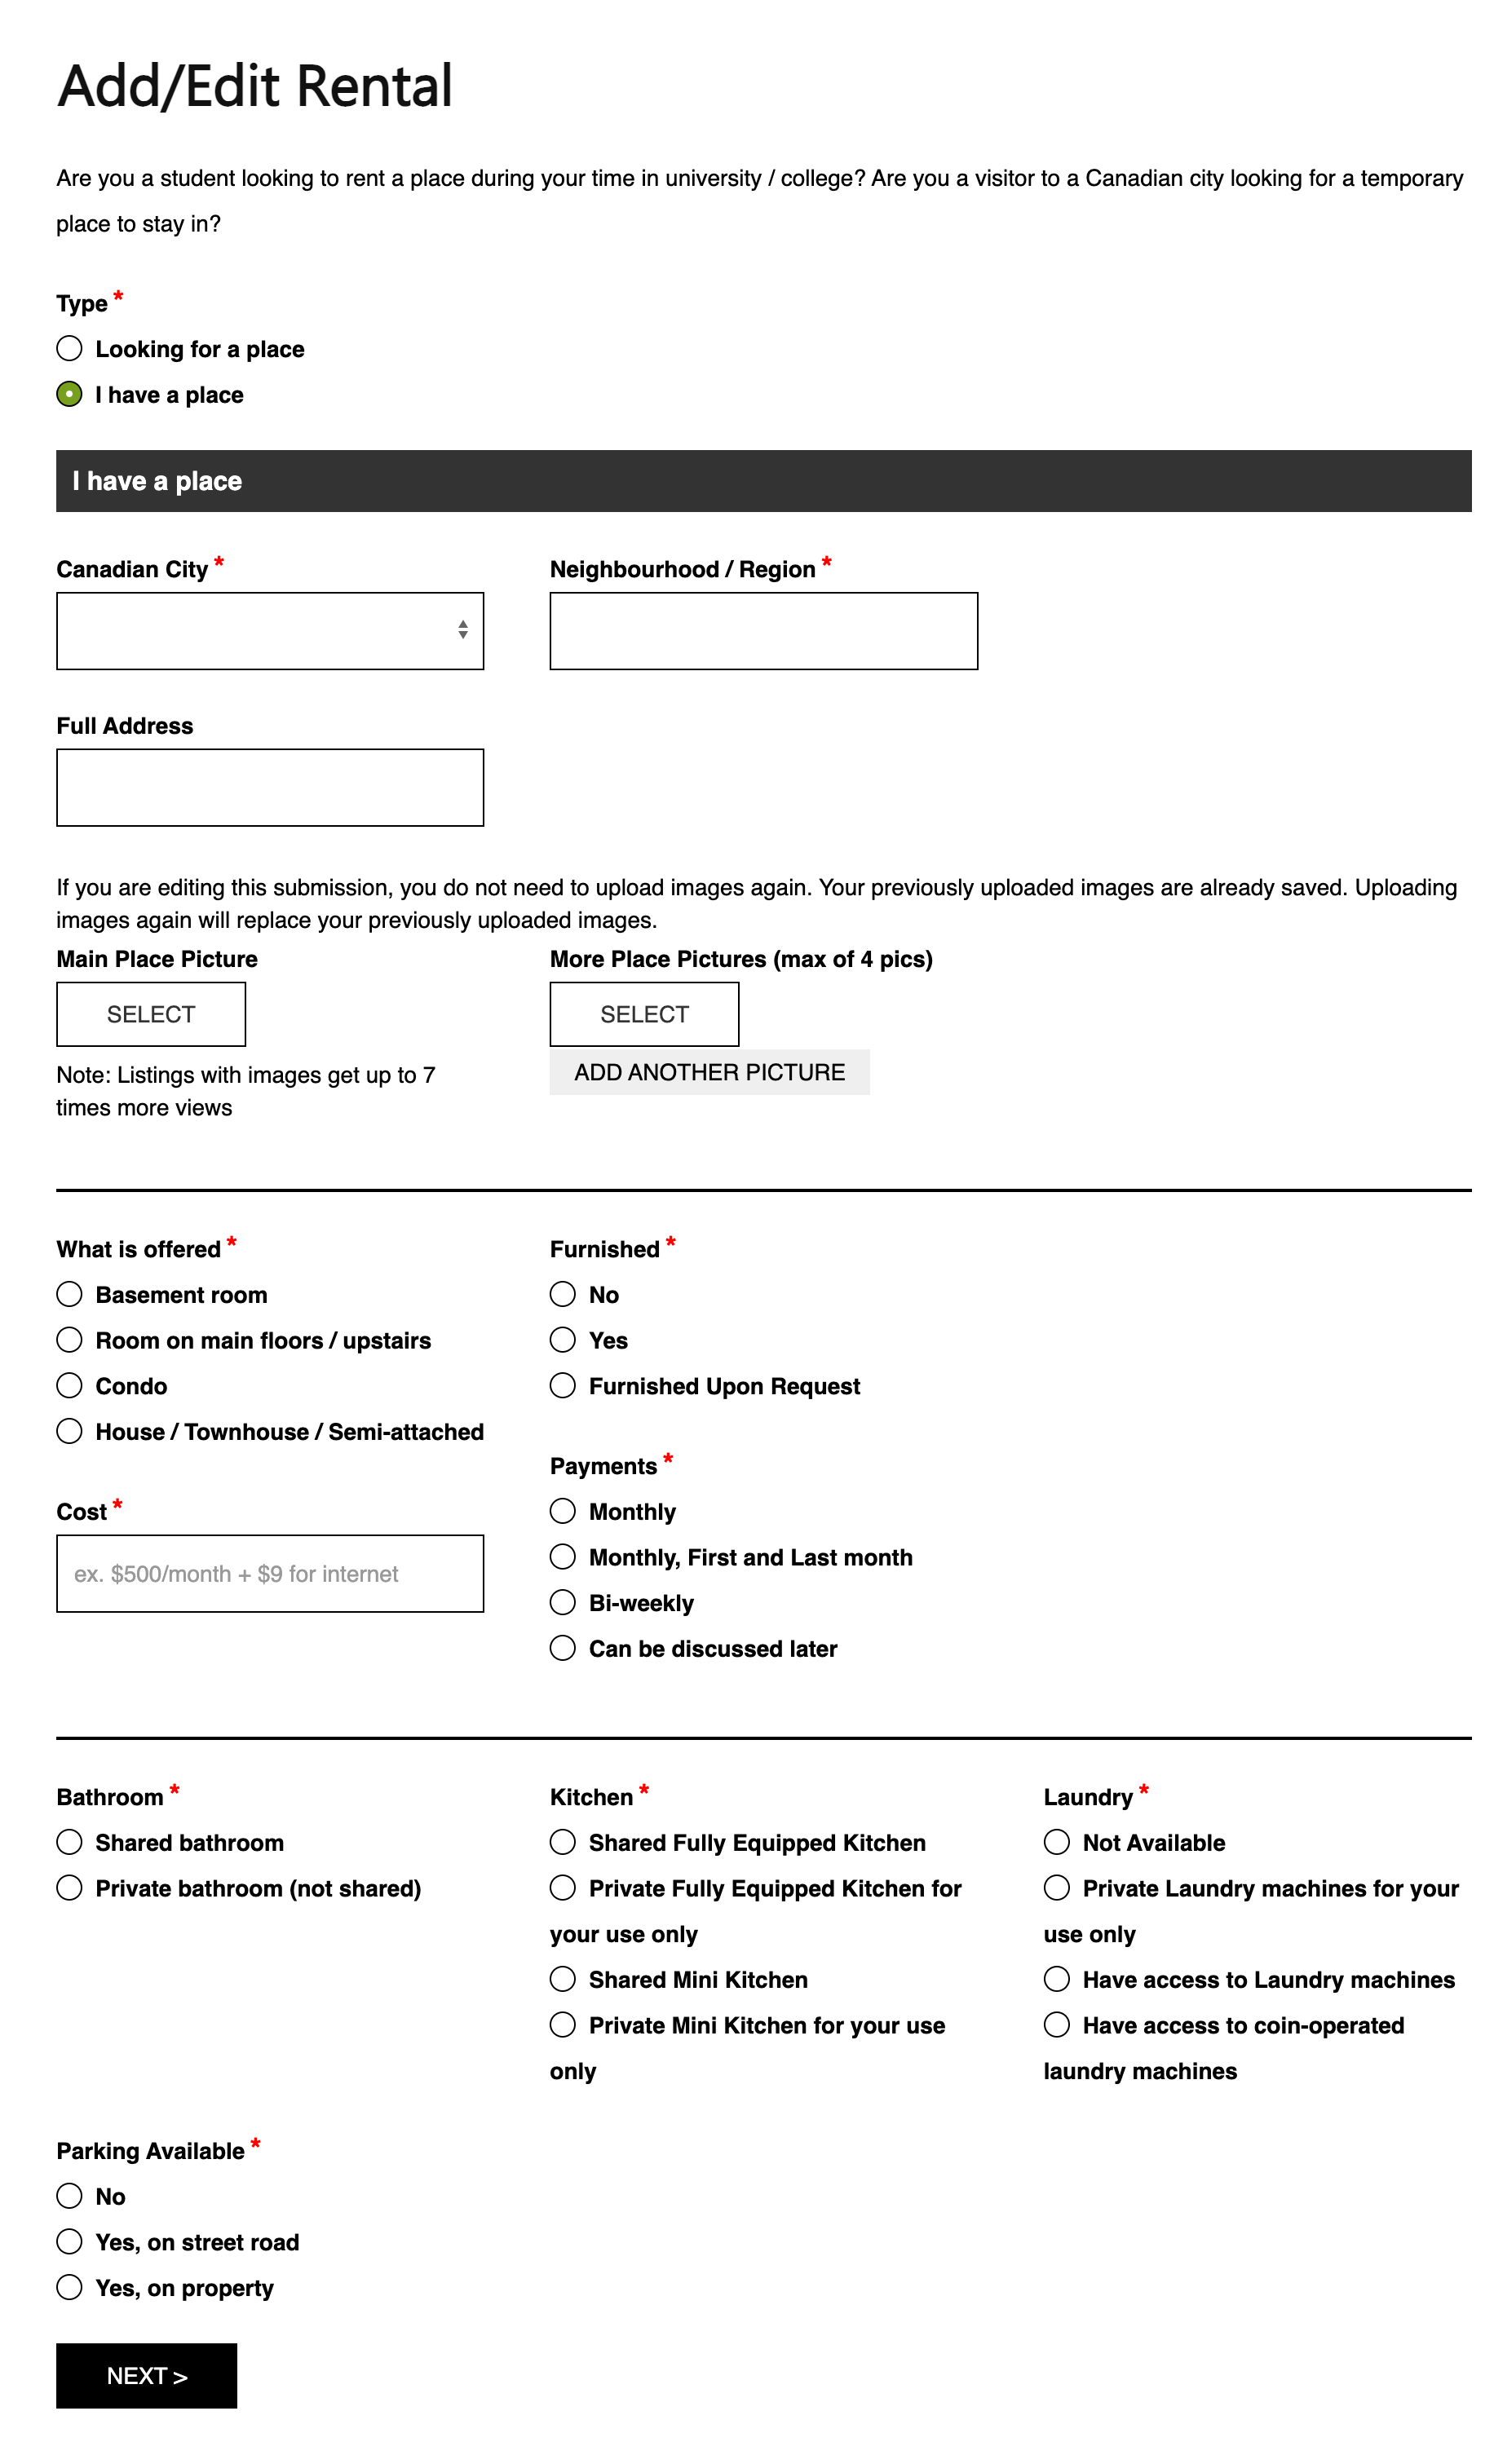
30. This is how it shows if you selected you have a place available for rent
31. Canadian City & Neighborhood/Region: Specify the city and the neighborhood or region.
32. Full Address: You may or may not provide the full address of the place.
33. Main Place Picture: Upload the images. On the left side, upload the main image of the place. This will serve as the front image of the place.
34. More Place Picture: On right side, upload additional images of the place.
35. What is offered: Select the type of place you are offering. Options include a basement room, room on main floors or upstairs, condo, or house, townhouse, or semi-attached.
36. Furnished: Select if the place is furnished or not.
37. Cost: Provide the cost of the place.
38. Payments: Select the payment terms.
39. Bathroom: Choose if bathroom is whether shared or private.
40. Kitchen: This same goes the kitchen request. Select if it’s a private kitchen or a shared kitchen. And if the kitchen is fully equipped or a mini.
41. Parking Available: Lastly, specify the availability of the parking of the place.
42. Click “Next”.
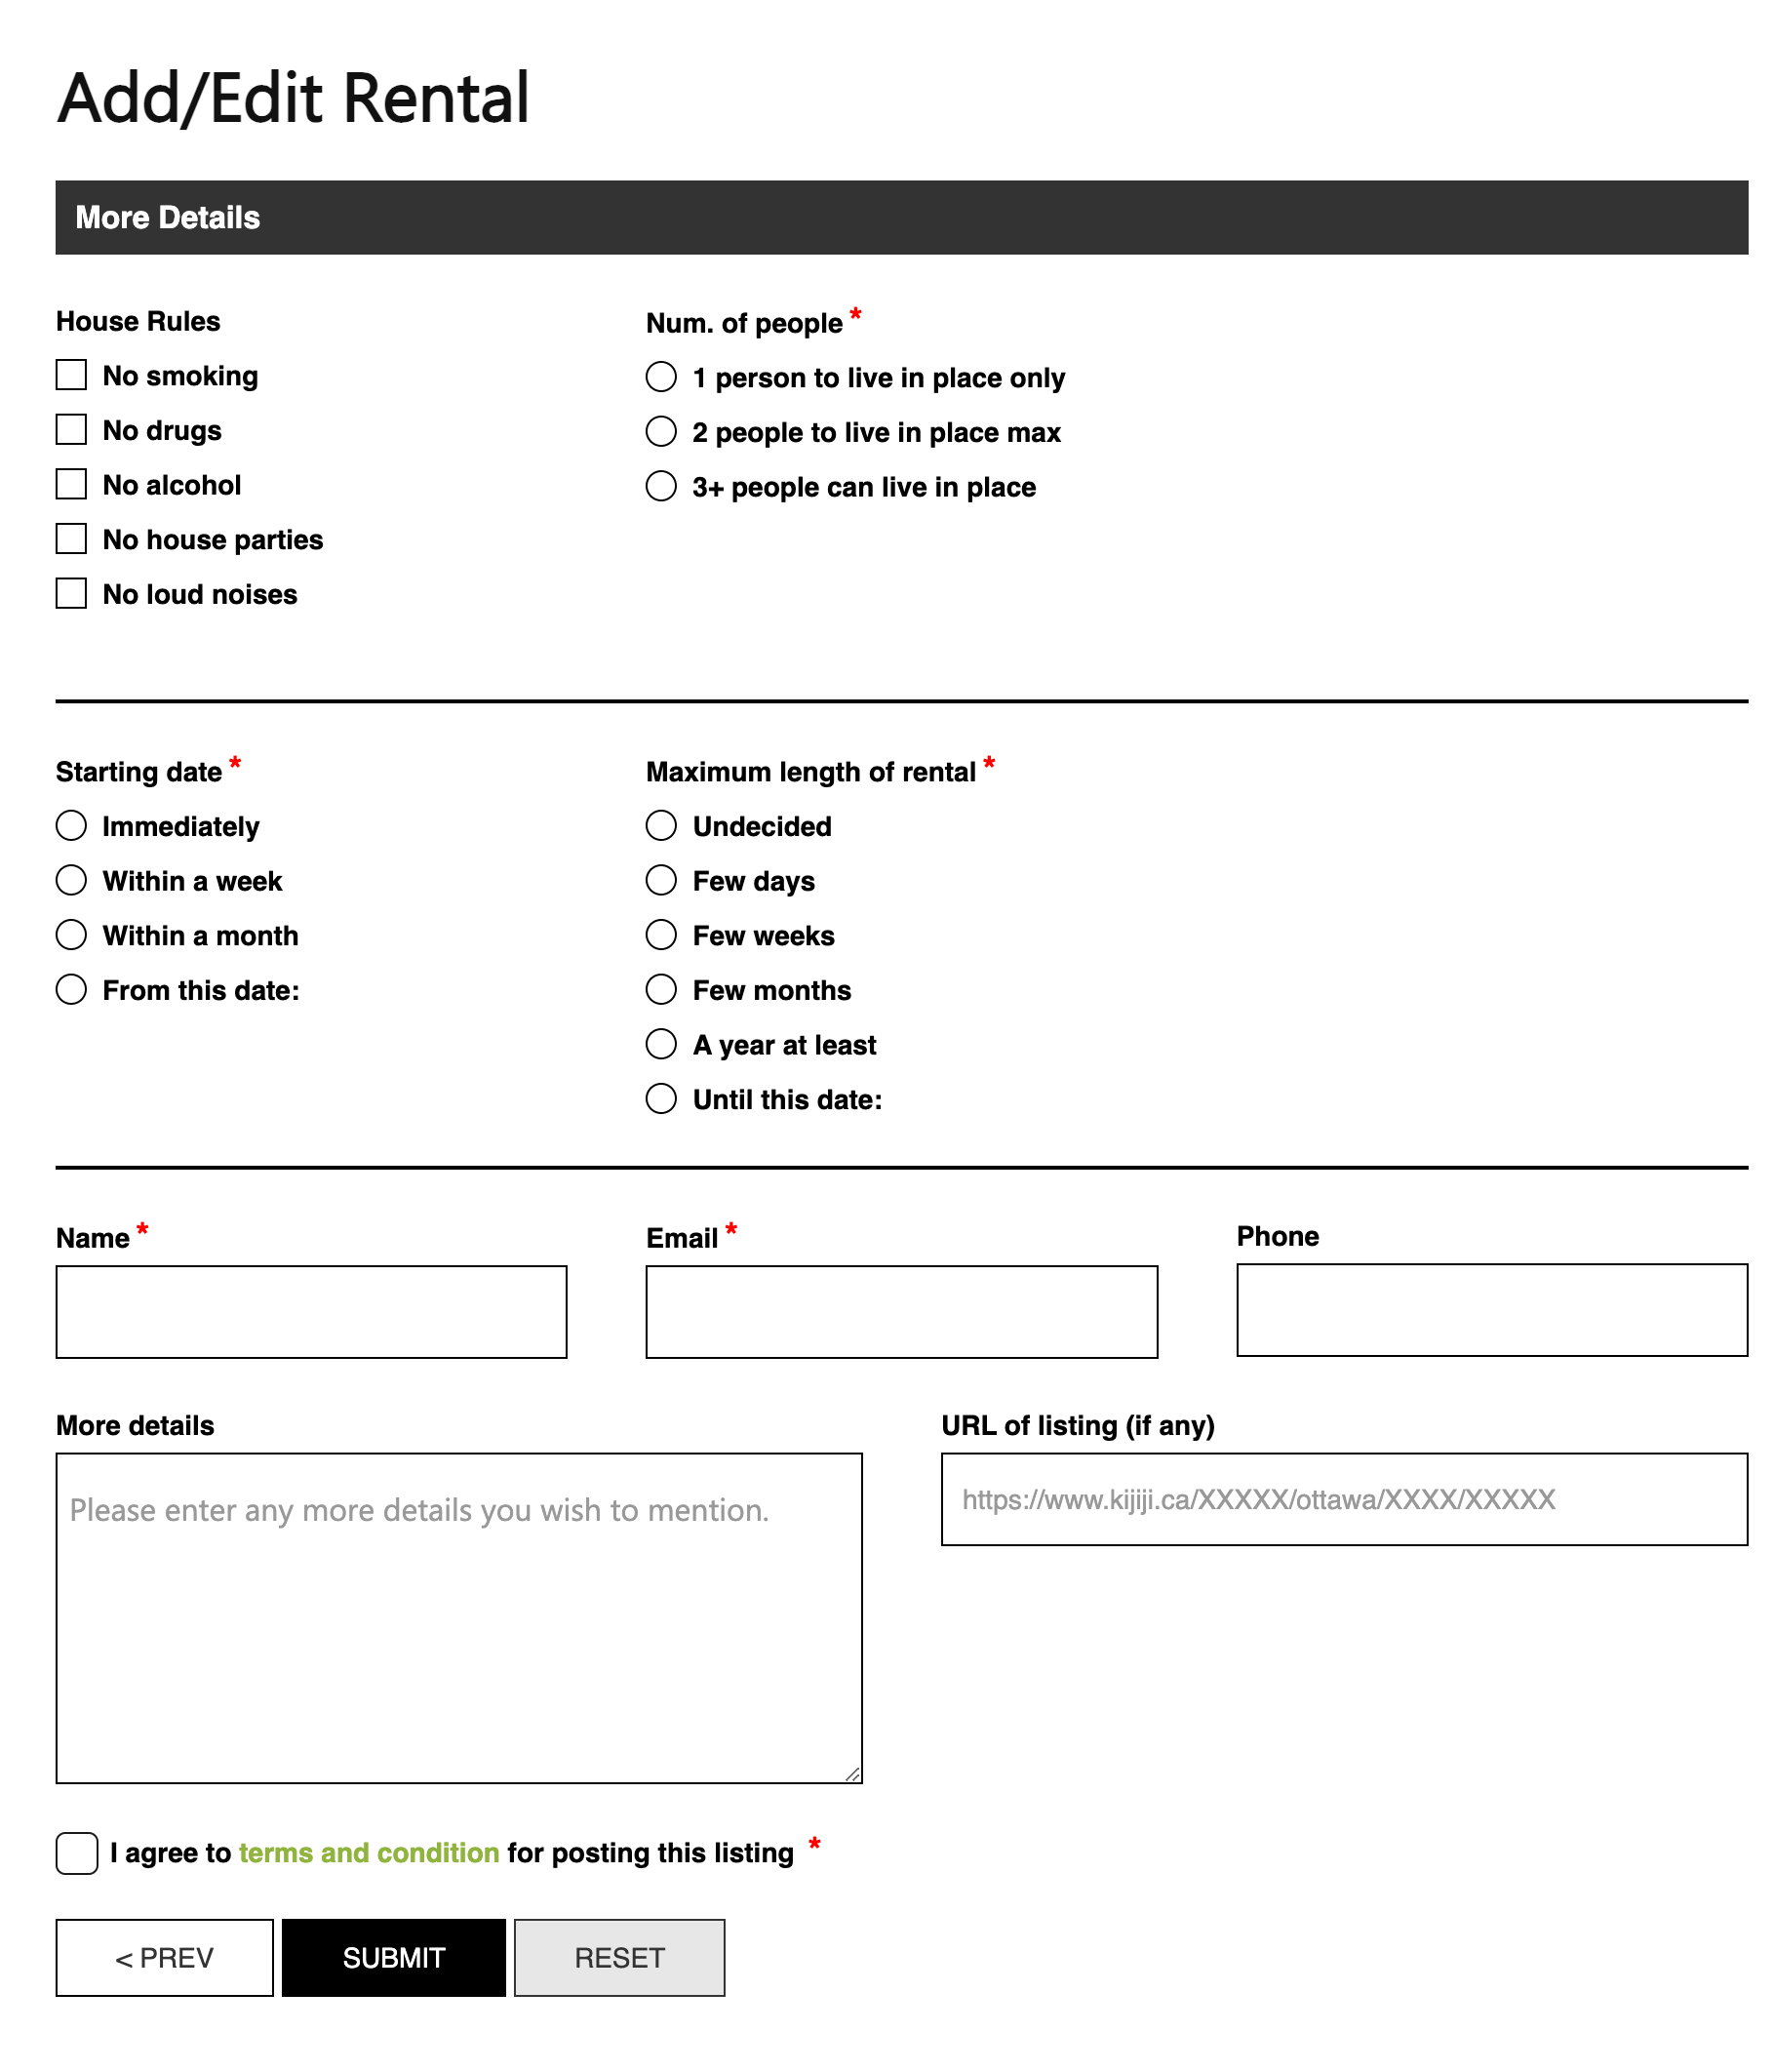
43. House Rules: On the next page, check if there are any house rules here.
44. Num. of people: Then select the number of people who can live in your place.
45. Starting date: Specify the available start date for renting the place. You can select immediately, within a week, within a month, or provide a custom date.
46. Maximum length of rental: Provide your maximum length of rental. You can also provide a custom date.
47. Name, Email, Phone, More Details: Enter your contact details such as your name, email, and phone. You may also provide additional details of the place.
48. URL of listing: You may also provide a URL such as a Kajiji link.
49. Then agree on the terms and conditions then click “Submit”.
50. Await admin approval.
51. Once approved, you can now see your listing on the Rentals page under “Find a Place”.
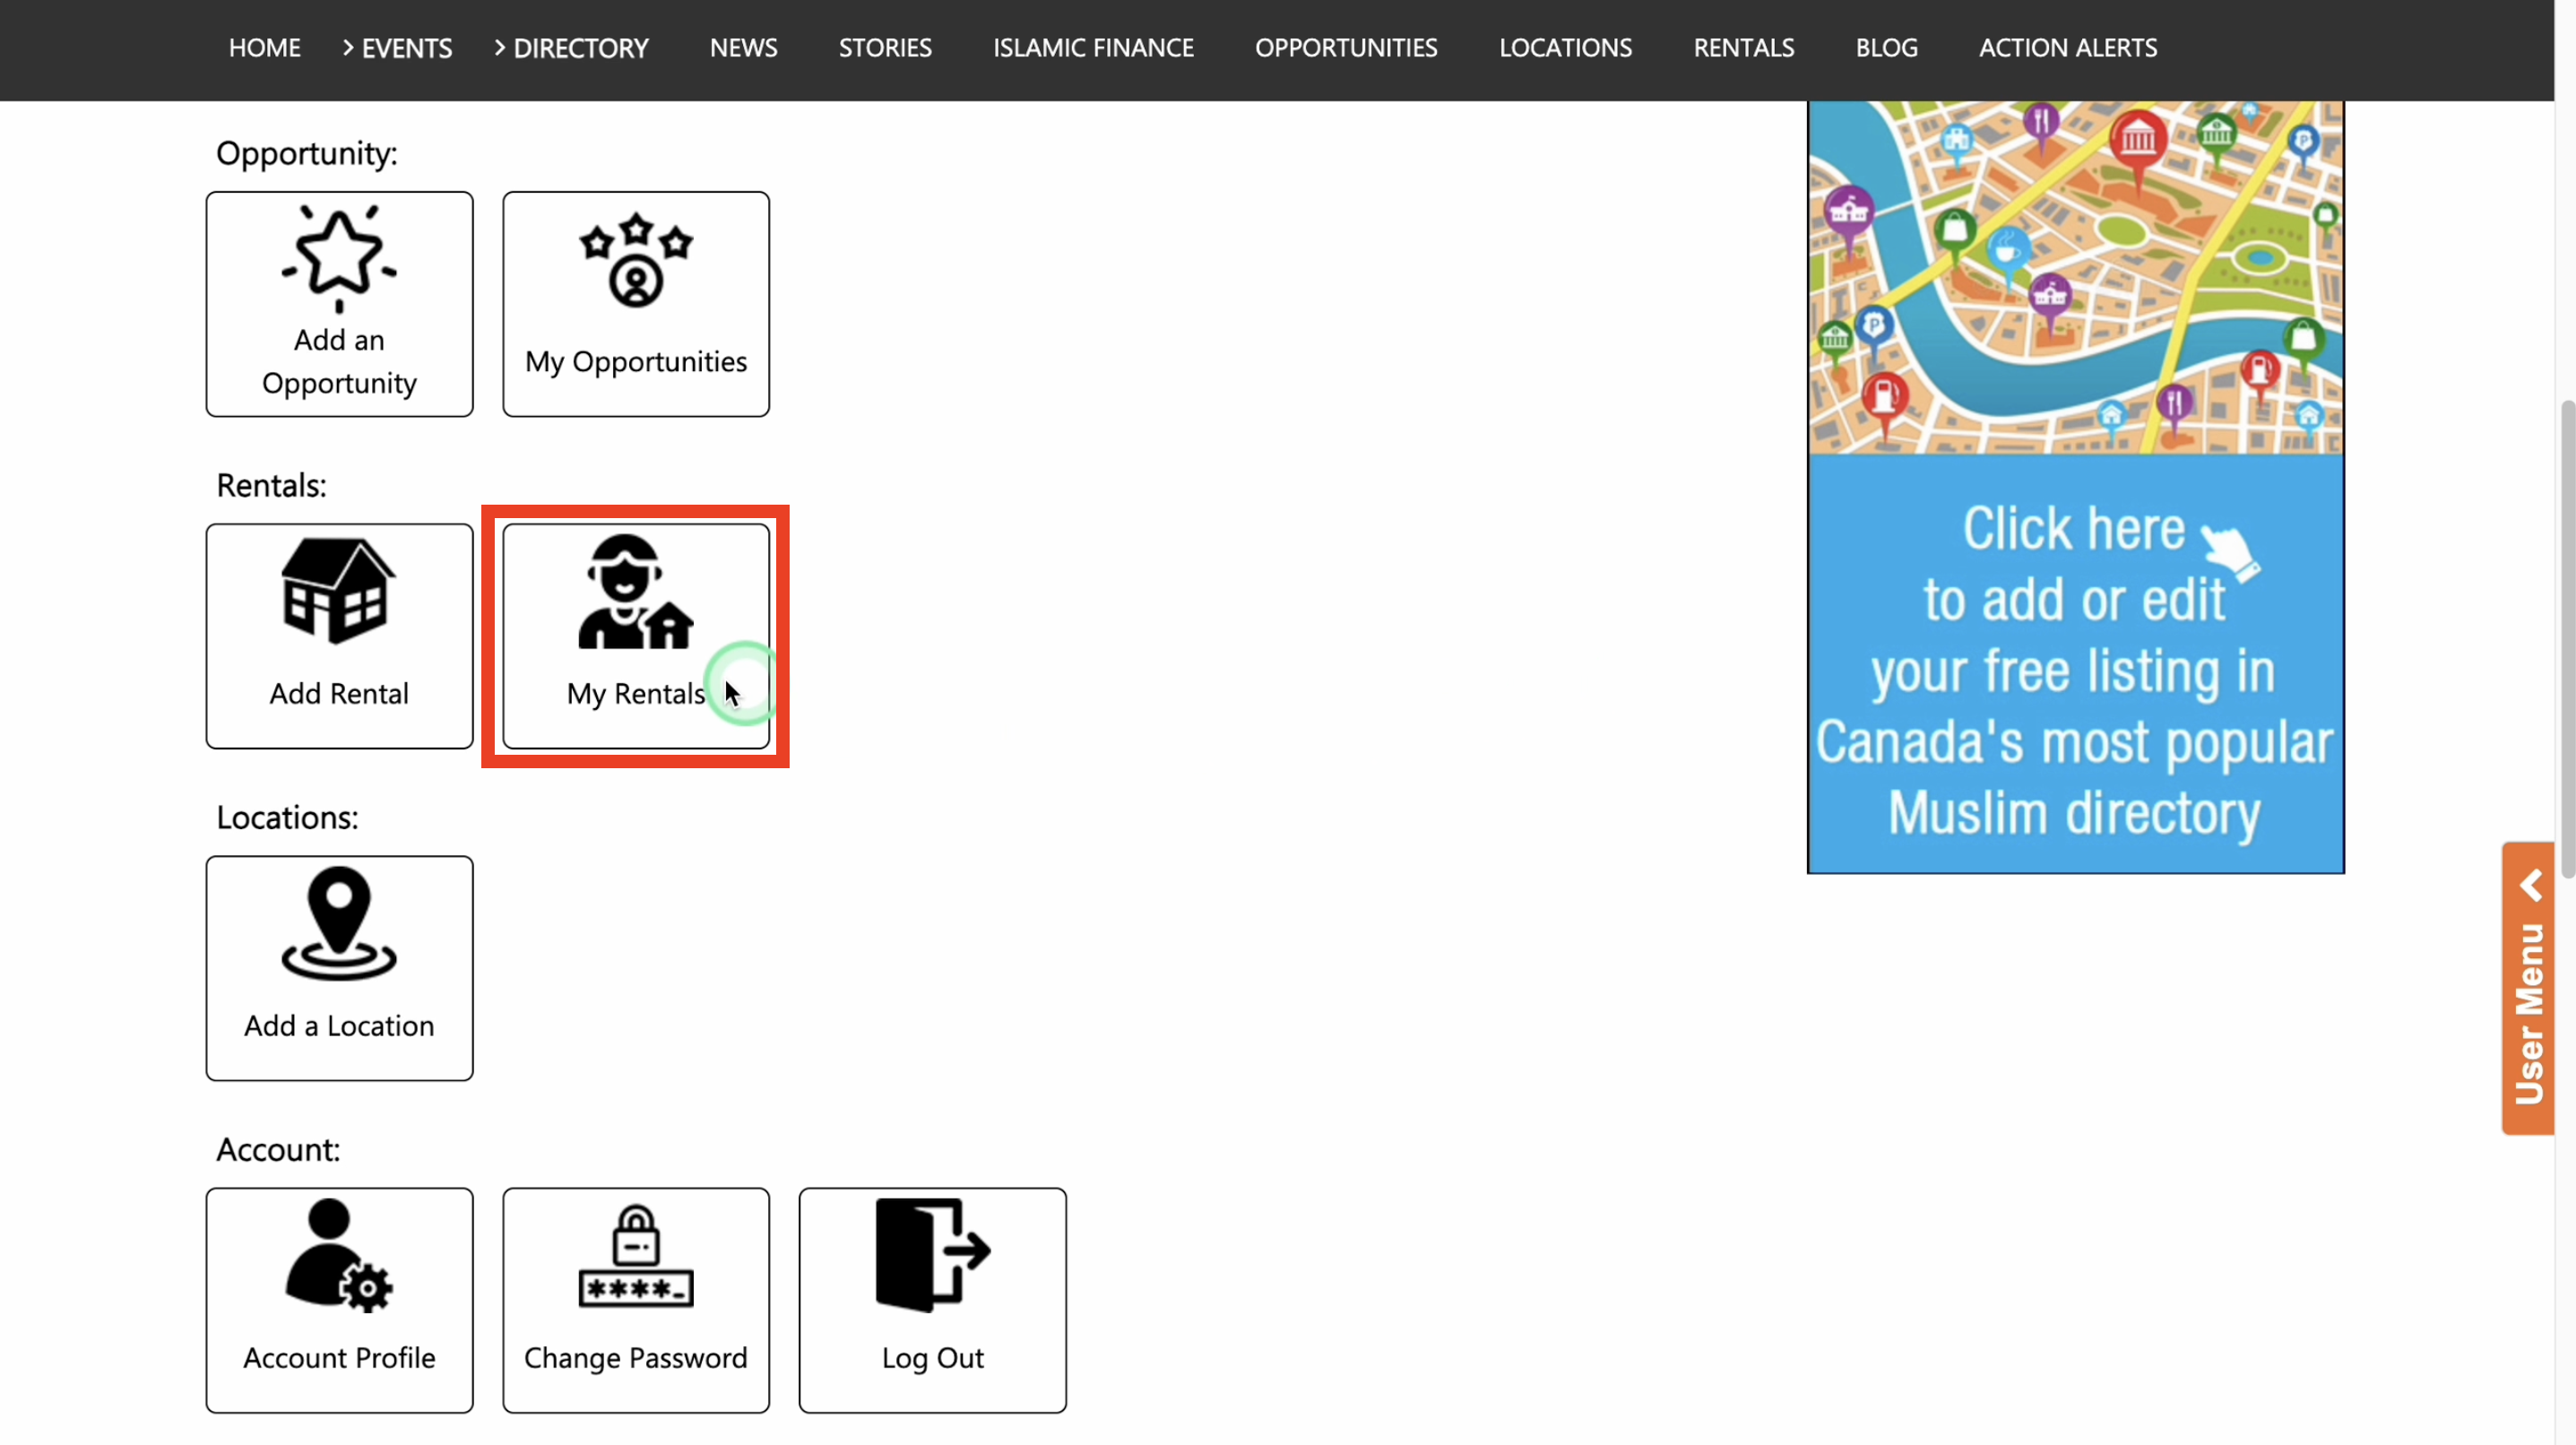
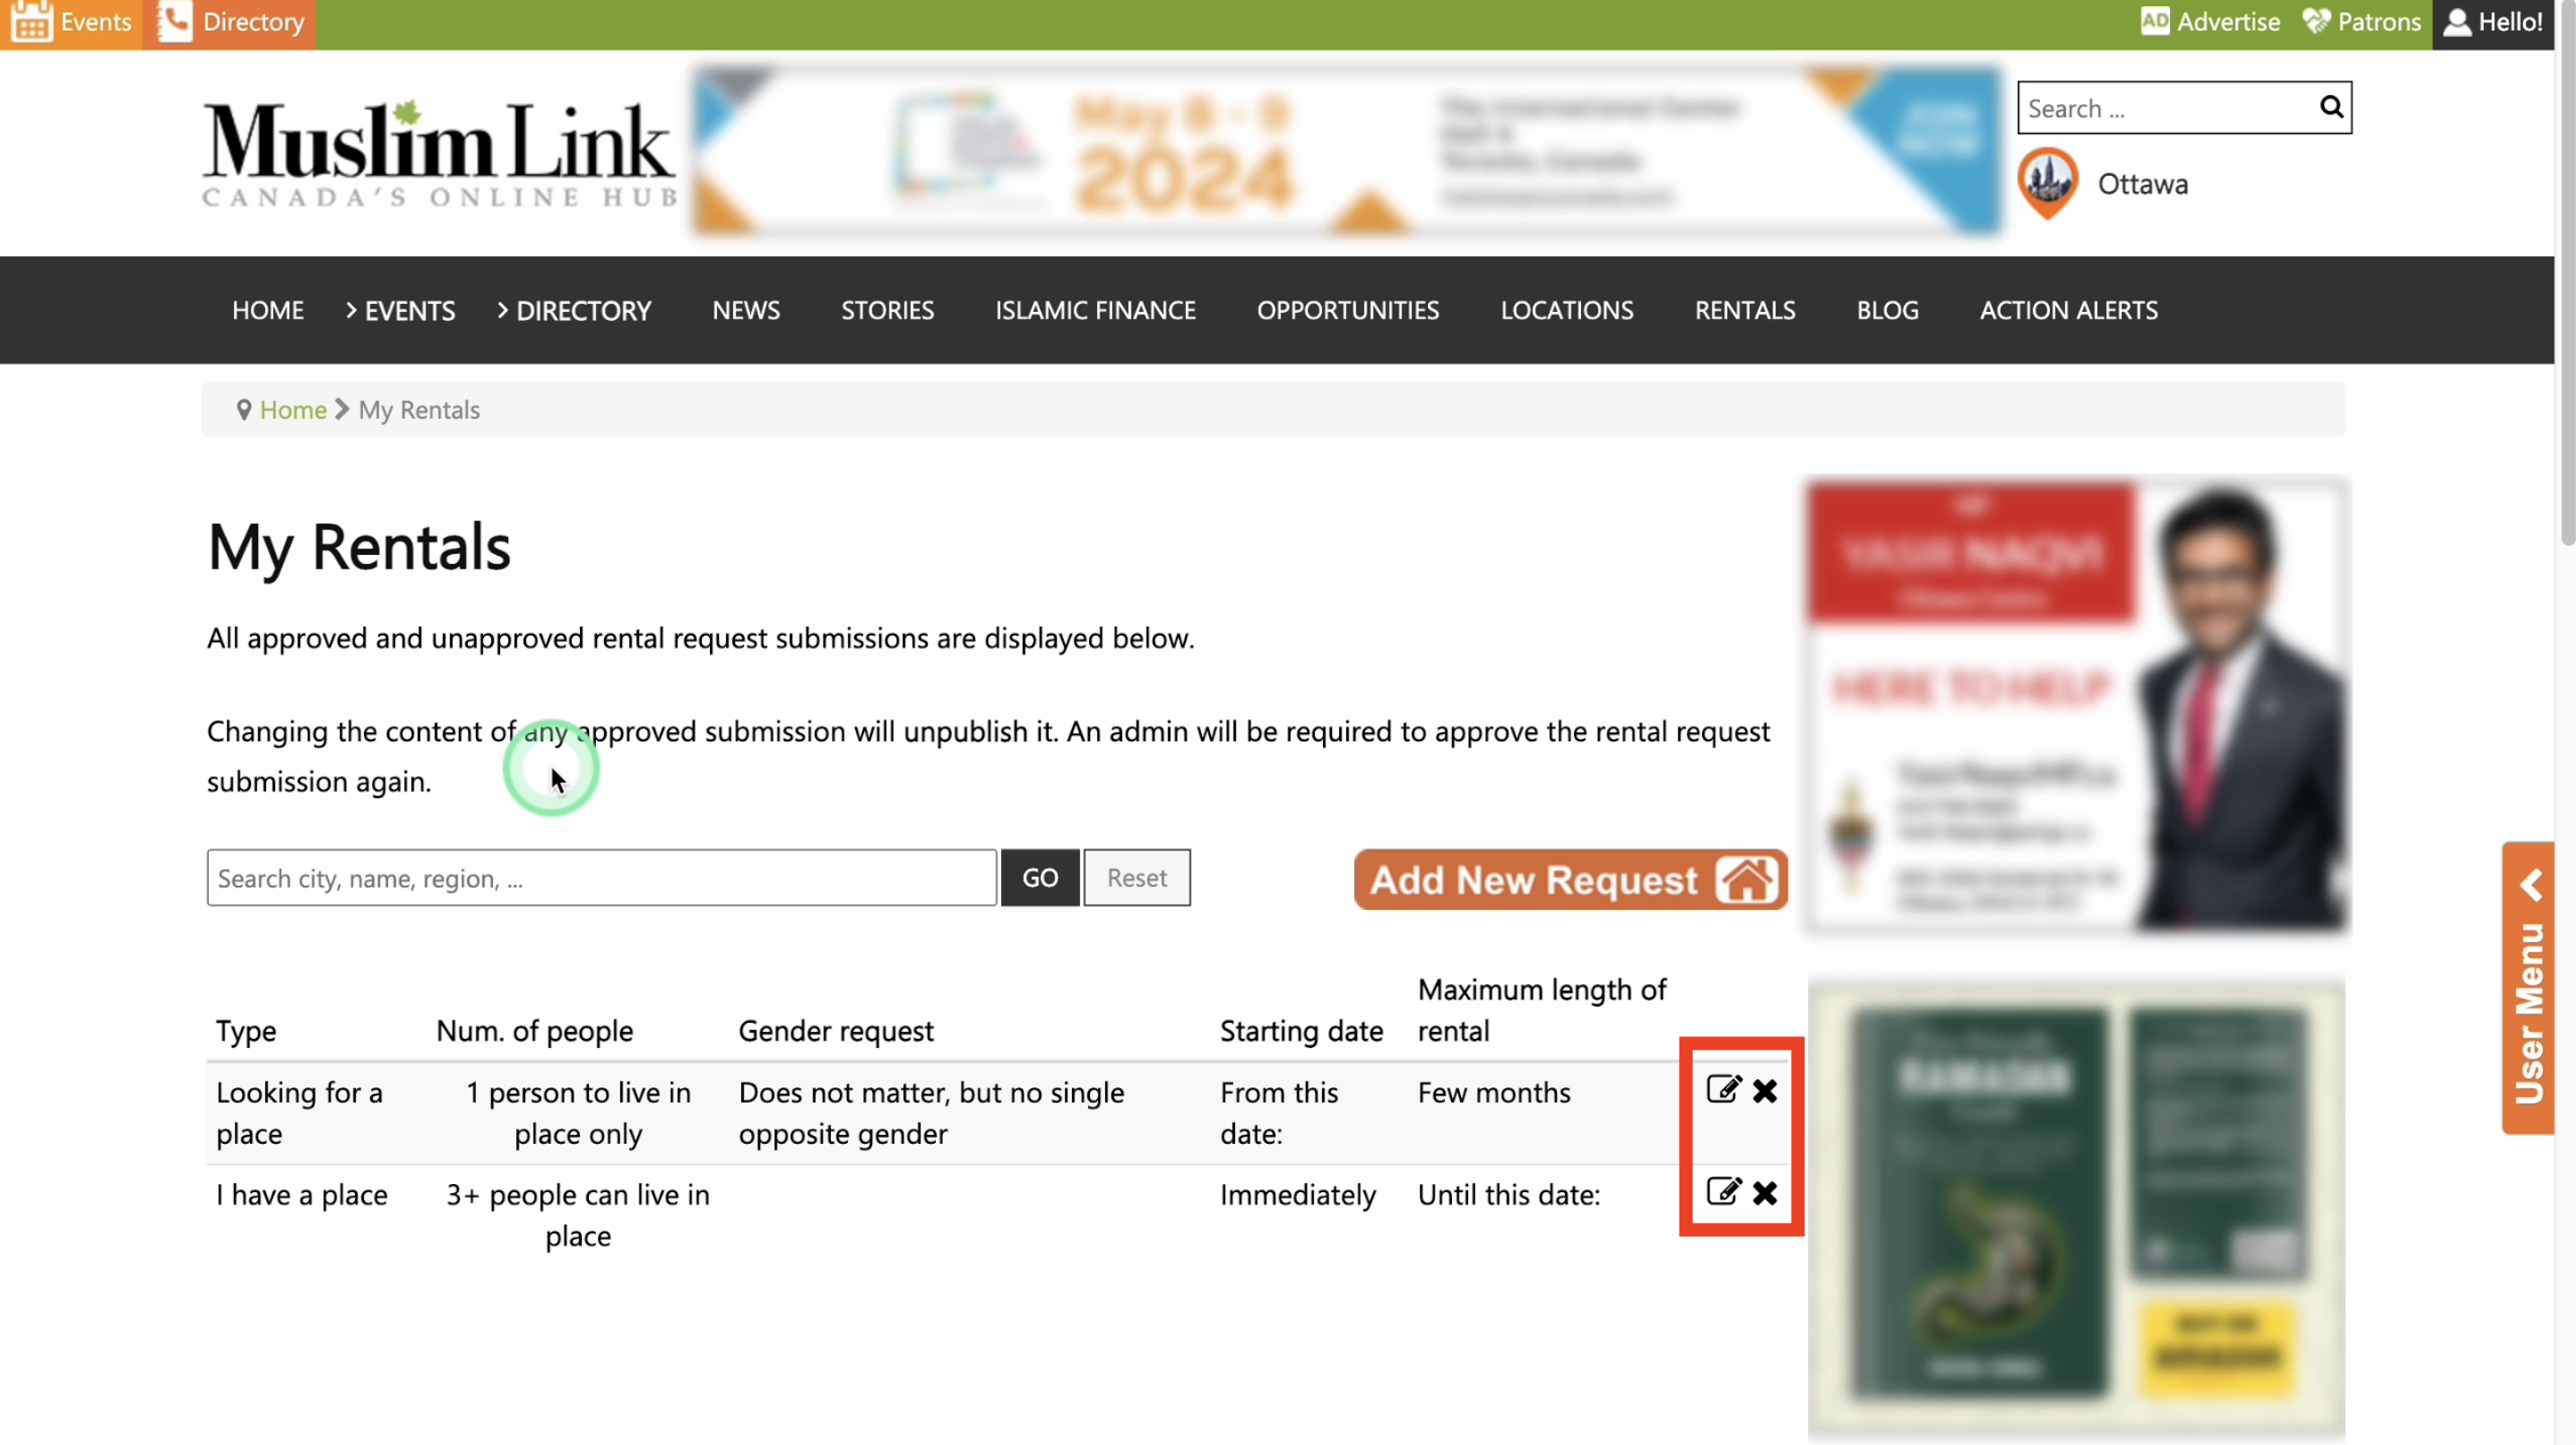
52. You can edit the rental listing by going to the user menu, then click “My Rentals”.
53. You can see all the rental listings you made here. Click the “Edit” button to edit. Editing the listing requires an admin approval. Then click the “Delete” button if you want to delete the listing.


